Make a Camera Cozy | Evil Mad Scientist Laboratories (original) (raw)
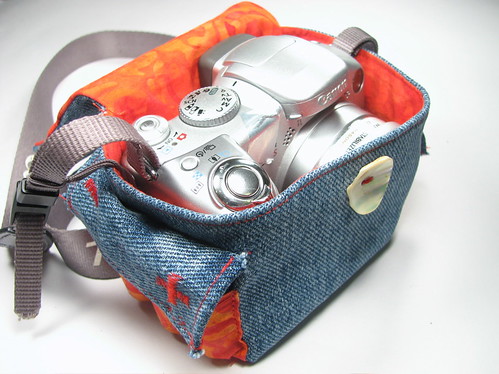
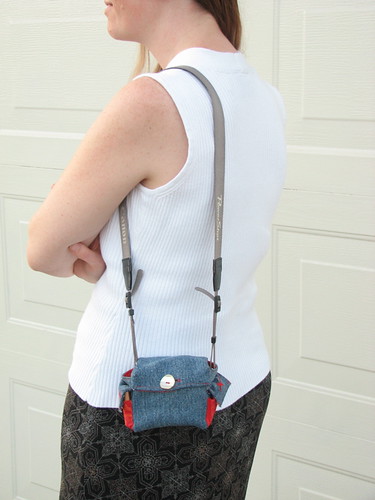
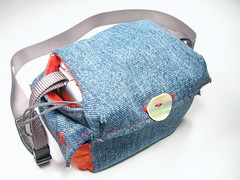 This camera cozy protects your LCD and keeps your lens cap on when you toss your camera in your bag or are just carrying it around. It also provides storage for a spare set of batteries as well as a location for the dead ones you’re taking out.
It was designed for the Canon S2IS and S3IS, but the pattern can be adapted for other similarly shaped cameras. Download the pattern here (160 kB PDF file).
It was inspired by a knit crocheted camera bag by Leethal. (If you like it, she has a similar one for sale right nowsold!) However, the darling lens pouch seemed rather excessive for my non-SLR, and I don’t knit (or crochet!), so this design was born.
This is a perfect project for scrap material. I used denim from a pair of jeans that were made into cutoffs for the outer surface and leftover cotton batik from a summer dress for the liner and pockets.
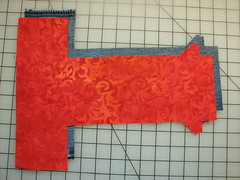
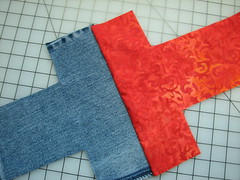
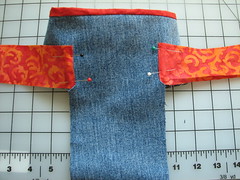
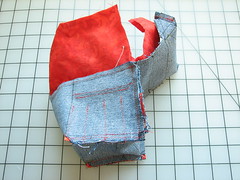
The liner is sewn to the denim first along the seam that will be the lip of the bag.
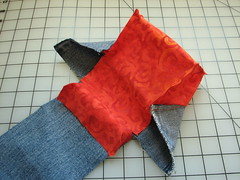
I sewed up seams 1, 2 and 3 (see pattern) of the liner, and then realized I should have added the pockets first.
The pockets for batteries start by folding over 1/4″ of the top and one side edge. A row of stitches across the top helps to prevent fraying. Align the folded side to where the side of the bag will fold and stitch down.
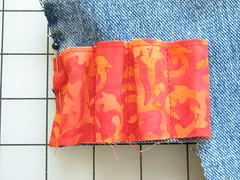
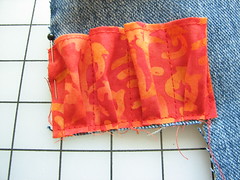
Next, stitch the pocket divider seams, evenly spaced along the side of the bag. It takes about 1 1/4″ of fabric for each AA battery.
Form a little pleat at the bottom of each pocket and stitch the bottom edge down.
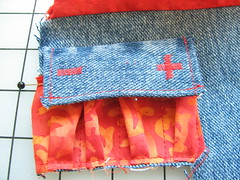
The pocket flaps are just rectangles of denim that have had the edges stitched under. The pockets are labeled for the spare and dead batteries so there will be no mixing them up. Zigzag stitches work just fine for simple embroidery like this.
The pocket flap is placed about halfway between the top of the pocket and the edge of the bag. I put a snap on one corner, which gives just enough resistance to keep any of the batteries from falling out when it is turned upside down.
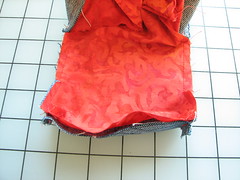
It’s now time to put the body of the bag together. For both the liner and the outer material, stitch seams 1, 2 and 3, starting with seam 1.
Next, stitch the liner to the lid, but only along the sides. Leave the front edge open so you can turn it right-side out.
Once right-side out, there will be one seam left to do.
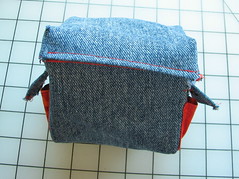
Fold the seam allowances in and stitch along the front lip of the lid to close it up.
A row of topstitching along the rim of the bag helps to to maintain its shape.
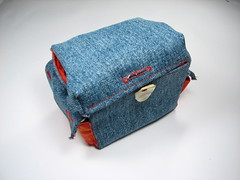
A buttonhole and a button for the lid are the final details.
