HomeMade Modern EP103 CNC Concrete Walkway (original) (raw)
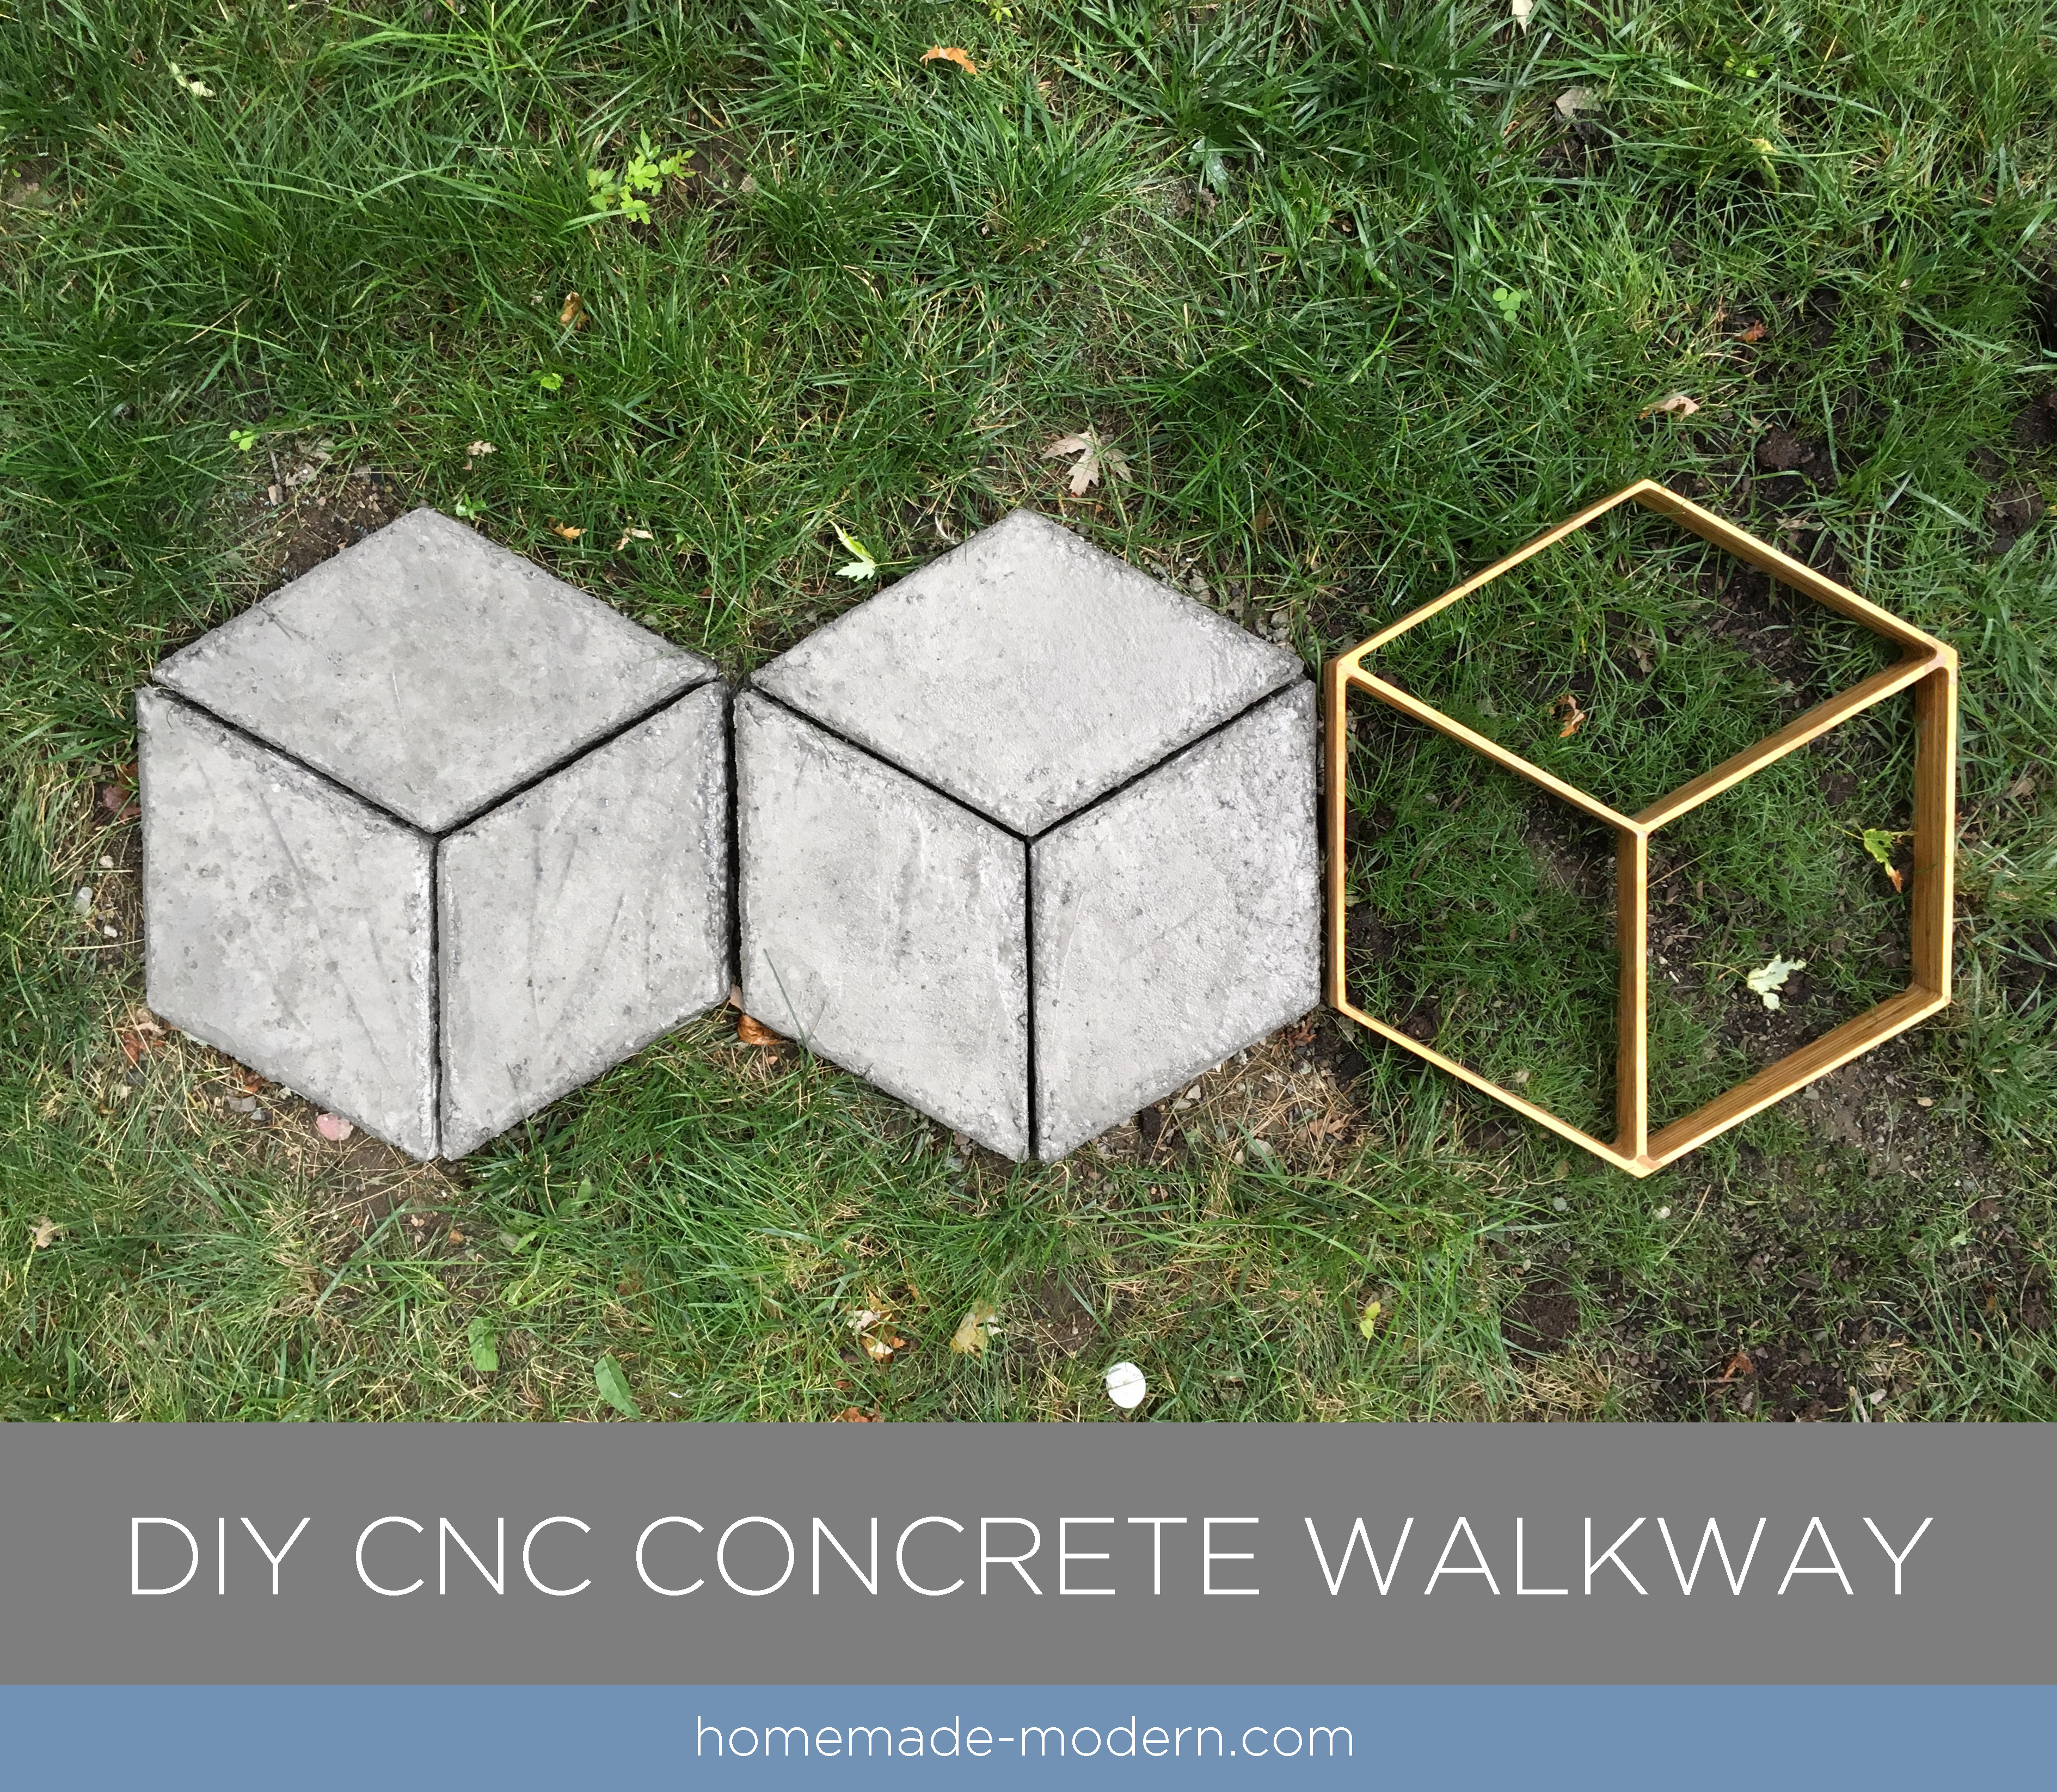
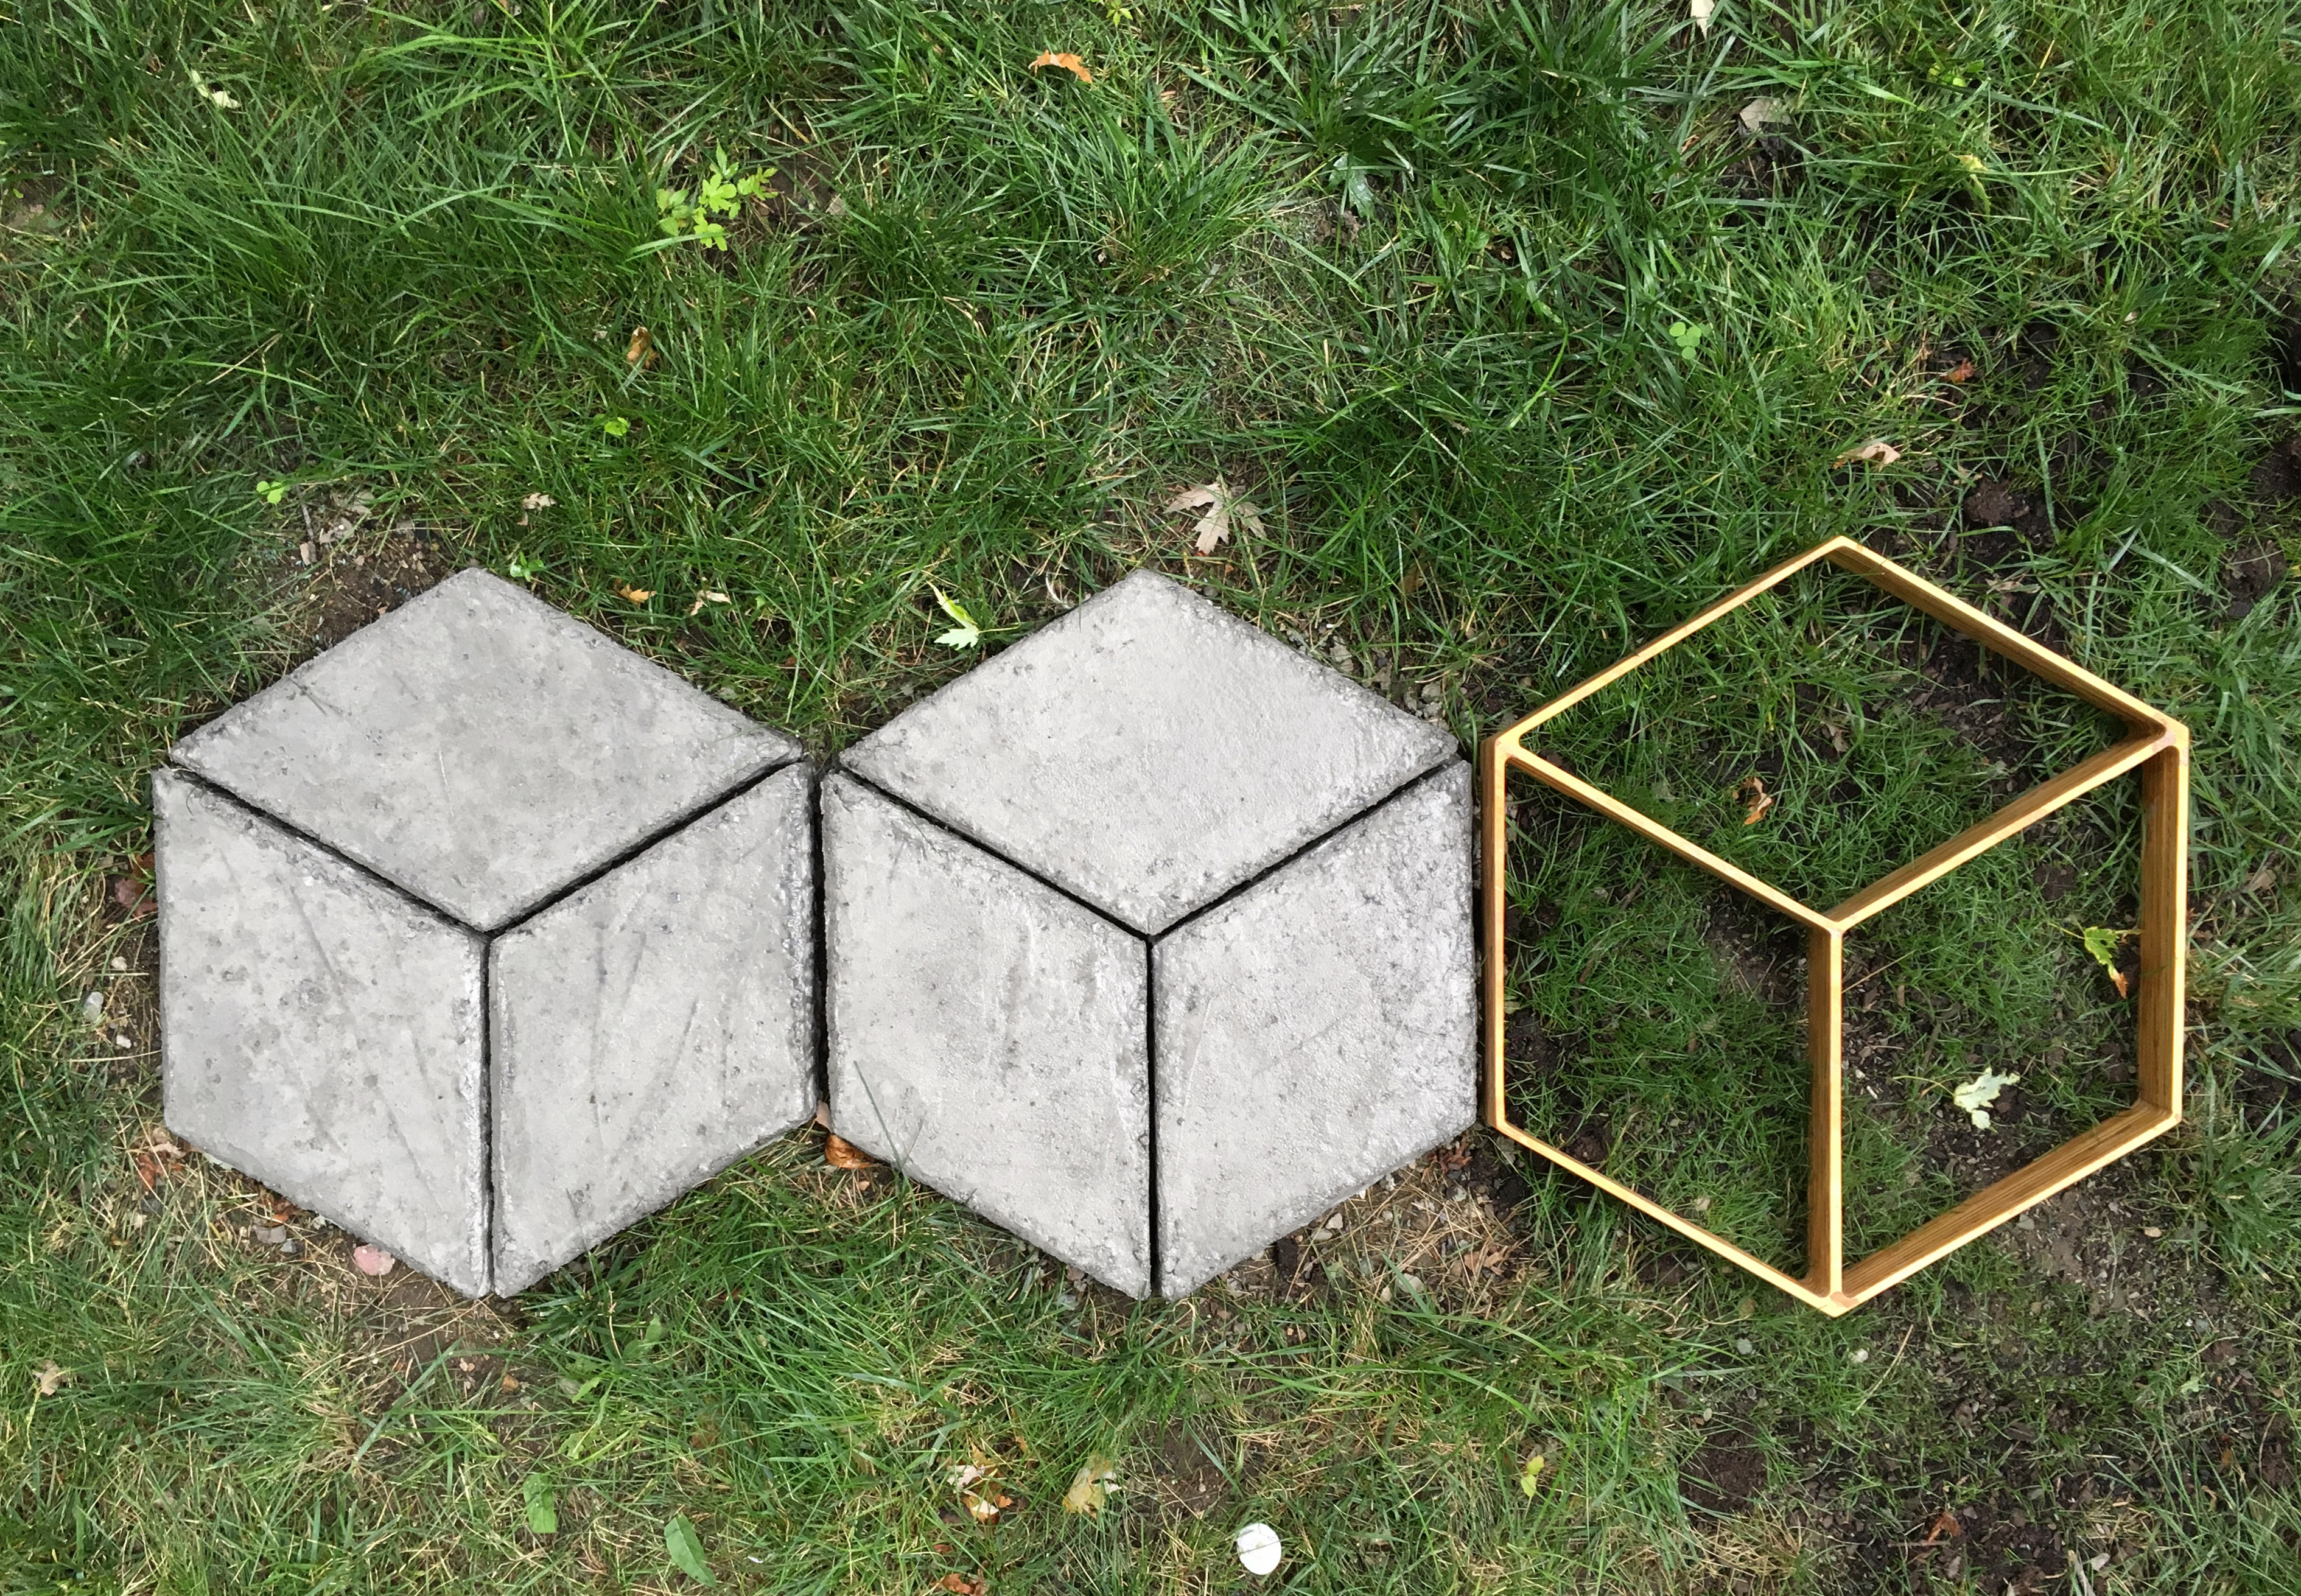
This episode shows how I made a concrete pavers for a walkway out of Quikrete 5000. I used my X-Carve CNC machine from Inventables to make reusable forms out of plywood. I created a modular design based off of the Quikrete Walkmaker system. This project takes about 5 hours and costs around $30.
SUPPLIES:
![]() ¾” Melamine
¾” Melamine
Available at Home Depot
I used a scrap piece of ¾” melamine to use for the bottom of the molds.
![]() ¾” Plywood
¾” Plywood
Available at Home Depot
I made the forms out of ¾” furniture grade plywood.
![]() Quikrete 5000
Quikrete 5000
Available at Home Depot
I used Quikrete 5000 to cast this fire pit.
![]() Silicone Caulk
Silicone Caulk
Available at Home Depot
I used silicone caulk to seal the molds.
![]() Fire Bricks
Fire Bricks
Available at Masonry Supply Store
I used fire bricks from a local masonry supply yard. They aren't the prettiest looking, but after a few fires they will turn black from the soot. Firebricks are heat-resistant and will protect the concrete from cracking.
![]() Quikrete ¾" Gravel
Quikrete ¾" Gravel
Available at Home Depot
I used about 4 bags of Quikrete 3/4" gravel for the foundation layer.
![]() Miniwax Polyurethane
Miniwax Polyurethane
Available at Home Depot
I sealed the forms with minwax polyurethane.
TOOLS:
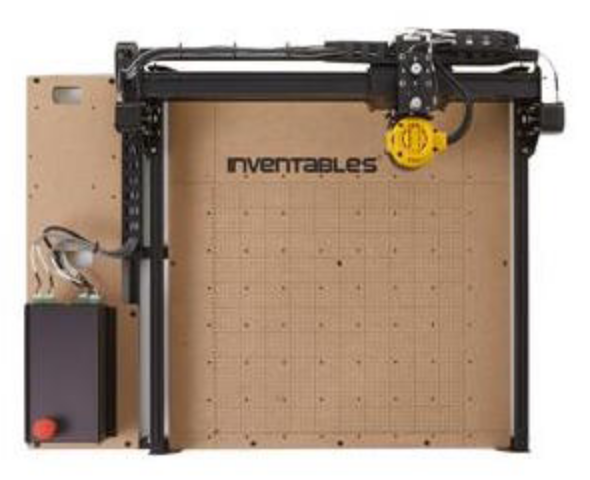
![]() Inventables X-Carve (Small)
Inventables X-Carve (Small)
Available at Inventables
![]() RYOBI Orbital Sander
RYOBI Orbital Sander
Available at Home Depot
INSTRUCTIONS:
![]() STEP 1: Design
STEP 1: Design
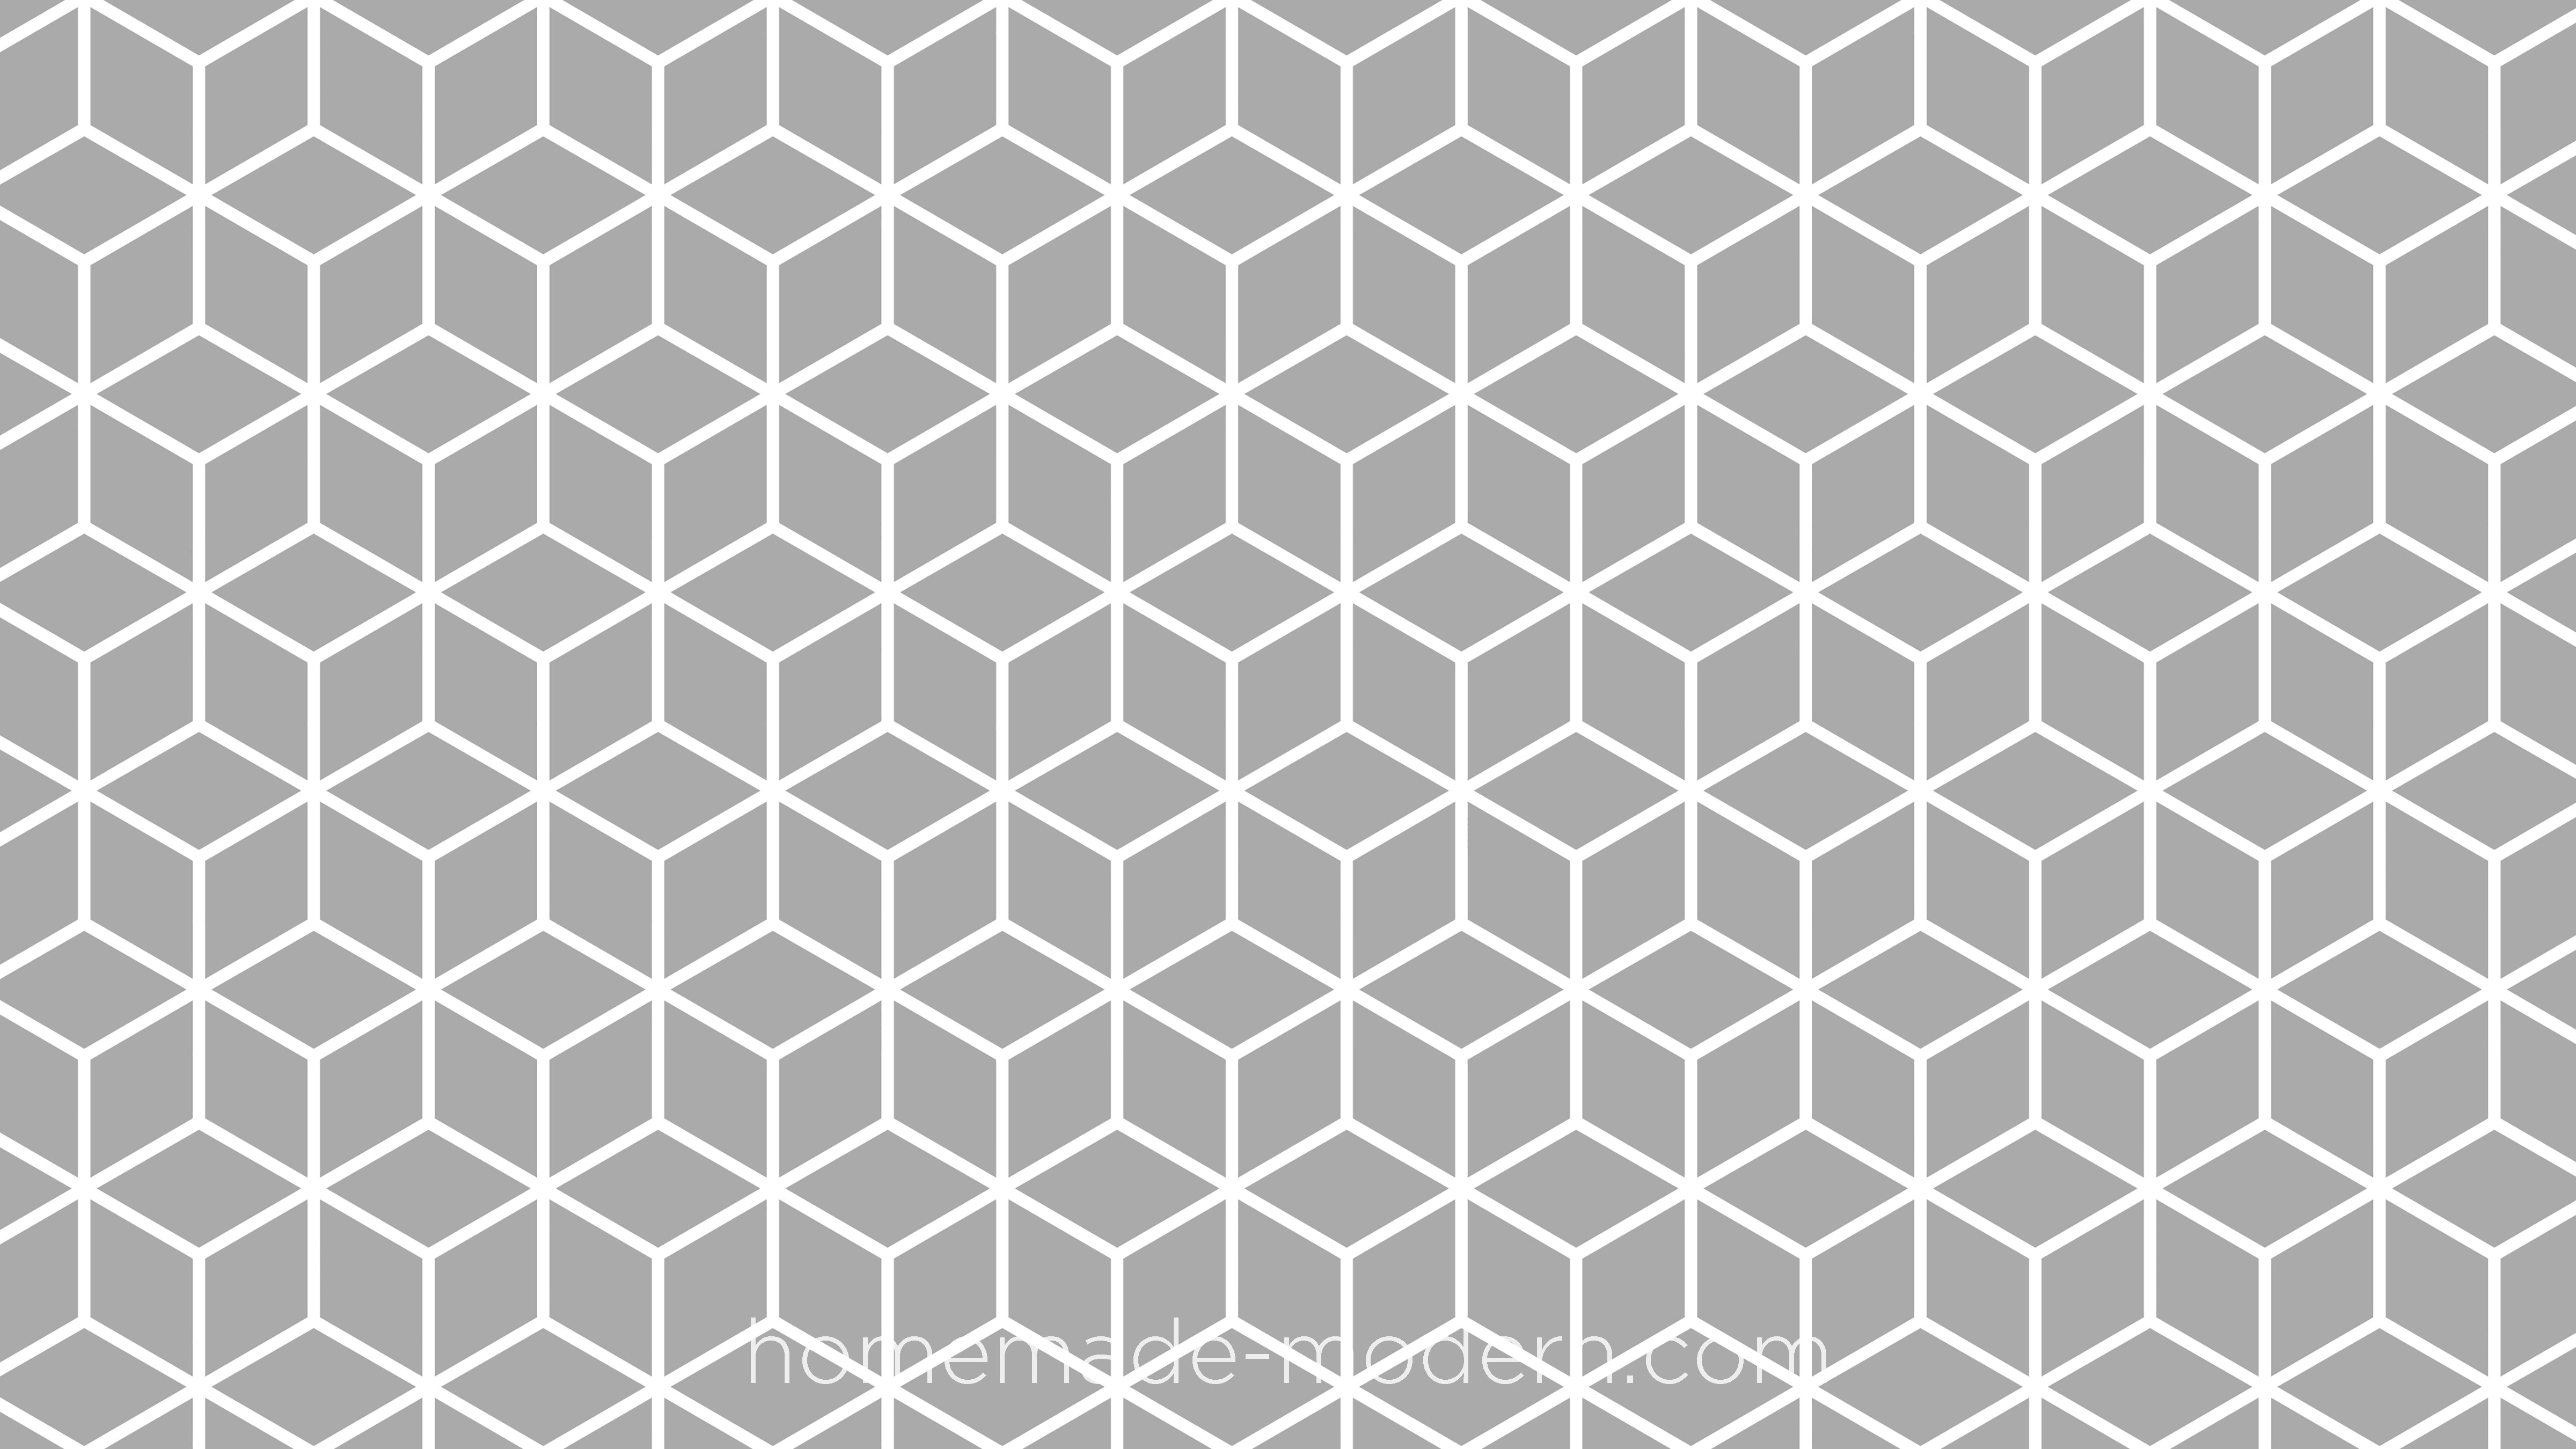
I used FormZ 3D modeling software to model the firebricks. I don’t recommend this software and am now switching to Fusion by Autodesk. I then arranged the firebricks into an octagon. I designed eight modular blocks to go around the firebricks. At first I designed the blocks with simple symmetrical points but then changed them to an asymmetrical design. I then designed the profile of a mold for the blocks and exported the outline of the pieces to easel software to get ready for CNCing. I made some of the pieces have tabs that would let me clamp the molds down to a base piece of melamine.
![]() STEP 2: Cut the Pieces
STEP 2: Cut the Pieces
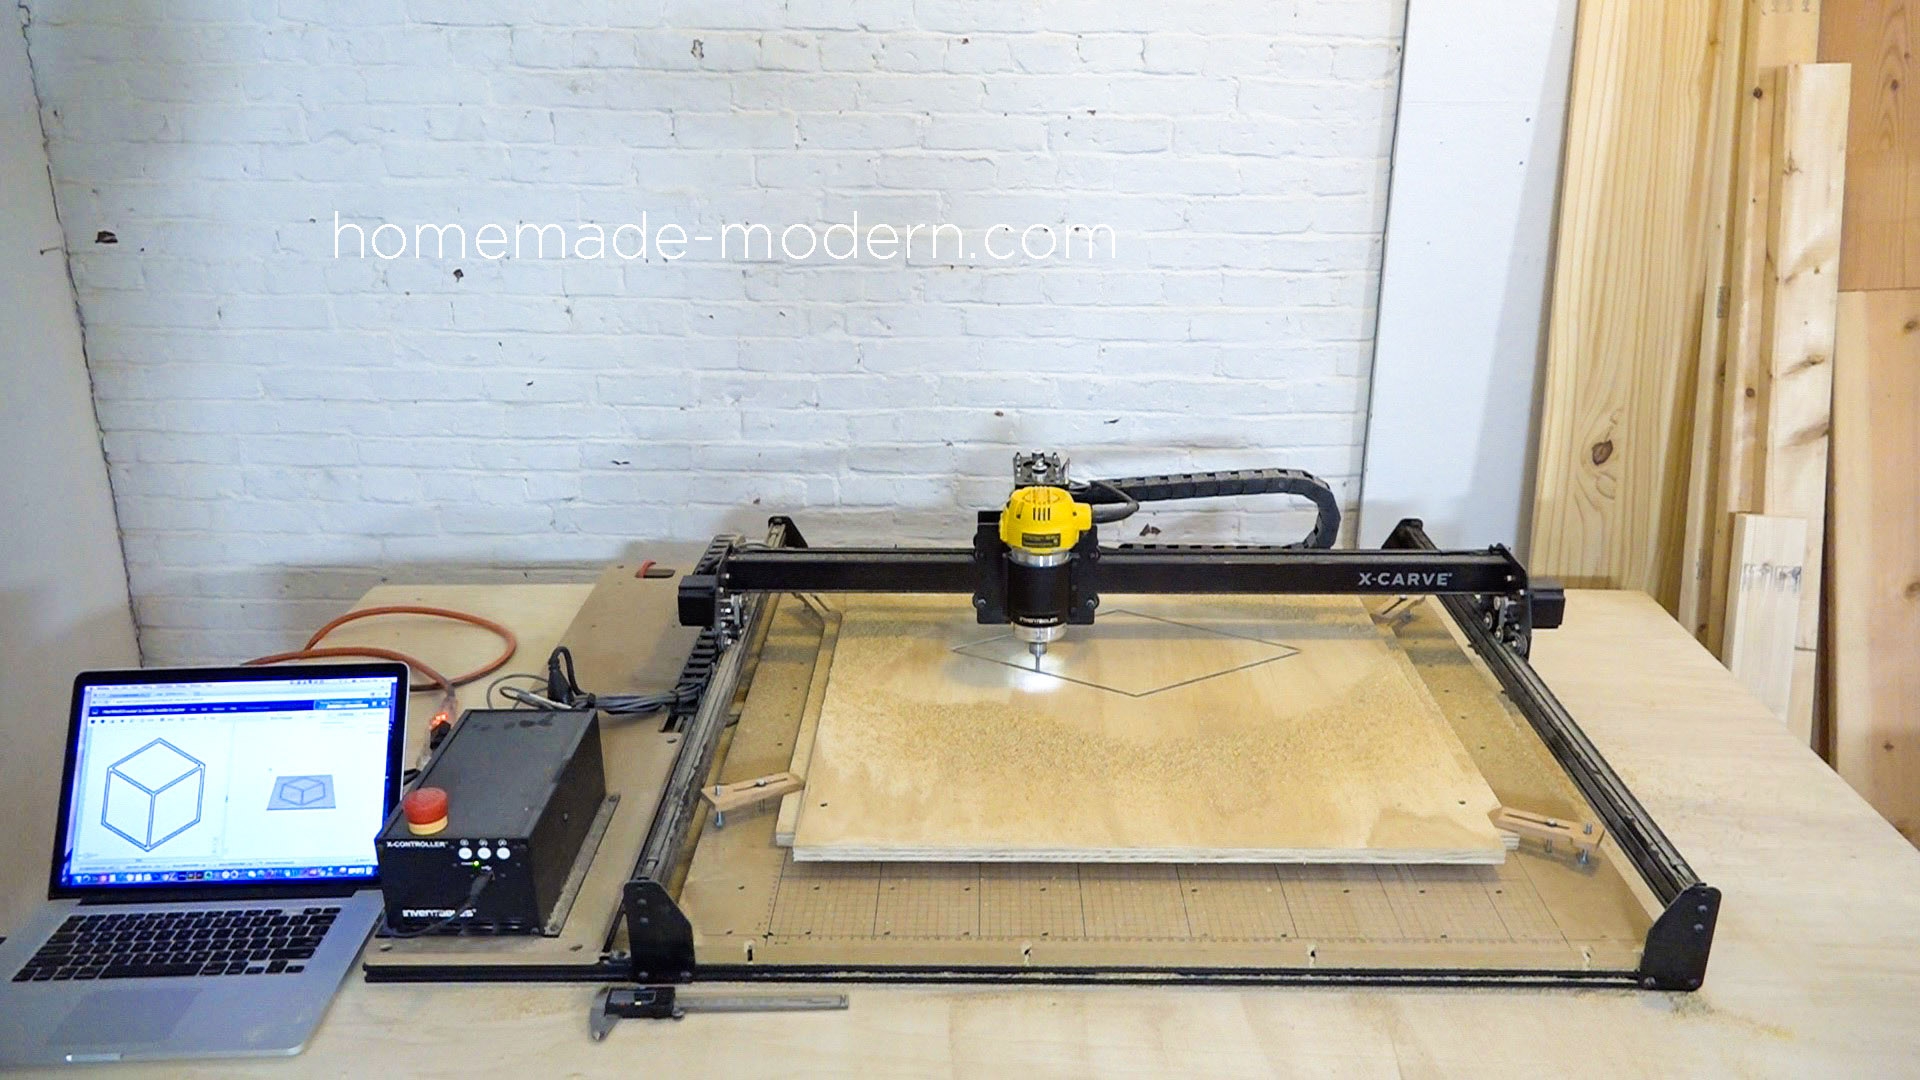
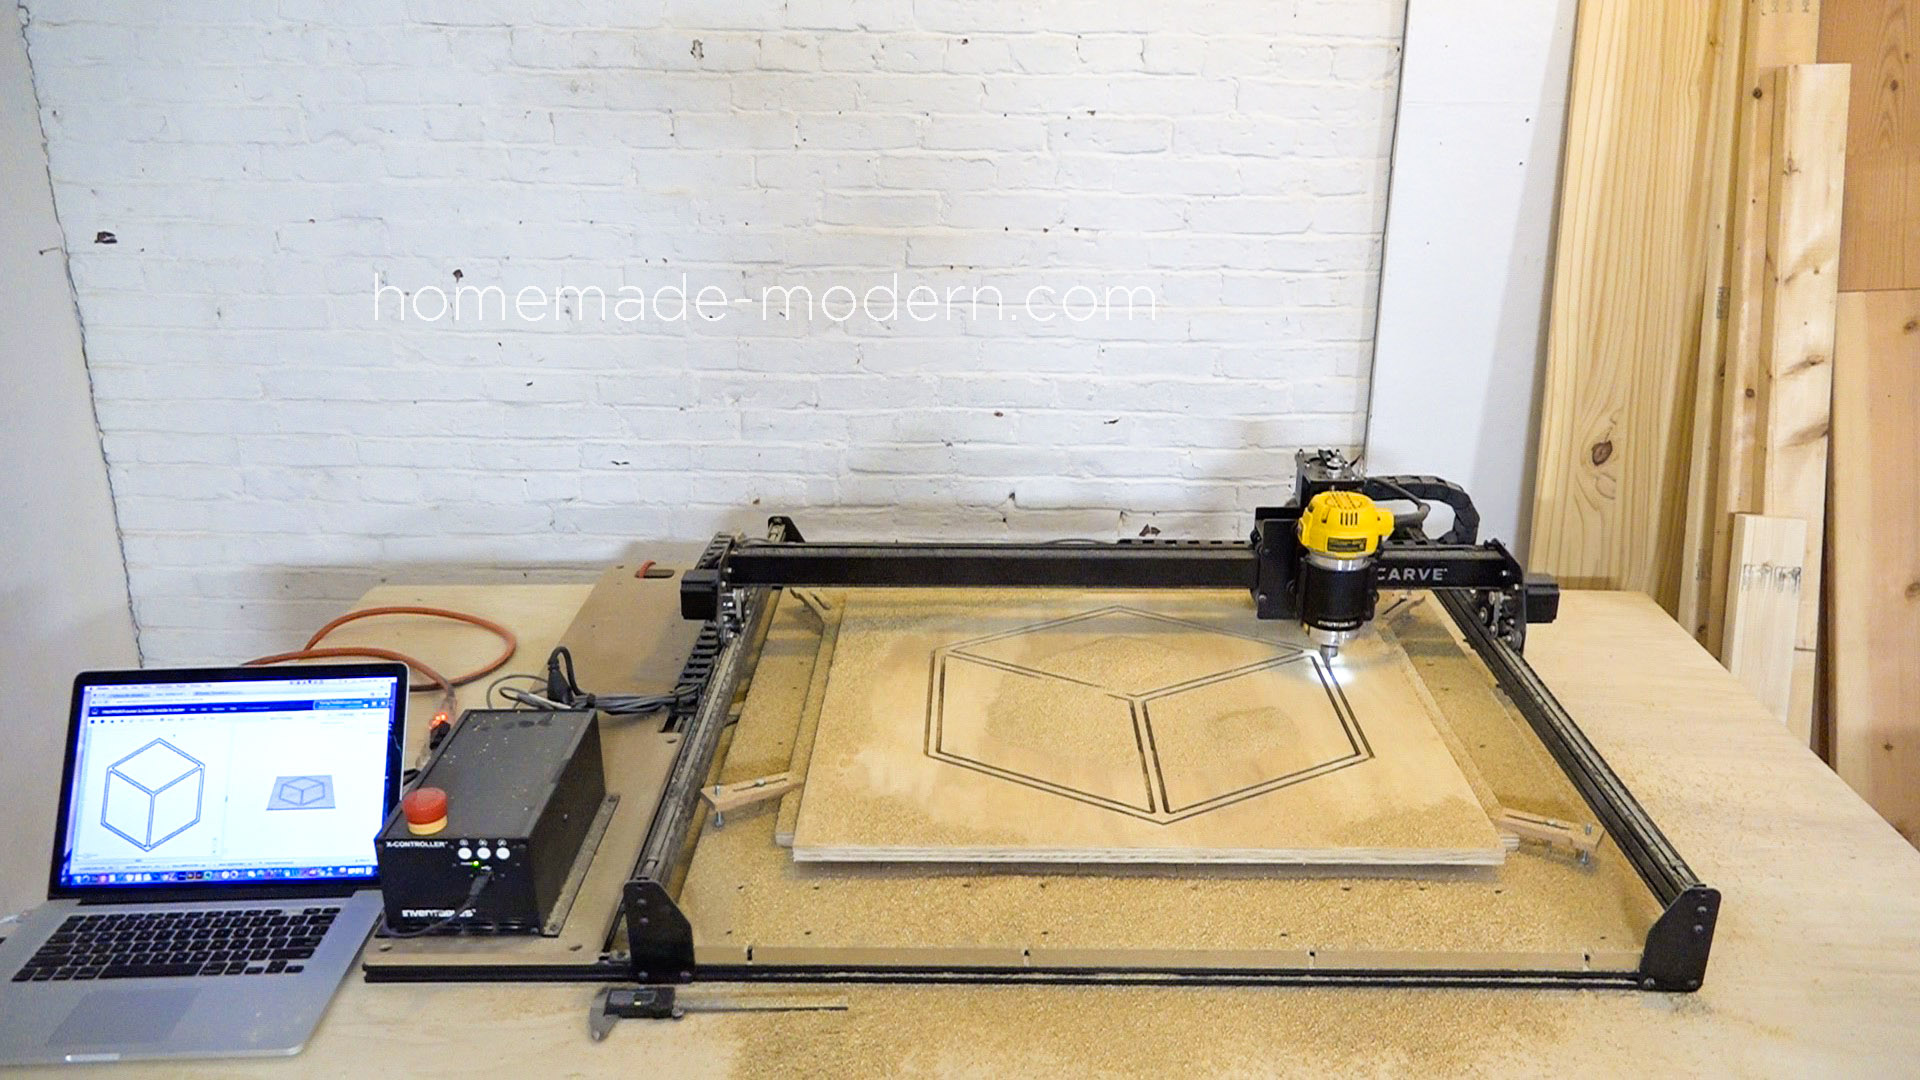
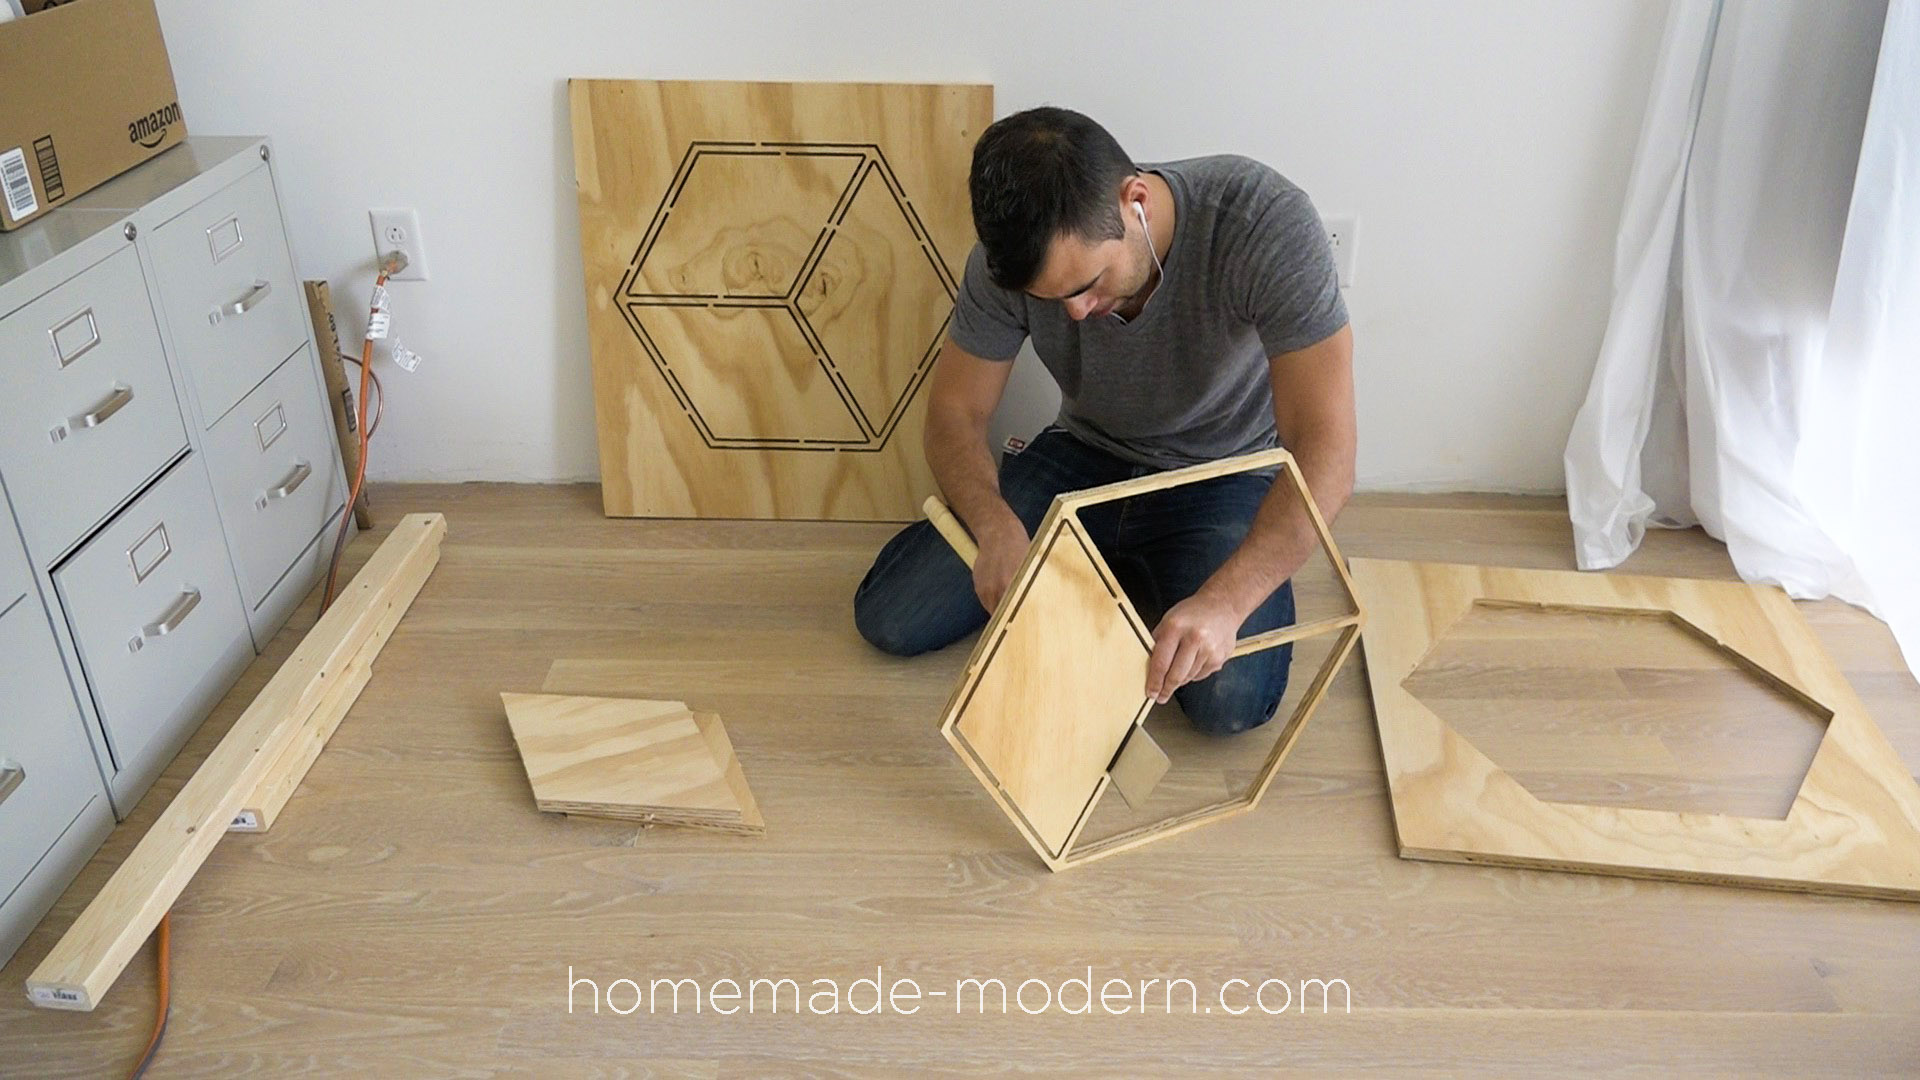
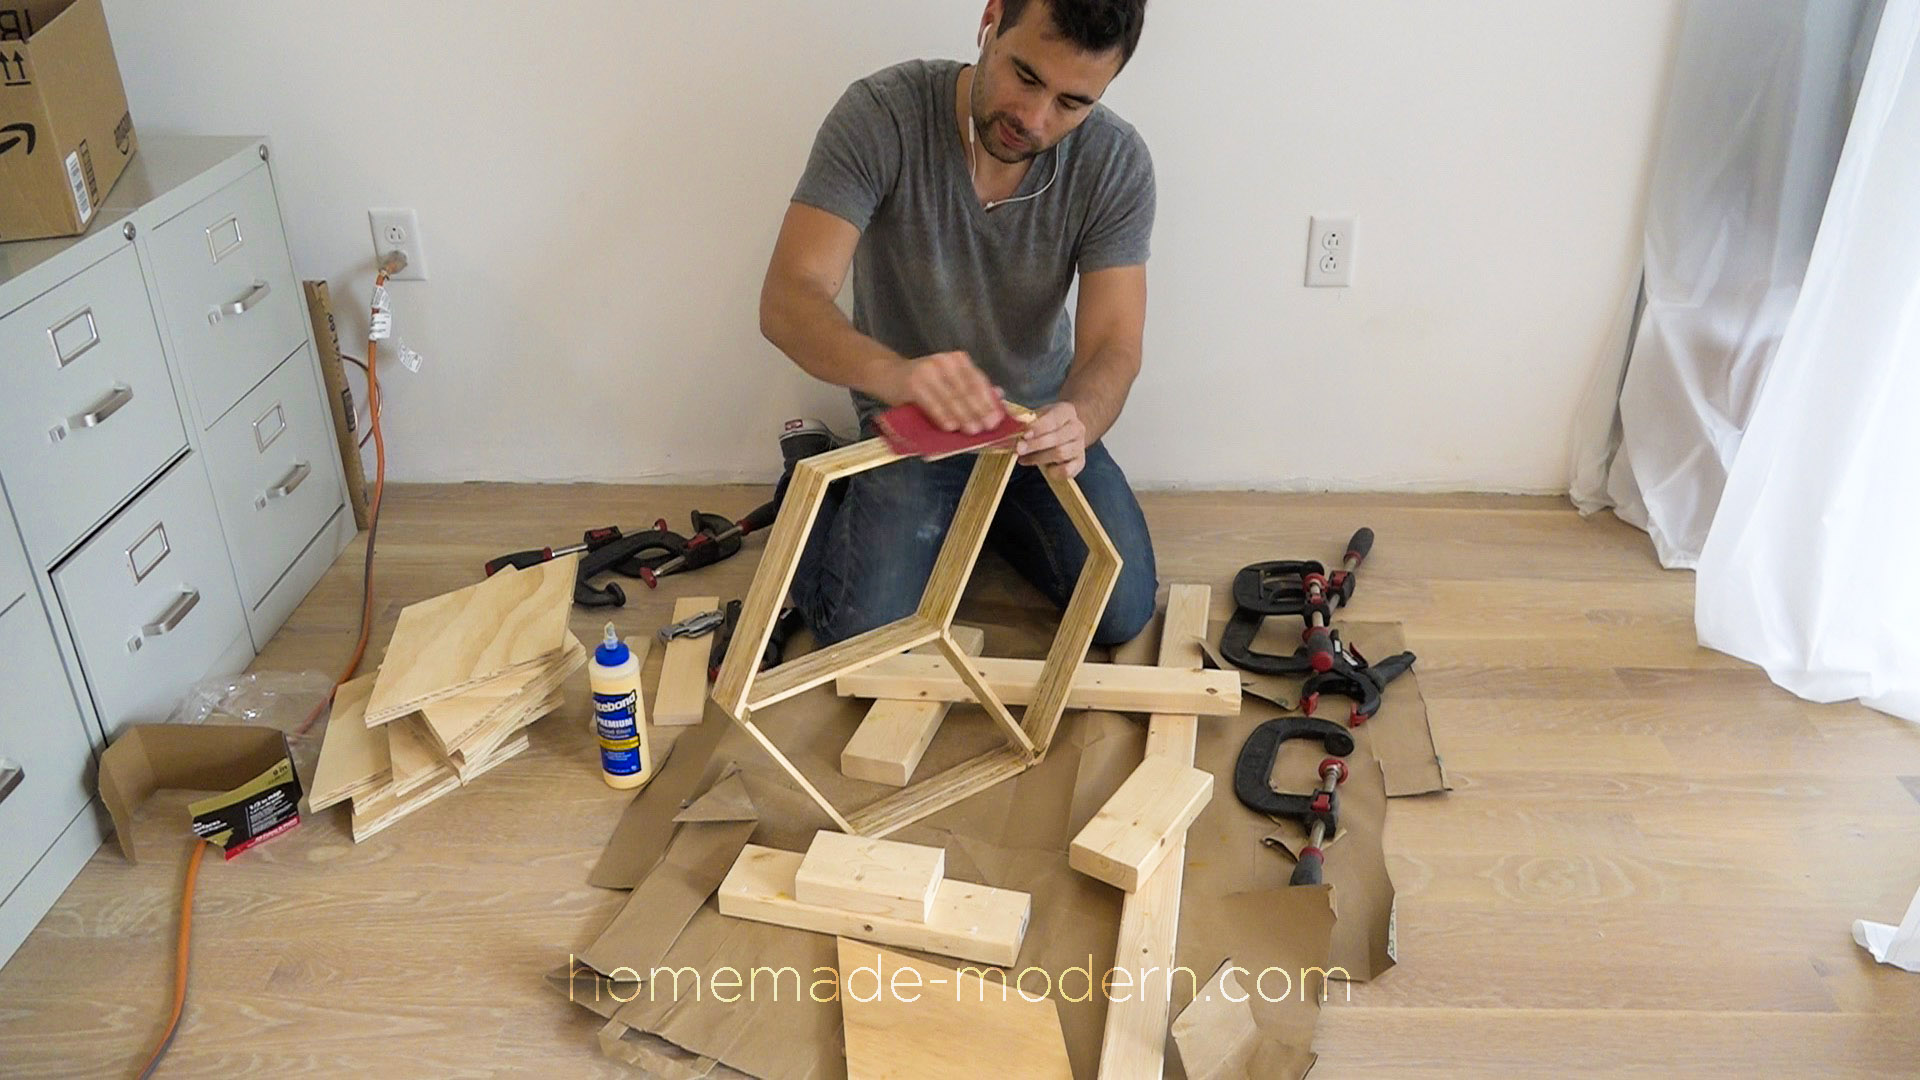
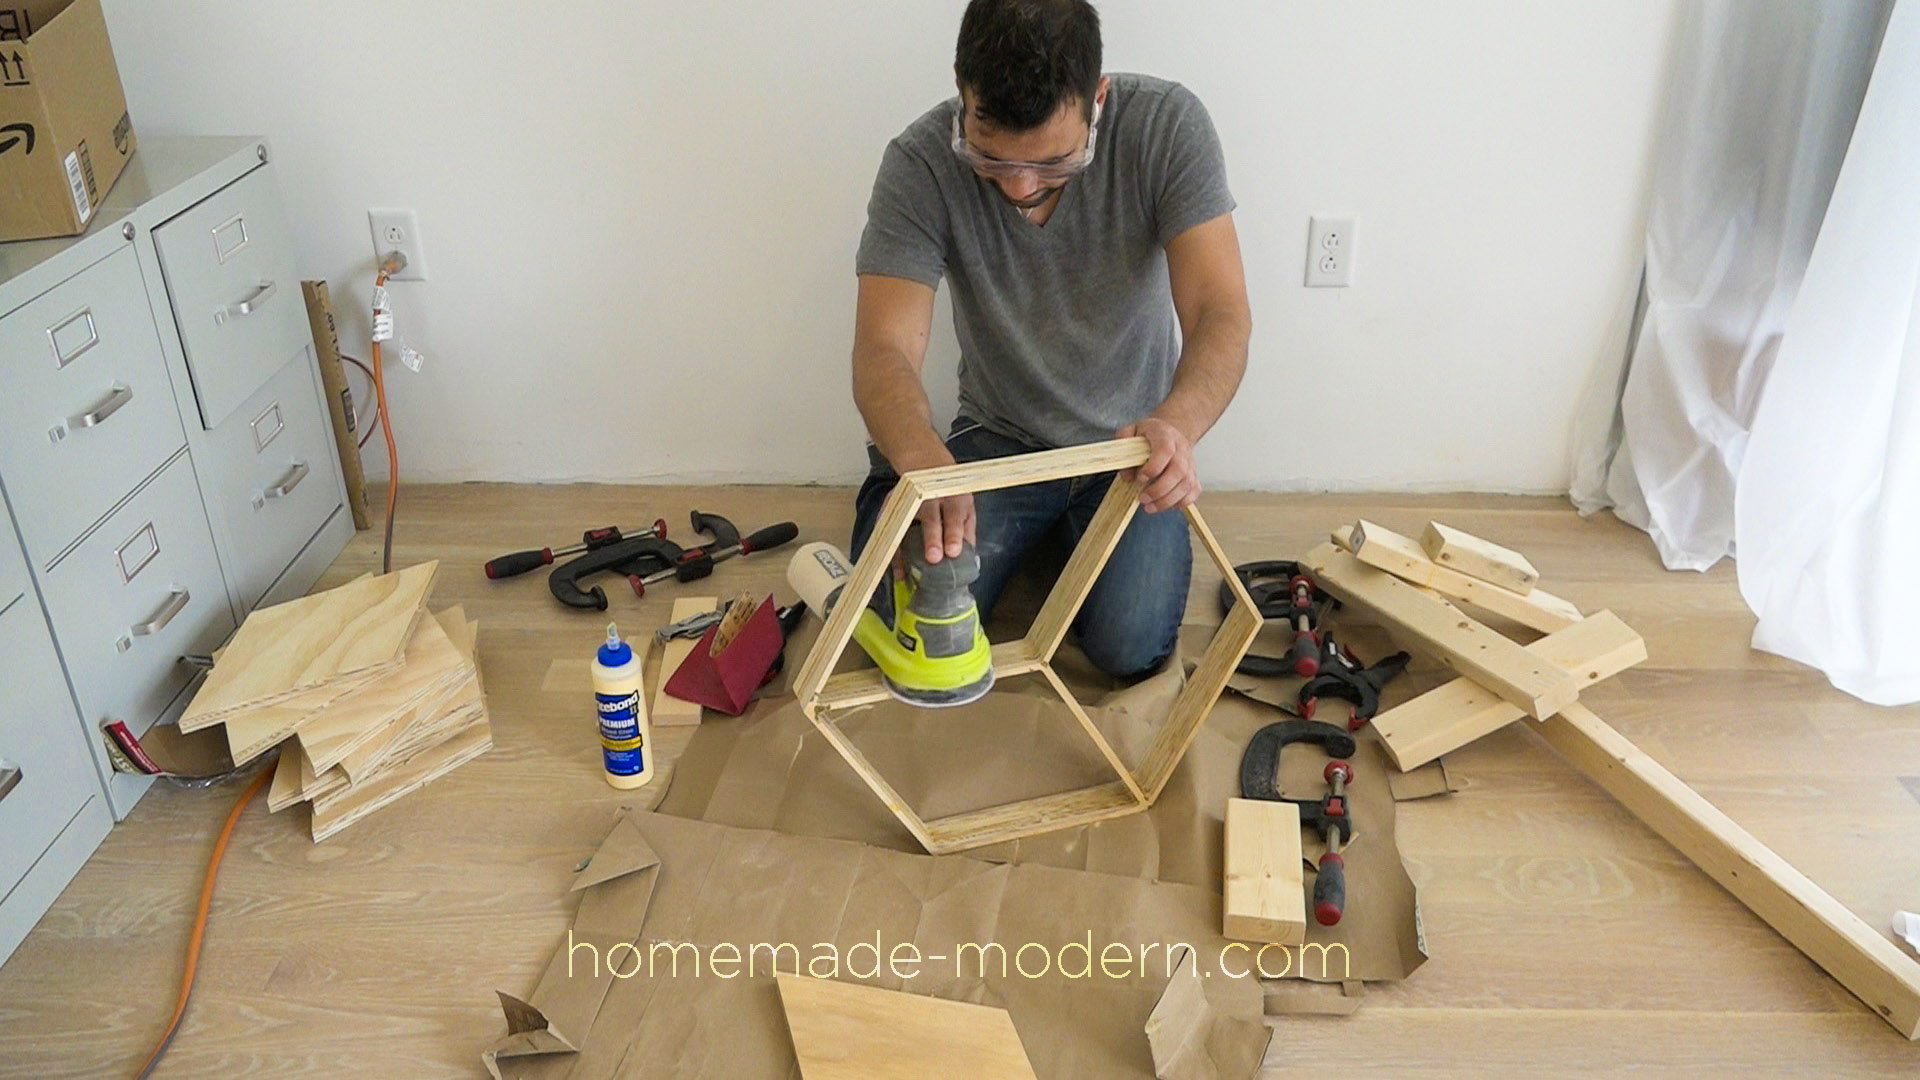
I used my X-carve CNC machine by Inventables to cut out the pieces for the mold out of ¾” furniture grade plywood that I bought from Home Depot. The CNC machine leaves small tabs between the pieces so that the pieces don’t move when being cut. I used a handsaw to cut these small tabs and then used sand paper to smooth down the cut edges.
![]() STEP 3: Glue the Pieces Together
STEP 3: Glue the Pieces Together
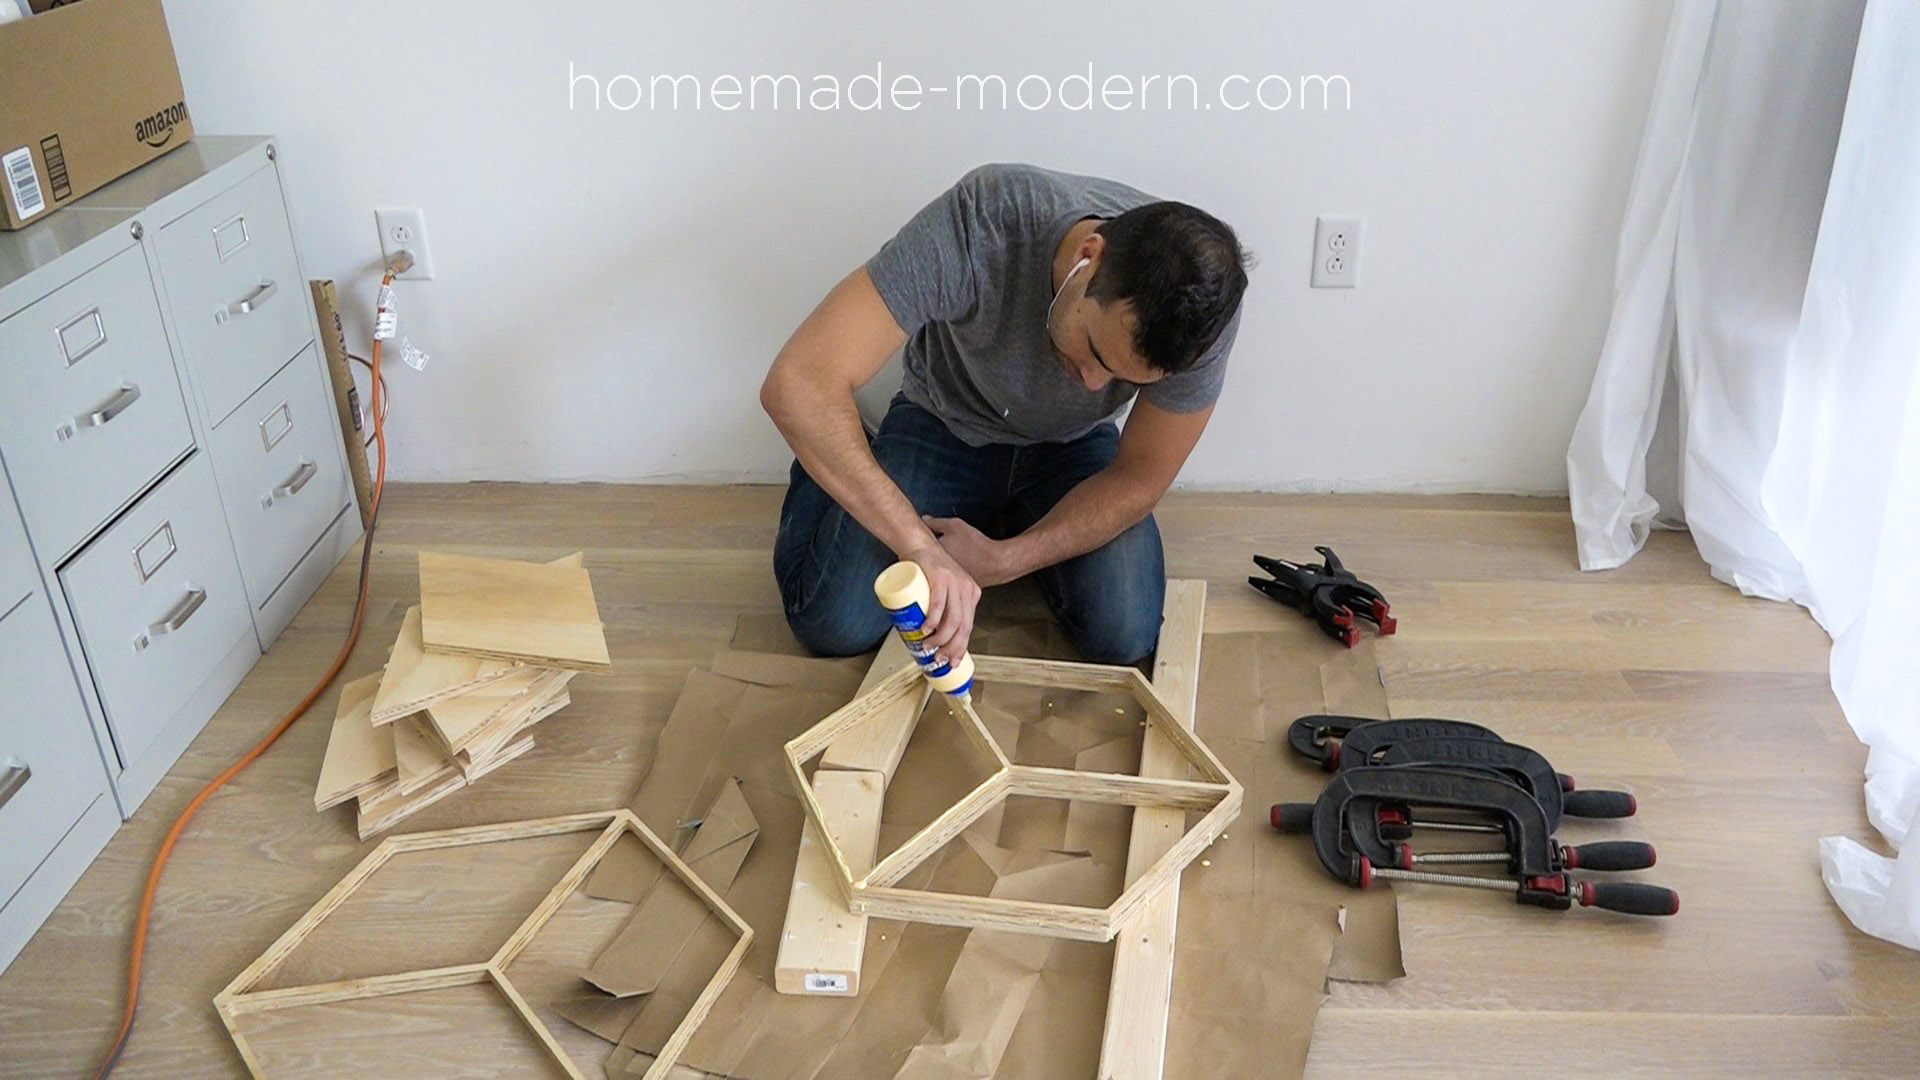
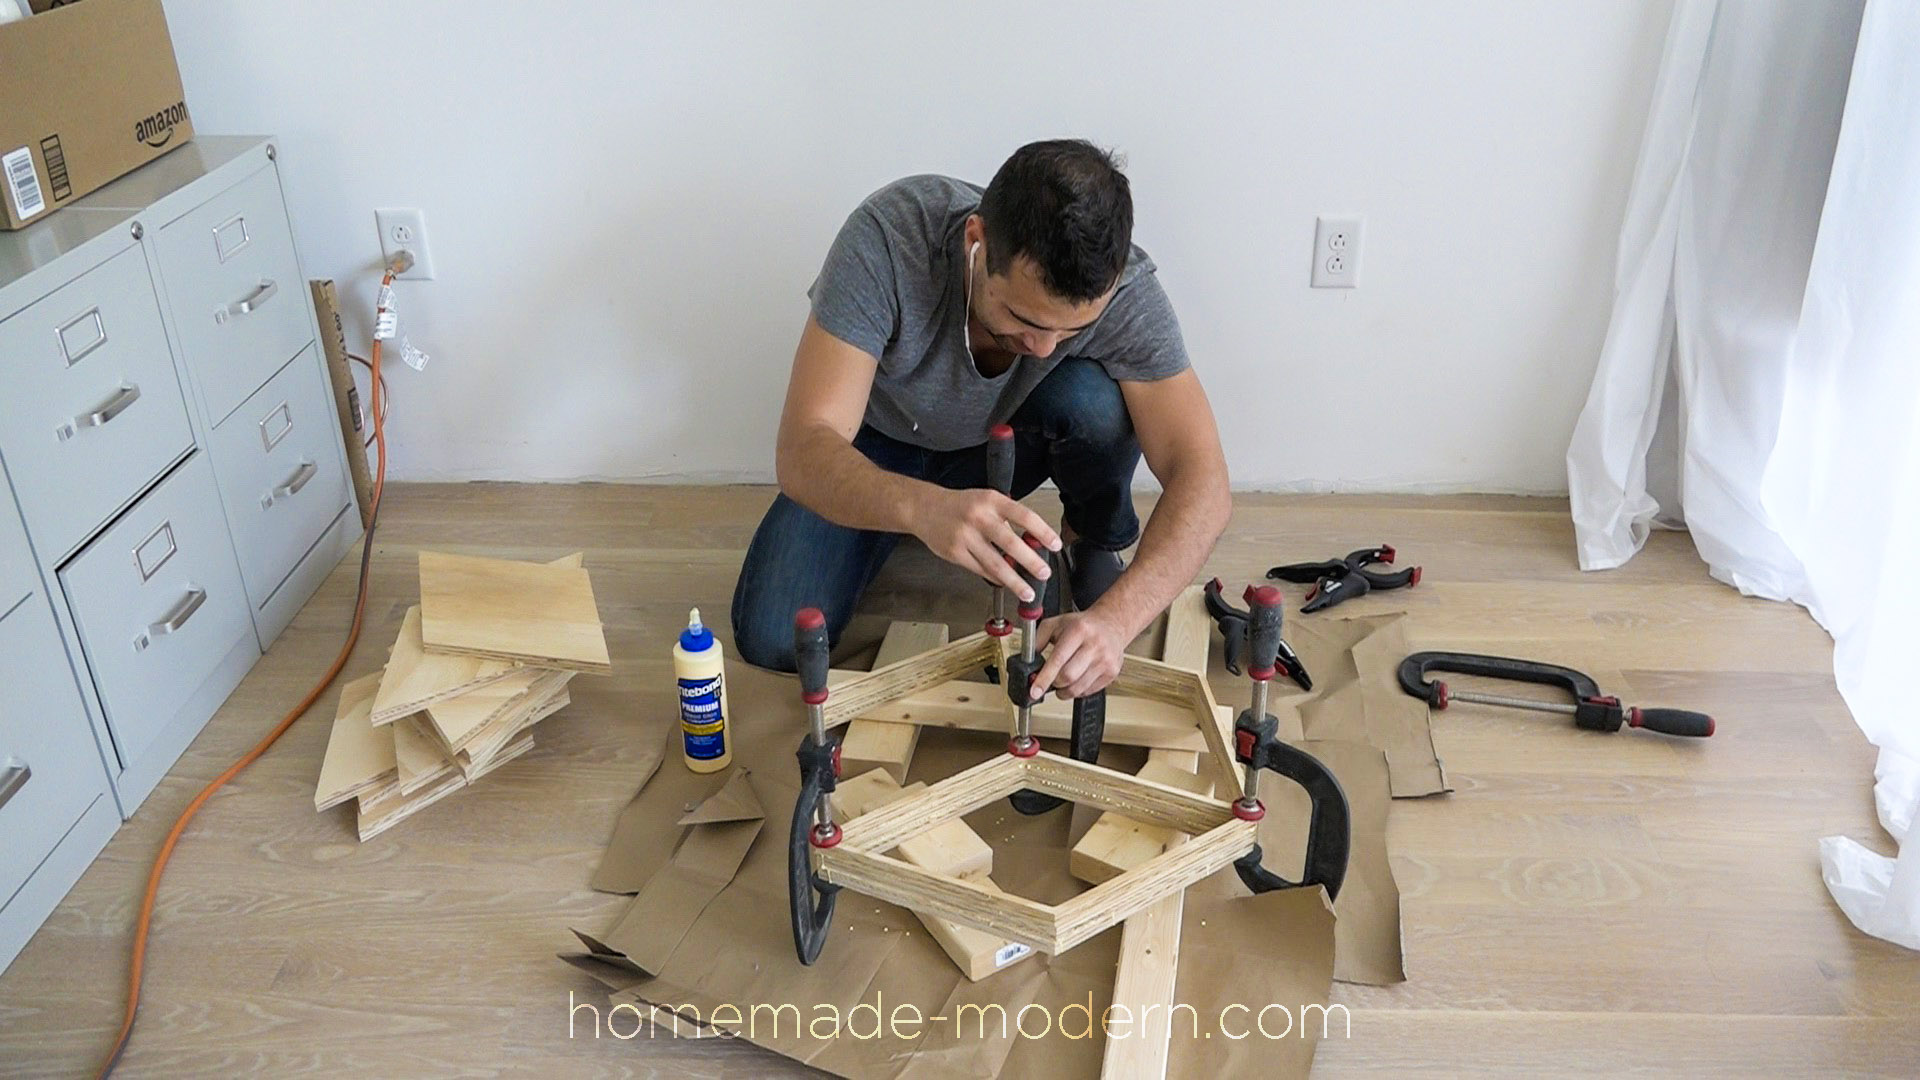
I used wood glue to glue the pieces of plywood together and clamped them in place while the glue cured. I started with just a few pieces at a time and then glued those pieces together. This way it is easier to keep the pieces aligned.
![]() STEP 4: Sand and Seal the Mold
STEP 4: Sand and Seal the Mold
I used wood glue to glue the pieces of plywood together and clamped them in place while the glue cured. I started with just two pieces at a time and then glued the 3rd after the first two dried. This way it is easier to keep the pieces aligned.
![]() STEP 5: Mix and Pour the Concrete
STEP 5: Mix and Pour the Concrete
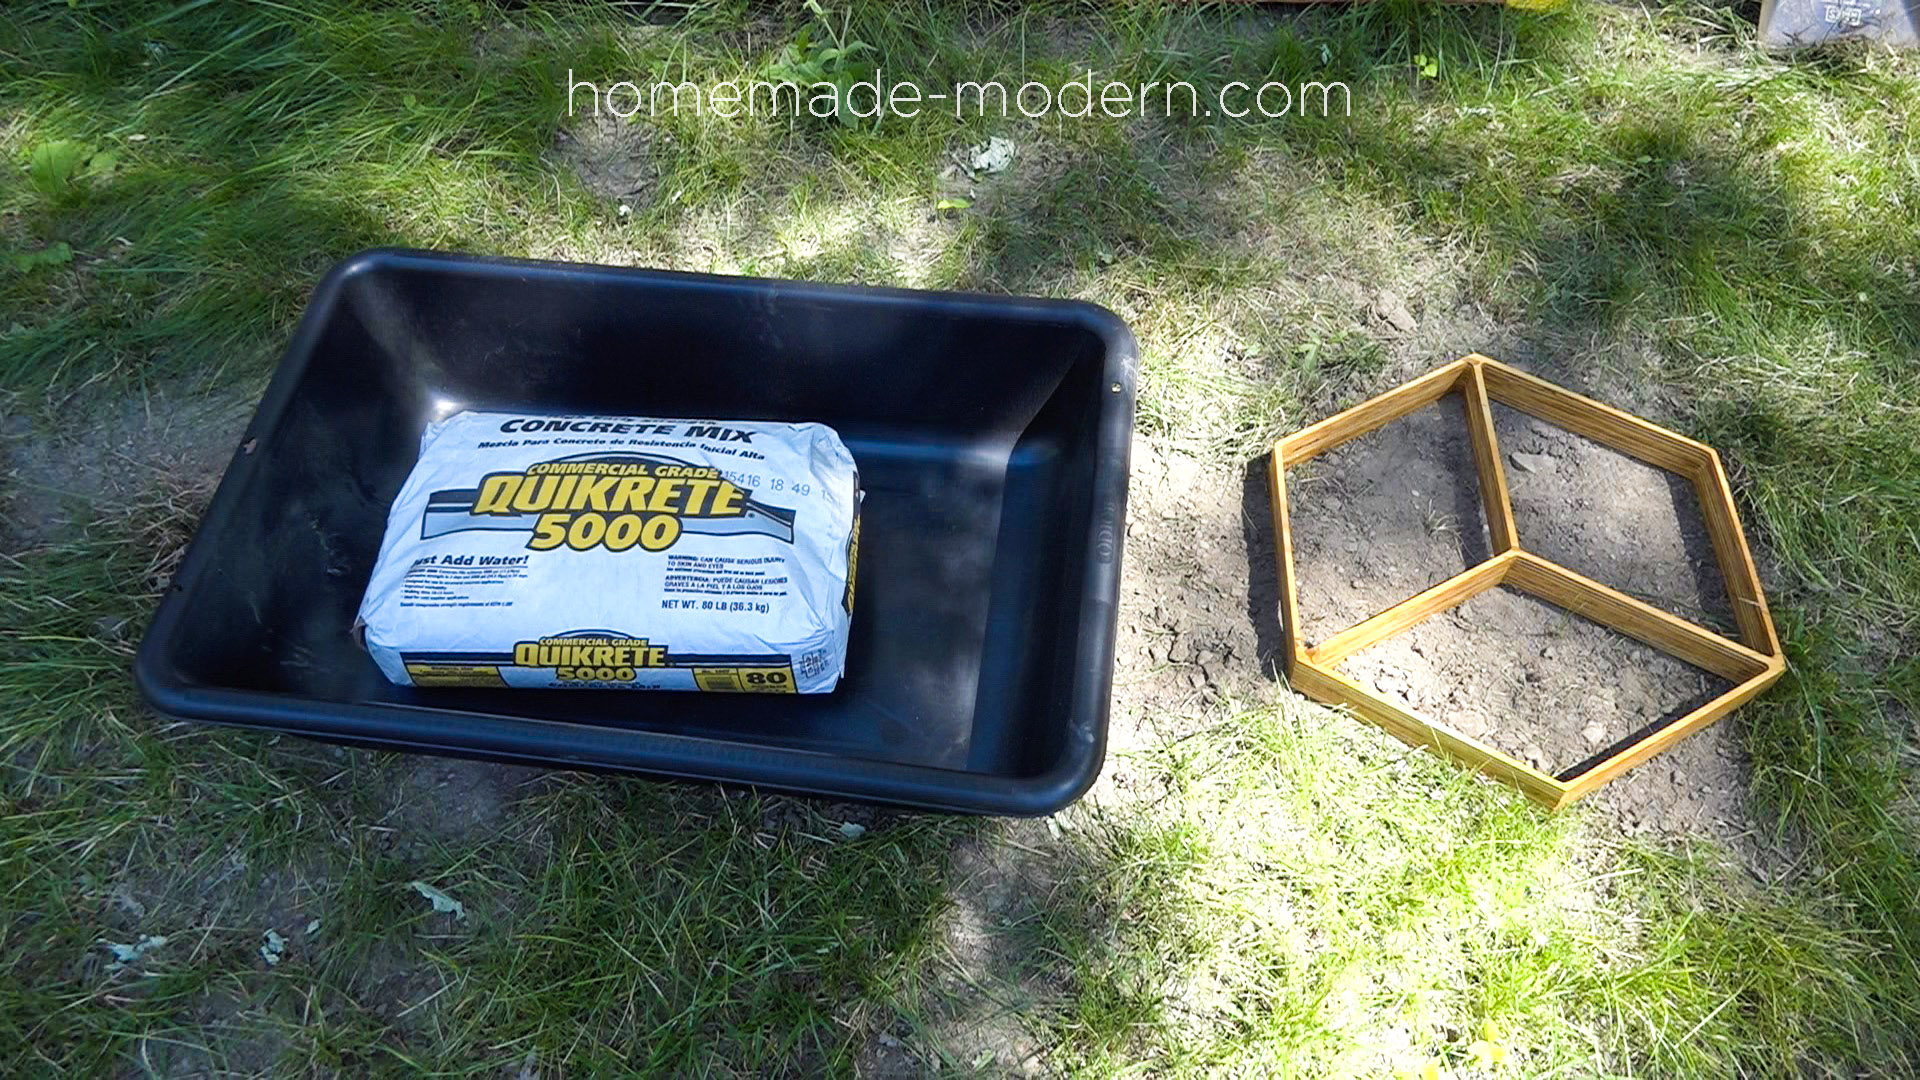
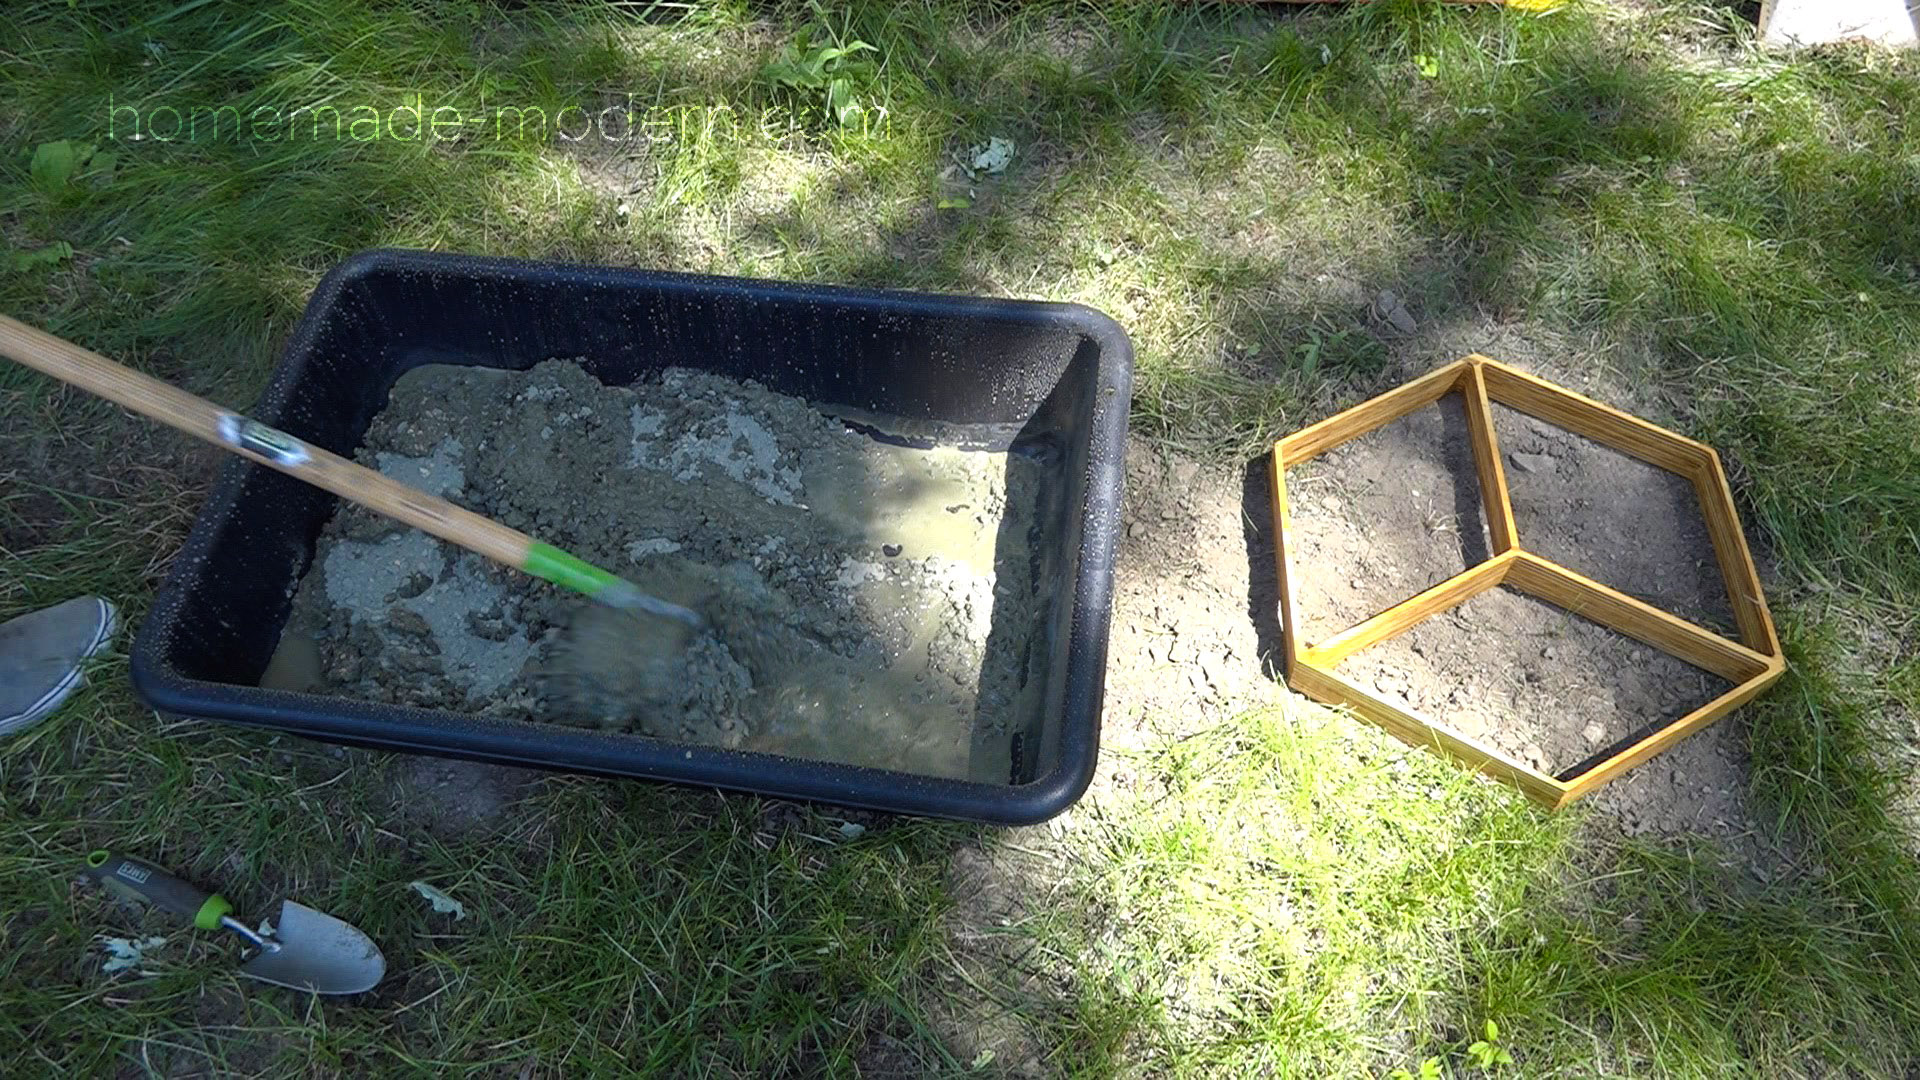
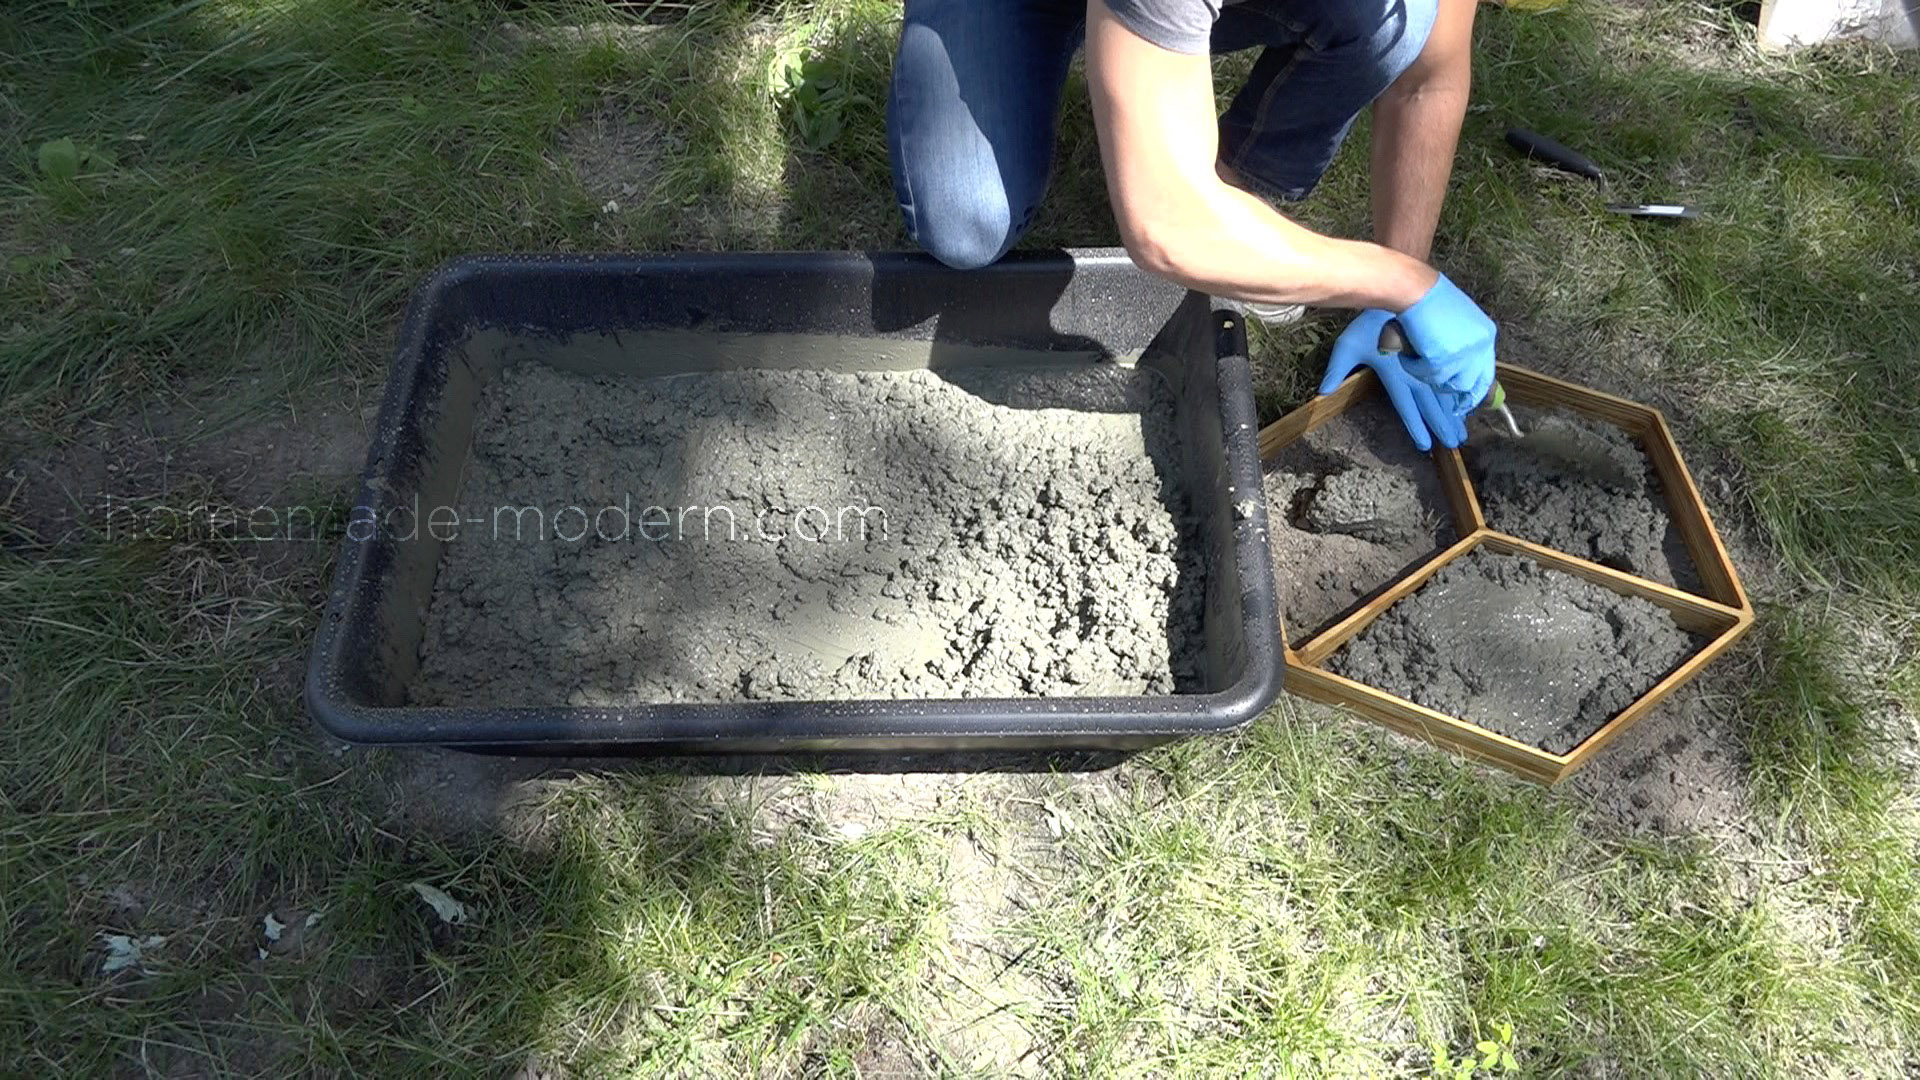
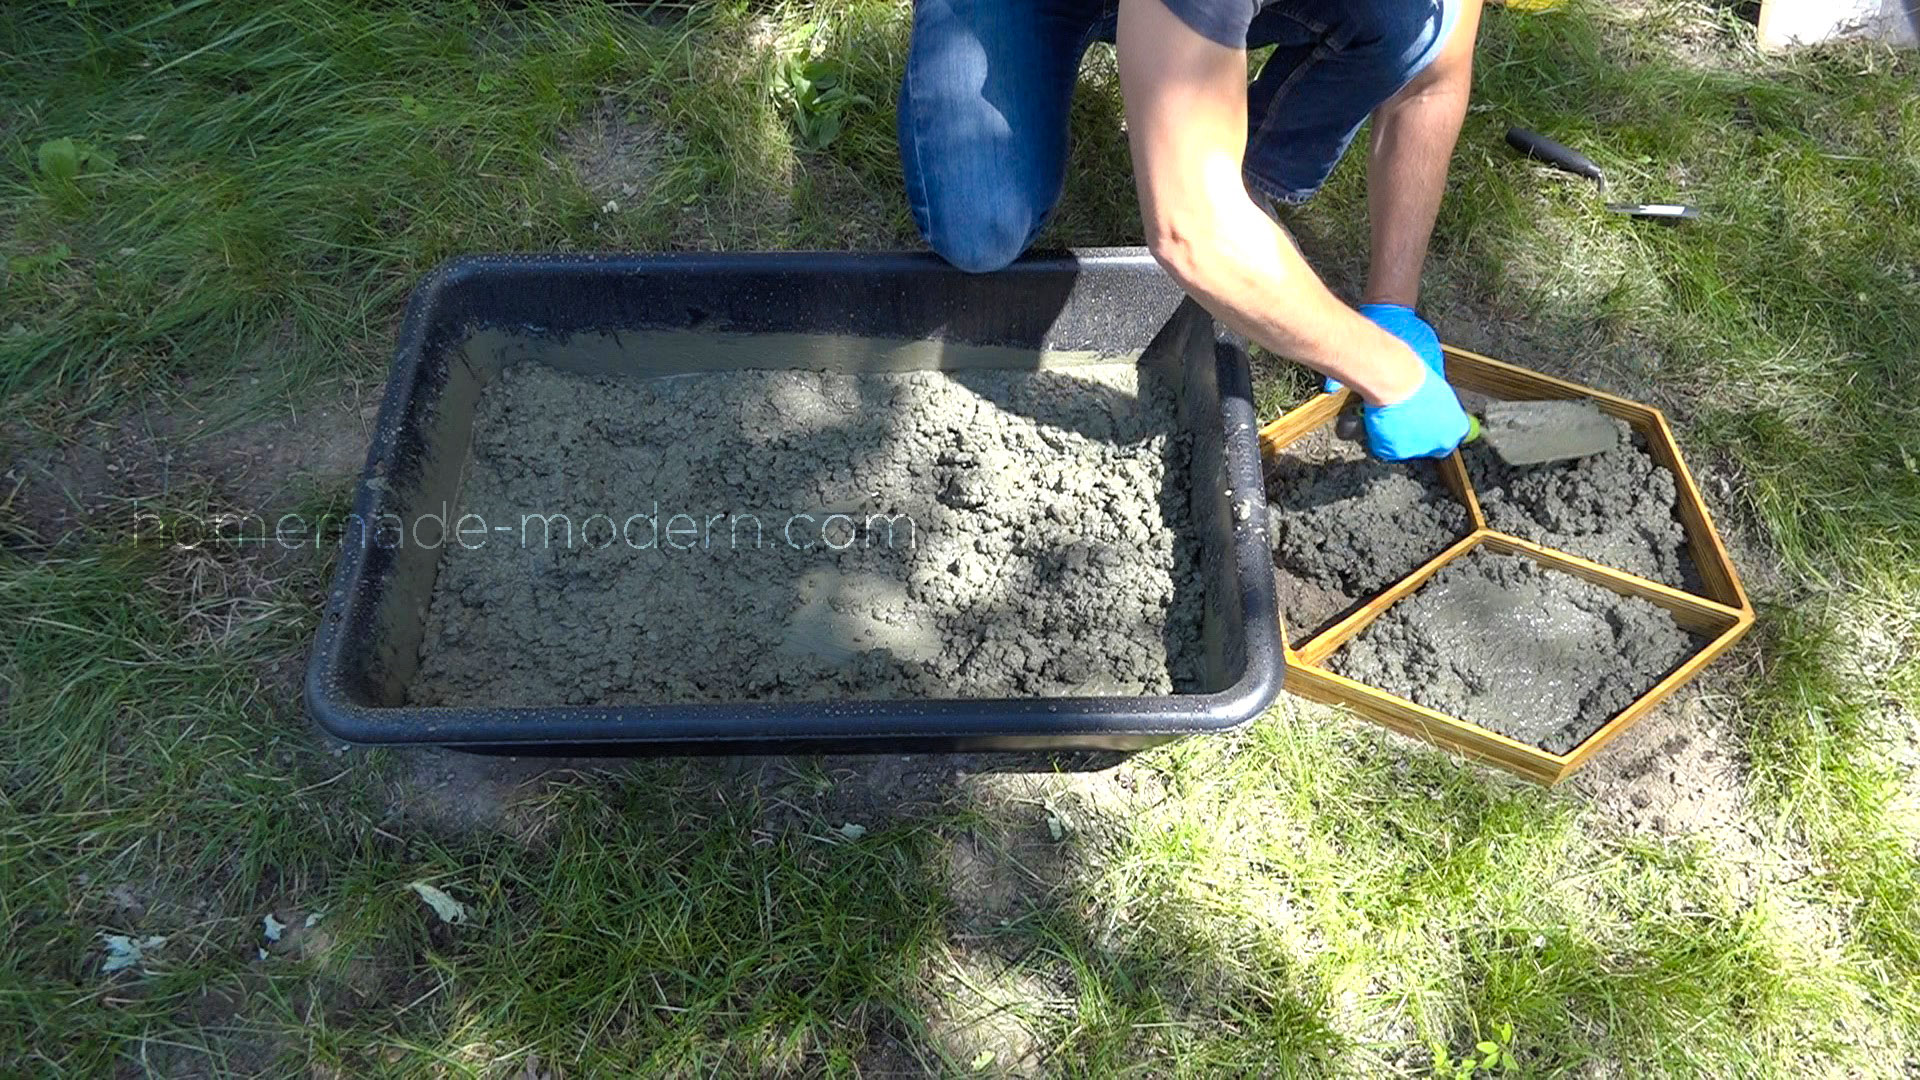
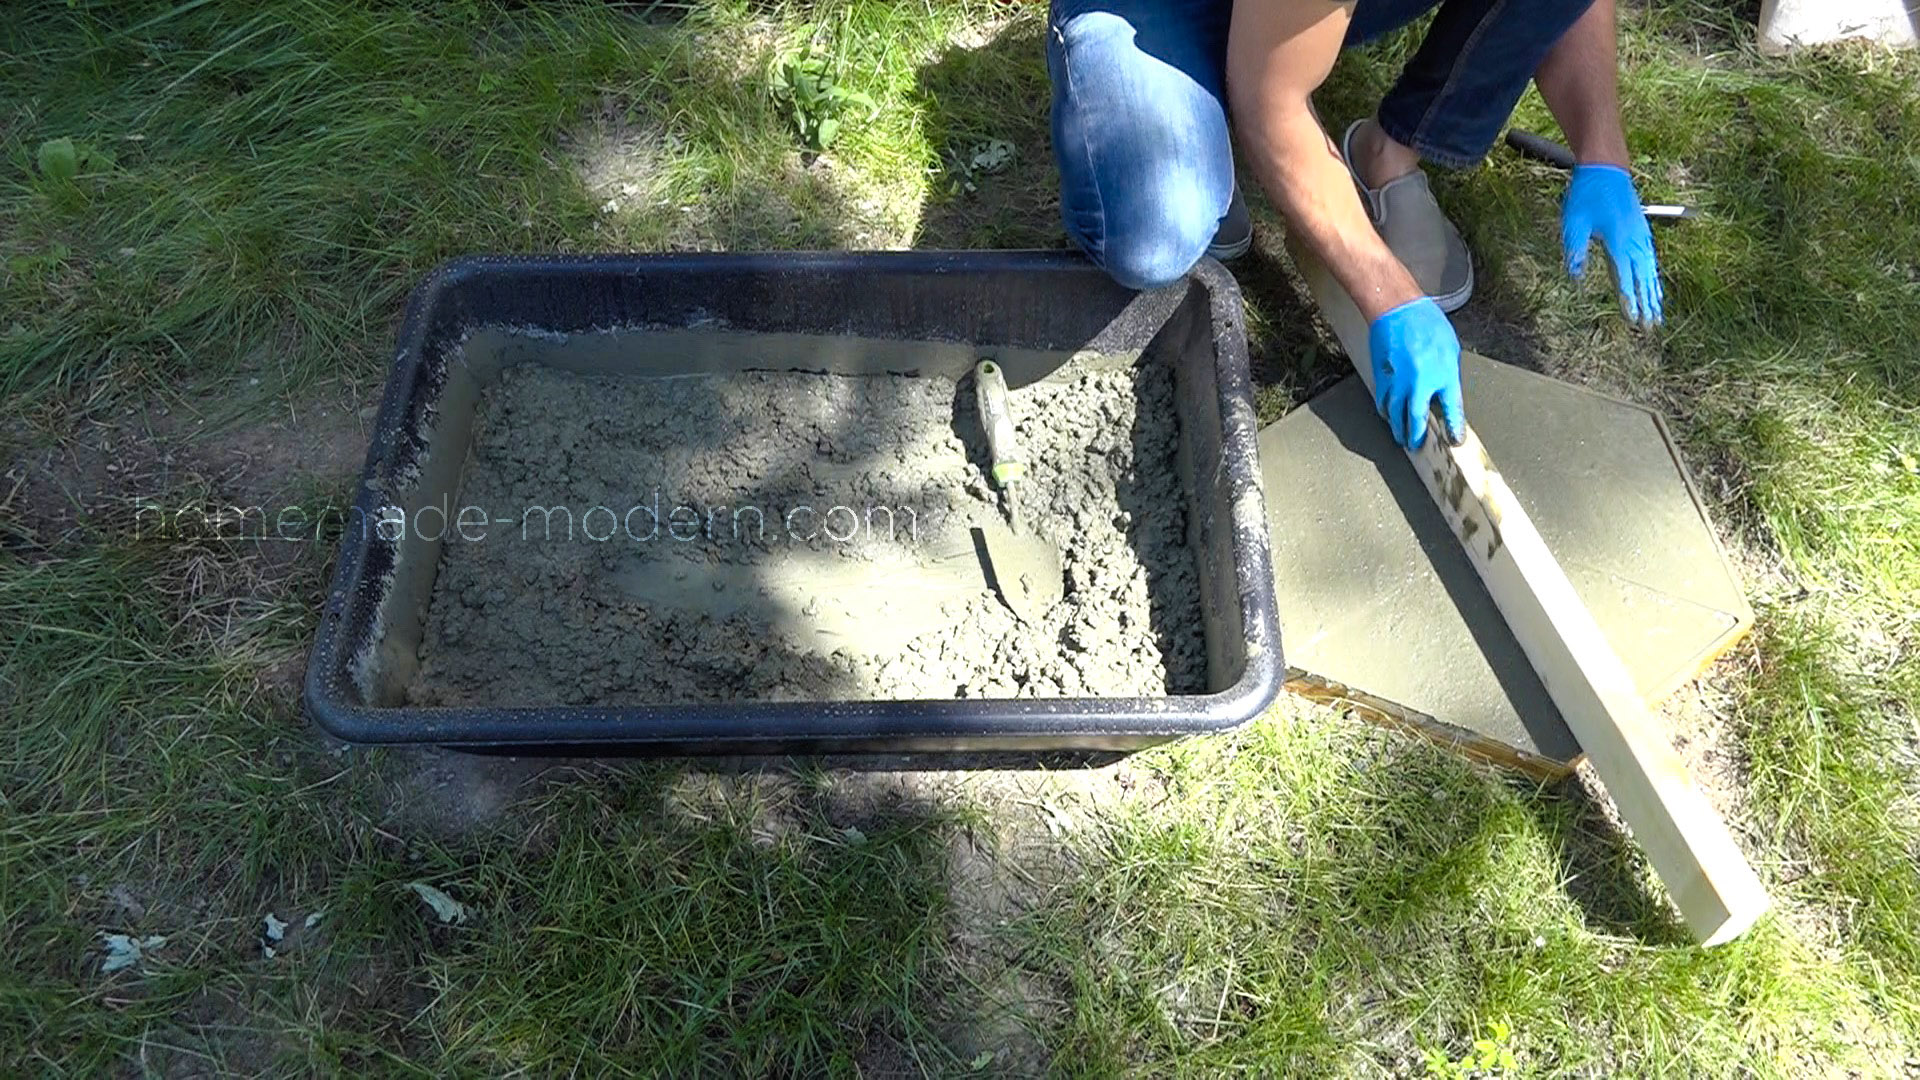
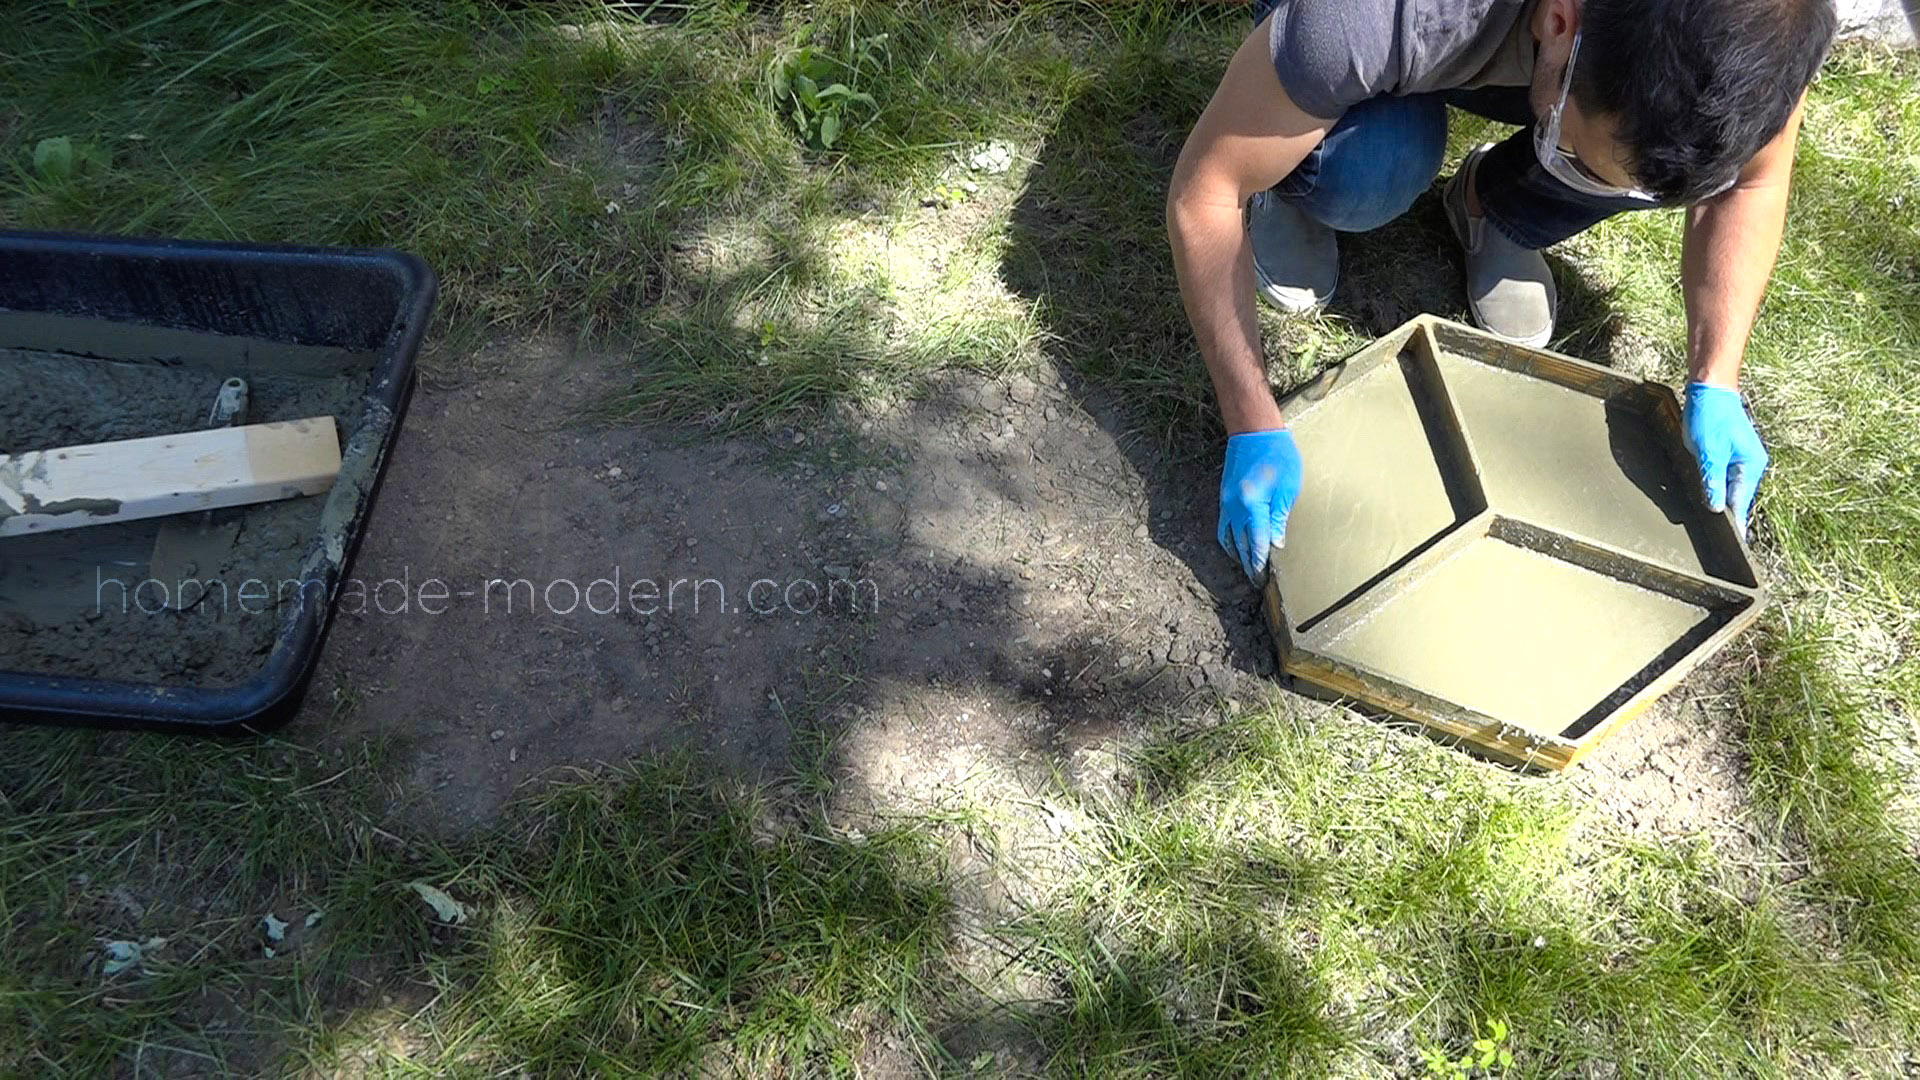
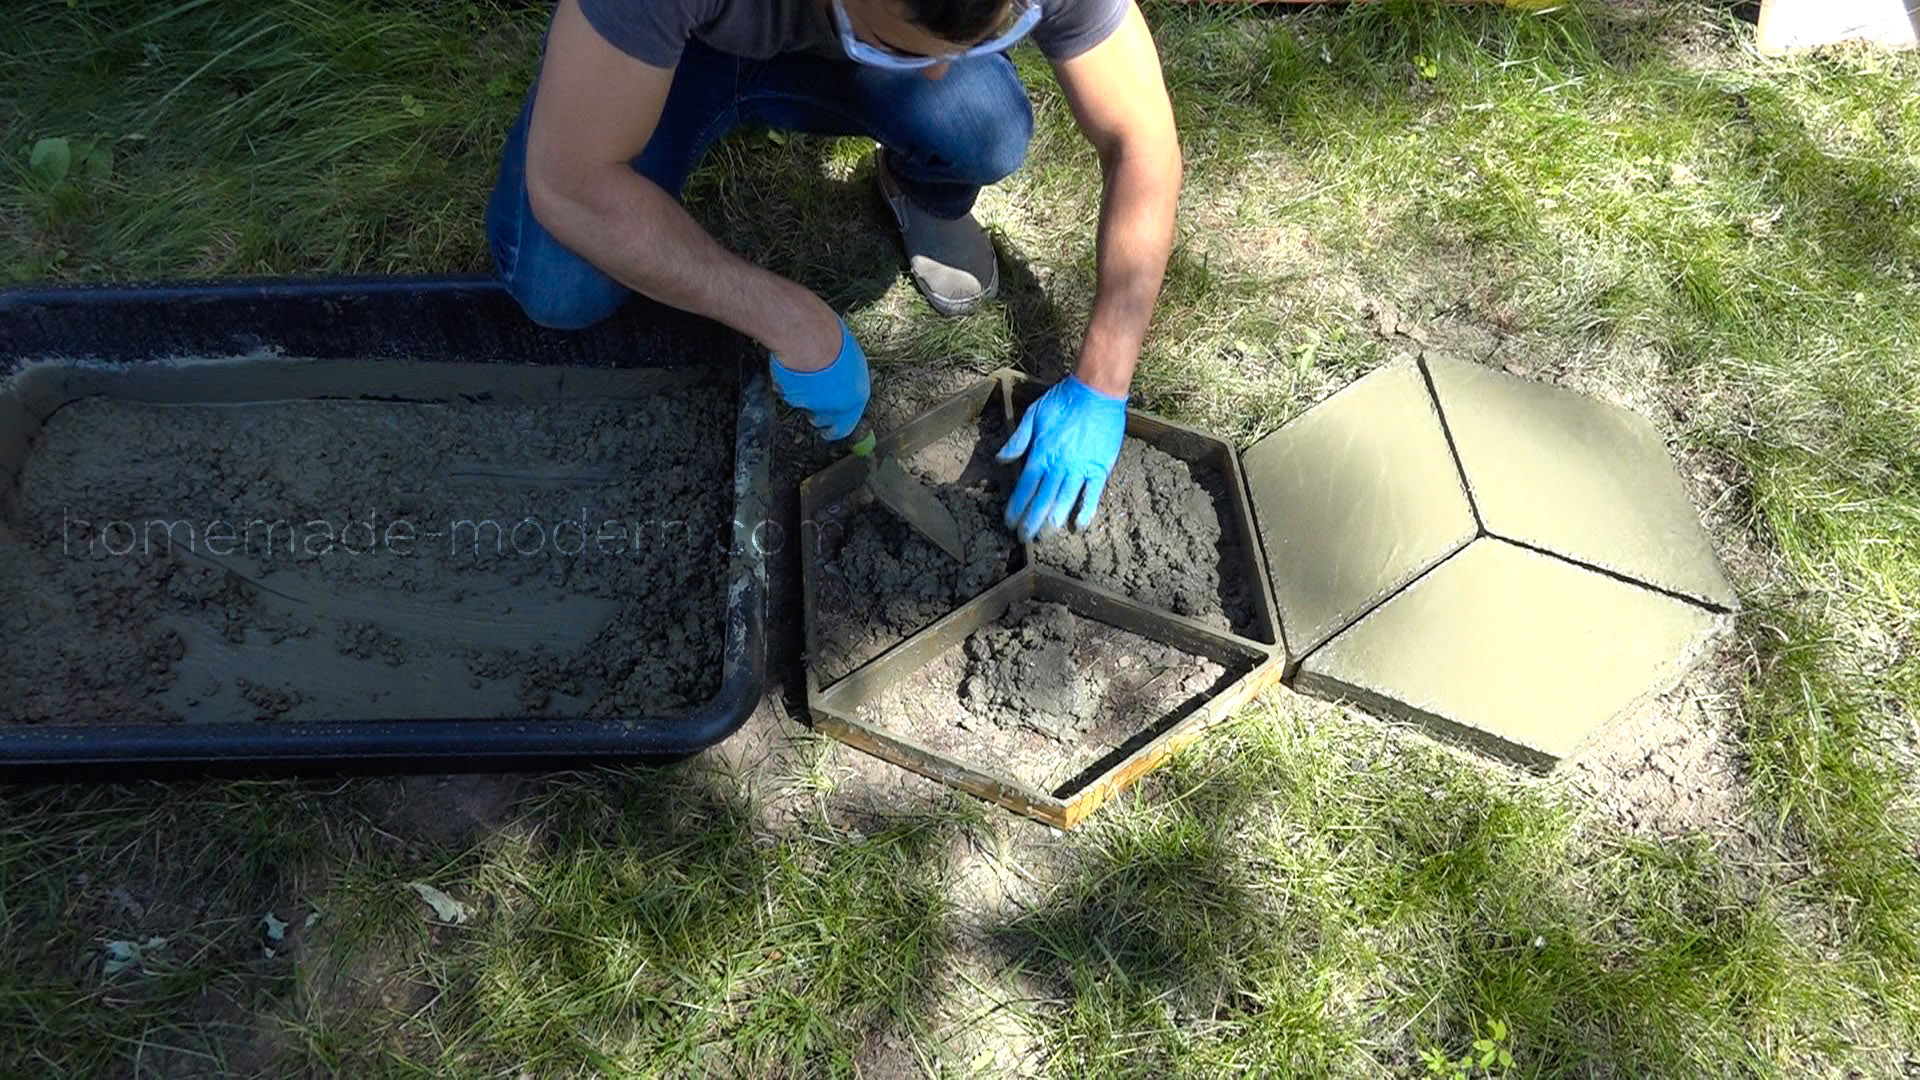
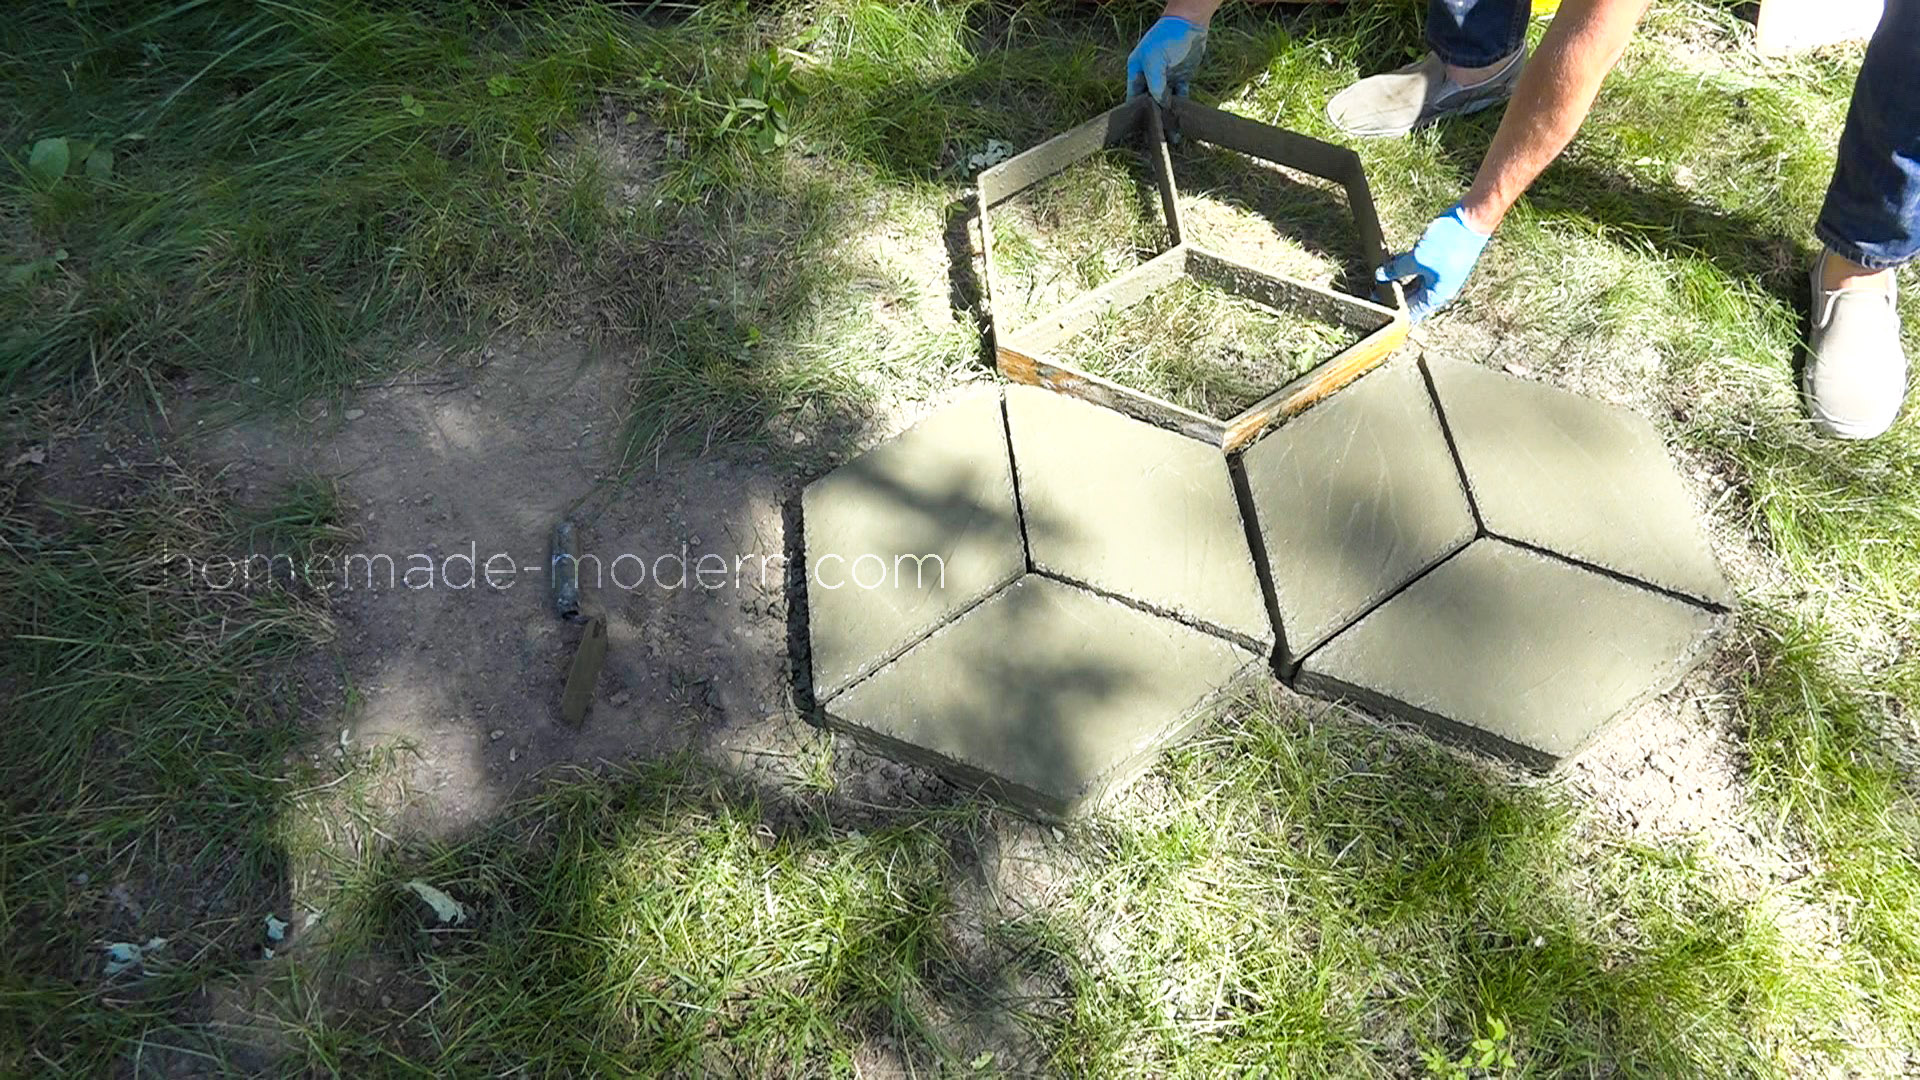
I placed the mold in the desired location and then mixed the Quikrete 5000 in a mixing tray. I then shoveled the wet concrete into the mold and pushed it down into all the corners. I used a scrap piece of 2x4 to screed the top of the form. I wiggled the form and slowly pulled it away from the wet concrete. Properly mixed concrete will hold its form even when wet. I then placed the form and got ready to mix more concrete and make the next set of pavers.
![]() STEP 6: Smooth and Cure
STEP 6: Smooth and Cure
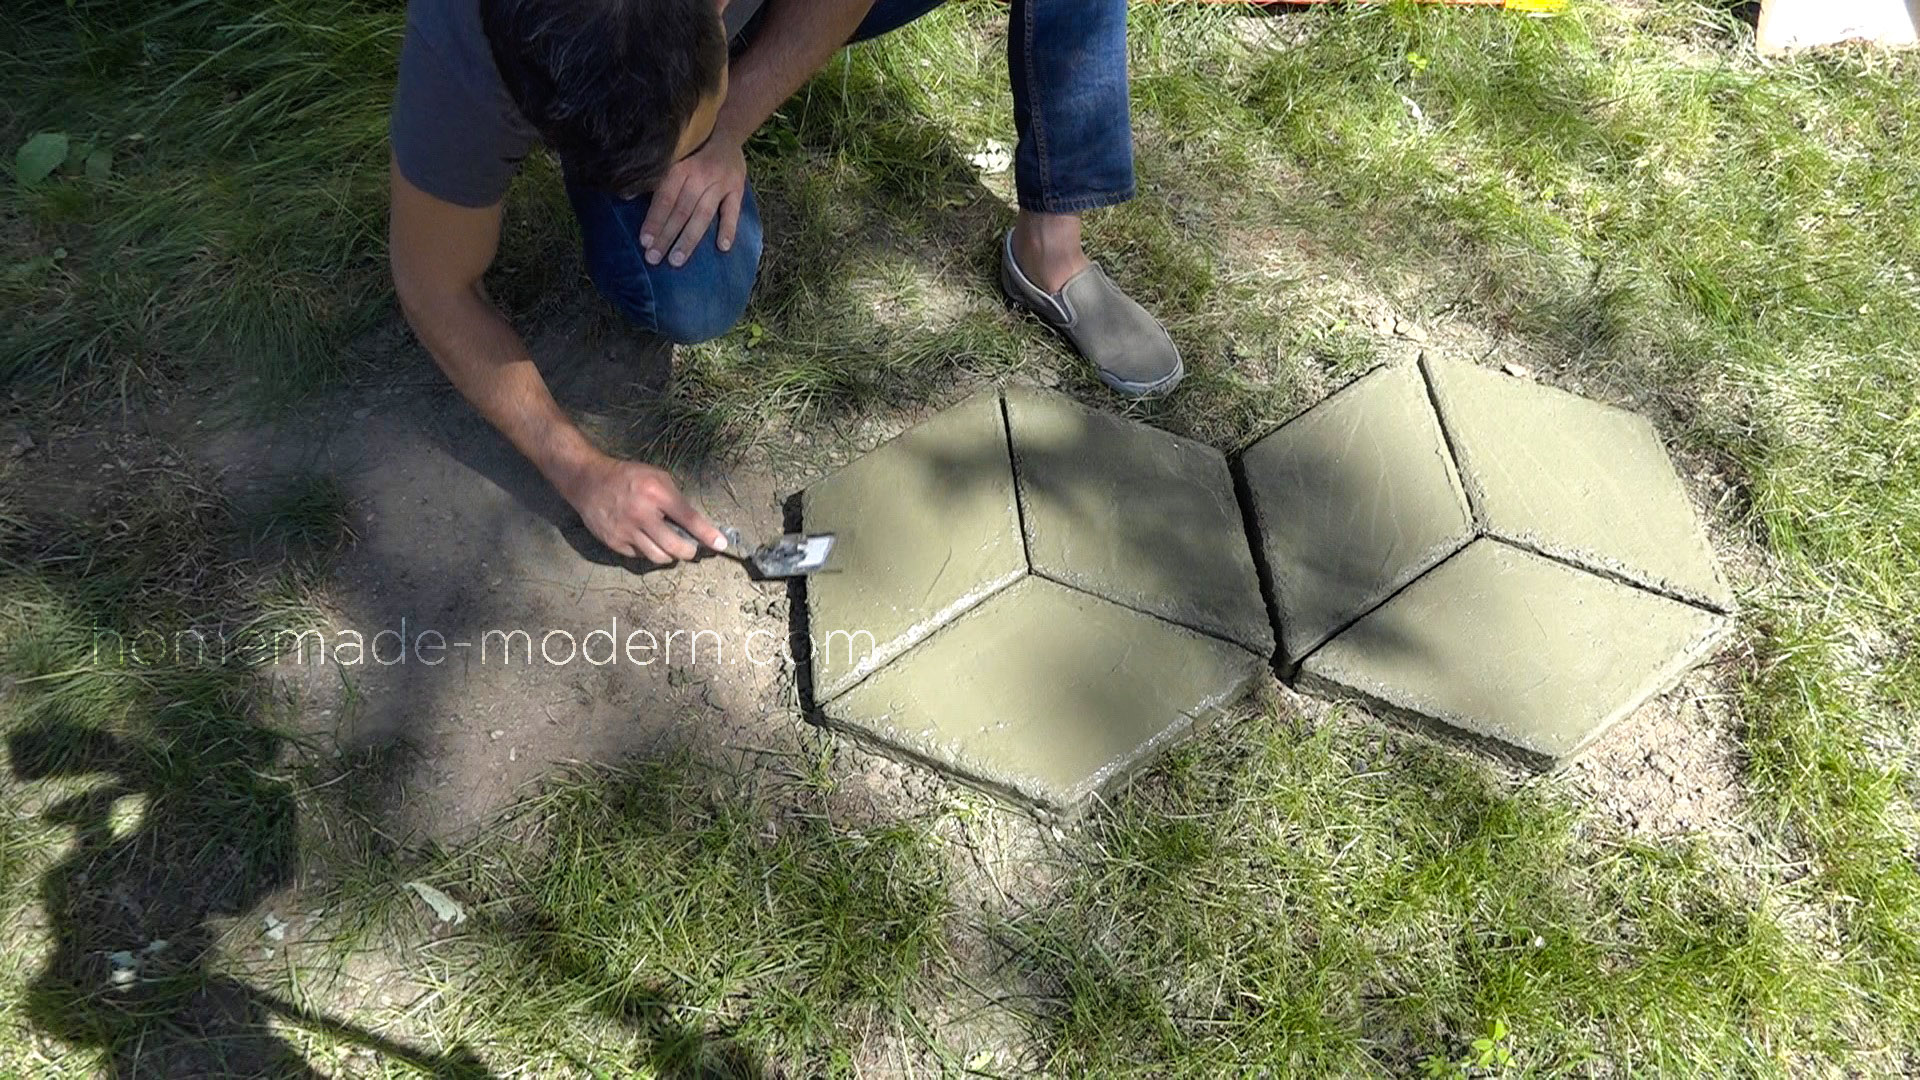
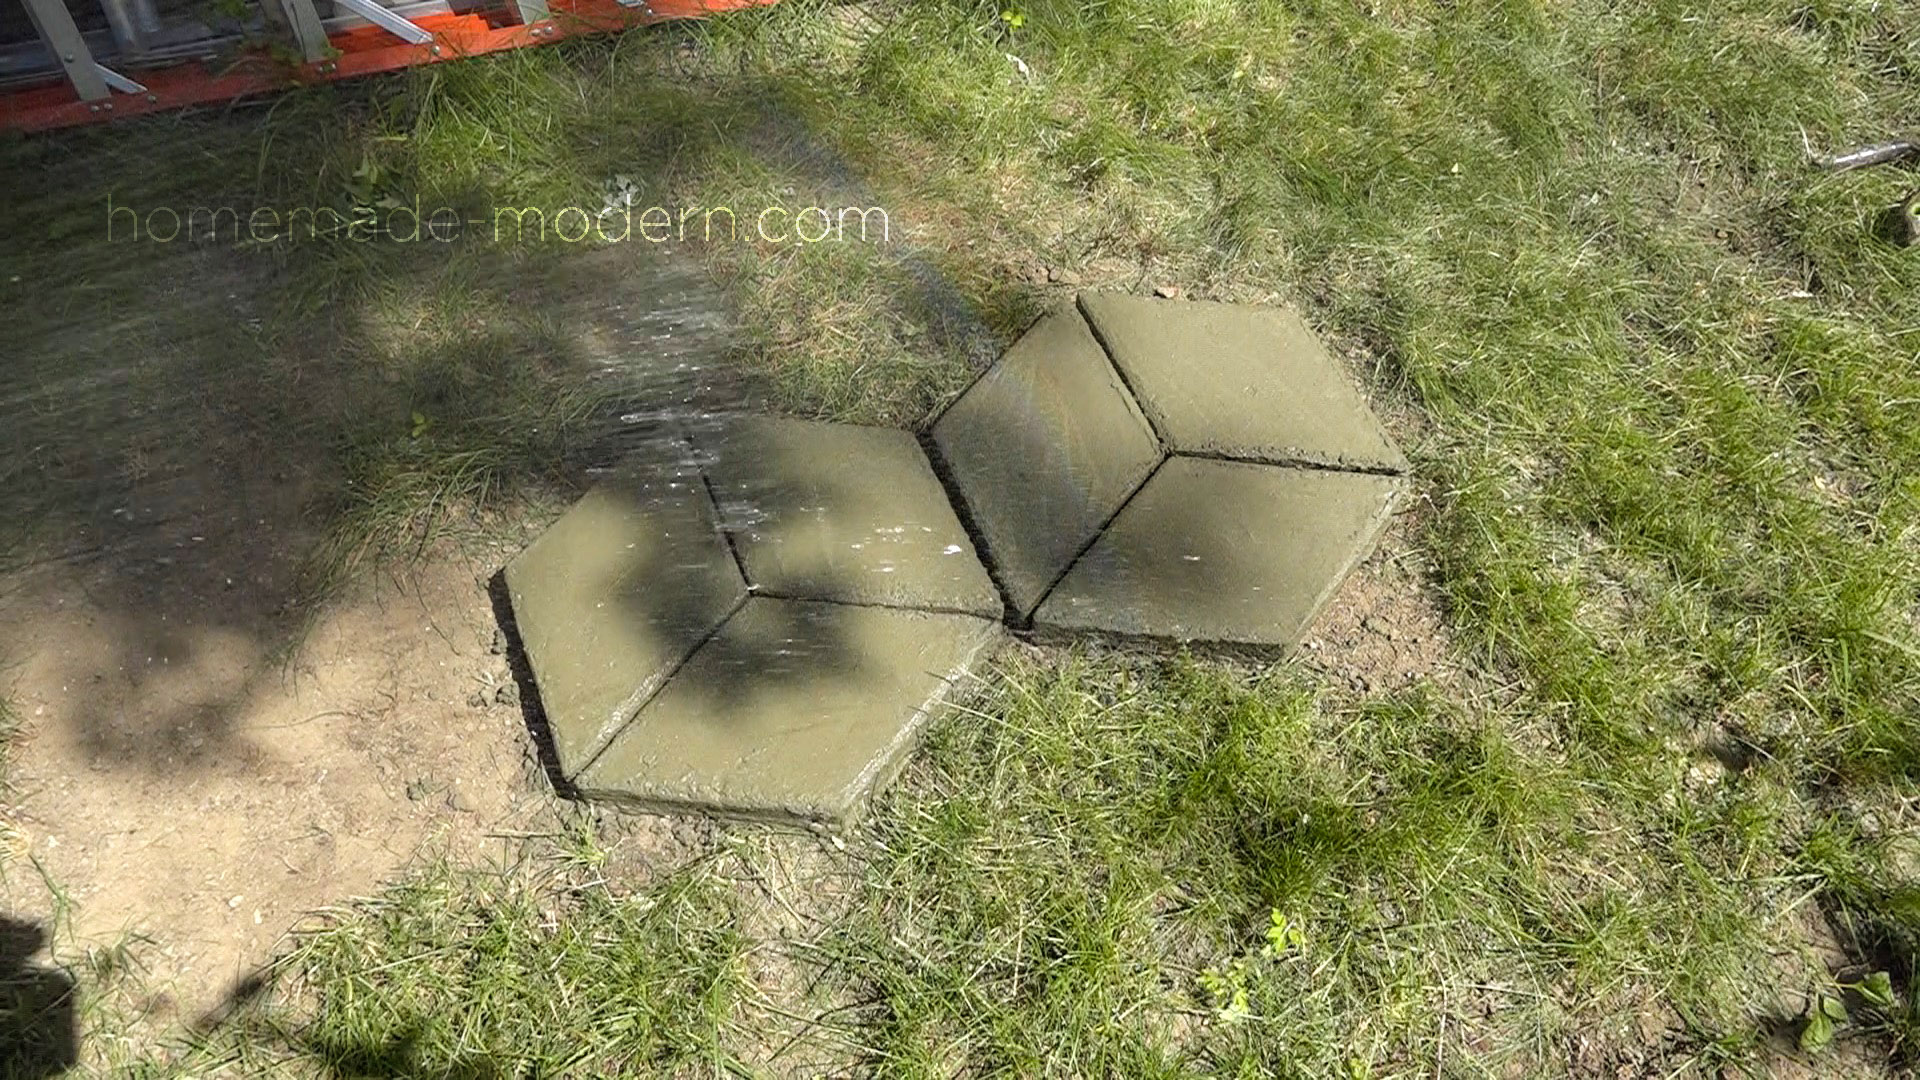
I used a trowel to smooth down the edges of the pavers. I made sure to keep the pavers moist by spraying them with a mister while the concrete cured.
![]() STEP 7: Stain
STEP 7: Stain
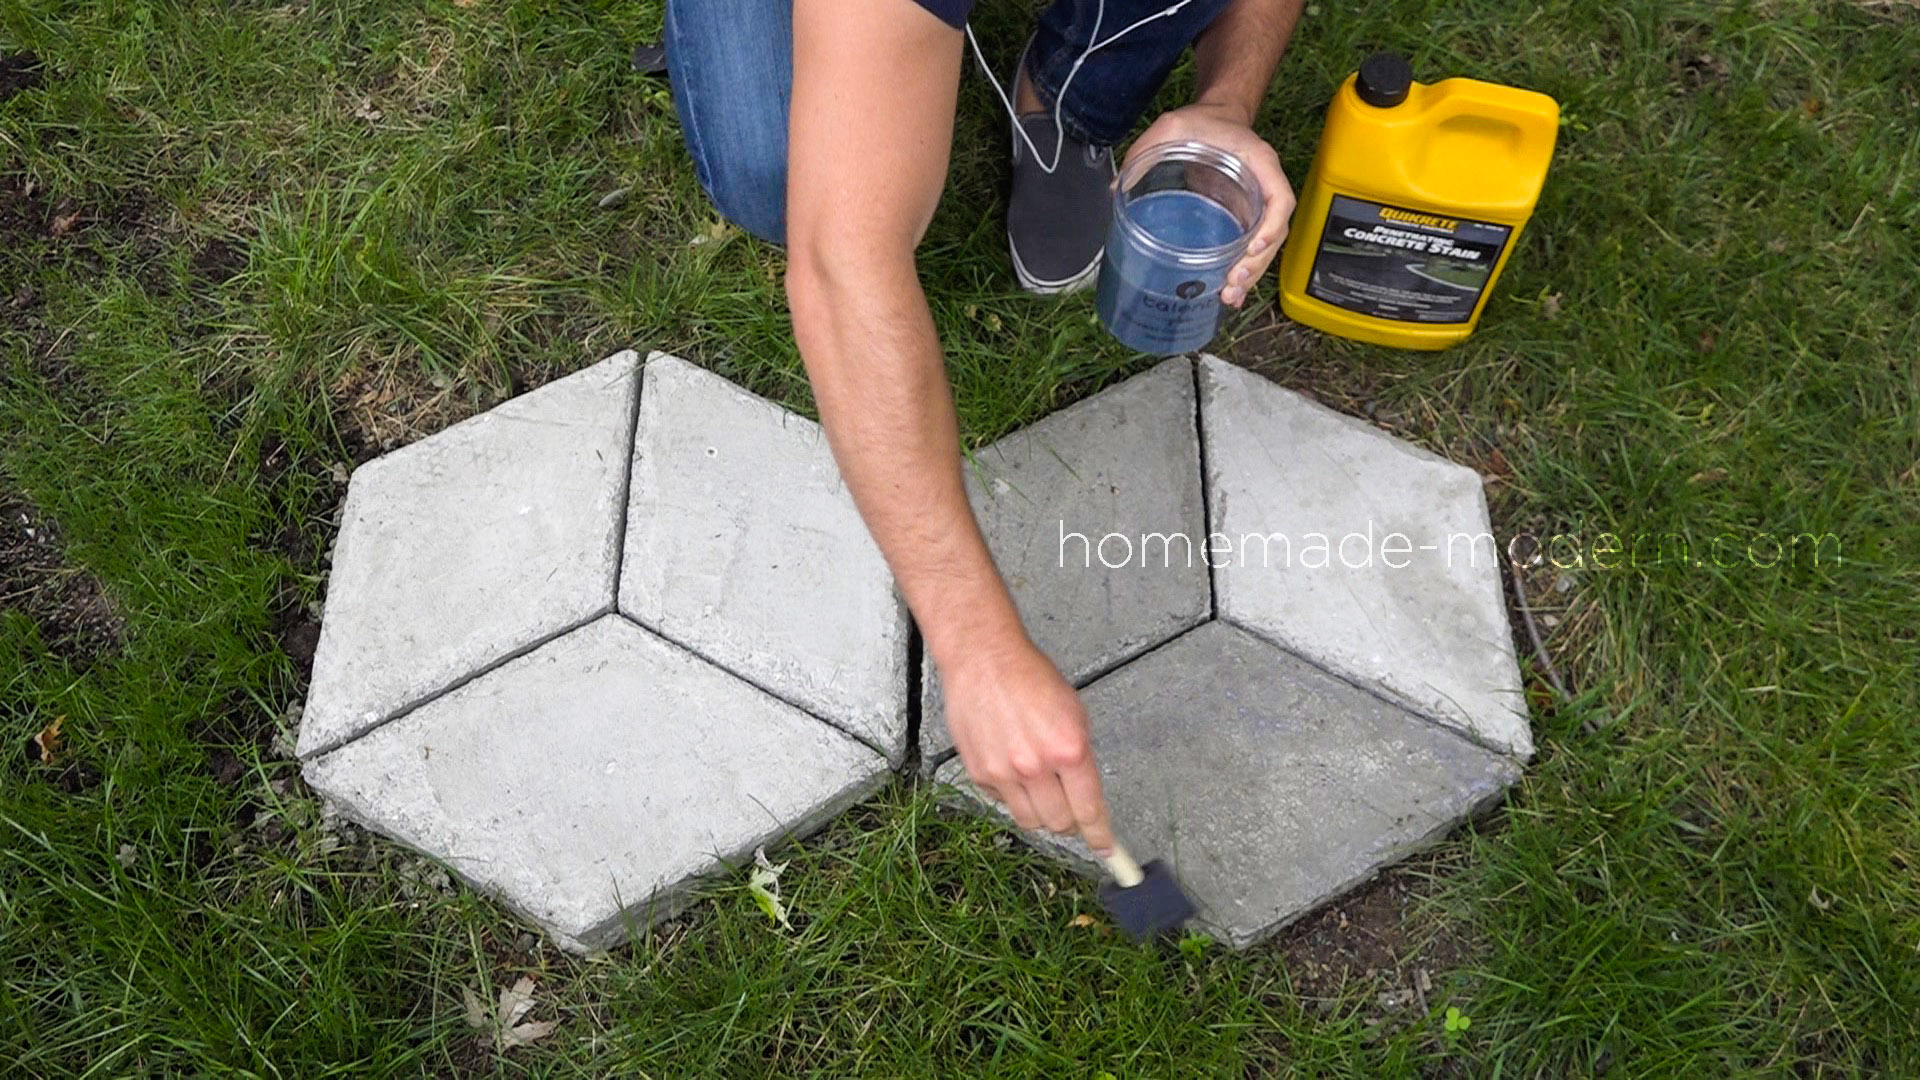
Once the concrete had fully cured I stained the pavers with Quikrete Penetrating Concrete Stain.
The original Quikrete Walkmaker system that inspired this project can be seen here.
If you like this project, please share it!
If you want to see what we're working on next, follow us on Instagram: @benjaminuyeda and @ijessup.
Also check out our book for additional projects, DIY tips and guides.
