Quickstart | codename goose (original) (raw)
Goose in 5 minutes
Supported Environments
The Goose CLI currently works on macOS and Linux systems and supports both ARM and x86 architectures. On Windows, Goose CLI can run via WSL. If you'd like to request support for additional operating systems, please
Goose is an open source AI agent that supercharges your software development by automating coding tasks. This quick tutorial will guide you through getting started with Goose!
Install Goose
- macOS
- Linux
- Windows
Choose to install Goose on CLI and/or Desktop:
- Goose Desktop
- Goose CLI
- Unzip the downloaded zip file.
- Run the executable file to launch the Goose Desktop application.
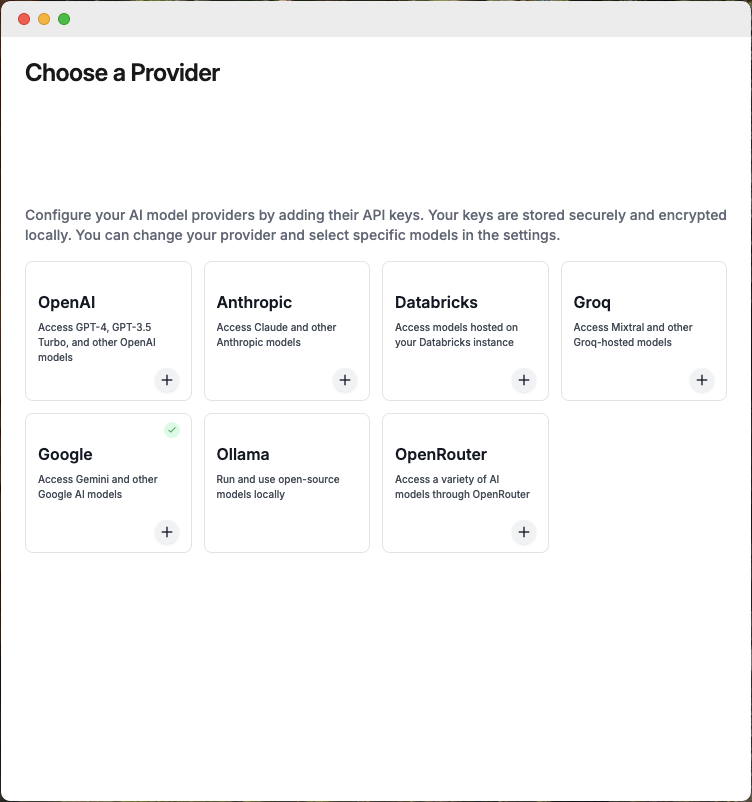
Configure Provider
Goose works with supported LLM providers. When you install Goose, you'll be prompted to choose your preferred LLM and supply an API key.
- Goose Desktop
- Goose CLI
Billing
offers a free tier you can get started with. Otherwise, you'll need to ensure that you have credits available in your LLM Provider account to successfully make requests.
Some providers also have rate limits on API usage, which can affect your experience. Check out our
guide to learn how to efficiently manage these limits while using Goose.
Model Selection
Goose relies heavily on tool calling capabilities and currently works best with Anthropic's Claude 3.5 Sonnet and OpenAI's GPT-4o (2024-11-20) model.
Start Session
Sessions are single, continuous conversations between you and Goose. Let's start one.
- Goose CLI
- Goose Desktop
After choosing an LLM provider, you’ll see the session interface ready for use.
Type your questions, tasks, or instructions directly into the input field, and Goose will immediately get to work.
Write Prompt
From the prompt, you can interact with Goose by typing your instructions exactly as you would speak to a developer.
Let's ask Goose to make a tic-tac-toe game!
create an interactive browser-based tic-tac-toe game in javascript where a player competes against a bot
Goose will create a plan and then get right to work on implementing it. Once done, your directory should contain a JavaScript file as well as an HTML page for playing.
Install an Extension
While you're able to manually navigate to your working directory and open the HTML file in a browser, wouldn't it be better if Goose did that for you? Let's give Goose the ability to open a web browser by enabling the Computer Controller extension.
- Goose CLI
- Goose Desktop
- Locate the menu (
...) in the top right corner of the Goose Desktop. - Select
Advanced settingsfrom the menu. - Under the
Extensionssection, toggle theComputer Controllerextension to enable it. This extension enables webscraping, file caching, and automations. - Scroll back to the top and click
<- Backin the upper left corner to return to your session. - Now that Goose has browser capabilities, let's ask it to launch your game in a browser:
open index.html in a browser
Go ahead and play your game, I know you want to 😂 ... good luck!
Next Steps
Congrats, you've successfully used Goose to develop a web app! 🎉
Here are some ideas for next steps:
- Continue your session with Goose and it improve your game (styling, functionality, etc).
- Browse other available extensions and install more to enhance Goose's functionality even further.
- Provide Goose with a set of hints to use within your sessions.