Homemade Salsa Recipe for Canning (original) (raw)
‘Tis the season for garden-fresh tomatoes, peppers, and onions. One of our favorite ways to enjoy them all year long is with a tested salsa recipe for canning. This classic tomato salsa is packed with flavor and safe for water bath canning when prepared as written.
We’ve been making this home canned salsa for years, and it’s always a hit. Whether we’re scooping it up with tortilla chips, or spooning it over tacos, it’s always delicious. Once you’ve made homemade salsa, the store-bought versions just don’t compare.
This salsa recipe is similar to a popular commercial brand, but we like ours better. You can taste the difference in canning salsa with your fresh local produce at the peak of ripeness.
Note: Though the recipe contains vinegar, it does not have a strong vinegar flavor like the Ball Blue Book salsa recipes. We tried those and no one in the house liked them.
Table of Contents
Quality Ingredients Count
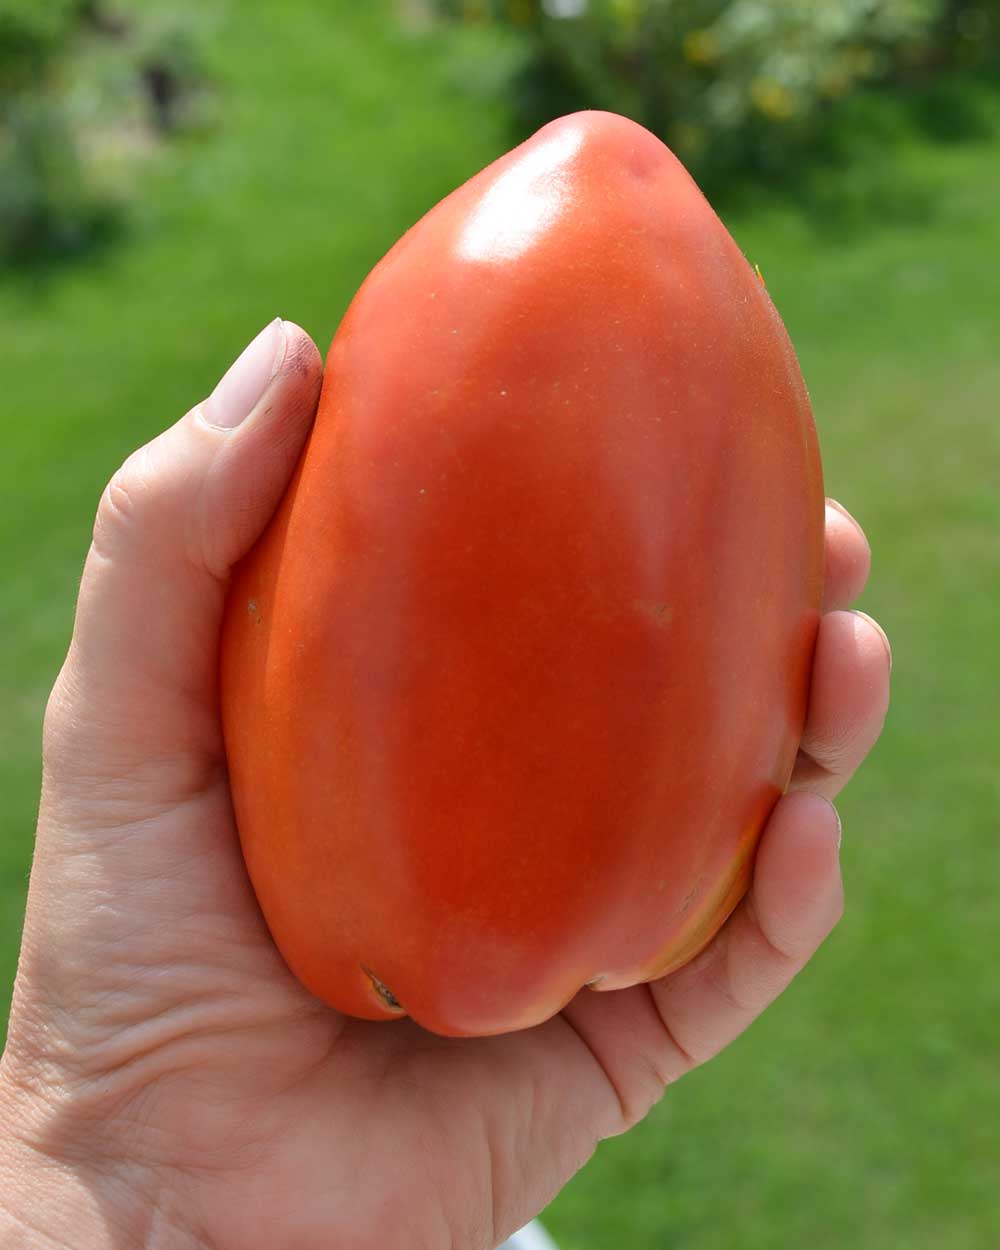
When it comes to making homemade salsa, fresh ingredients are key. Start with the right type of tomato. Paste tomatoes are best, as they have more “meat” and less juice and seeds.
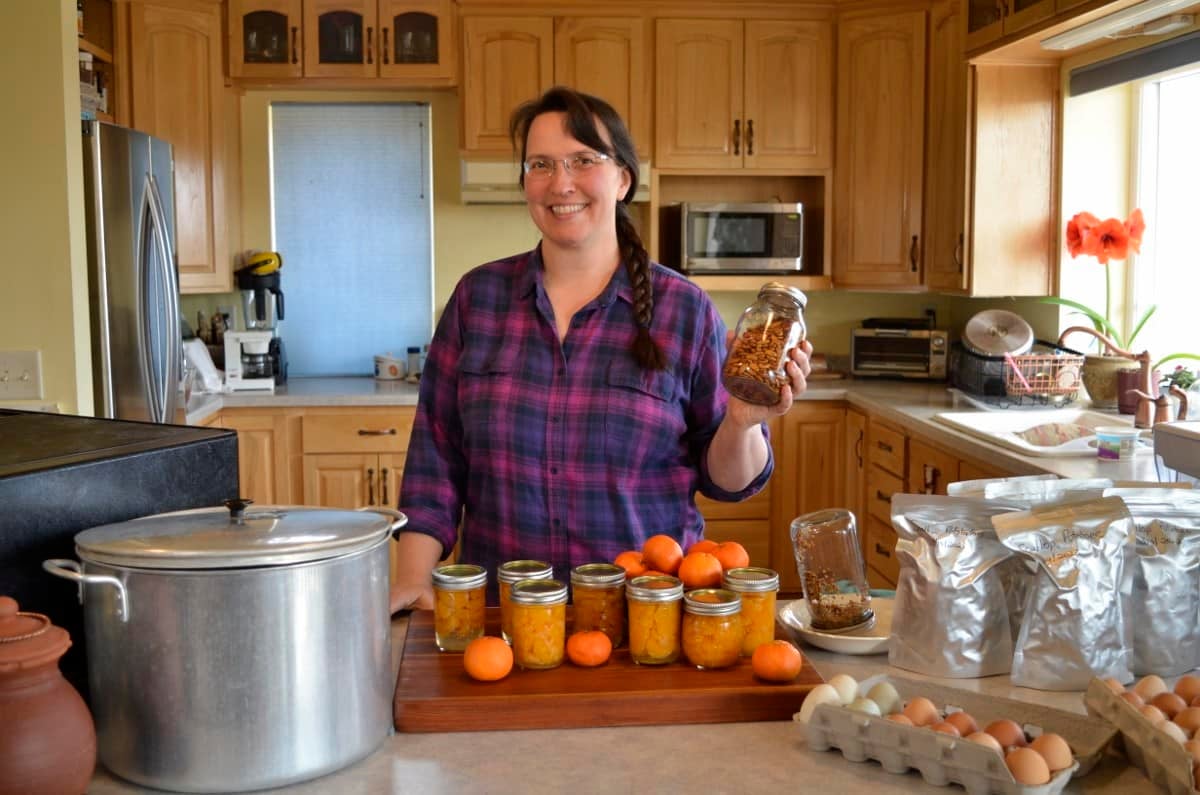
We love salsa so much that we’ve been saving seeds, adapting the variety “Opalka” to local conditions. These beauties are often one to two pounds per fruit, which means a lot less peeling. We keep them isolated in the garden, away from other tomato plants.
Organic spices are great if you can get them. Cilantro gives you a more authentic flavor, but my parsley grows much better than my cilantro. I’m also one of the people who think cilantro tastes like soap, so I usually use parsley.
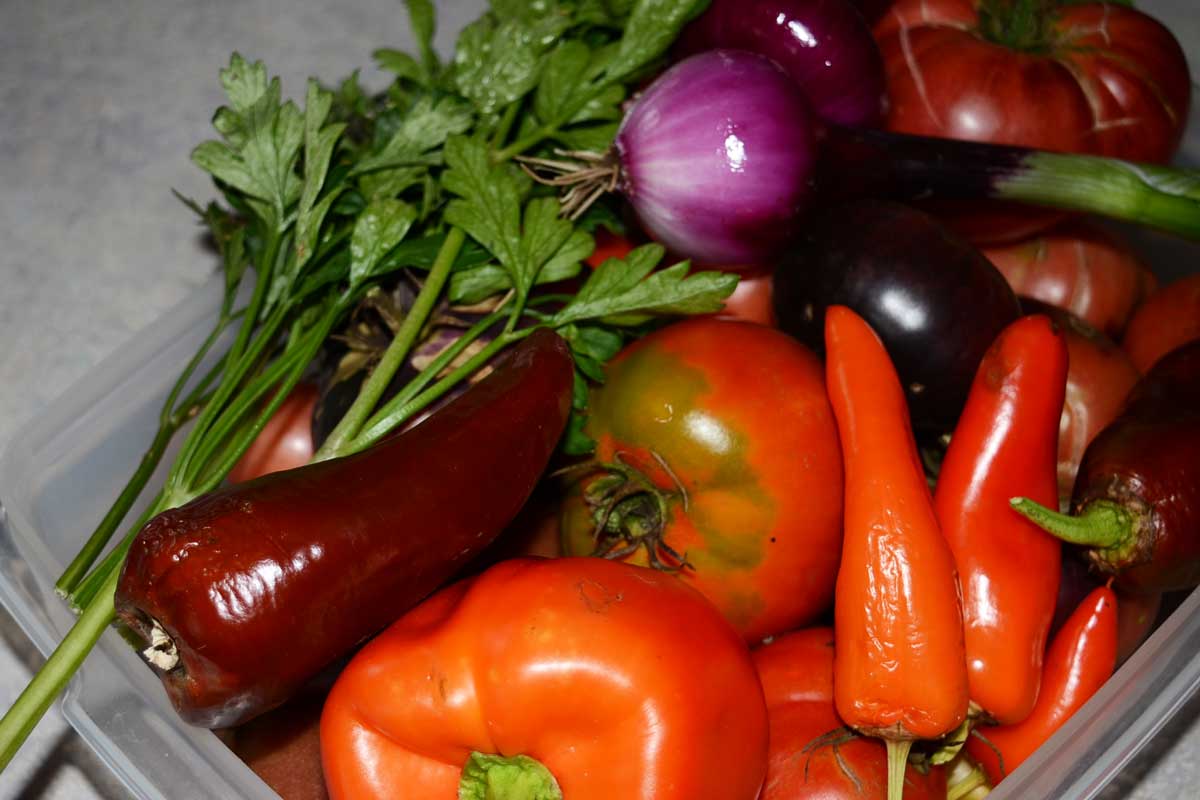
Use any type of sweet peppers – red, yellow, orange or green bell peppers, or banana peppers. Just don’t exceed one cup chopped per batch. Any type of hot pepper is fine, too. Use what you have, selecting the heat level that’s right for you.
For thickening, either tomato paste or tomato powder will work. Paste is usually easier to find in stores, but powder is a little easier to use. It takes half as much powder as paste.
E-Z Gel and Clear Gel are ultrafine cornstarch, and also help thicken the salsa. They are recommended over corn starch for canning because they don’t form clumps in your recipe. I like E-Z Gel best, as it blends more easily.
Note: For safety, do not increase the amount of low-acid ingredients like onions, garlic, or peppers. You can safely reduce them if you prefer a milder flavor, but do not reduce the vinegar.
Ingredients
- 20-22 pounds of tomatoes
- 3 cups onions, finely chopped
- 2 cloves garlic, minced
- ¼ cup fresh cilantro or parsley, finely chopped
- ¼ cup celery, finely diced
- 1 cup assorted mild peppers, finely chopped
- 4 hot peppers, finely chopped
- 2 Tablespoons sea salt
- 1 Tablespoon dried oregano leaf
- ½ teaspoon black pepper
- 1 teaspoon ground cumin (optional, but recommended)
- 1 teaspoon chili powder (optional, for more heat)
- 1 cup 5% apple cider vinegar
- 3 6-ounce cans tomato paste, or 9 Tablespoons tomato powder (optional, for thicker salsa)
- ¼ cup E-Z Gel or Clear Gel (optional, for thicker salsa)
Prepping the Tomatoes
Blanch and skin the tomatoes. To blanch tomatoes, place them in boiling water for 30 to 60 seconds, until the skins start to split.
As soon as the skins start splitting, remove the tomatoes and place them in a cold water/ice water bath. This stops the cooking so they don’t get mushy, and makes them cool enough to handle for peeling. Slip off skins.
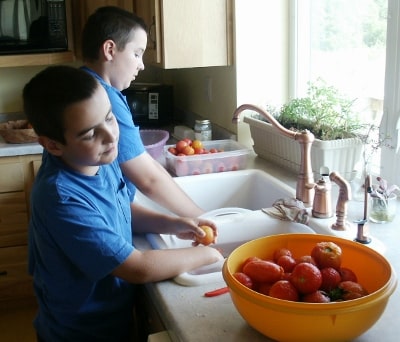
A photo from several years ago, with my boys skinning tomatoes.
To finish the tomato prep, dice the tomatoes into chunks and remove seeds. Place in colander to drain off excess juice. If you like, strain the juice and drink it or can it separately. With our Opalka tomatoes, there isn’t much extra juice.
In our kitchen, the boys chop tomatoes while I prep the rest of the ingredients.

The boys, chopping tomatoes then and now.
Prepping the Rest of the Salsa Ingredients
Finely chop onions, garlic, cilantro (parsley), sweet and hot peppers using a knife or food processor.
Caution: Use gloves when handling and chopping hot peppers. I leave the hot peppers until last to minimize risk of spreading the hot pepper juice around my work area.
Place all salsa ingredients except vinegar and E-Z Gel in a large stockpot. Dissolve E-Z Gel (if desired) in vinegar, add vinegar mix to stockpot. Mix salsa thoroughly.
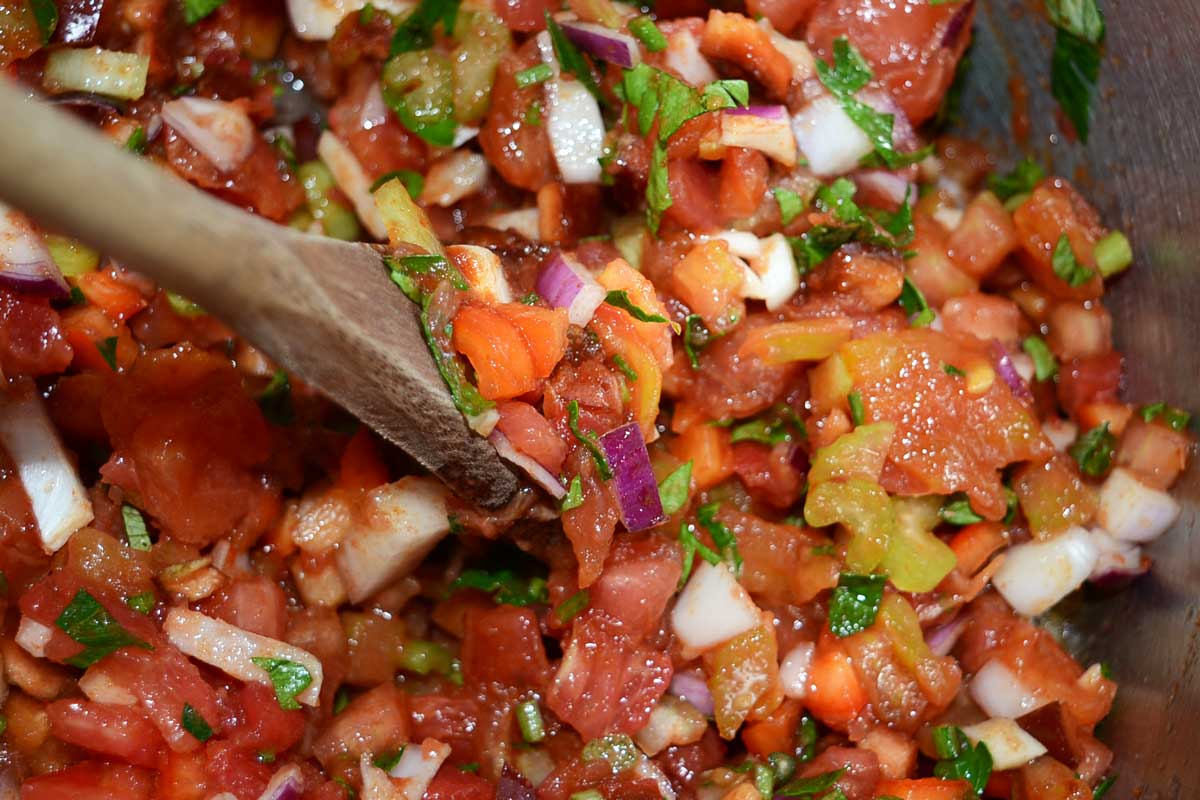
Heat the salsa to a gentle simmer. There is no need to cook it; you just want to get hot enough for canning.

Canning the Salsa
Prepare canning jars, two piece canning lids and hot water bath canner. Your canner will need time to heat up for processing. I put my canning jars in the canner water to heat them up, too.
Never fill cold jars with hot salsa! The difference in temperatures may cause the glass to break. You can heat them in the canning water, in a warm oven, or in the dishwasher.
Fill the jars with salsa, allowing 1/2 inch headspace from the top of the jar. Remove air bubbles. Wipe rims for any spills. Seat the lids and hand-tighten the rings around them.
For water bath canning salsa: Place the jars in the pre-heated canner. Make sure they are covered with at least 1 inch of water.
Bring to a boil and start the timer. Process the jars in a boiling-water bath for 15 minutes for 8 oz and pint jars.
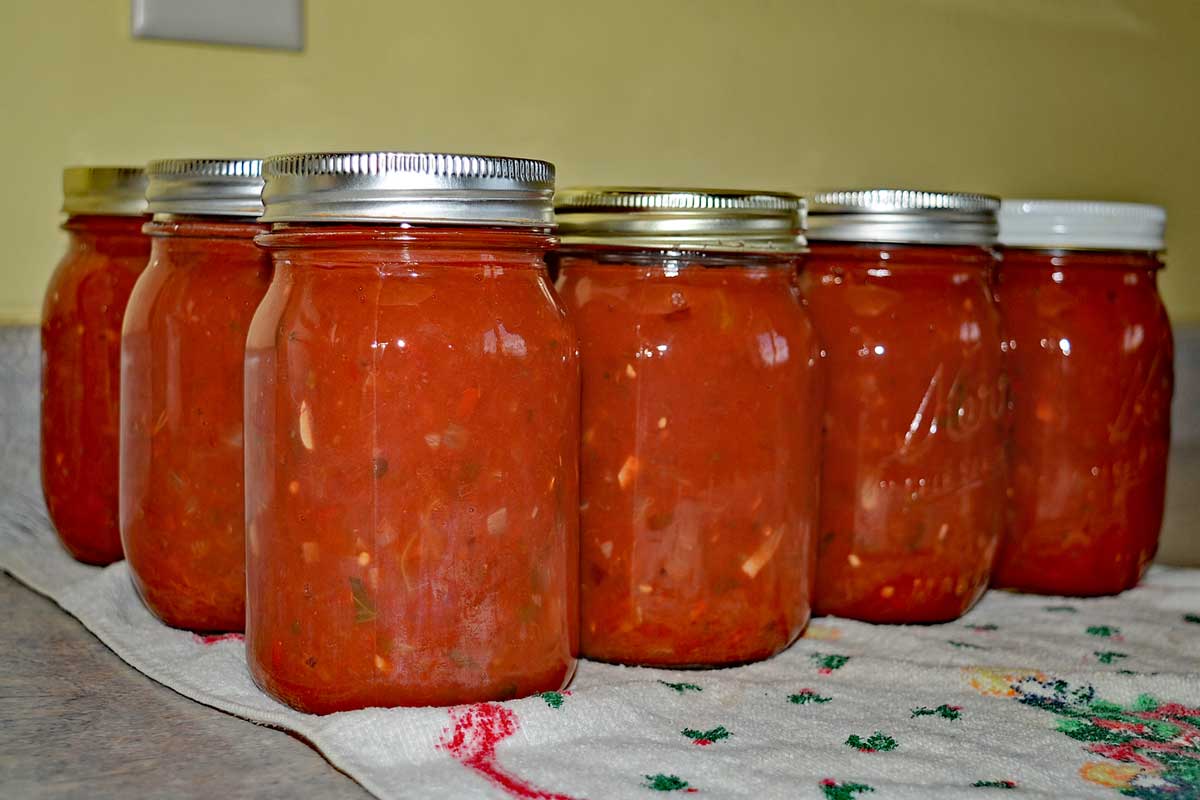
When processing time is done, turn off heat, remove lid and wait 5 minutes to remove jars. Remove jars from canner. Place 1″ apart on a kitchen towel on the counter top. Let the jars sit to cool completely (12 to 24 hours).
Remove rings and check seals. (Center of lid will not flex if properly sealed.) Wipe any drips, label and date and store in a cool, dry location out of direct sunlight. Best used within one year.
Makes around 12 pints. (16 to 18 pints with our Opalka tomatoes.)
Is your favorite salsa recipe safe for canning?
Thinking about canning salsa, but not sure your favorite salsa recipe is safe?
Some safety tips for canning salsa include:
- Always follow basic kitchen safety rules. Wash hands, equipment and produce, and use canning jars and lids that are in good condition.
- Add acid, such as bottled lemon juice, vinegar, or citric acid to lower the pH. For water bath canning, pH should be ≤ 4.6. Use a pH strip to test if you are not sure.
- Lemon may be substituted for vinegar, but vinegar may not be substituted for lemon. (Vinegar is less acidic then lemon.)
- Use purchased vinegar with 5% acidity (homemade vinegar may be less acidic). Acidity level is important for safe home canning.
- Use ripe, firm tomatoes, preferably paste tomatoes. Don’t used fruit that is overripe or rotting. Remove tomato skins to lower pH.
- It is safe to add additional dry spices such as salt, pepper or ground cumin. Do not add extra low acid fresh ingredients such as peppers or onions.
- Do not use flour or cornstarch for thickening, only canning safe thickeners like Clear Gel.
- Store home canned salsa in the refrigerator after opening.
- Store any jars that did not seal (or opened jars) in the refrigerator and use within 2 weeks.
- Do not eat home canned salsa with bulging lids, off smells or any other signs of spoilage.
If you want to store your favorite salsa recipe, but are not sure if it’s safe for canning, try freezing instead. You can also refrigerate fresh salsa and use within one to two weeks.
Check it out at Safe Salsas for Canning for additional information.
Altitude Adjustments
If you are at an altitude higher than 1,000 feet above sea level, adjust processing time as indicated.
Altitude Feet Increase Processing Time
- 1,001- 3,000 5 minutes
- 3,001- 6,000 10 minutes
- 6,001- 8,000 15 minutes
- 8,001-10,000 20 minutes
FAQ
Can I use lime juice instead of bottled lemon juice or vinegar?
You can substitute bottled lime juice in equal amounts. Do not use fresh lime juice, as acidity may vary.
Can I make this salsa without cilantro?
Yes. You can omit cilantro or stir in fresh herbs after opening the jar.
Can I pressure can salsa instead of water bath canning?
You can, but it’s unnecessary for this tested recipe. Processing time and temperature can vary, and texture may change.
Why did my salsa separate after canning?
Separation is natural. Tomato solids may float while liquid settles below. Shake gently before serving.
Can I use Roma tomatoes?
Yes. Meaty paste tomatoes like Roma or Amish Paste give thicker salsa with less simmer time.
Salsa Recipe for Canning
5 Stars 4 Stars 3 Stars 2 Stars 1 Star
5 from 5 reviews
This home canned salsa recipe rates an “Awesome” from friends and family alike. Hot or mild – you choose how spicy you like it.
Prep Time: 1 hour
Cook Time: 15 minutes
Total Time: 1 hour 15 minutes
Yield: 12 pints 1x
Category: Condiment
Method: Canning
20–22 pounds of paste tomatoes
3 cups onions, finely chopped
2 cloves garlic, minced
1/4 cup fresh cilantro or parsley, finely chopped
1/4 cup celery, finely diced
1 cup assorted mild peppers, finely chopped
4 hot peppers, finely chopped
2 Tablespoon salt
1 Tablespoon dried oregano leaf
1/2 teaspoon black pepper
1 teaspoon ground cumin (optional)
1 teaspoon chili powder (optional)
1 cup 5% apple cider vinegar
3 6–ounce cans tomato paste or 9 Tablespoons tomato powder(optional)
1/4 cup E-Z Gel or Clear Gel (optional)
- Prepare jars, lids, and bands. Wash in hot, soapy water and rinse well. Keep jars warm until ready to fill. Fill water bath canner and start it heating.
- Blanch and skin the tomatoes. Remove seeds, chop into chunks, and drain.
- Finely chop onions, garlic, cilantro (parsley), sweet and hot peppers. Caution: Use gloves when handling and chopping hot peppers. I leave the hot peppers until last to minimize risk of spreading the hot pepper juice around my work area.
- Place all salsa ingredients except vinegar and E-Z Gel in a large stockpot. Dissolve E-Z Gel (if desired) in vinegar, add vinegar mix to stockpot. Mix salsa thoroughly.
- Heat the salsa to a gentle simmer. There is no need to cook it; you just want it heated through.
- Fill the jars with salsa, allowing 1/2 inch headspace. Remove air bubbles. Wipe rims for any spills. Seat the lids and hand-tighten the rings around them.
- Place the jars in the pre-heated canner. Make sure they are covered with at least 1 inch of water. Bring to a boil and start the timer. Process the jars in a boiling-water bath for 15 minutes for 8 oz and pint jars.
- When processing time is done, turn off heat, remove lid and wait 5 minutes to remove jars. Remove jars from canner. Place 1″ apart on a kitchen towel on the counter top.
- Let the jars sit to cool completely (12 to 24 hours). Remove rings and check seals. (Center of lid should not flex if properly sealed.) Wipe any drips, label and date and store in a cool, dry location out of direct sunlight. Best used within one year.
Makes around 10-12 pints.
Nutrition
- Serving Size: 1/4 cup
More Homemade Condiment Recipes
Don’t forget to check out more of our Canning Recipes and Preserving Guides, including:
- Home Canned Spaghetti Sauce
- Tomato Soup Recipe for Canning
- 2 Homemade Ketchup Recipes – Canned or Probiotic
- No Canning Required Dill Pickles
- Tomatillo Salsa (Salsa Verde)
This article is written by Laurie Neverman. Laurie grew up in the kitchen, learning baking and home cooking from her momma. At age 15, she and her mom and two sisters created Irene’s Custom Cakes & Catering. This was her summer job through most of high school and college.
Originally published in 2009, last updated in 2025.