47 DIY Projects That Are Easy and Crazy Fun to Make (original) (raw)
Looking for another DIY project to embark on? These easy DIY projects are fun, creative, great for adults, teens, and kids. So, give these a try!
DIY projects are what keep the spirit thriving, I think. While I love a good, long project that will keep me occupied for a few weeks, sometimes, I just want a quick and easy project.
Something small and easy to make will give me instant gratification of a job well done, but also something that I can add to my decor or be useful around the home.
With that in mind, take a look at these 47 super easy DIY projects that you can make in a day!
1. Rock Photo Holders
Source: craftsyhacks.com
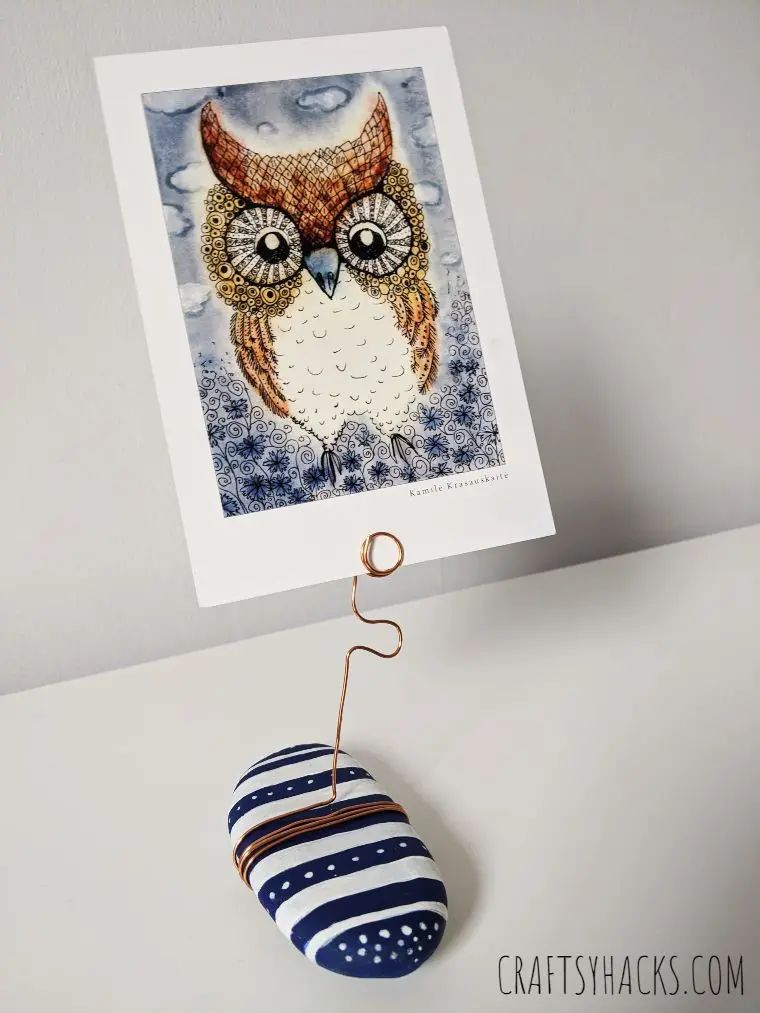
There’s nothing quite as simple or quite as fun to work with as rock painting. It has always been an all-time favorite with kids and a go-to for mums looking for a quick craft project to keep them occupied.
With a few strokes of your paintbrush, you can transform plain old rocks and pebbles into creative works of art that you can display around your home.
The best part? They double as photo holders! How cool is that? Grab this copper wire to get started.
2. Leafy Felt Wreath
Source: burlapandblue.com
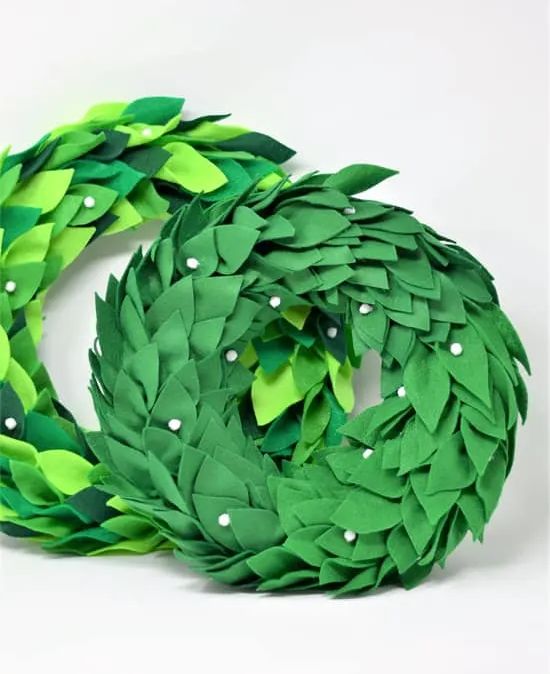
Have you seen how pretty the leaves are in spring? They’re lush, green, and utterly delectable. You can make your very own DIY leafy wreath to hang up around your home.
The best way to make the leaves life-like would be to recreate the texture as much as possible. You can use felt to that effect; just pick up some felt sheets from here.
If you like, you can hot glue a few mini pom-poms around the wreath for a little extra pop of color.
3. DIY Yarn-Wrapped Planter

Source: craftsyhacks.com
A DIY yarn-wrapped planter is one of the best ways to jazz up an old pot or two you have at home. If they’re too scratched-up or have too many chips, then painting them might not cover things up adequately.
So, grab some colored yarn, your pots, and also a hot glue gun. You might consider giving the pot a couple of coats of paint to act as a background for your yarn.
Then, just grab your yarn and start wrapping it round the pot.
Here’s another yarn-wrapped DIY glass vase project for you to explore.
4. Hanging Succulent Planter
Source: allcraftythings.com
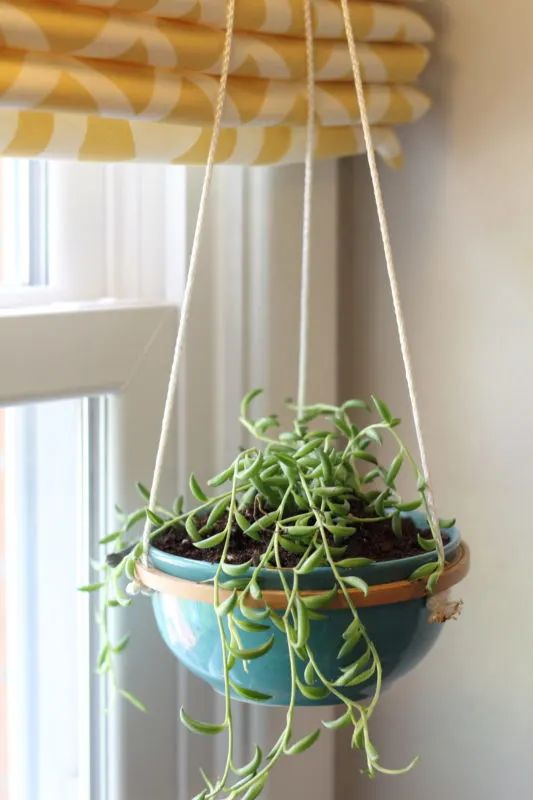
You know how you always end up with a few spare embroidery loops like these from old projects? Well, I have a project for you to try out using those hoops!
We’re going to be making another planter—a hanging one—and this time, we’re going to start from scratch. You can plant your succulents or little cacti in them and let them hang from your porch.
You’ll also need some strong and sturdy synthetic cord from here to keep your pots safe and secure.
5. Yarn Wrapped DIY Glass Vase
Source: craftsyhacks.com
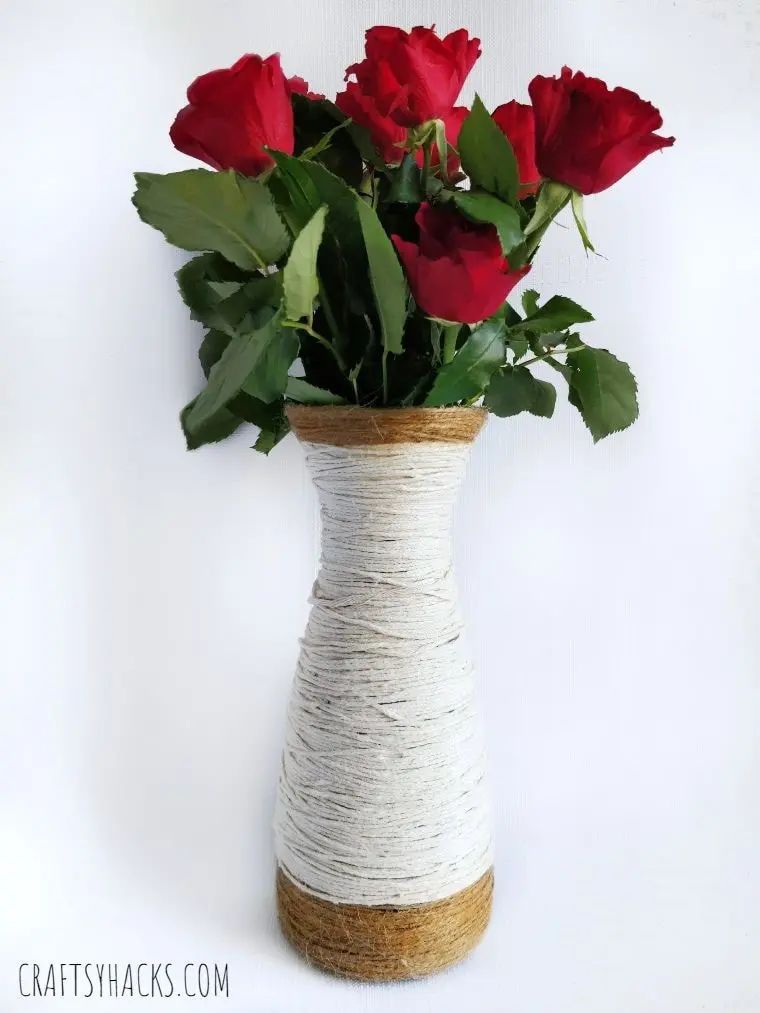
Here’s another yarn-wrapped DIY project for you to try out. Do you have a vase at home that looks a little worse for wear?
If it’s still in good repair, then I can understand not wanting to throw it away. Instead, let’s consider giving it a makeover. How?
You wrap yarn or twine around it, of course. Then, cover up any little blemishes or dents in the vase. You can also brighten it up with colorful, textured yarn.
6. Aromatherapy Stress Balls
Source: livinglifeasmoms.com
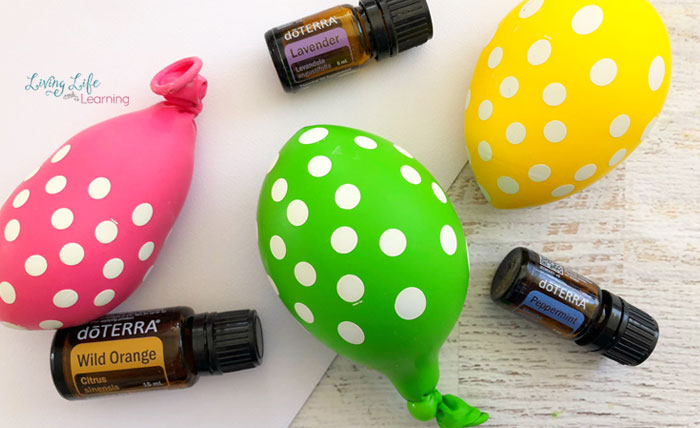
With everything going on around you, there’s always an air of stress and anxiety that you constantly have to navigate and skirt. You know what can help you cope with that? Aromatherapy stress balls!
Aromatherapy can help you stimulate a sense of calmness and tranquility with the help of soothing essential oils. Stress balls help you keep your hands busy and help you center your stress, so to speak.
So, grab some cornstarch, a few drops of your favorite essential oil(you can choose from the options here), and a couple of balloons
7. Paper Squishies
Source: craftsyhacks.com
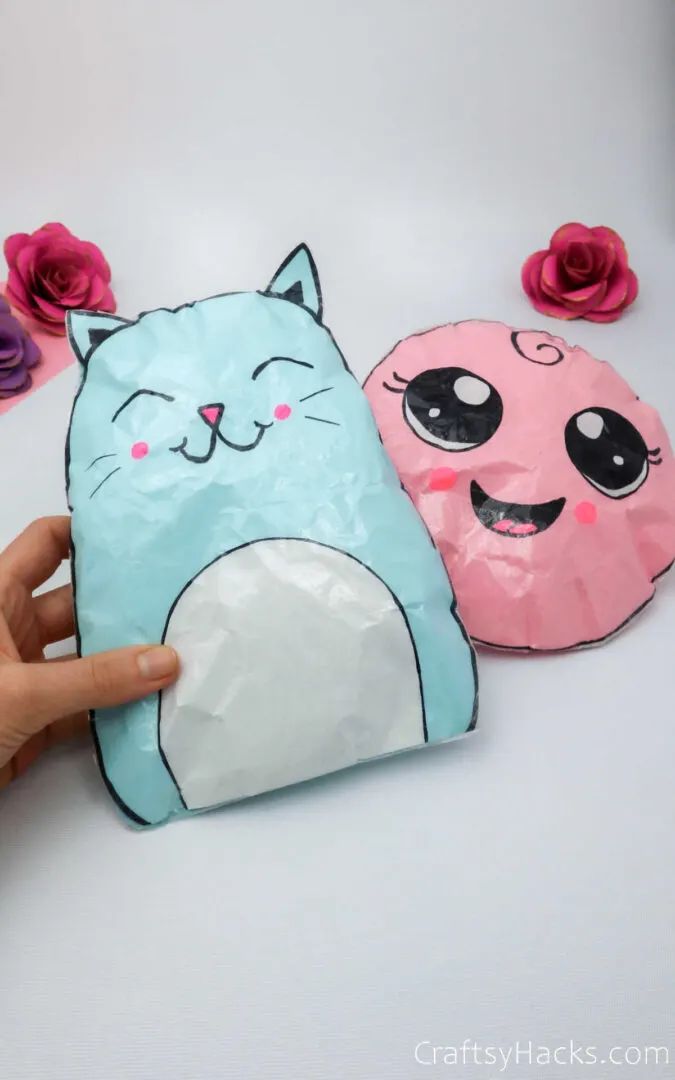
Paper squishies can be a ton of fun to play with. They’re quite easy to make, and unlike the ones you buy at stores and have to pay a pretty penny for, these are super inexpensive.
First, you’ll need some of this transparent tape. You’ll be wrapping the entire squishie with this tape, so make sure you have planty before you begin.
Grab your hot glue gun and a pair of scissors, then download, print and cut out your favorite cartoon character. That will be the ‘face’ of your squishie. You’ll probably have a dozen or so by the time you’re done, so make sure you have enough tape!
8. Watermelon Sponge-Stamped Tea Towels
Source: saltycanary.com
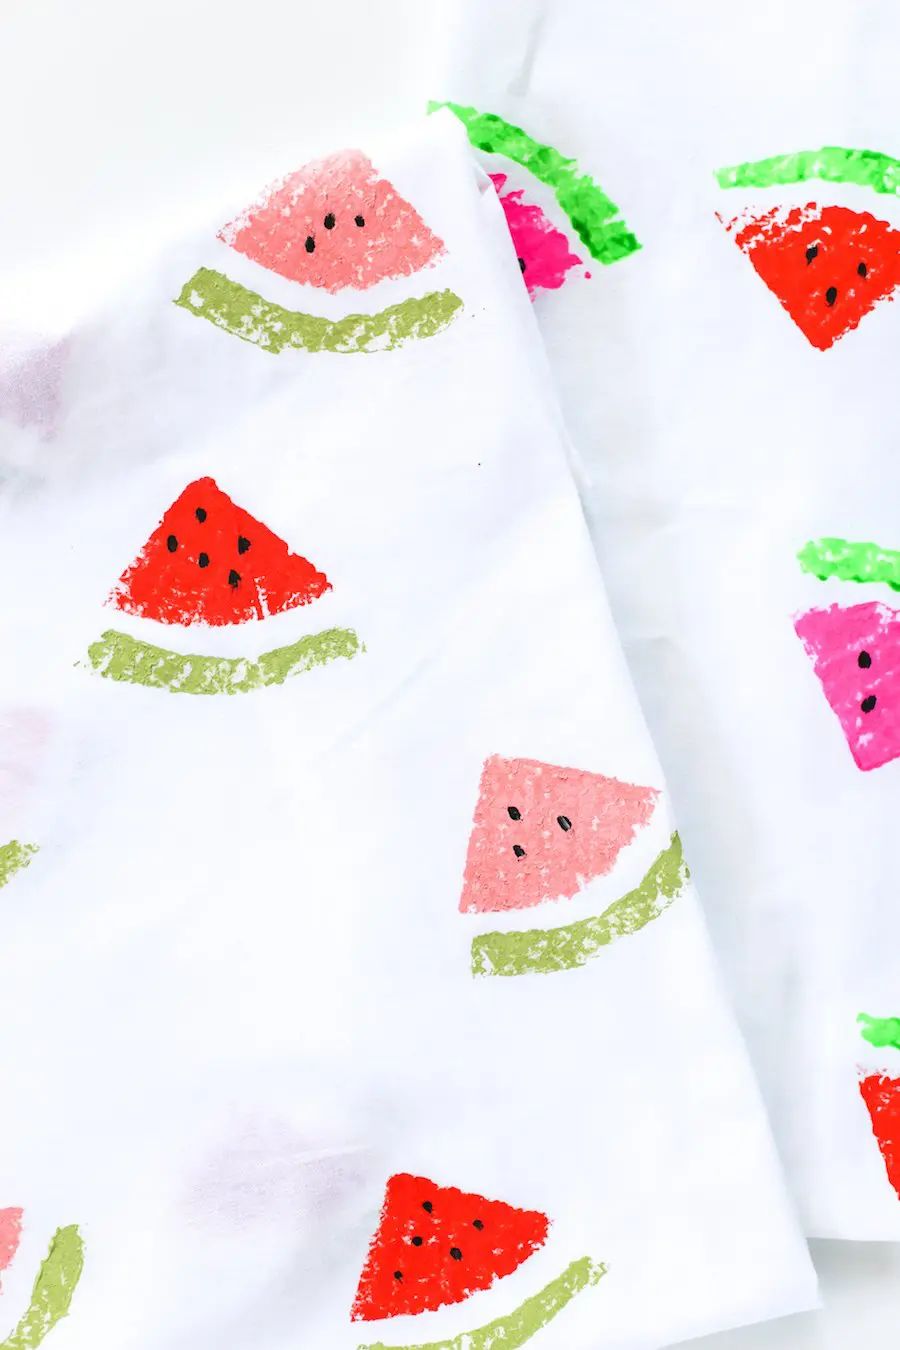
A great way to jazz up plain old tea towels in your kitchen is to try sponge stamping them with cute motifs. Take a look at these pretty watermelons, for example.
You’ll need tea towels from here, sponges, a pair of scissors, paints, and brushes, and finally, an iron. You can use a bit of cardboard to support your towel while you iron the fabric in the end.
Don’t forget to paint a few seeds on your watermelon to make it look even more impressive.
9. Paper Rings
Source: craftsyhacks.com
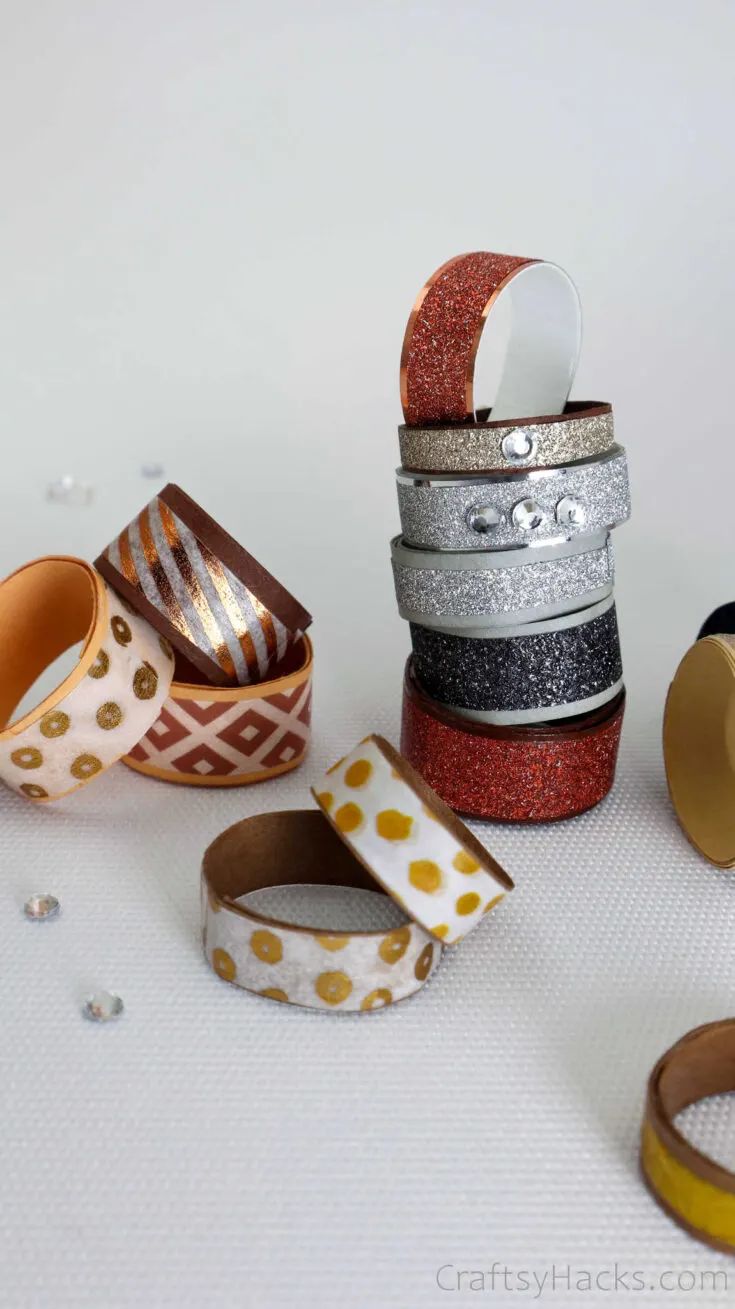
Paper jewelry is a definite go-to craft project if you’re in a pinch. They’re super easy to make, keep your kids occupied, and I’m pretty sure you already have everything you’ll need at home.
For these pretty paper rings, you’ll need: craft paper, mod podge, brushes, craft glue, a ruler, a pair of scissors, and some flat back gems or crystals from here.
You can use these crystals to give your paper rings a little bit of an edge. You can also use different washi tape to the same effect.
Give these DIY rings a try as well!
10. Marbled DIY Coasters
Source: countryhillcottage.com
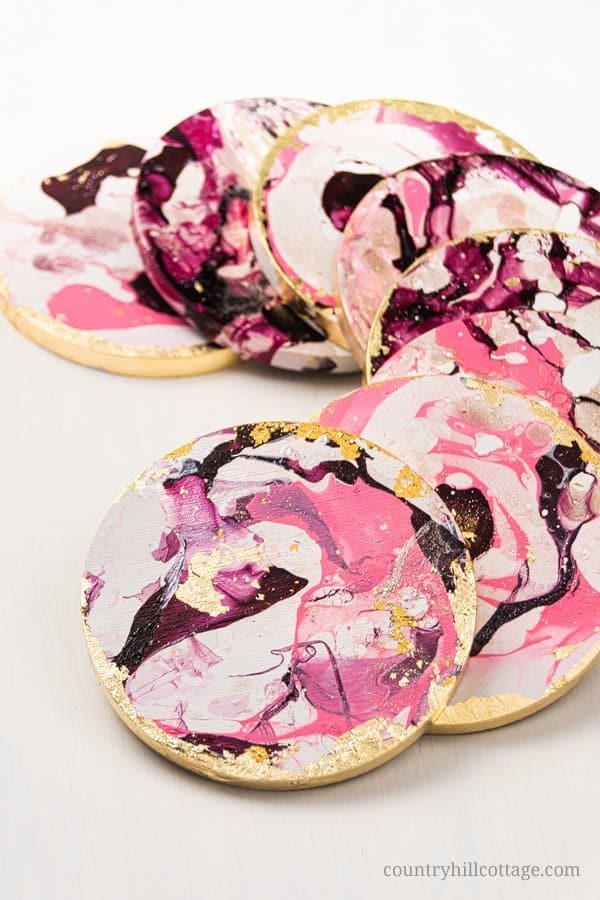
These marbled DIY coasters are the epitome of chic and modern art meets decor. They’re also unbelievably easy to make, and with a bit of shimmer and gold around the rim, they’re downright irresistible.
If you’re looking for an elegant Anthropologie-agate finish, then you’ve hit the motherlode. So, grab your supplies:
- Nail polish
- A bowl of water
- Wooden coasters
- Gold metal leaf adhesive from here
- Mod podge or this clear sealant spray
Love these coasters? Give these wood crafts a try!
11. Scented Candles
Source: craftsyhacks.com
If I’ve said it once, I’ve said it a hundred times—you cannot have too many candles around your home. And, if they’re pretty scented candles that don’t cost a lot? You’ll probably want dozens!
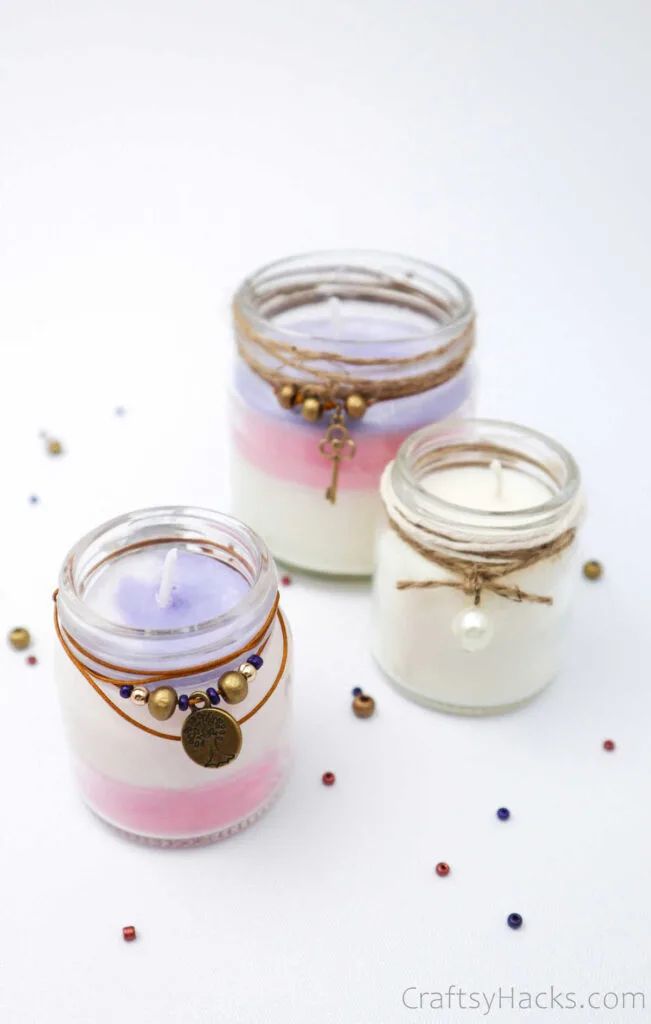
You probably have a few glass jars that you can reuse and upcycle for this project. But, you can grab a few wicks from here, as well as some beeswax.
Feel free to add a few drops of food or candle dye, too, along with your favorite essential oil. Finally, jazz it up with some charms or tie a length of twine around the rim.
Check out this DIY leaf candle holder tutorial if you want to customize your glass jars.
12. Valentine’s Day Garland
Source: loveourreallife.com
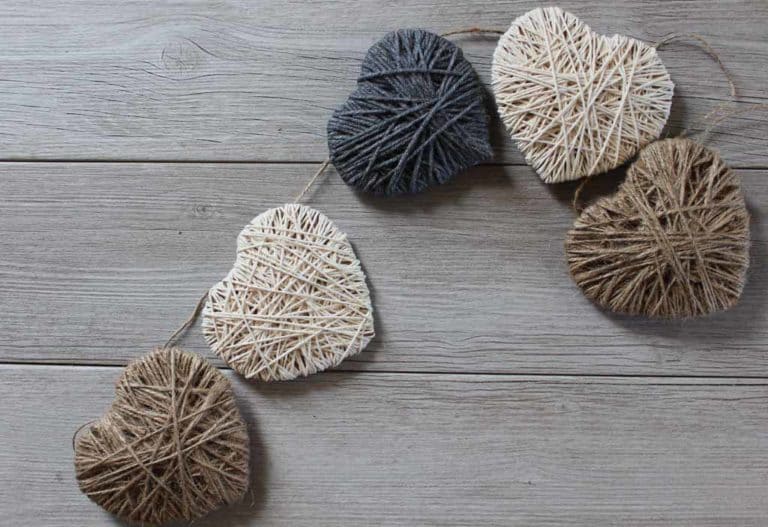
While I love Valentine’s day, all those shades of pinks, purples, and red do get to me sometimes. When used in excess, they can end up being quite garish and too much, don’t you think?
There’s nothing garish or over the top about these elegant garlands. In fact, if it were not for the hearts, you couldn’t really tell they’re Valentine’s day-themed.
So, grab some cotton string from here to get started. You’ll need to trace out and cut your hearts on cardboard before you can wrap them with thread.
13. DIY Journal Cover
Source: craftsyhacks.com
I love everything about new books. They hold such an unforeseen amount of potential, and I can hardly ever wait to start working in them.
But you know what really bugs me? All the pretty ones are always expensive, and I hate having to contend with generic books with boring covers—especially when I want to use them to journal.
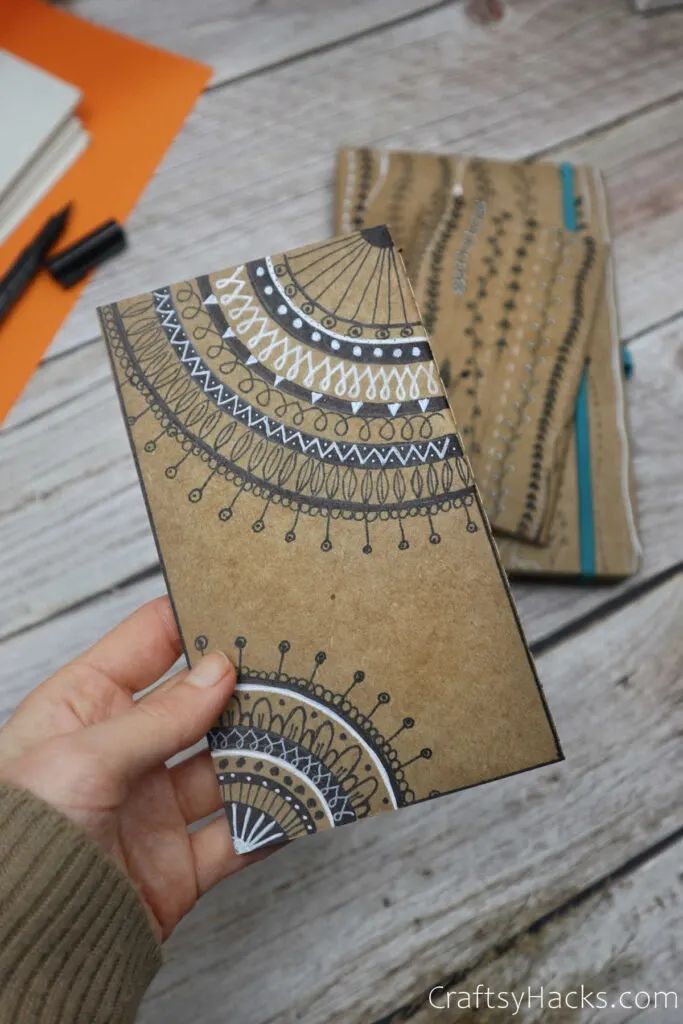
With a few pens and your creative streak, you can jazz up those plain old book covers. You can look up pretty doodles, zentangle or mandala designs, and other patterns to draw on the covers!
14. Wine Bottle Luminaries
Source: postcardsfromtheridge.com
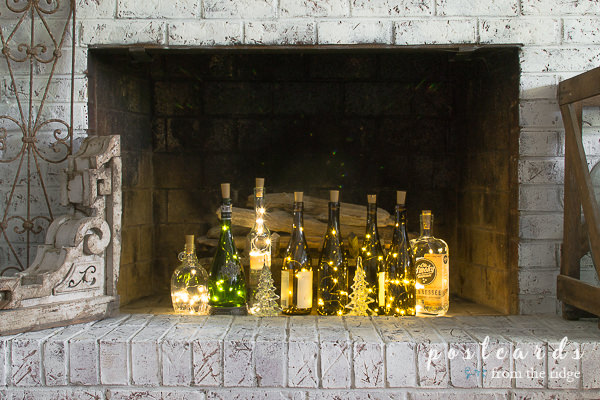
While I love luminaries just about any time of the year, they’re particularly lovely during the winter months. All that light and warmth are particularly welcome in winter and Christmas, don’t you think?
You’ll need a couple of empty wine bottles. If you’ve got a couple at hand, go ahead and clean them out thoroughly before you use them. You’ll also need wooden corks, which you can pick up here.
So, grab your fairy lights, and you’re all set to get started on this project!
15. DIY Shoelace Bracelets

Source: craftsyhacks.com
These DIY shoelace bracelets remind me of all the fun my friends and I used to have back in the day. We’d make all kinds of accessories with wires, paper, embroidery floss, and more.
Maybe it’s time you bought those quirky crafts back. Let’s start with this DIY shoelace bracelet that won’t take you more than 30 minutes to make.
Just pick up some colored shoelaces from here—that’s all you need for this project. You’ll be making dozens of these for your friends in no time.
16. DIY Honey Bee Decor
Source: homecraftsandmore.com
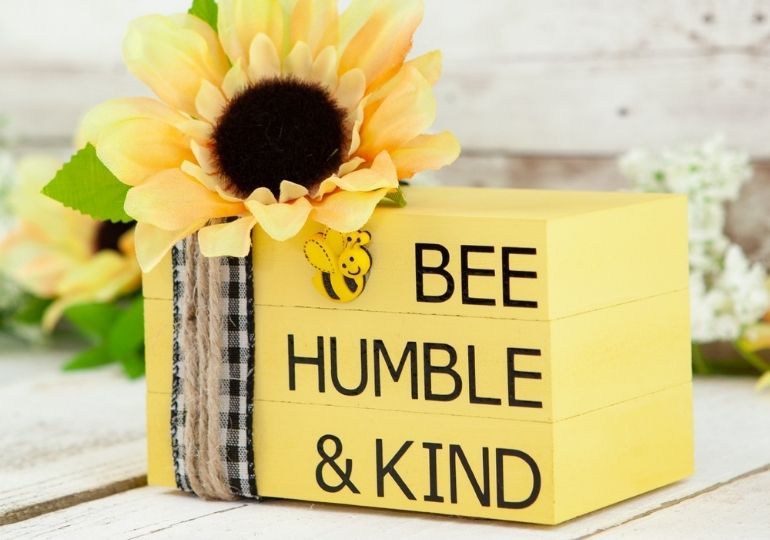
This DIY decor is exactly what your home needs to brighten it up. How can all that yellow, that big sunflower, and cute bee pun not brighten up your day?
You’ll need to pull out your Cricut machine to help you design this project. You’ll also need three wooden blocks to stack up as ‘books.’ You can find that right here.
Just remember that when you’re done painting the block, allow them to dry completely before you start decorating it; bee patient(ha!).
17. Unicorn Toilet Paper Roll
Source: craftsyhacks.com
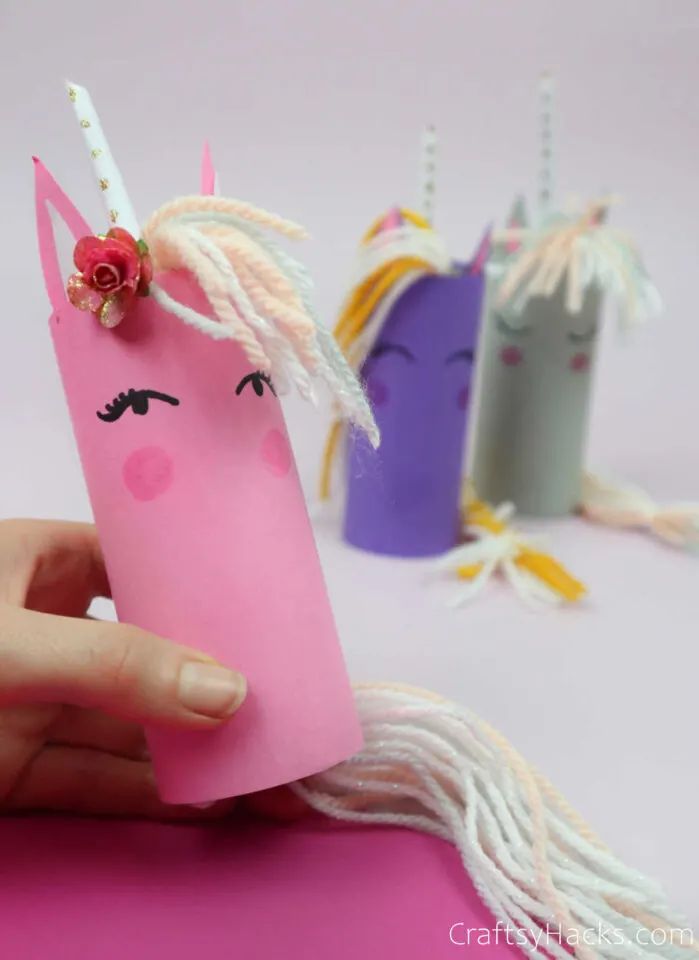
You can’t honestly tell me you don’t have a couple of empty toilet paper rolls lying around. Once you’ve got them, let’s get started on assembling the other supplies you’ll need for this project, like colored paper, glitter glue, and yarn.
You can also jazz your unicorn up even more with a few faux flowers from here and embellishments. Just hot glue them in place, and there you go!
My favorite part of this project, however, is when you get to the unicorns’ tails. You can use yarn and braid it just so, and your unicorn will never have looked better!
Check out these toilet paper roll crafts for more inspiration.
18. Mandala Trinket Dish
Source: colorfulcraftcorner.com
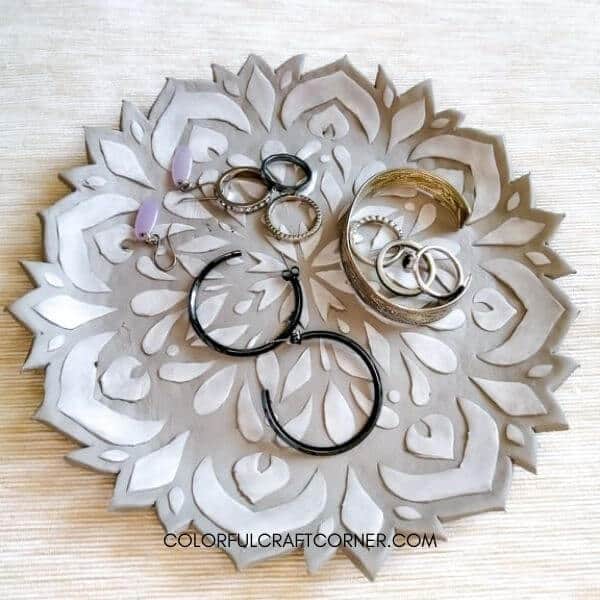
There’s never a limit on just how many trinket dishes you can own. You can use them to place your accessories, keys, loose change, and other bits and ends.
To make this gorgeous trinket dish, you’ll need air-drying clay from here. You’ll also want to pick up a mandala stencil from here, a rolling pin, a craft knife, and a plate.
You can also make your own mandala stencil if you like—just use your Cricut machine to do it!
19. DIY Phone Holder
Source: craftsyhacks.com
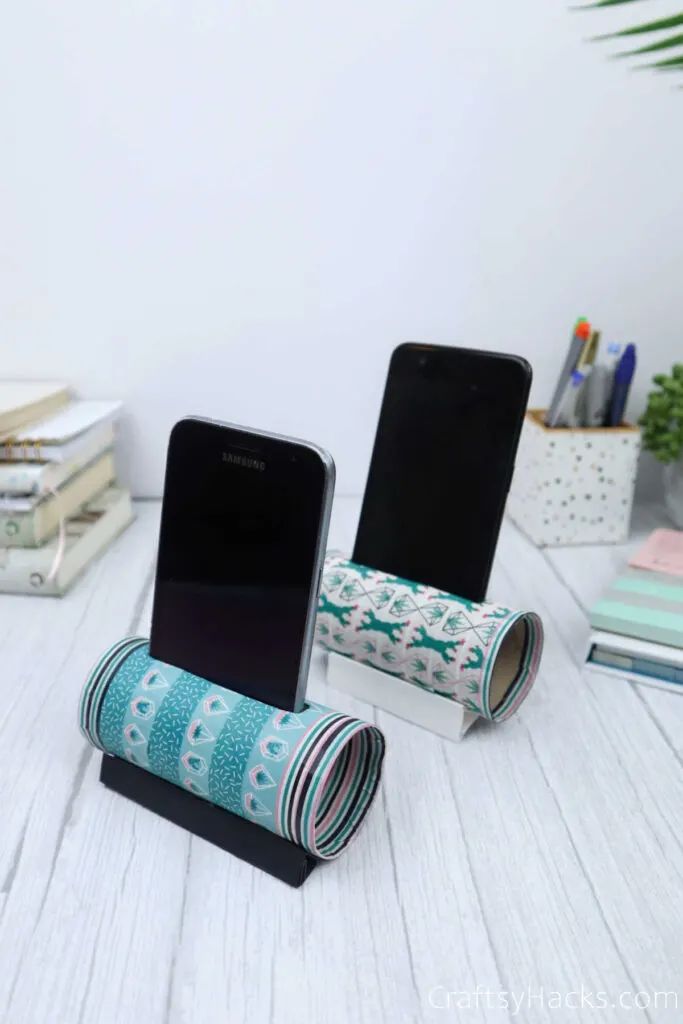
I wonder: do you still have an empty toilet roll or two left after that unicorn project? If you do, then go ahead and get them; you’ll need them for this DIY phone holder project I just found.
You know how you’re studying, and you’re struggling to prop your phone up to copy your notes from? Then this DIY holder is exactly what you need.
You have a veritable slew of washi tape to choose from right here. Once you’ve picked out your favorite one, you can start wrapping it around the roll to decorate it to your liking.
20. DIY Unicorn Bubble Bars
Source: soapdelinews.com
You don’t have to convince me about the awesomeness of bubble bars; I already know it! But the problem is that they’re just so darn expensive—or at least all the good ones are.
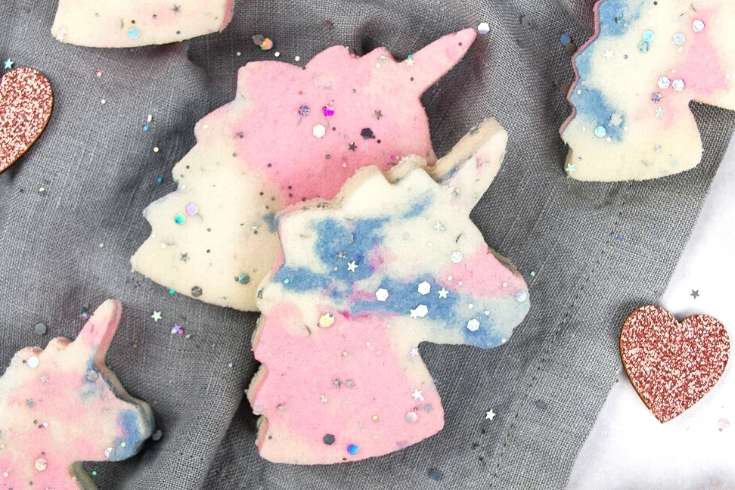
So here’s the solution: let’s make bubble bars at home! And, not just any old bubble bar, no. You’re going to make these gorgeous unicorn bubble bars that will jazz up your bath time like never before!
Pick up some baking soda, shea butter, your essential oil of choice, biodegradable glitter(a must-have when unicorns are involved), and an emulsifier to disperse the shea butter.
Here are delightful unicorn crafts to satisfy your unicorn adoration.
21. Upcycled Tin Cans
Source: craftsyhacks.com
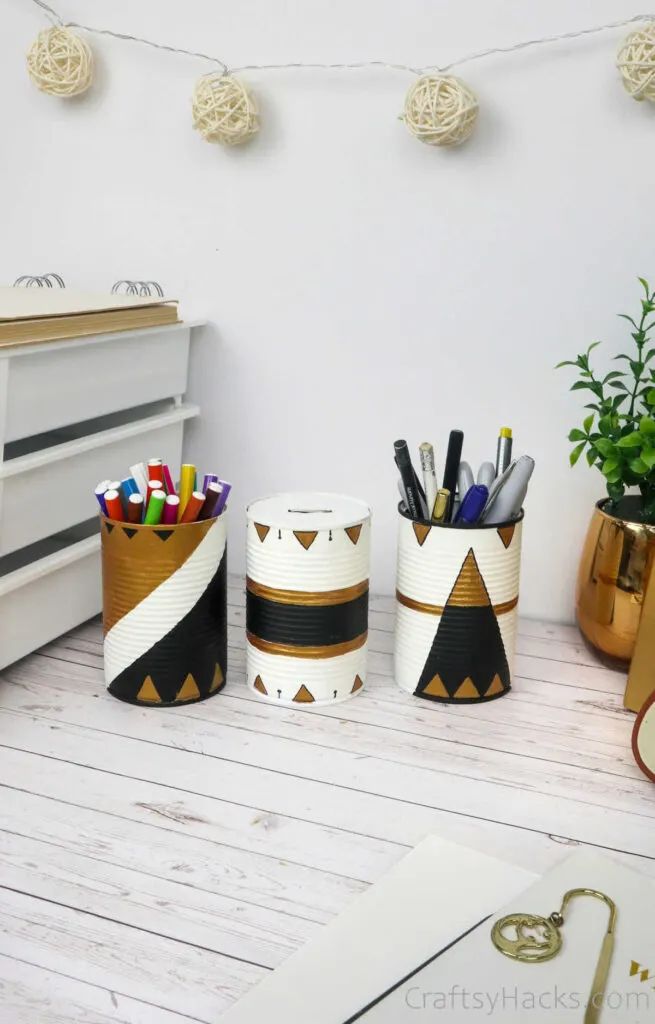
Upcycling tin cans as craft projects is perhaps some of the best fun I can think of when you’re looking for a short and simple DIY project. You can make a ton of creative desk organizers, pencil holders, and more.
THis gold, silver, and black painted combo is edgy and sleek. You can retain the metallic finish of the cans that way. I always love metallic colors, but you’re free to use just about any finish you like, from glossy to matte.
You can also use these cans as planters, and not just as desk organizers. They’ll go a long way to brighten up your workspace.
Here’s a DIY rope organizer for your desk you can check out!
22. DIY Terrarium Magnets
Source: soapdelinews.com
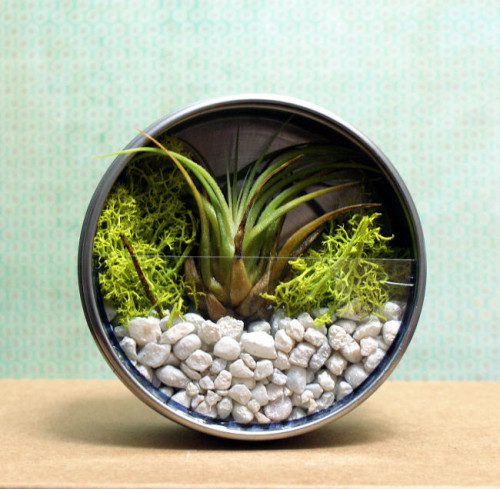
This plant terrarium can be the perfect family project for you to try out during your next family craft session. It can brighten up your living room, jazz up your kitchen, and transform pretty much any space in your house.
The magnetic part is pretty simple. Once you’ve assembled your terrarium and you’re certain everything is securely in place and to your liking, just adhere a magnet to the back.
23. Paper Envelopes
Source: craftsyhacks.com
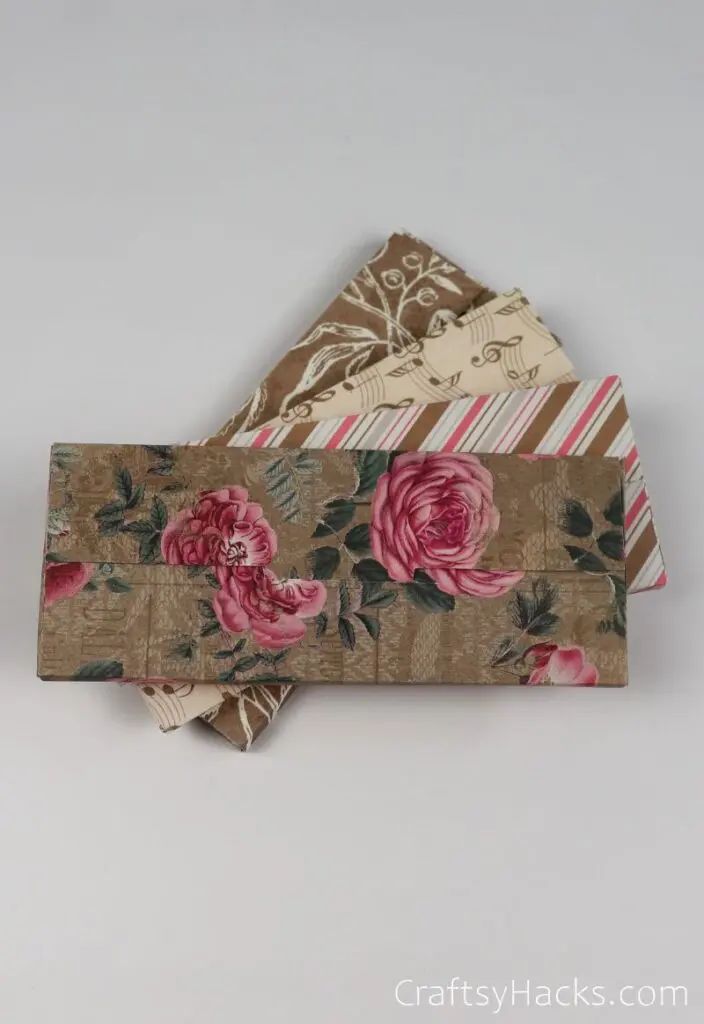
Paper envelopes cost a pretty penny when you buy them at the supplies store. Why would you, though, when you can make at least a dozen of your own envelopes right at home?
They’re a great project to eat your scrap paper stash. You can finally get rid of all the extra papers you have leftover from previous projects. But, a word of advice: try to use thick, even padded, cardstock.
That way, the envelopes will last longer and you’ll have some fancy stationery that you can claim as your own!
Here are paper crafts for adults you’re going to adore!
24. DIY Farmhouse Wreath
Source: soapdelinews.com
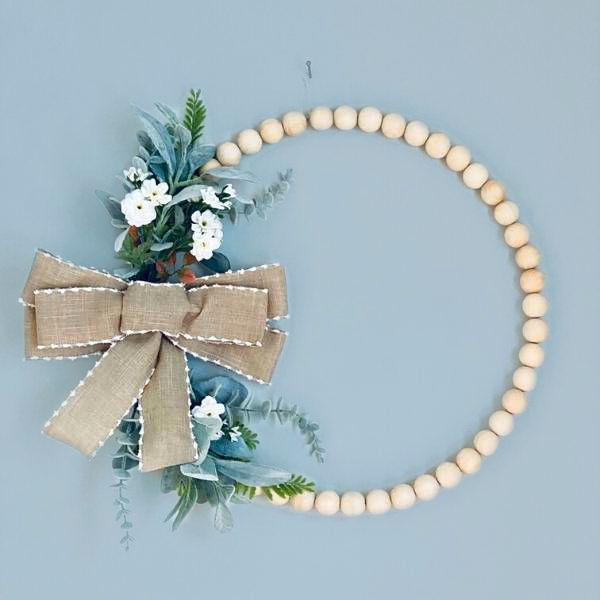
You know, you can make just about any wreath you like, and all you need to make it farmhouse-chic is some burlap ribbon from here that you can wrap into a bow. That’s all it takes, I tell you.
This wreath, though, it’s pretty elegant in its rusticity. Instead of a typical wreath form, you can loop wooden beads(look here) around a wire wreath and decorate it with faux florals and leaves,
You can also consider painting the wooden beads if you like. That extra pop of color can blend in perfectly with your decor.
Why don’t you check out more creative wreath ideas for all seasons from the following:
25. Fish Crafts For Kids
Source: craftsyhacks.com
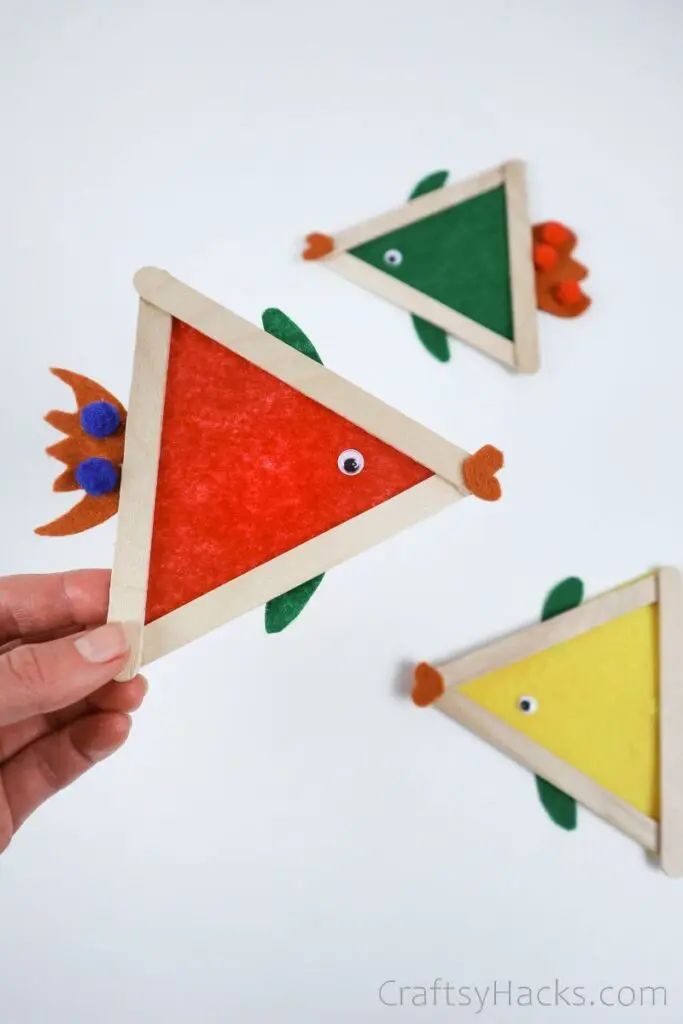
We all go through phases when we’re obsessed with a certain animal—cats, dogs, tigers, elephants, zebras…fish? Well, here’s a project for you to help your kids with if they’re ever going through a fishy phase.
Telling them they’re going to be making fish sticks might lure them. But, when they see that they’re going to be making craft fishes, they’re bound to stay for the fun of it.
You’ll need to pick up the supplies for these craft fishes, first. You’ll need craft or popsicle sticks, a hot glue gun, a few googly eyes, and felt sheets from here.
You can also check out these fun crafts for kids that will keep them busy while you finish up your chores around your home.
26. Pressed Flower Bookmarks
Source: liltigers.net
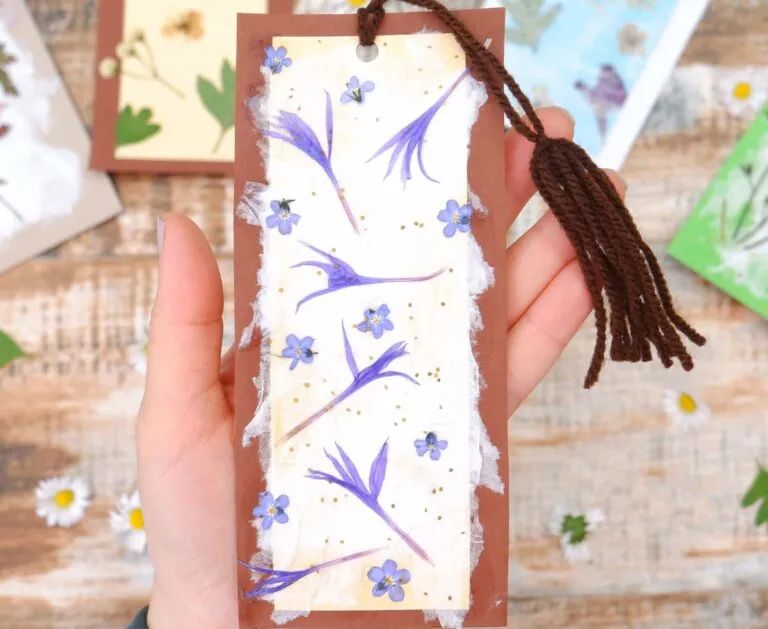
Pressed flowers always bring to mind a time gone by. It’s timeless, yet vintage and you’re going to have a ball making these pressed flower bookmarks.
You’ll need to be patient, too, for obvious reasons. Pressing flowers can take time. And, unless you decide to dehydrate the flowers with an iron, you’ll find yourself waiting a few days while the flowers press naturally.
In the meantime, you can gather and ready your other supplies, like colored paper, some yarn, a hole puncher, glue, and a pair of scissors.
27. DIY Bookmarks For Kids
Source: craftsyhacks.com
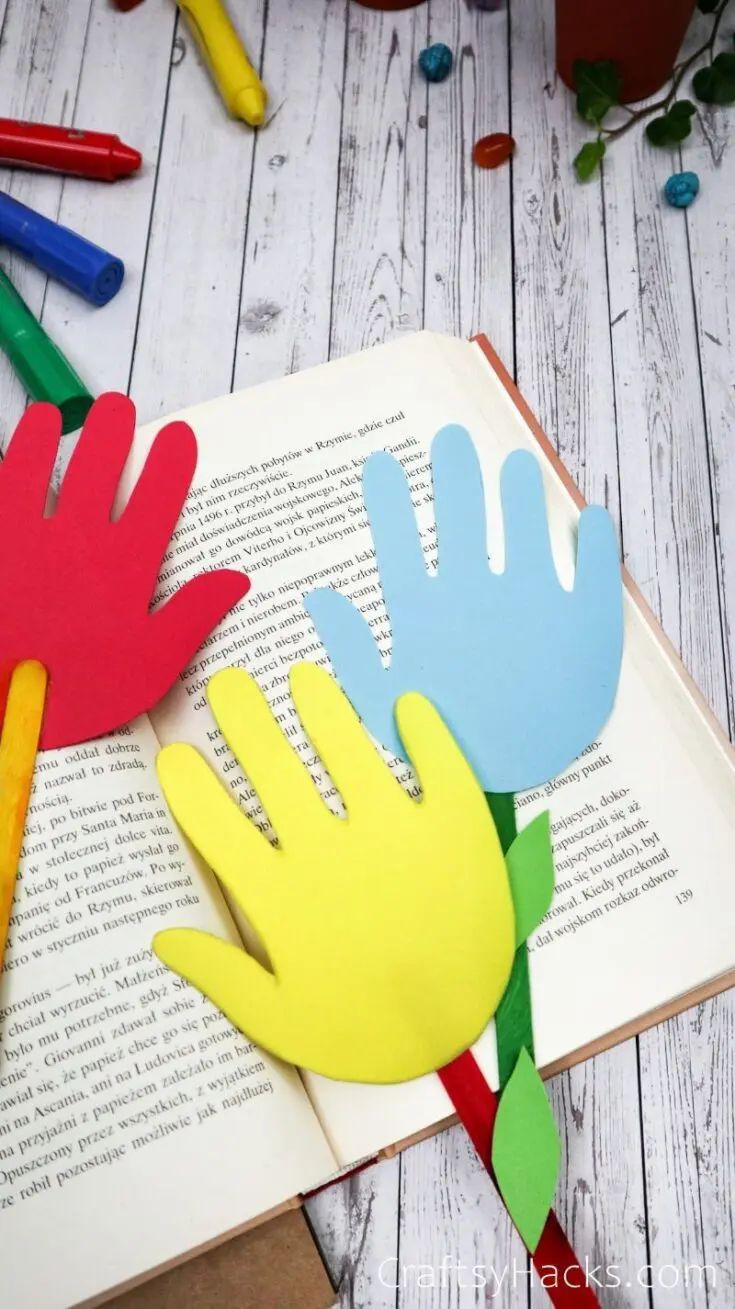
If your kids are tired of waiting for your pressed flowers to get ready and need a bookmark now, then how about this handprint bookmark to satisfy them?
The ultimate goal is to get your kids started on their reading, so you can always entice them with more and more bookmarks.
For this project, just pick out some cardstock, help the kids trace their handprint, and then cut the drawing out. Glue a craft stick to the bottom, and hey presto, you’re all done.
28. Painted Flower Pots
Source: thediynuts.com
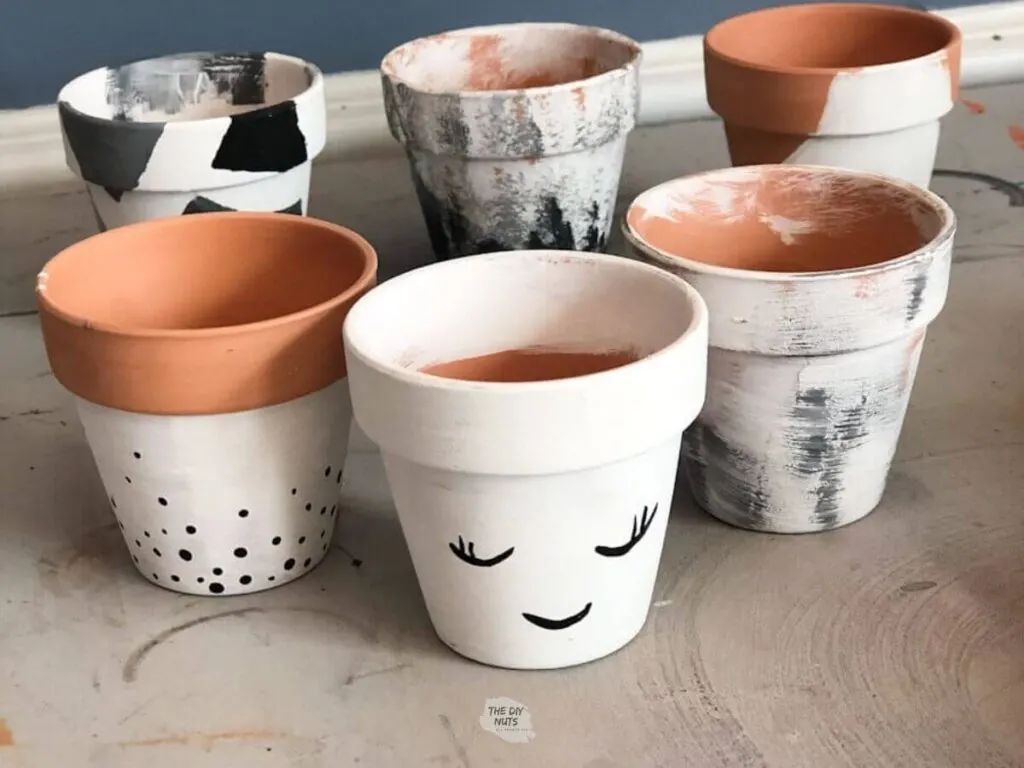
There’s a bunch of ways you can spice up your old flower pots—or new generic ones if that’s the case. Either way, with a splash of paint and some creative decorating, you’ll have some wonderful planters ready to hold your flowers.
The ones you see here are monochromatic, so if you’re into minimalistic-chic, then you’ve found what you’re looking for. Grab your paintbrushes and get started on painting the base coat.
Allow the paint to dry completely and spray some sealant to set the final paint in before you use your pots.
29. DIY Leaf Candle Holder
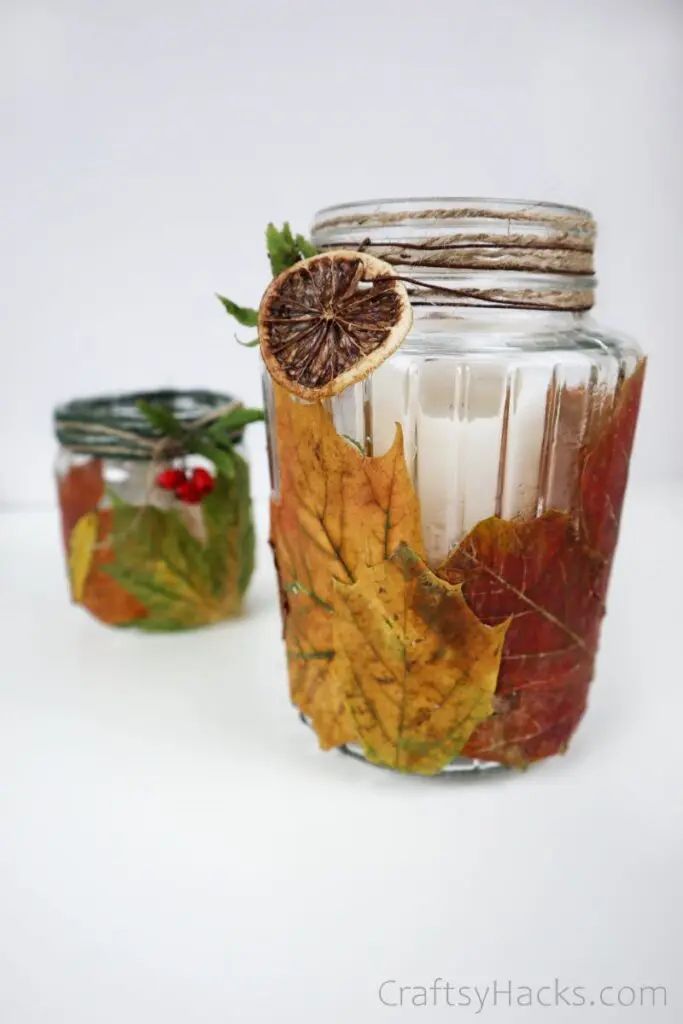
Source: craftsyhacks.com
All you need to do is walk out into your backyard, and you’ll find the primary material you’ll need for this DIY: leaves. The best part? Depending on the season, you can have jars with different colored leaves!
Just think about fall-colored leaves adorning a spicy cinnamon-scented candle jar. You can dehydrate an orange peel, pierce a hole through it and run some string to tie it in place around the rim.
Can’t you just spell the warmth and spice of cinnamon and citrus in your gorgeous leafy candle jar?
30. DIY Milk Carton Bird Feeder
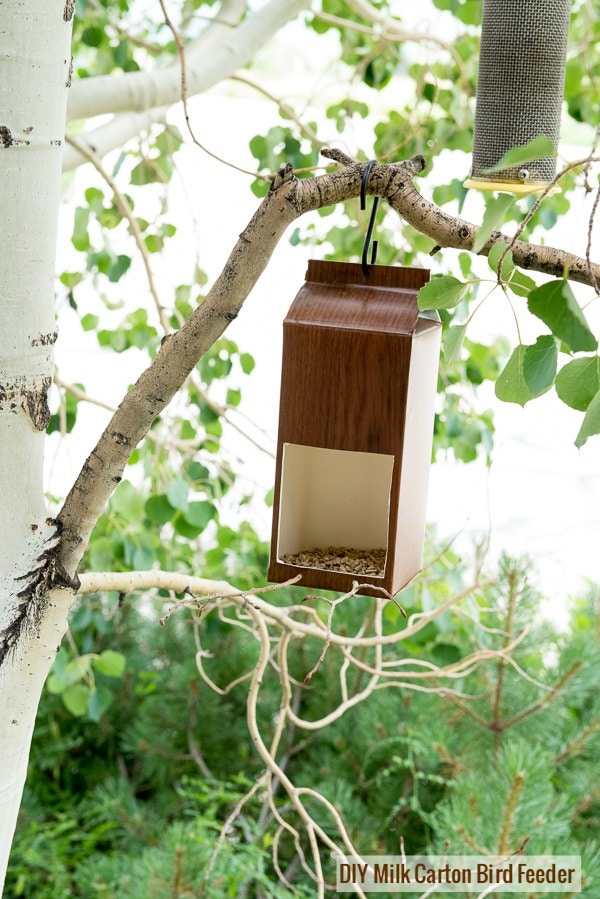
Source: boulderlocavore.com
If you’re fond of birds, then it makes sense that you have at least a couple or so bird feeders around your home. You can have one in your backyard, on the front porch, or even one like this to hang from a branch of a tree.
Grab a full-sized milk carton and give it a thorough cleaning with soap and rinse it out with water. Allow it to dry before you repurpose it for your feeder.
You’ll need a box cutter, some twigs for the birds to perch on, and an S-hook to hang the box up from the branch.
31. Tissue Paper Pompom
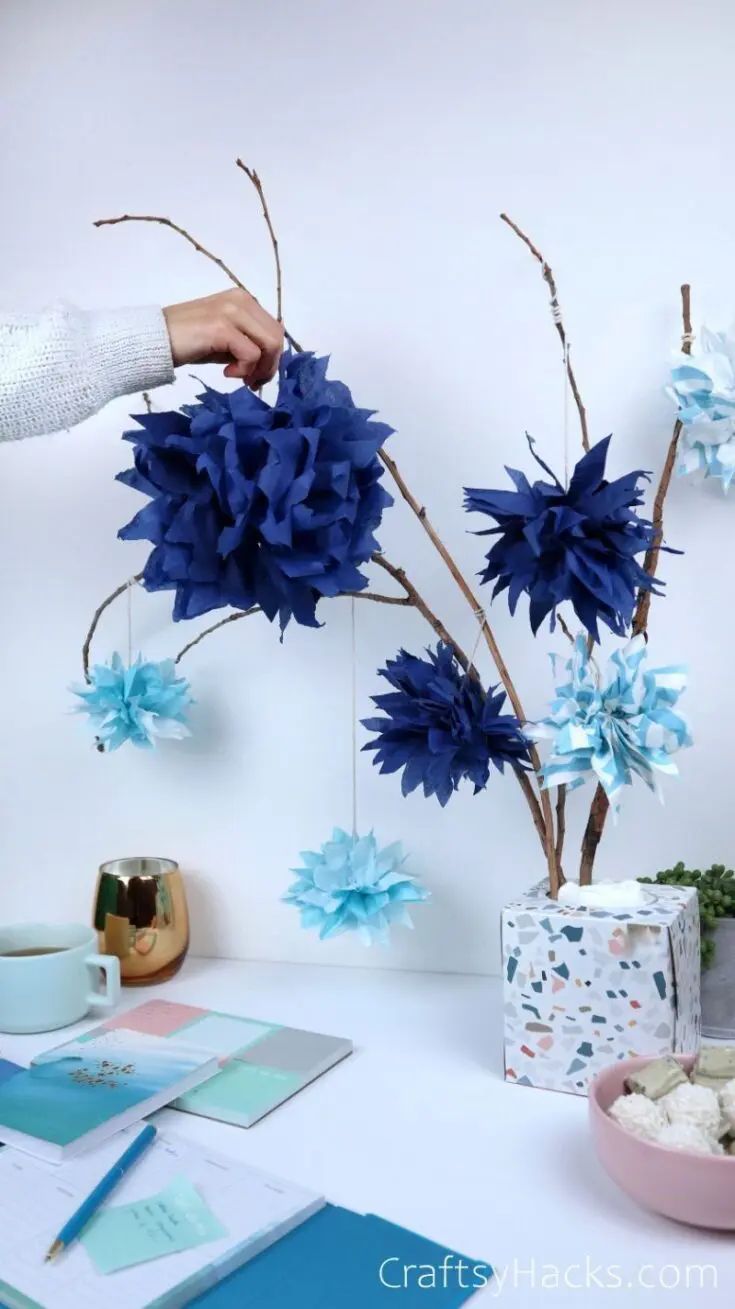
Source: craftsyhacks.com
Did someone say tissue paper pom poms? Sign me up, because I love working with tissue paper to make craft projects.
There’s something inexplicably satisfying about the texture, and who wouldn’t love rumpling and crinkling paper for craft time? Grab some colored tissue paper from here to get started.
You can use these pom poms and use them as hanging decorative additions to your home decor. They’re also a great accessory in photo booths and corners as backdrops.
32. DIY Milk Carton Lanterns
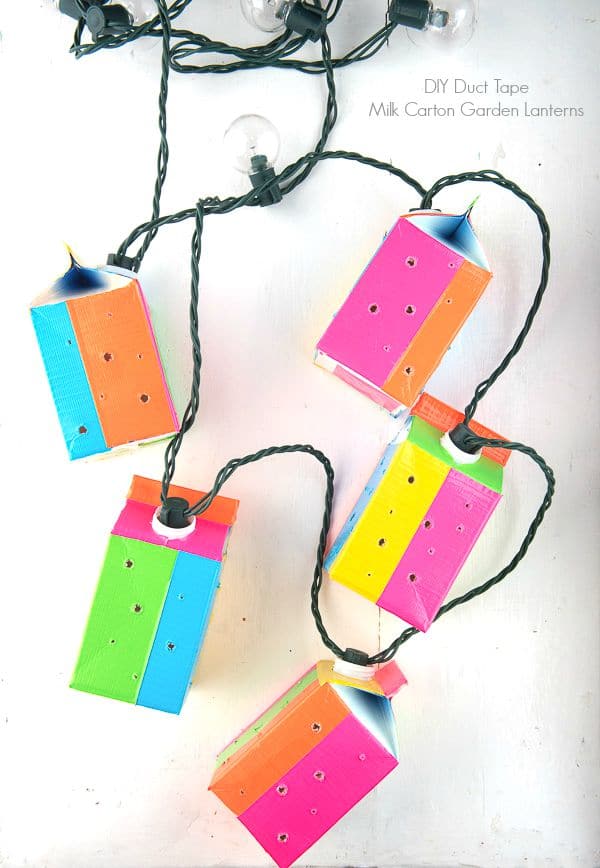
Source: boulderlocavore.com
This craft project is ideal for you to work on with your younger kids. I bet you already have all your craft essentials at hand, so just grab a couple of empty milk cartons.
You know the drill, so wash, rinse and dry the cartons before you work on painting them. You can also wrap washi tape to decorate the cartons.
Finally, string them up with fairy lights and hang them on your porch to enjoy the light and color!
33. Paper Flowers
Source: craftsyhacks.com
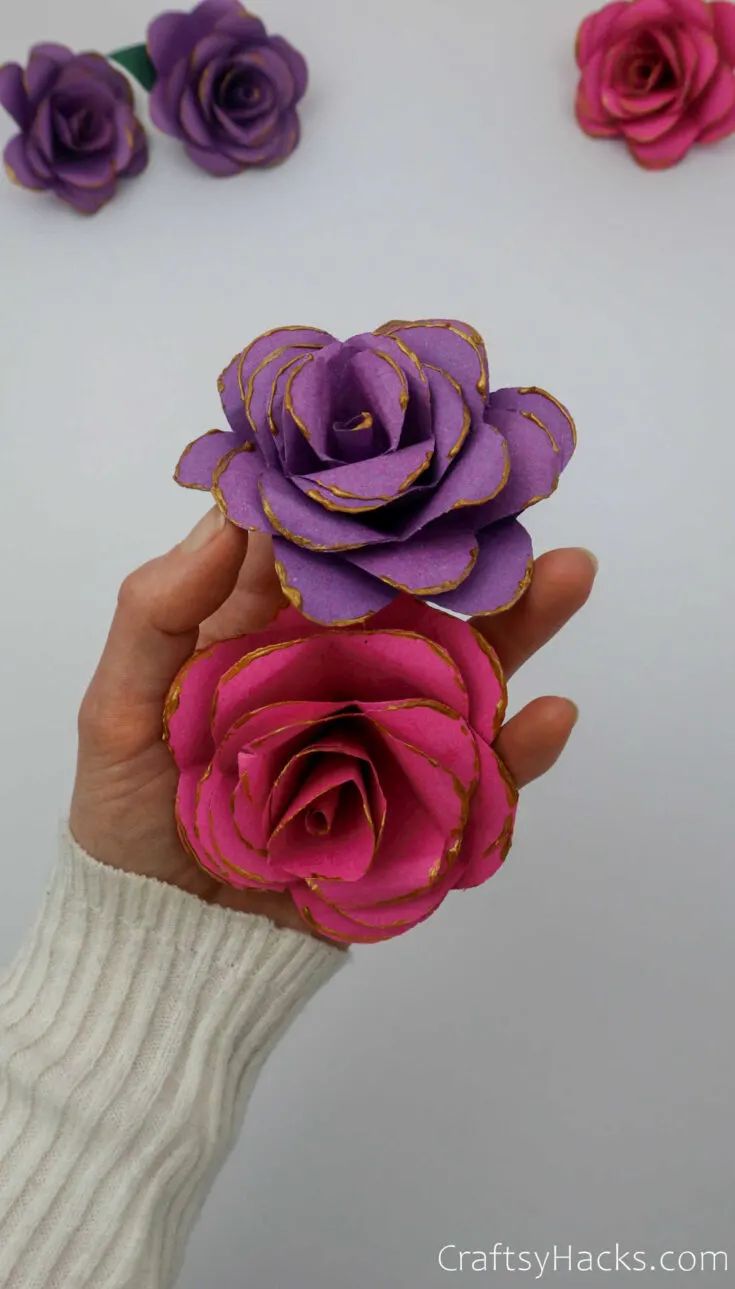
You can always use paper flowers in your craft projects. That’s why you can make a dozen or so and store them for later rather than make them in a hurry when you’re running short of time.
You know what I love the most about this project? It’s that gorgeous metallic glitter glue(look here)all around the edges of the petals.
You can make these flowers in different sizes, colors, and textures, depending on the paper you use. You can also use patterned paper—your craft flowers will look amazing with patterned paper!
34. Bottle Cap Emoji Magnets
Source: mixedkreations.com
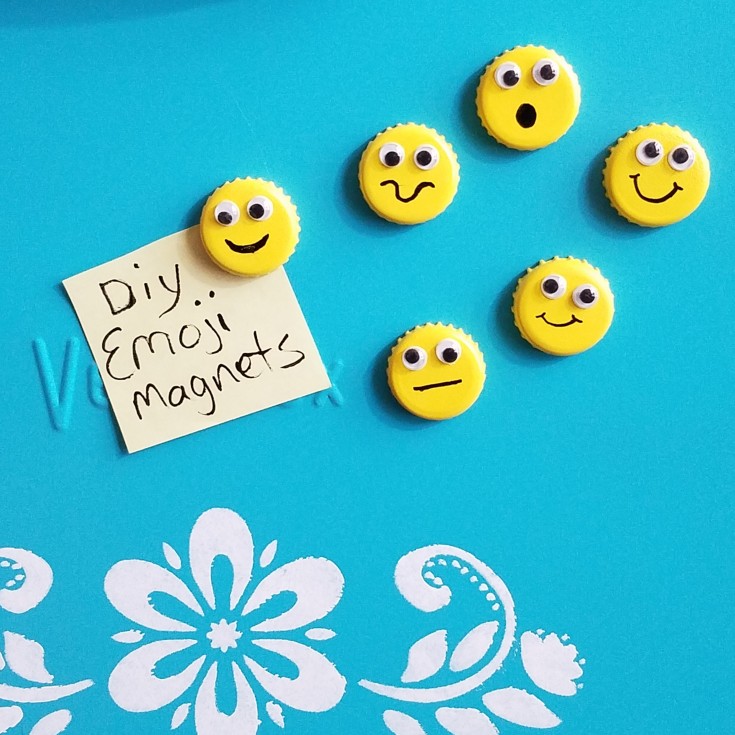
You remember when you were a kid, and you’d collect soda bottle caps? I remember painting them and stringing them up on my dresser. It was such terrific fun.
Let’s recreate that, but instead of plain old painted caps, let’s make emojis instead? Grab some googly eyes from here to get started.
You’ll also need gorilla glue to help you stick these magnets firmly in place. Make sure you use round magnets that actually fit inside the bottle cap.
35. DIY Woven Bowl Out Of Paper Plate
Source: craftsyhacks.com
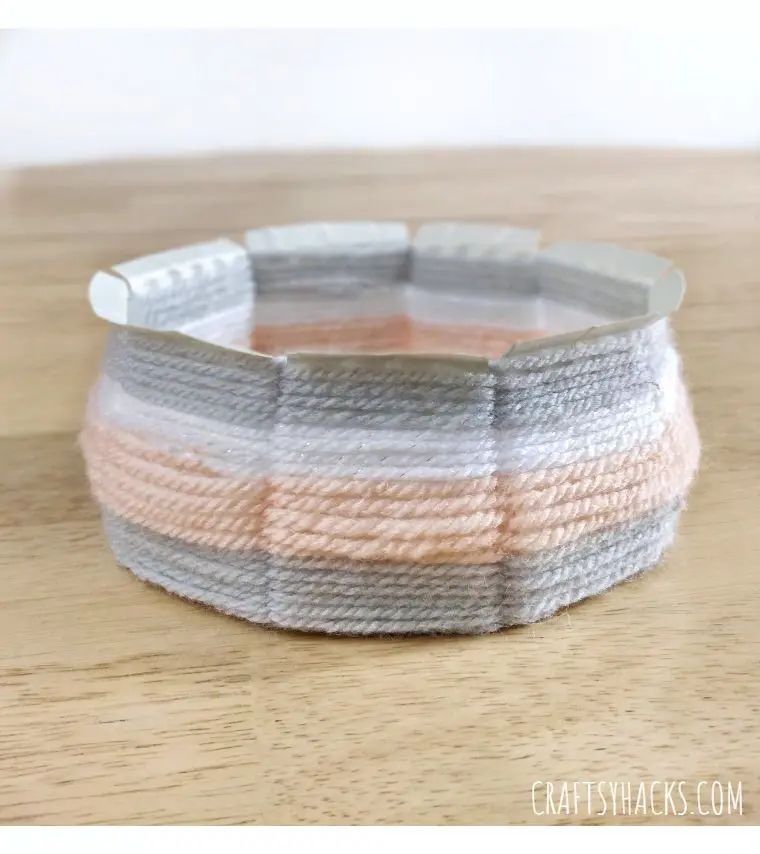
One of my favorite hobbies is crocheting—I love the activity and I also love having a ton of yarn to work with. It also means that I have a few extra skeins all the time from leftover projects.
If you’ve got a skein or two of yarn yourself, then grab them and also grab a paper plate—you’re going to make a DIY woven bowl. You can use different colored yarn to make your bowl, as well as different textures and ply.
36. DIY Cork Honeybee
Source: platein28.com
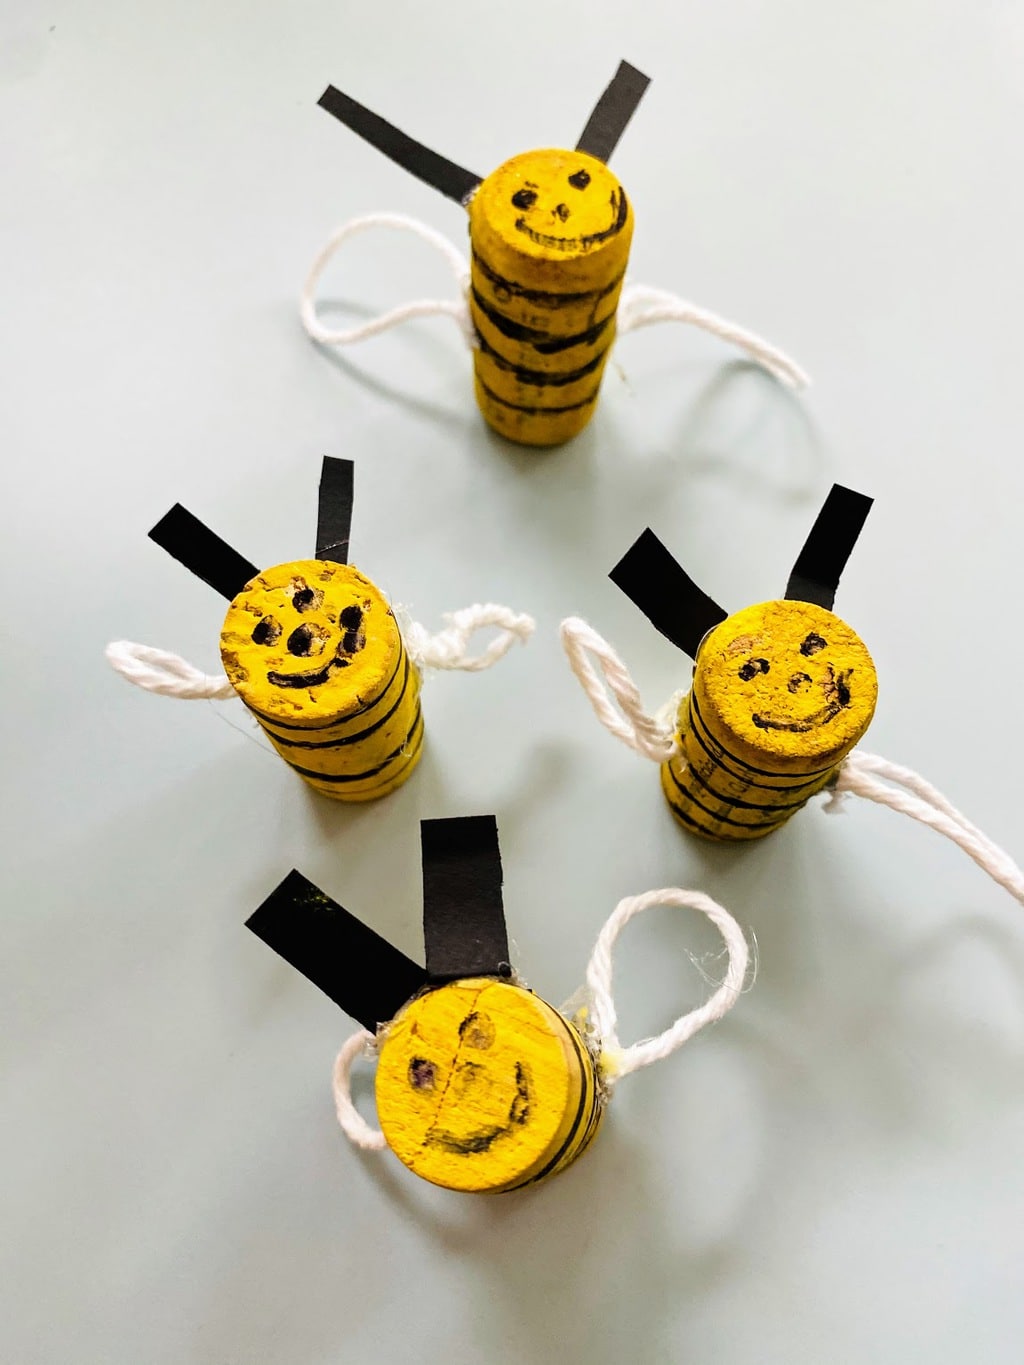
Do you have a couple of old wine bottles lying about that you can take the cork out of? Or do you have any corks leftover from a previous craft project?
You’re going to go grab your paints and brushes and start painting the wine corks in black and yellow stripes. Then, grab some cotton twine or yarn and bend them into wing-like shapes before you glue them to the sides.
You can use a marker to draw eyes on the flat side of the cork. Alternatively, glue a couple of googly eyes if you want to.
37. DIY Bottle Cap Candle
Source: craftsyhacks.com
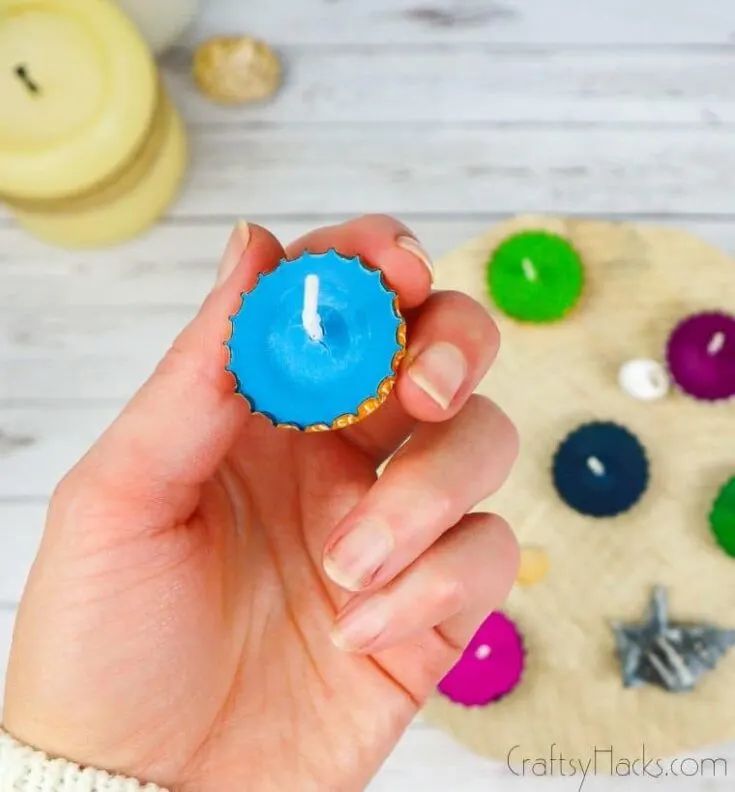
I always think of bottle cap candles as a sort of ‘mini’ project. They’re so tiny, these candles are, but they can add such character to your decor.
If you’re out of bottle caps, just pick them up from here. You probably have wicks already, but if you don’t, make sure you pick up tea light wicks and trim them down to size
Honestly, this is just a great craft for men.
38. Washable Home Fabric Paint
Source: craftinvaders.co.uk
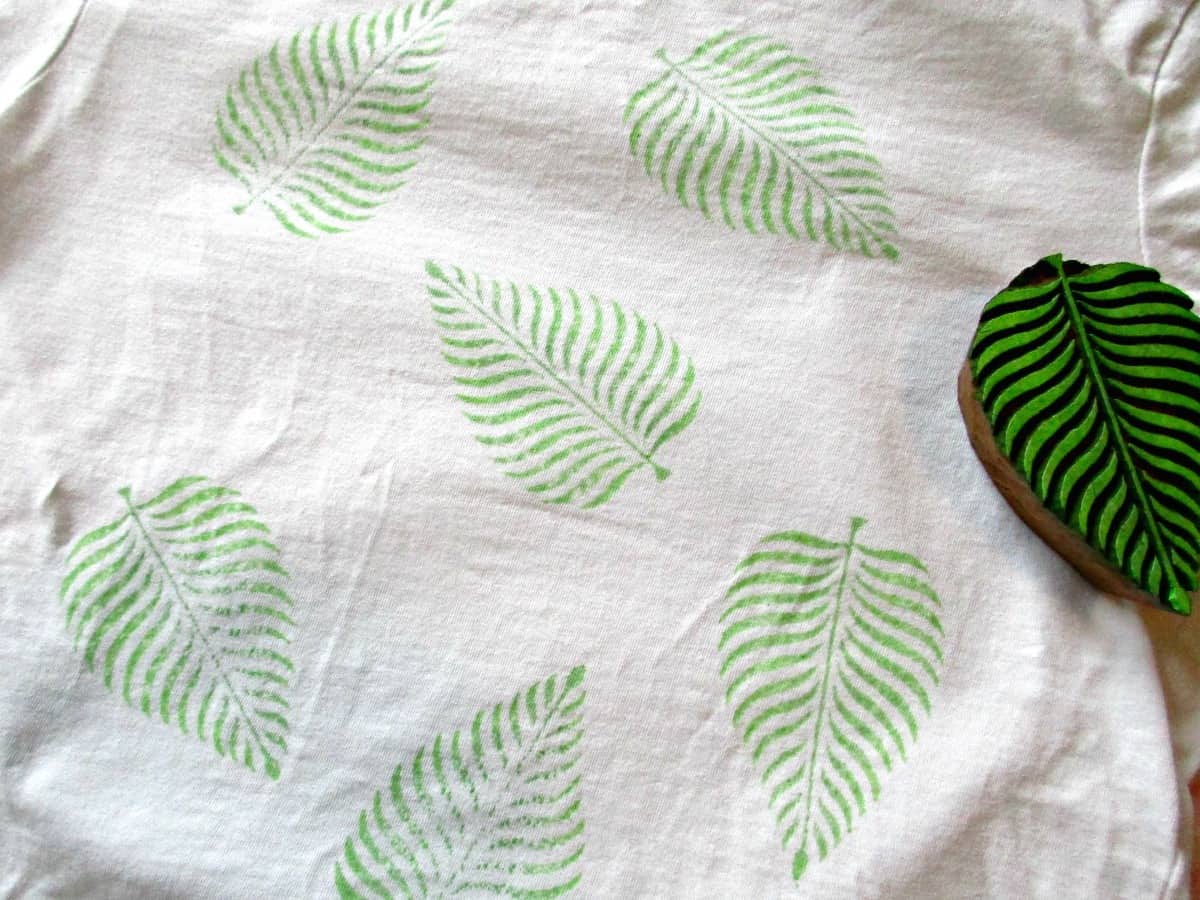
Did you know that you can make fabric paint from acrylic paint? All you need to do is add household ingredients like glycerine and white vinegar to make a fabric medium.
Once you’ve made your fabric paint, you can use a sponge or a brush to apply the paint to the wooden stamp(look here). Then, just press the block down onto the fabric you’ve chosen, and you’re all done!
Feel free to go crazy with the colors—a rainbow-colored leaf is much better than just a plain old green leaf!
39. Paper Picture Frame
Source: craftsyhacks.com
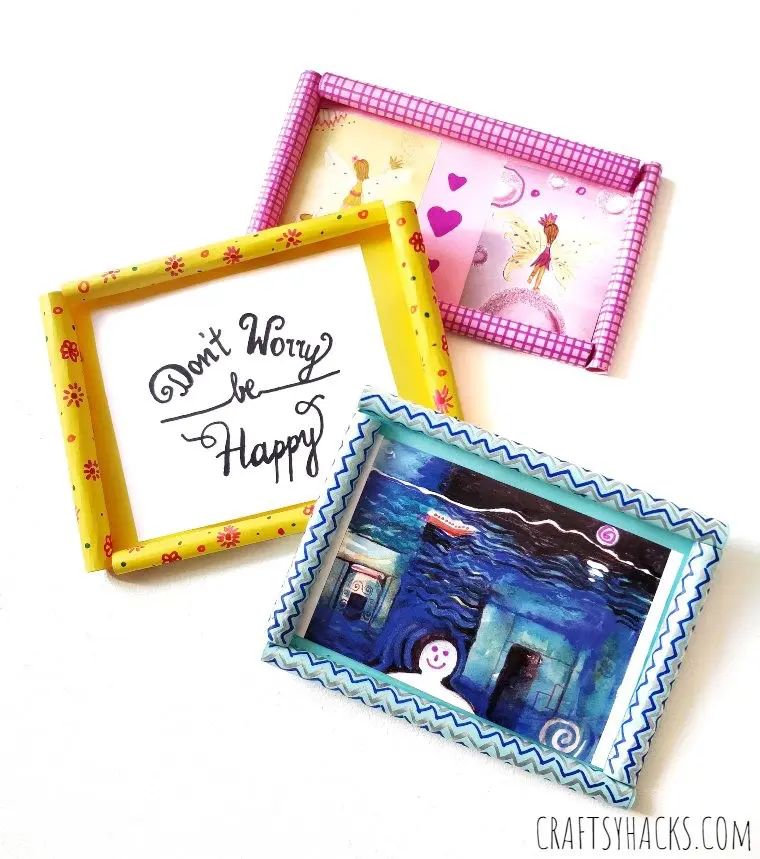
Do you have any craft paper? Then you’re already halfway there with this craft project!
You can never have too many picture frames around your home. Use a couple of permanent markers to design and decorate your paper before you make the frame.
Try to work small designs into the paper—repetitive patterns and motifs, as opposed to a single large design. That way, when you cut the paper for the frame, you won’t have to worry about messing up your design.
You might also want to check out these construction paper crafts.
40. DIY Giant Jenga
Source: creativegreenliving.com
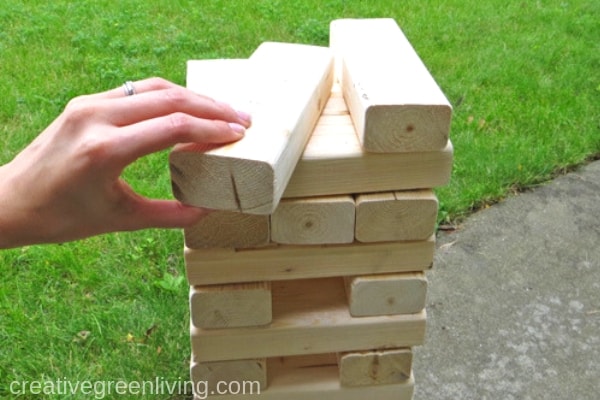
There’s nothing like a game of giant jenga in the backyards on a warm sunny day. Think about it: you have a Sunday barbecue planned and your friends are over.
A game of giant jenga would hit the spot, don’t you think? Here’s an idea: you know how you have truth or dare jenga? Why don’t you look up a few ideas for themed-jenga?
It can really boost the fun quotient at your party!
41. Concrete Succulent Planters

Source: thesoccermomblog.com
These concrete planters just scream urban-chic, don’t they? With a succulent planted in there, there’s a lovely congruence of nature and the urbane that you can bring into your home, just like that.
You can recreate these for your own home—they’re ridiculously easy! Grab some dry cement from here, a plastic bucket to mix the cement, some sand, and a large stick to stir it.
You’ll need to cut out two cardboard boxes to suit your needs which will act as the mould for your cement. You can play around with the size, too.
Alternatively, just use an old milk carton or reshape a cereal box to the same effect if you want smaller planters.
42. DIY Boho Wall Decor
Source: makingmanzanita.com
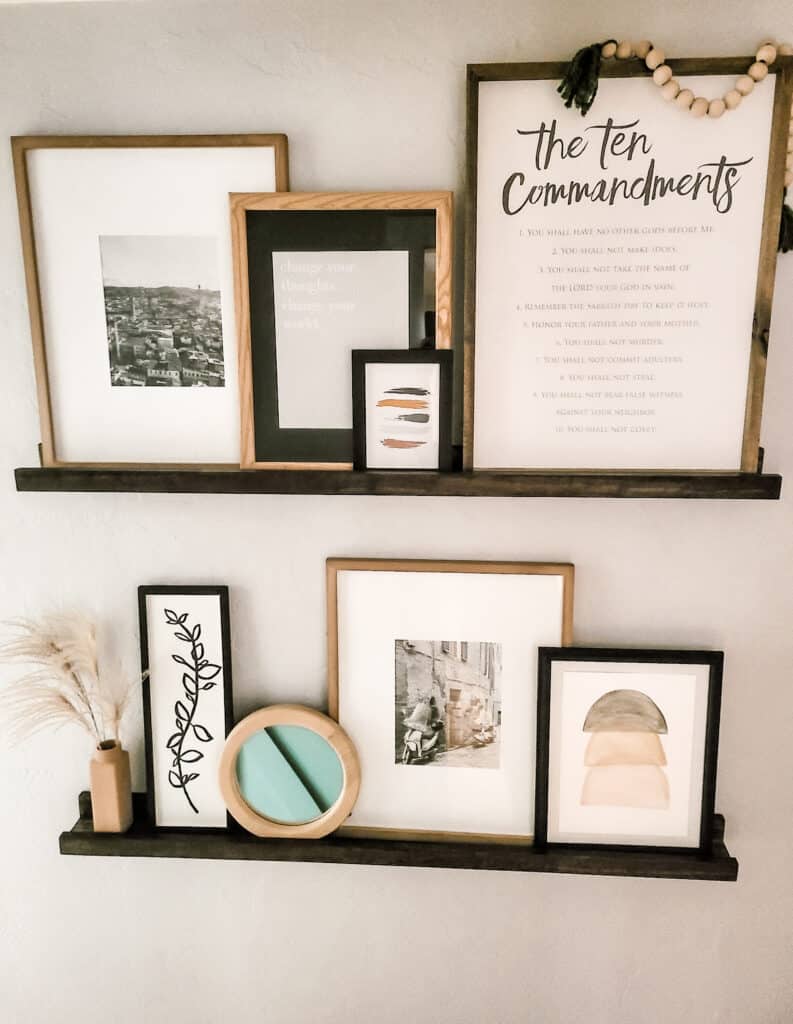
If you’re looking for the right piece of decor to fill that gap in the wall, then how about you take a look at this boho-chic wall piece? It’s easy to make and inexpensive to boot.
It’s essentially just a series of abstract shapes, so you can look up fun bohemian patterns on Pinterest, too, and browse for something else you like.
Then, grab your brushes, watercolor paints, watercolor paper, and a picture frame. You can make your own frame, too, if you’re handy with woodwork.
That way, you can truly make your bohemian frame from scratch!
43. DIY Wood Storage Bookends
Source: artsyfartsymama.com
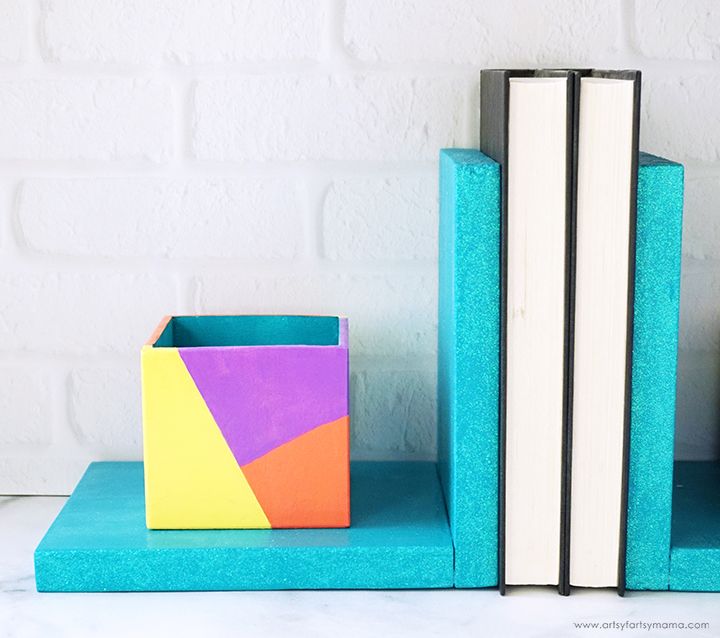
I bet, if you’re a craftsperson and enjoy woodwork and crafts, you always have a stash of woodblocks and scrap wood just waiting to be repurposed. Here’s a project that you can try out: wood bookends!
If you have a friend, relative, or loved one who loves to read, I’m sure they’ll be thrilled to receive a set of handmade bookends as a present! You can even attach a couple of little boxes to the ends of the bookends for them to store bookmarks in.
Paint the wood in bright colors, or simply use a wood stain to jazz it up. If you like, you can go ahead and carve something simple yet elegant on the wood.
44. Upcycled Vase
Source: makingmanzanita.com
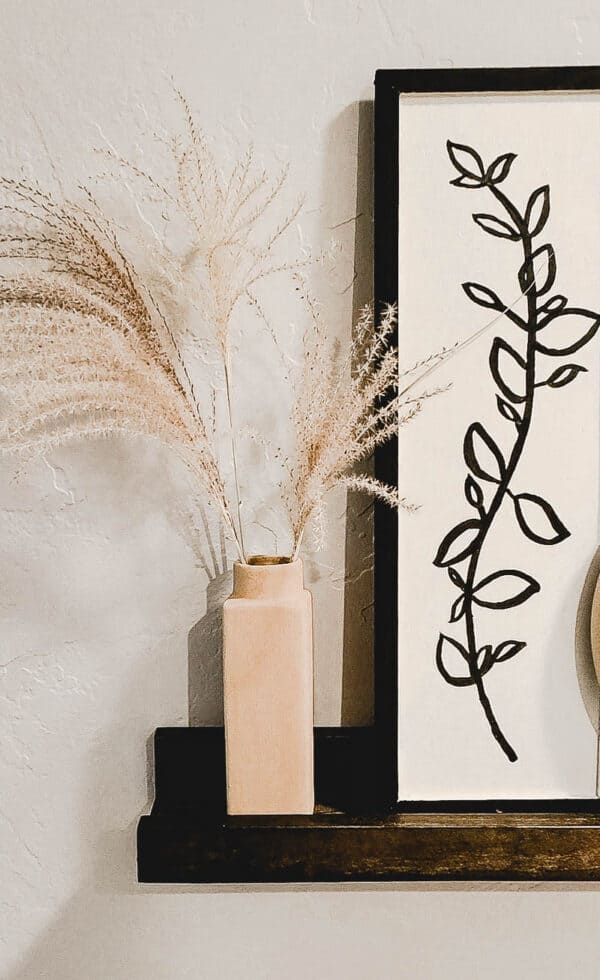
If you’re looking to turn an old vase into something more useful and pretty at the same time, then here’s how you do it: go bohemian! No, really, check it out!
You can transform your glass vase into a ceramic-finished boho masterpiece that you can display at home. Did I tell you that you’re going to be using everyday baking soda and acrylic paint to give your vase a make-over?
So it’s easy and inexpensive. Love this vase? You might also enjoy making these Dollar Tree vases.
45. Honeycomb Wood Shelves
Source: swiftfit.net
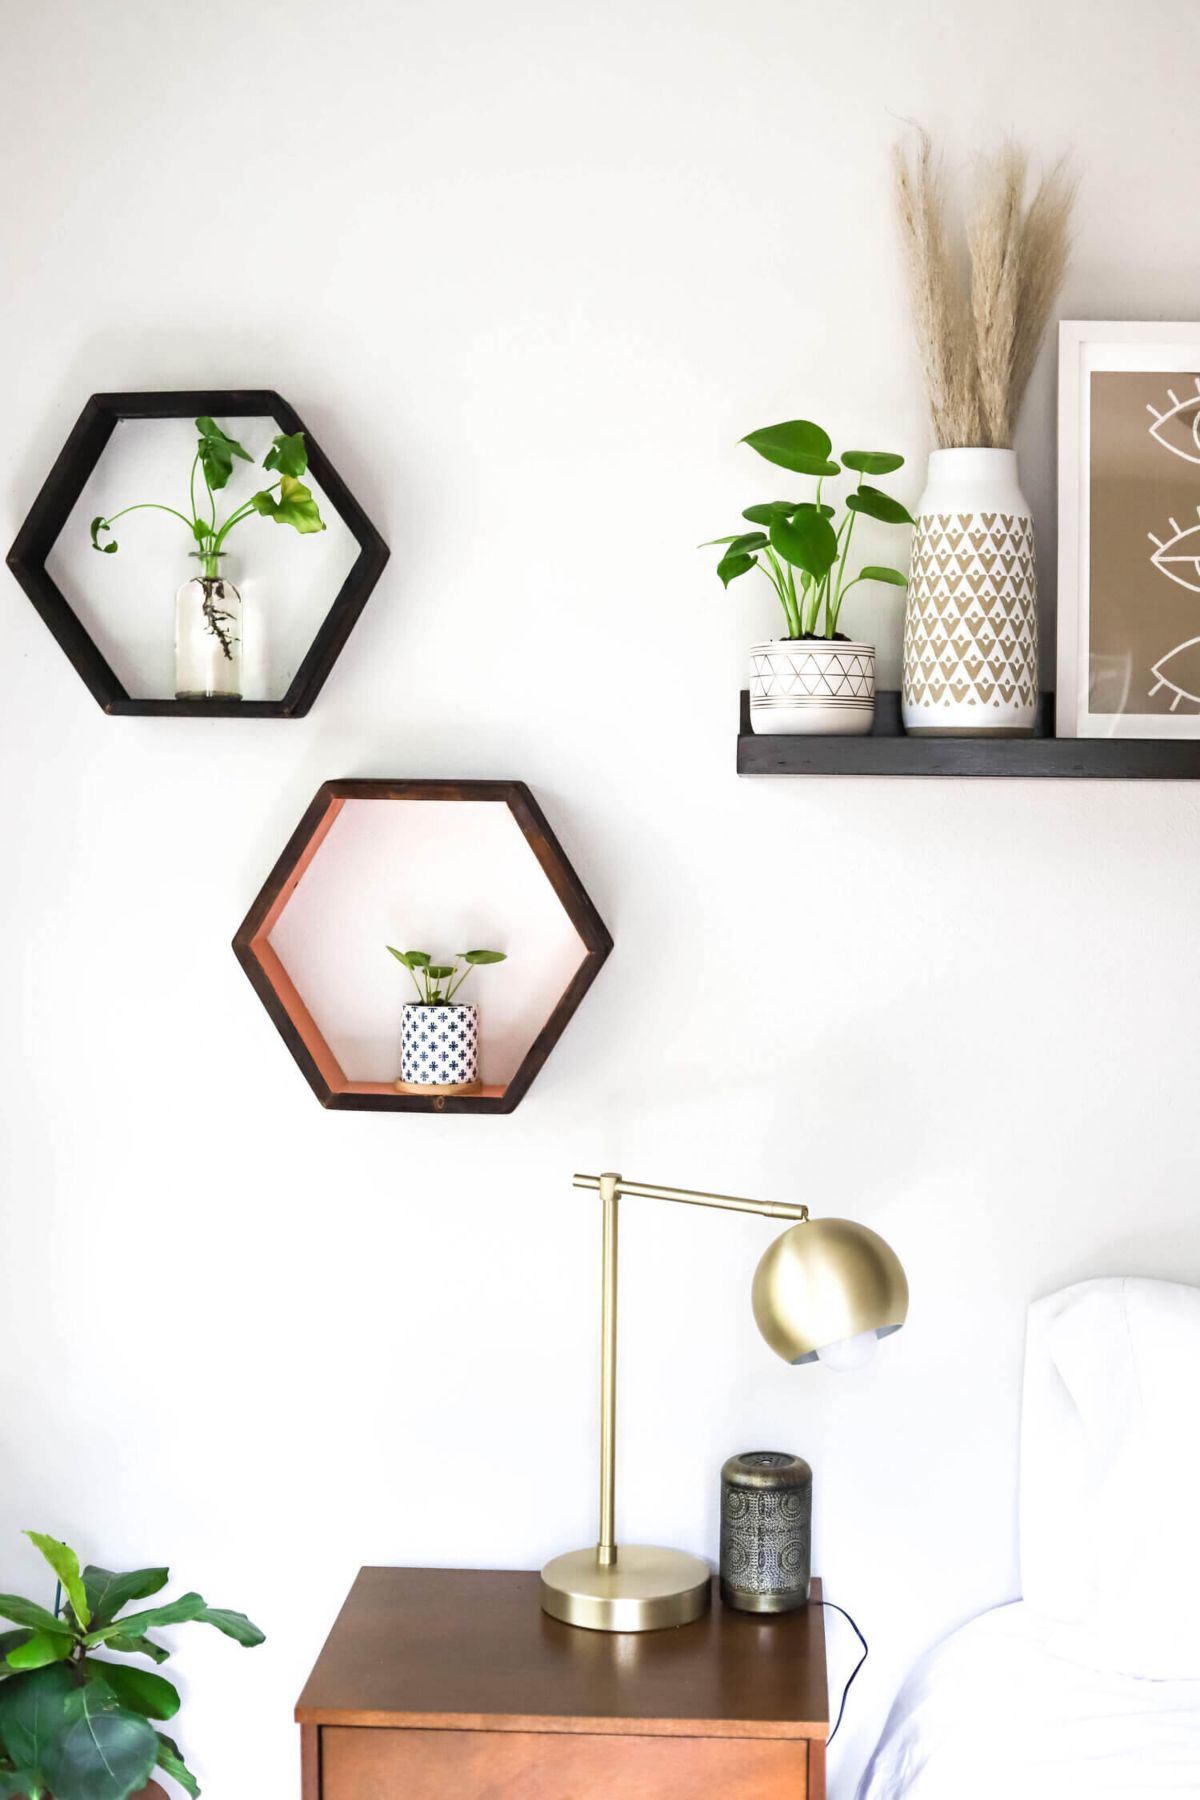
I love a good floating wood shelf. But there are more effective—and attractive—ways of not just making the most of the space but doing it with style and panache.
These honeycomb shelves instantly up the class of your wall space, simply because they’re not plain old flat shelves. You can place things inside the honeycomb as well as on top of it—extra space!
Just make sure you use good quality wood in order to maintain the integrity and durability of the shelves, and you’re all set.
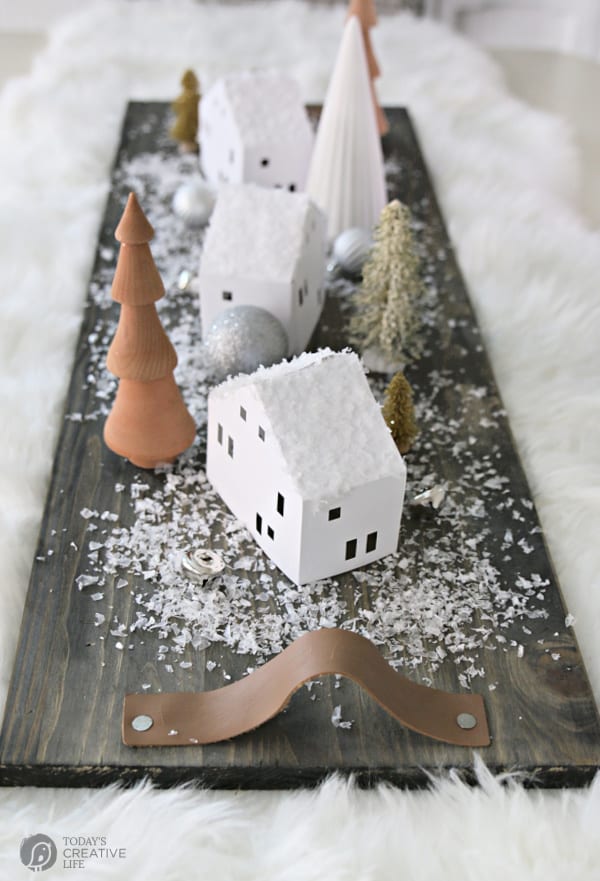
46. DIY Wooden Tray
Source: todayscreativelife.com
Like I told you earlier, if you’re a craftsperson and are into woodwork, you’re bound to have scrap wood lying around. Here’s yet another DIY project where you can repurpose old wooden planks into a gorgeous tray.
Pick out your wood stain of choice, as well as a couple of swaths of leather fabric for the handles. Wood and leather get along like peanut butter and jelly, don’t they?
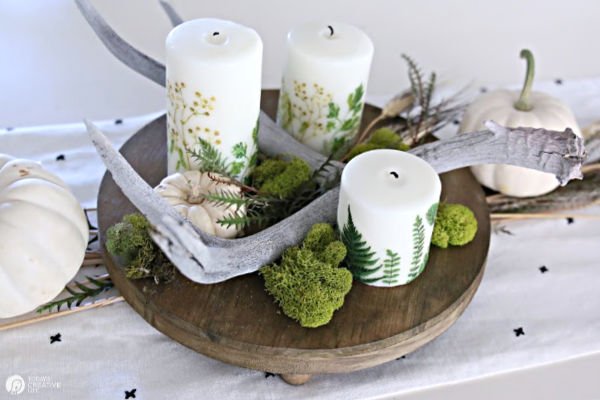
47. Transfer Image Onto A Candle
Source: todayscreativelife.com
I don’t know about you, but I always thought that it would be a pretty elaborate process to make one of those photo candles. Transferring images onto a candle doesn’t really sound easy, does it?
But you’d be surprised at how simple it really is! Just make sure you have the right type of candle, though.
You’ll also want some patterned paper napkins, printer and wax paper, washi tape, and a blow dryer. Grab your supplies and get started right now!