Paper Plate Flower Craft (original) (raw)
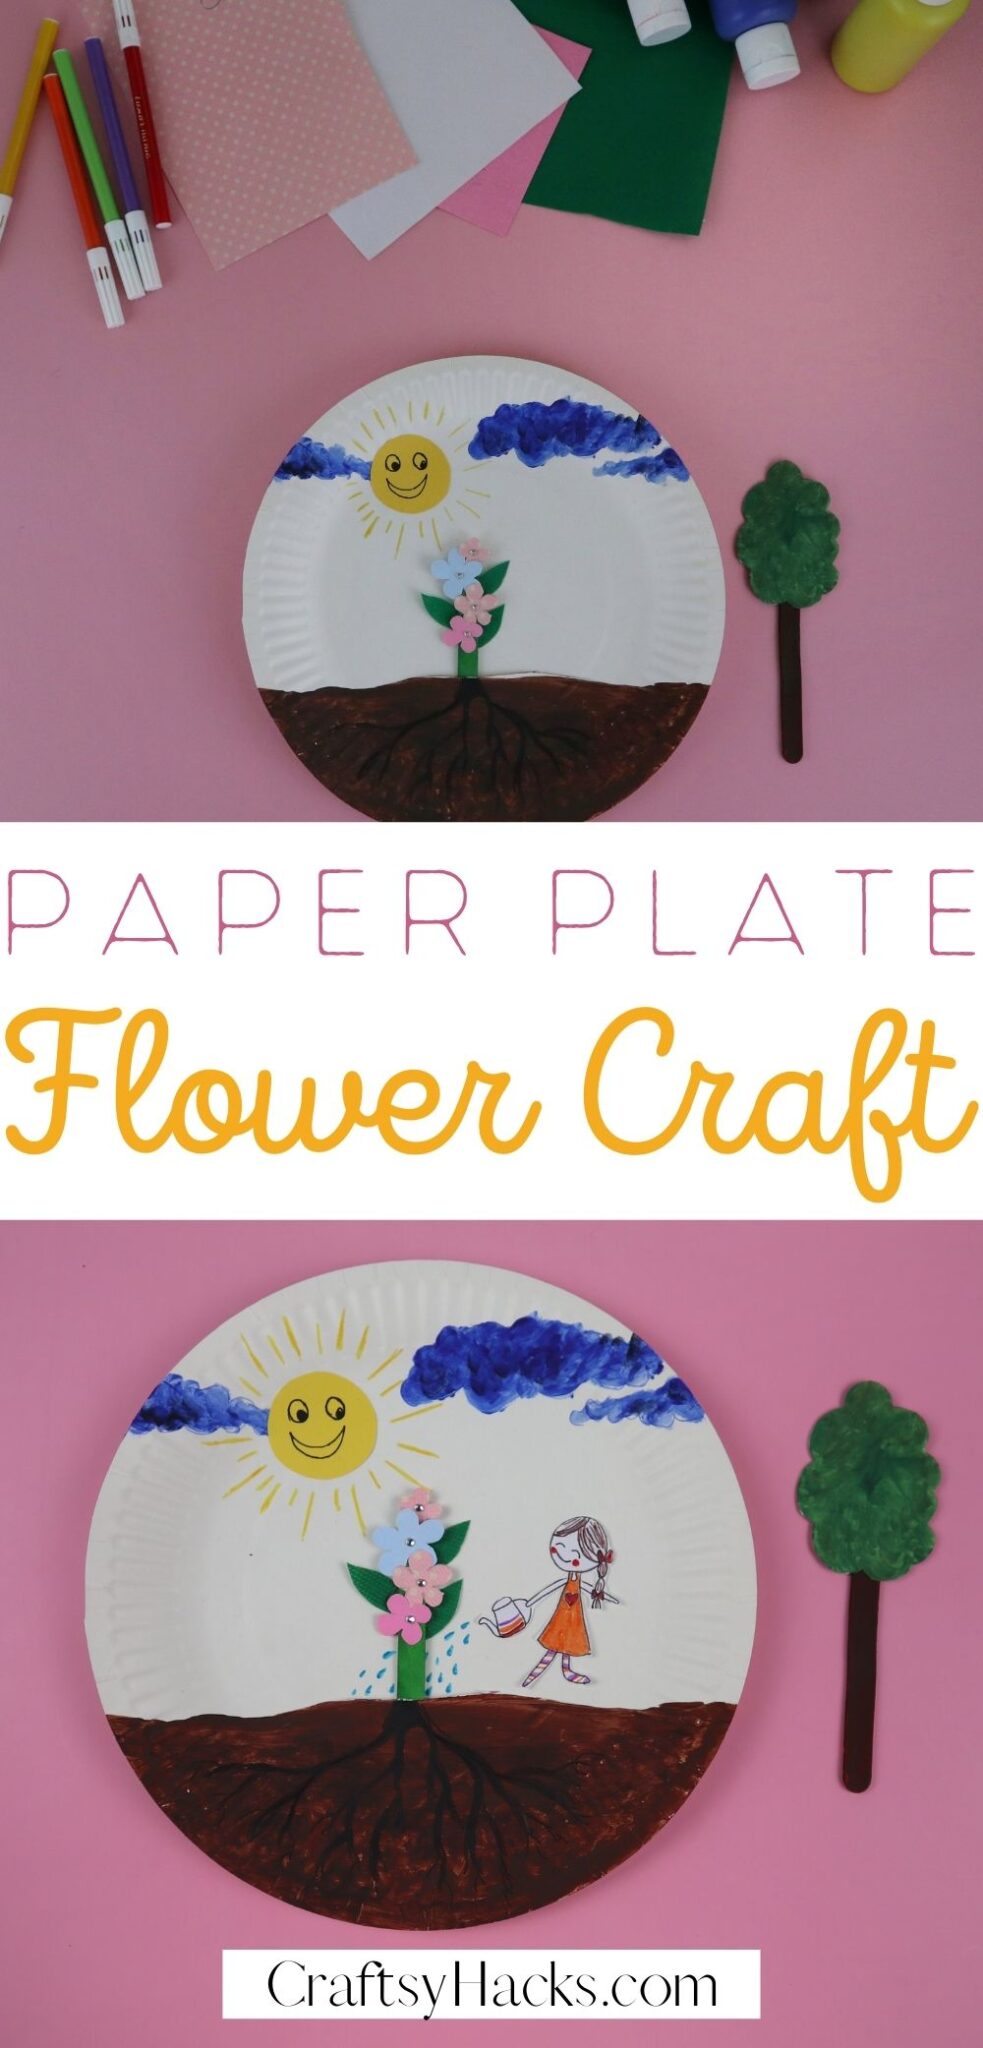
Cute, fun paper plate craft you can make with the kids! It can do for a lovely weekend activity for the little ones.
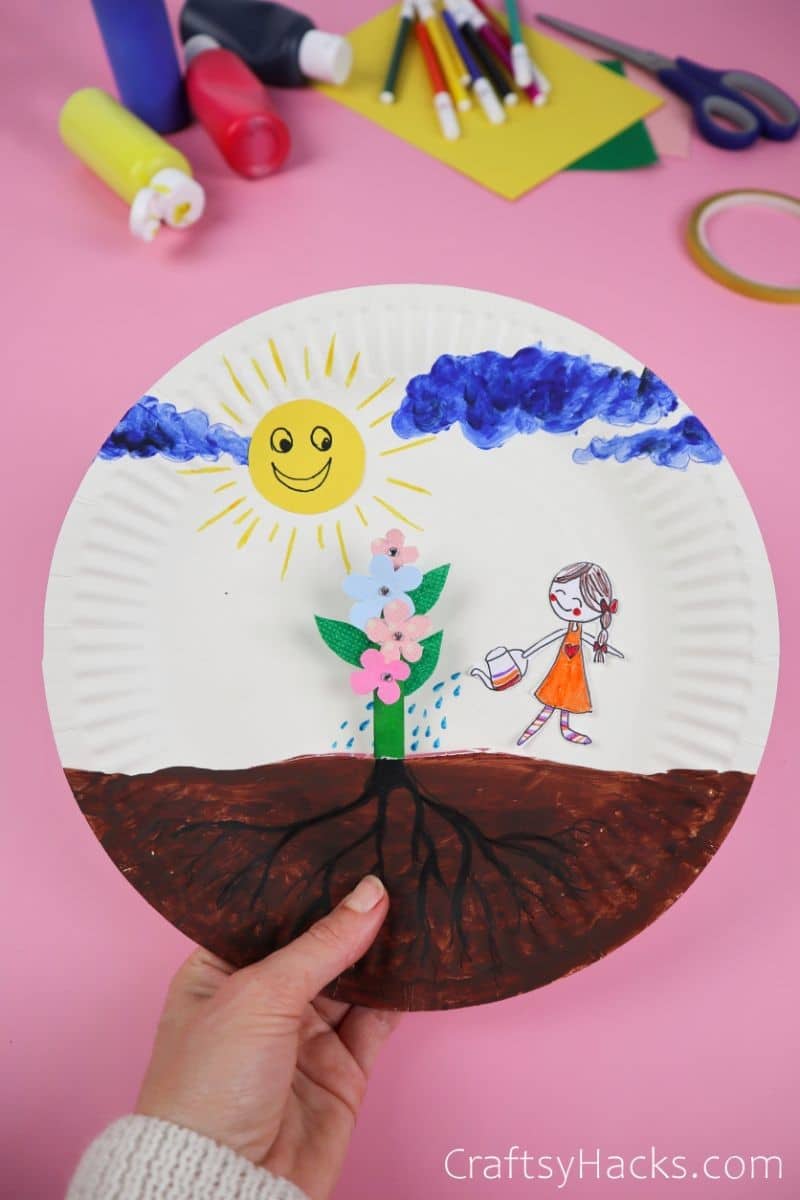
Have you ever thought about how underrated paper plates are as a craft supply? I certainly have, and this DIY project is my case for using them more!
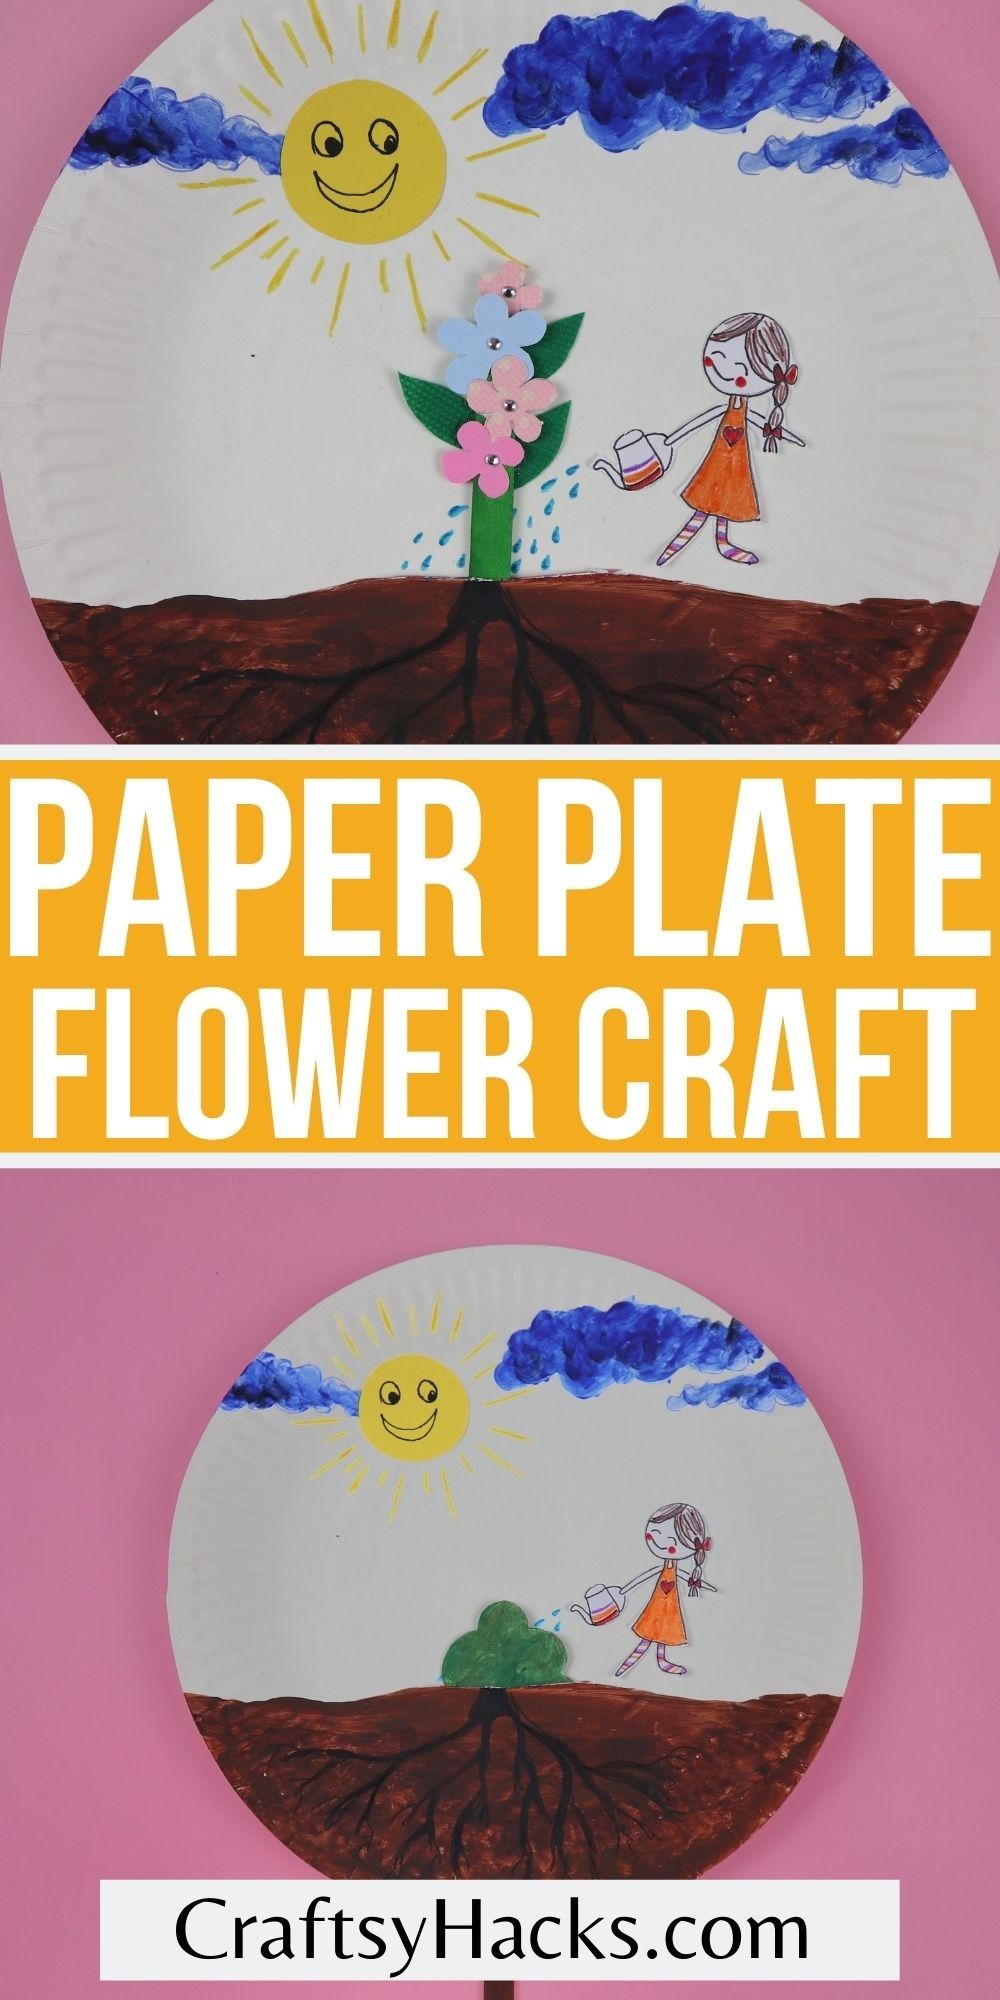
Combine a 2D summertime scene with 3D flowers for your little one’s new favorite wall decoration.
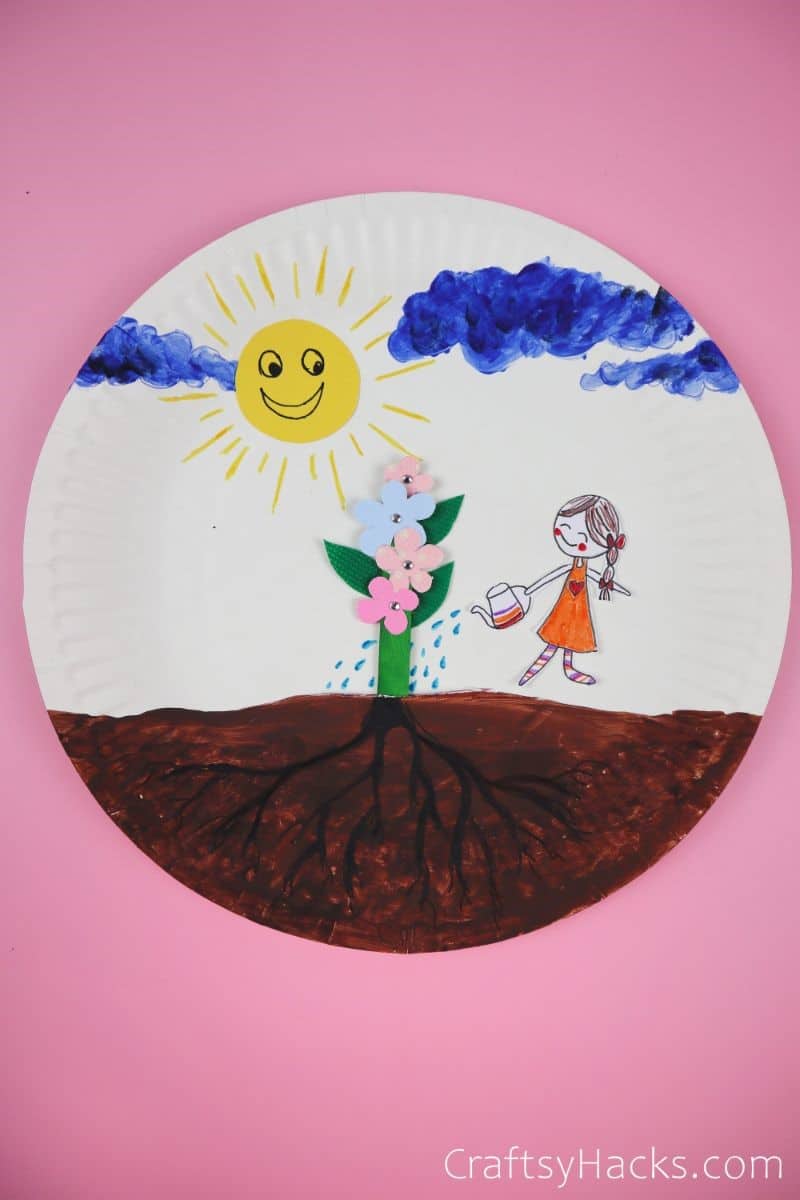
Or maybe you’re a preschool teacher in need of your next great activity! This will fill your classroom with happiness, and it gives the kids an adorable souvenir in honor of their hard work.
All the supplies you’ll need for this DIY are easy to find in any home or classroom. So, all you need to do is grab them all, pull up a chair with the kids, and get creating!
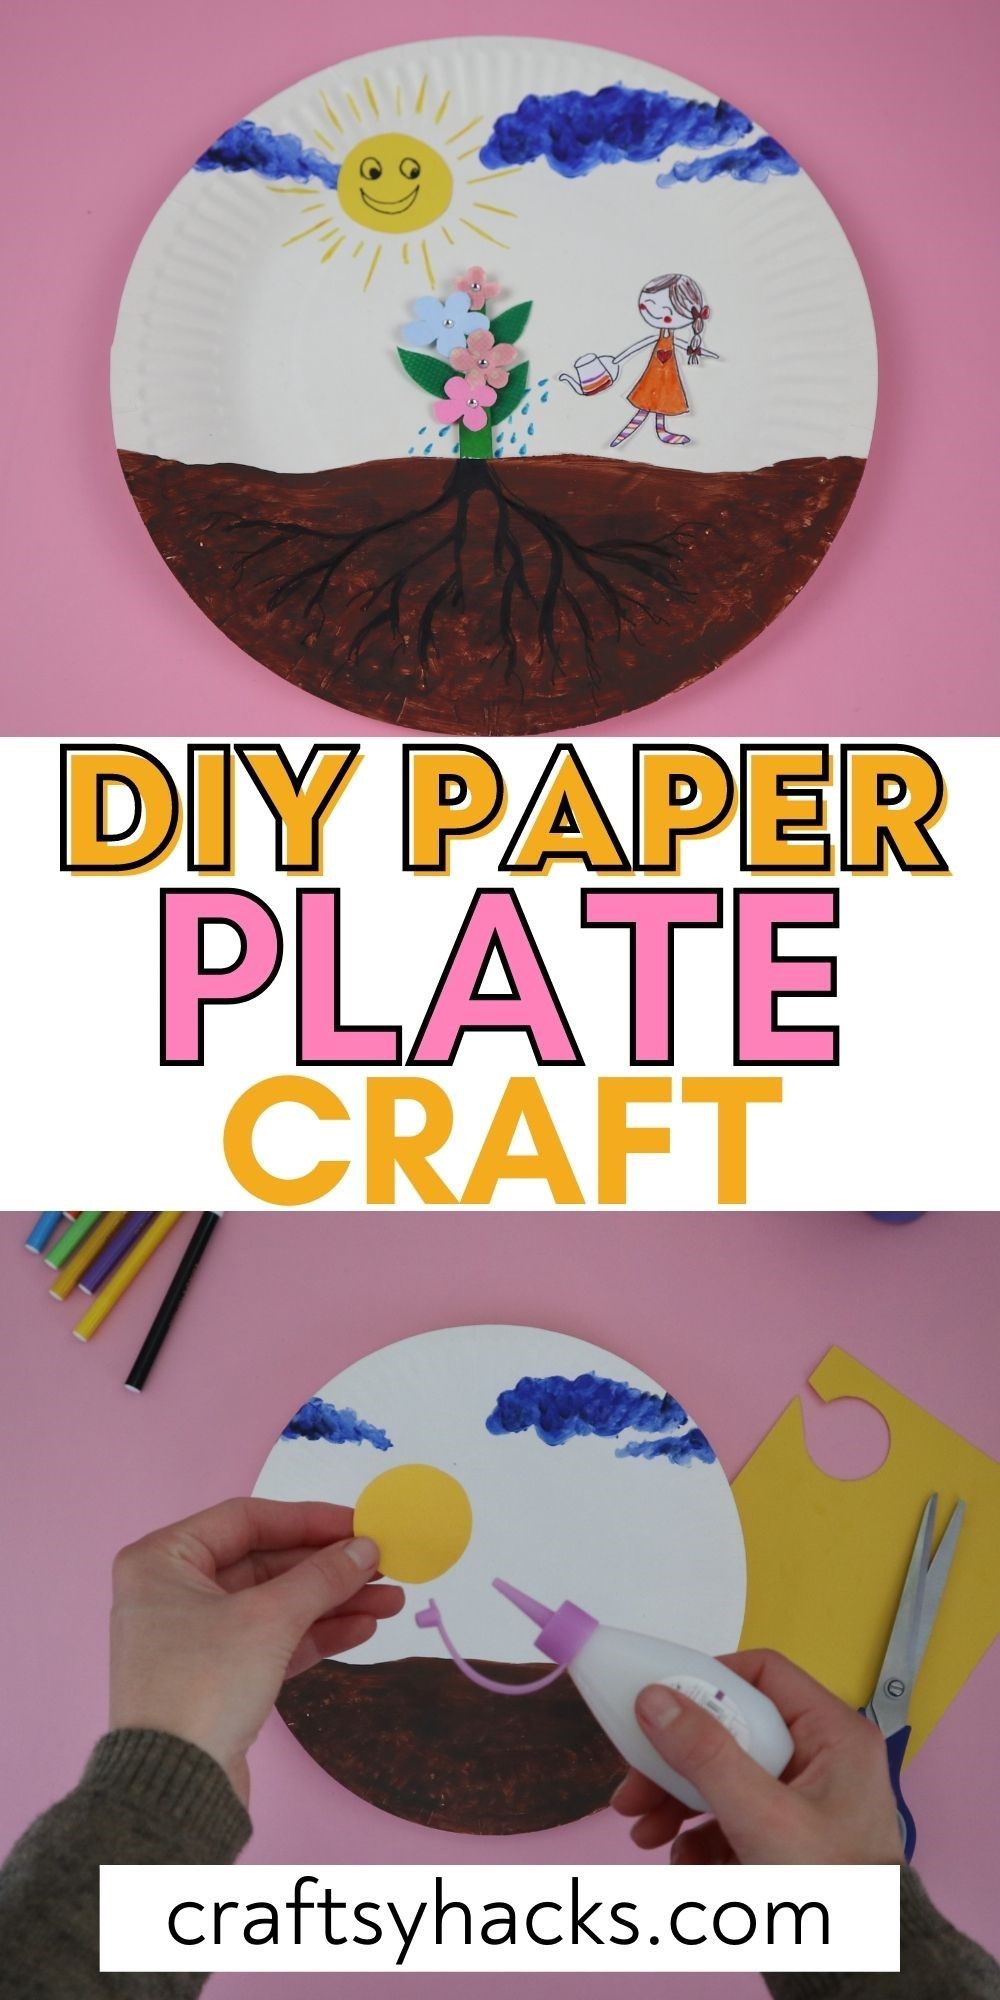
What You’ll Need
- Paper plate
- Green craft stick (or dyed lolly stick)
- Glue
- Construction paper
- Acrylic paint
- Markers
- Pencil
- Pen
- Scissors
- Brush
- Safety cutter
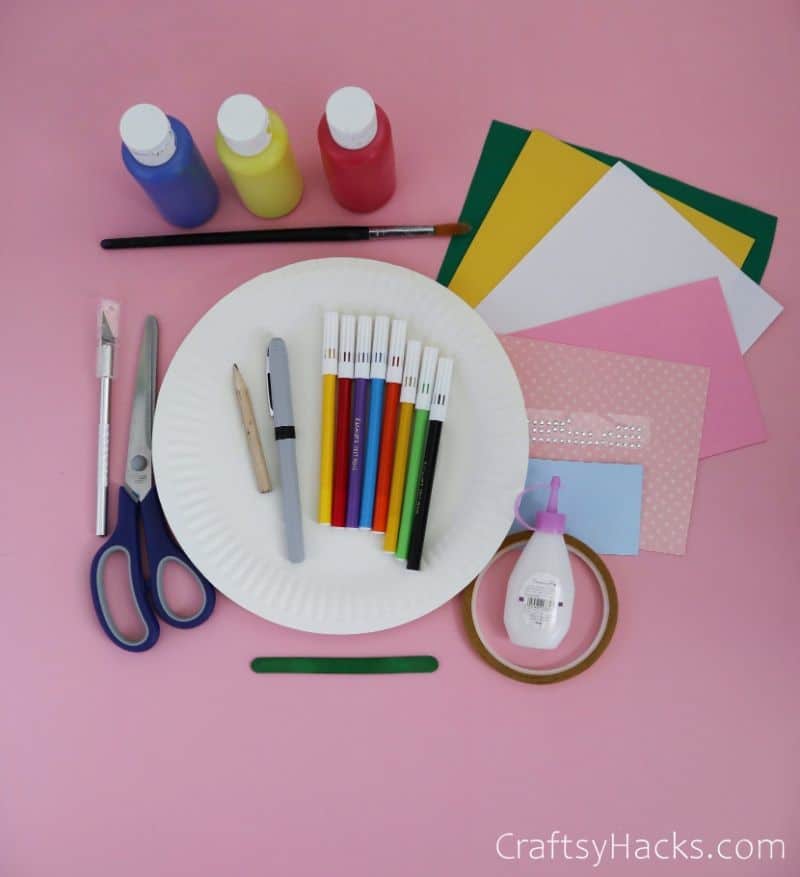
How to Make This Paper Plate Flower Craft
Here’s a step-by-step tutorial on how to get creative with your paper plates.
Step 1
Let’s start by assembling our tools of the trade. You can use any kind of medium for this, so stick with what your kids are comfortable with. I switched between markers, paper, and paints.
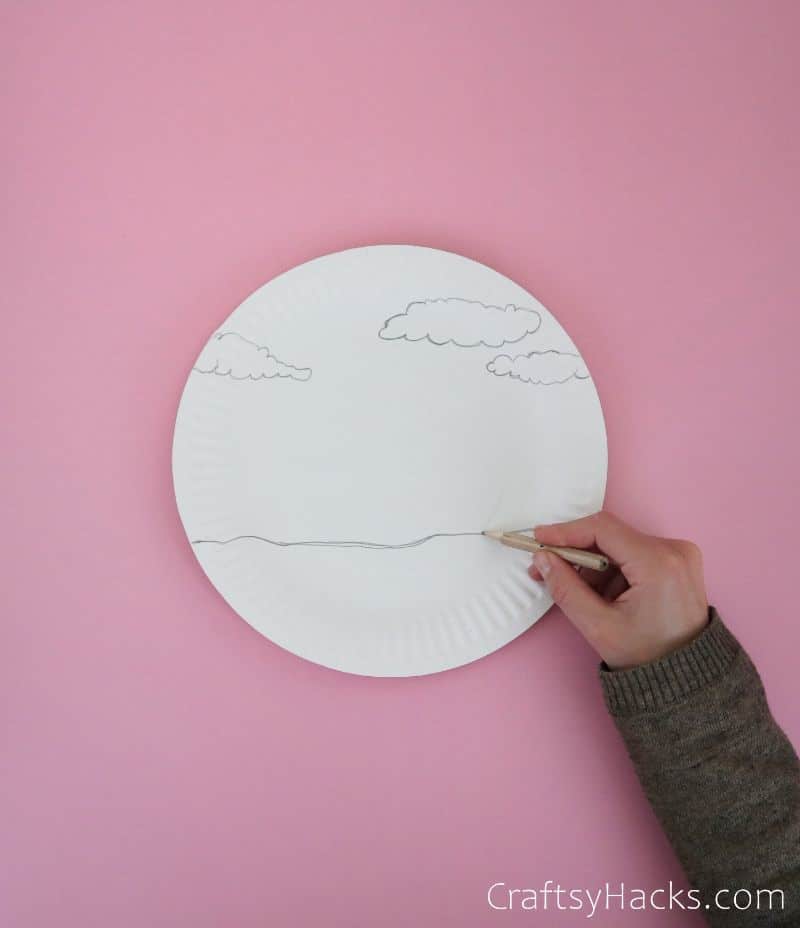
Step 2
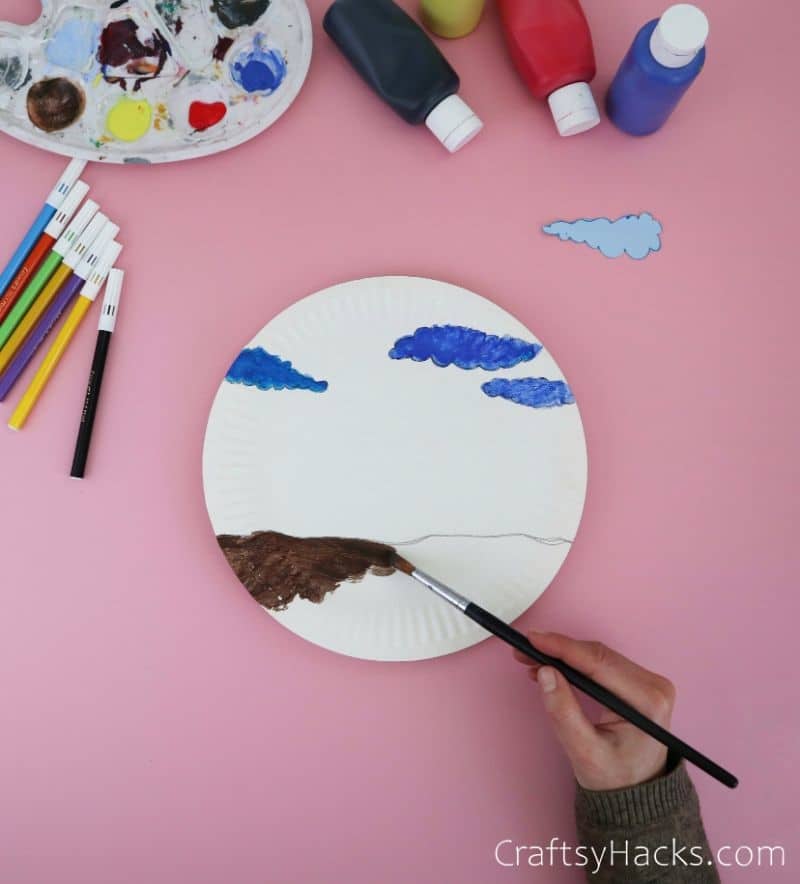
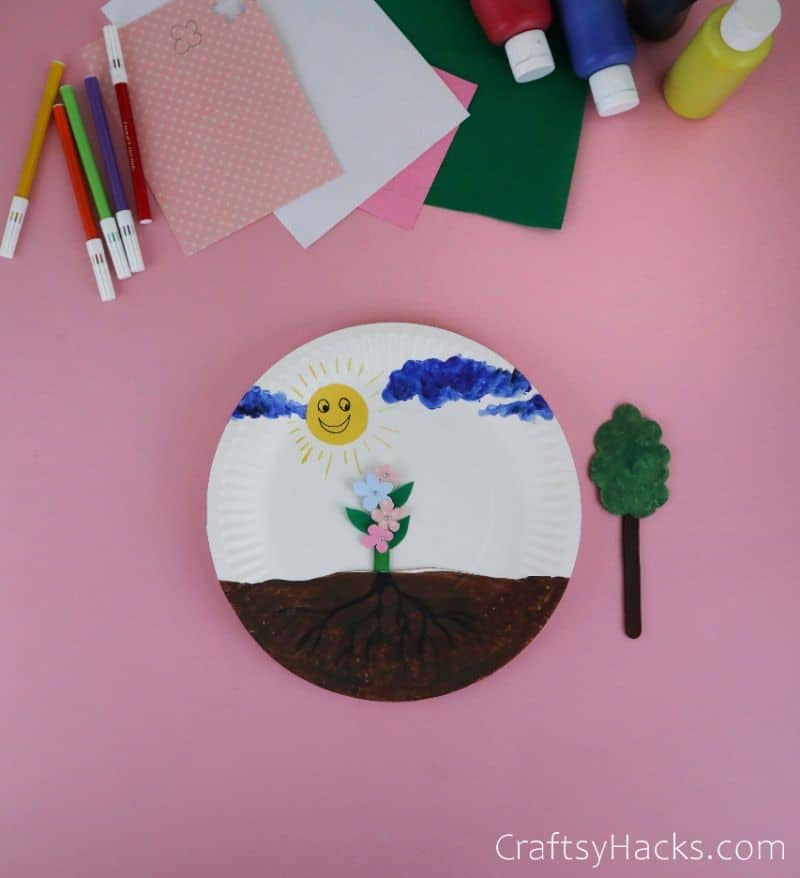
Start by sketching the clouds and the land, using the paper plate’s curve to add some dimension to the ground. If you’ve got young kids, you can do this part for them and let them handle the coloring.
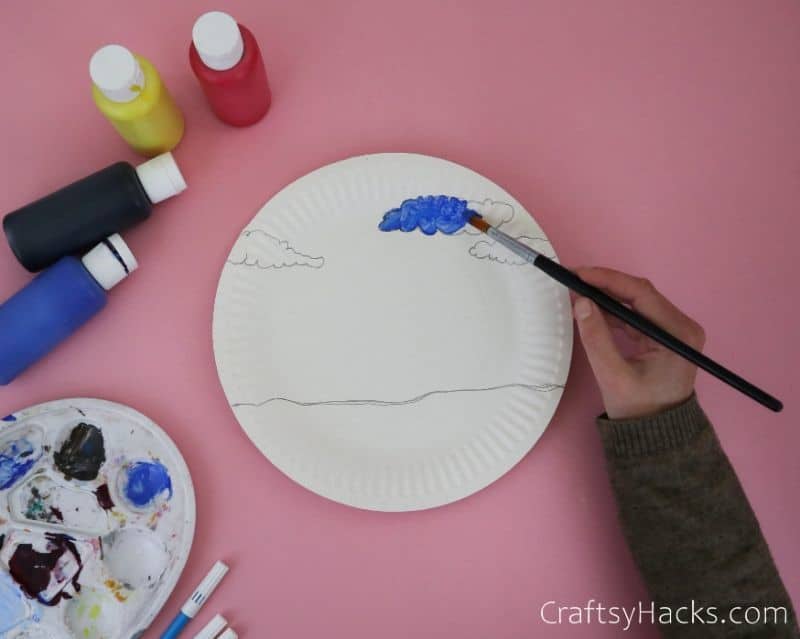
Step 3
Speaking of coloring, it’s time to bring the scene to life! Grab the paint, markers, or paper and use them to fill in the clouds. Encourage your kids to experiment and be creative with the mediums.
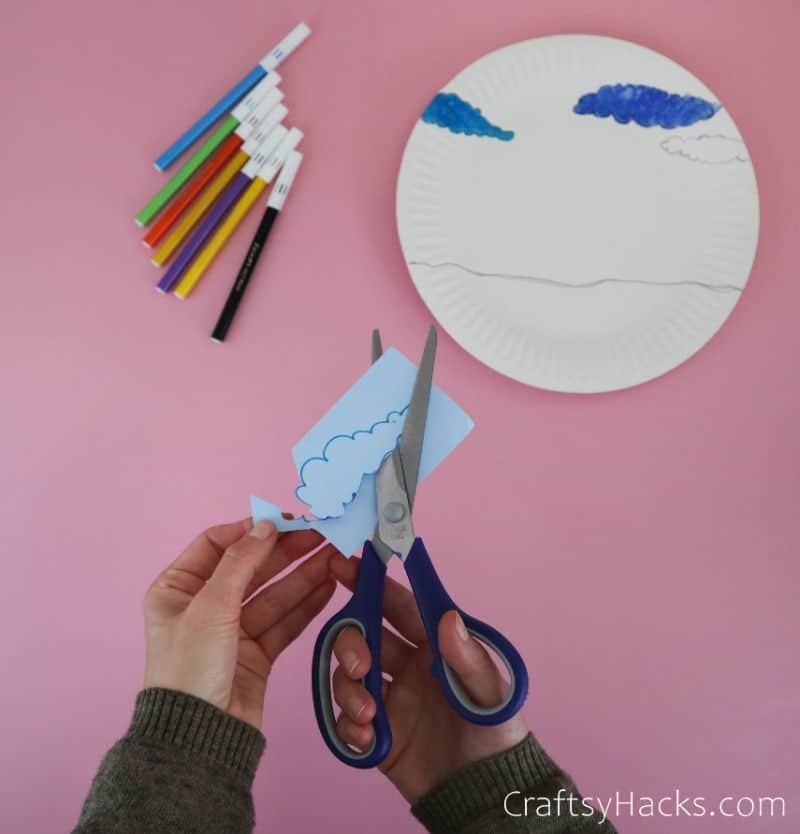
Step 4
Pick up a brush or marker and do the same thing for the land. I went with brown soil for my scene, but really, the ground can be any color your kid wants. Who says plants don’t grow on alien worlds?
Step 5
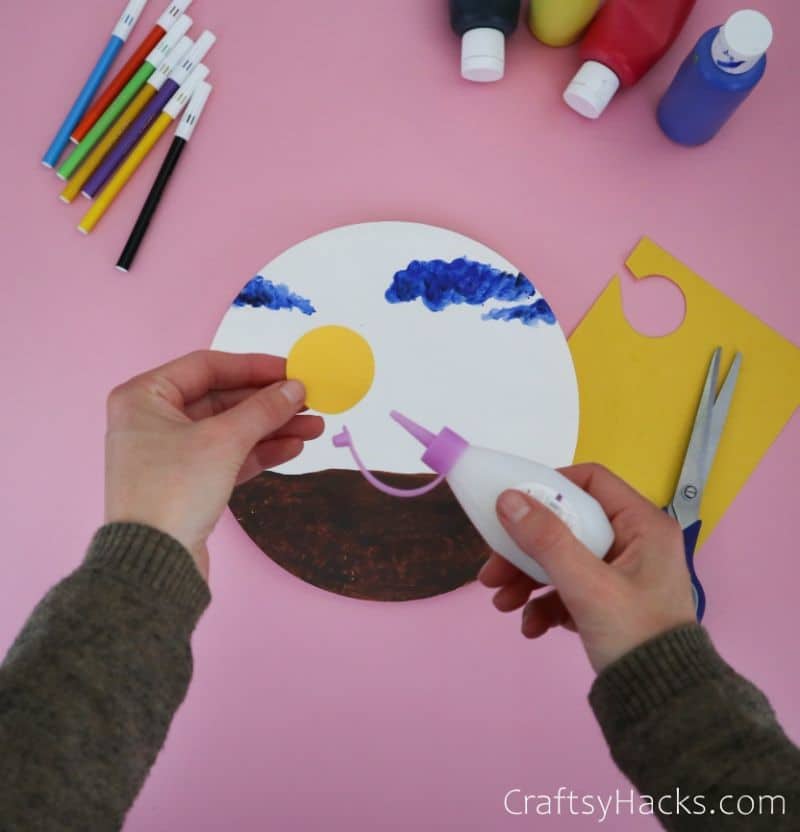
Let there be light! That’s right, it’s time to add the Sun.
I used some yellow construction paper for mine, then added the rays with a yellow marker for a 2D/3D effect.
Step 6
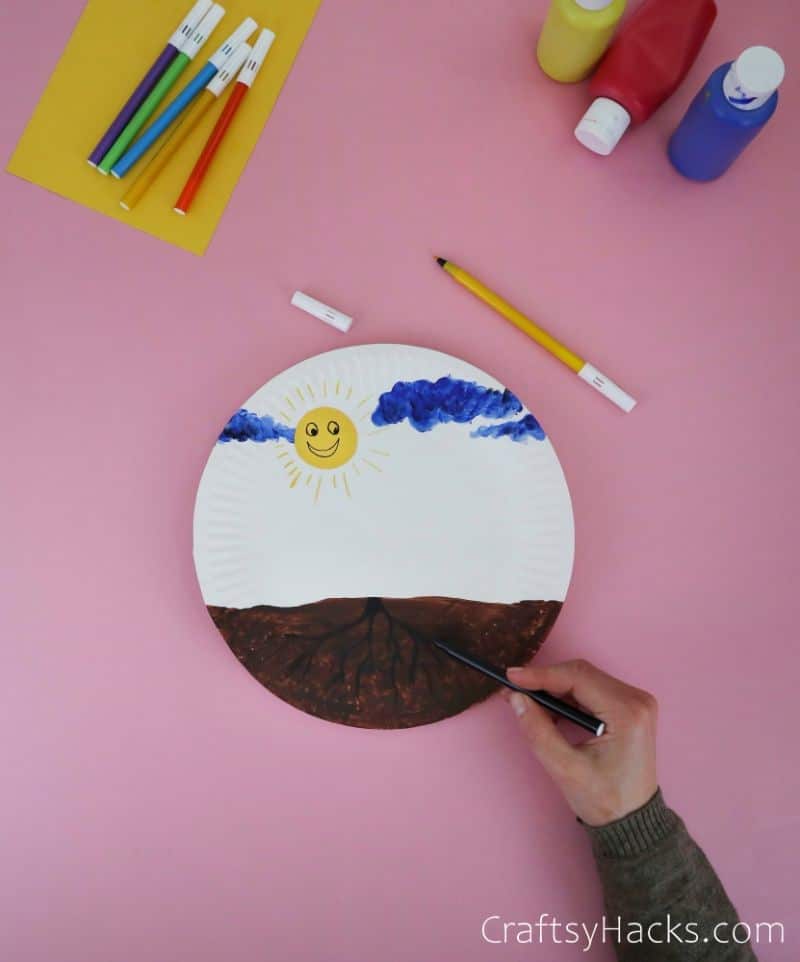
Now, we need to give our plant roots. Mark the point where the flowers’ stem will start, then help your child draw a root system down into the soil. This is a great chance to educate them about plants too!
Step 7
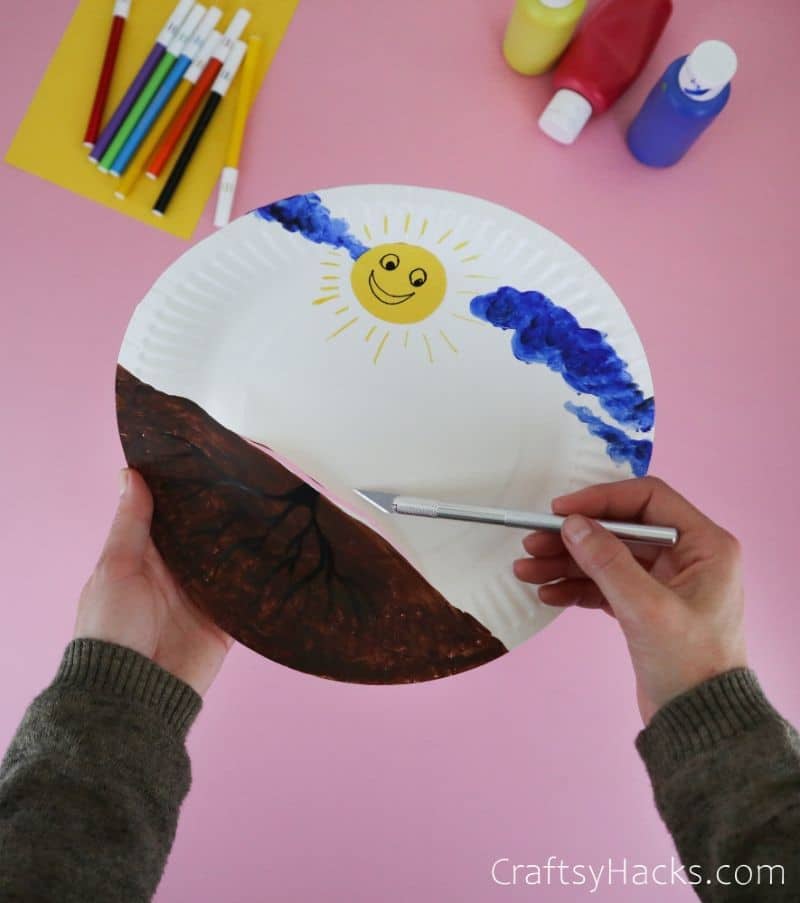
Here’s where it gets fascinating. Whip out your craft knife and cut a notch into the paper plate right where the root system hits the soil’s top. Make sure it’s wide enough for the flowers to fit!
Step 8
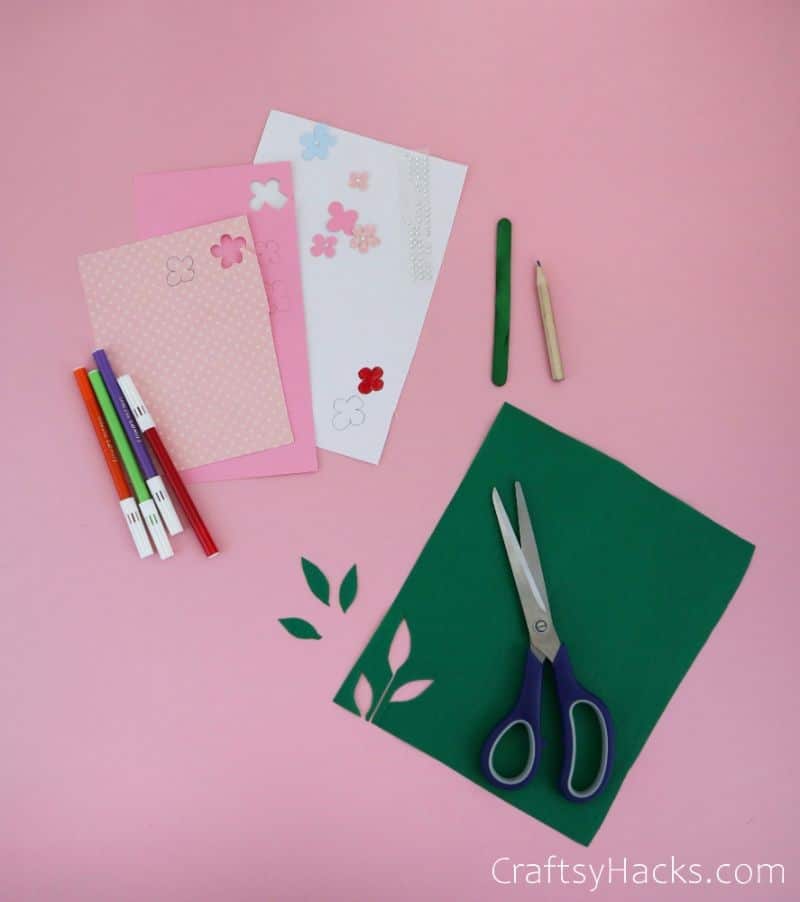
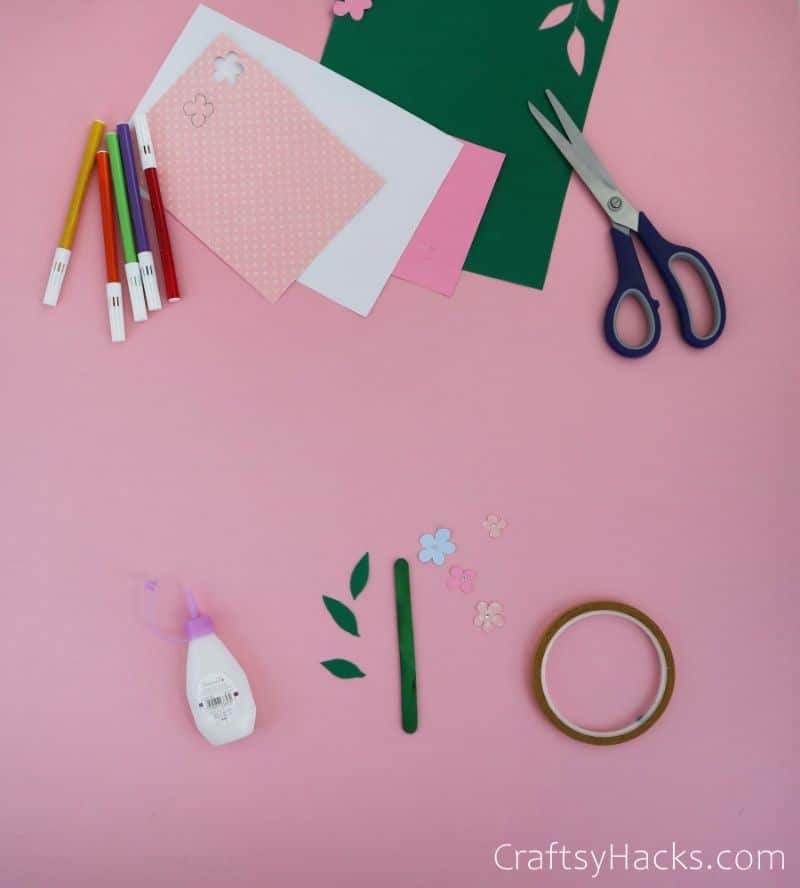
Time to create our beautiful flowers. Your “stem” will be a popsicle stick, so all you need to do is make the leaves and blooms.
You can cut them out from the colored paper or simply draw them with a white paper marker and cut them out.
Step 9
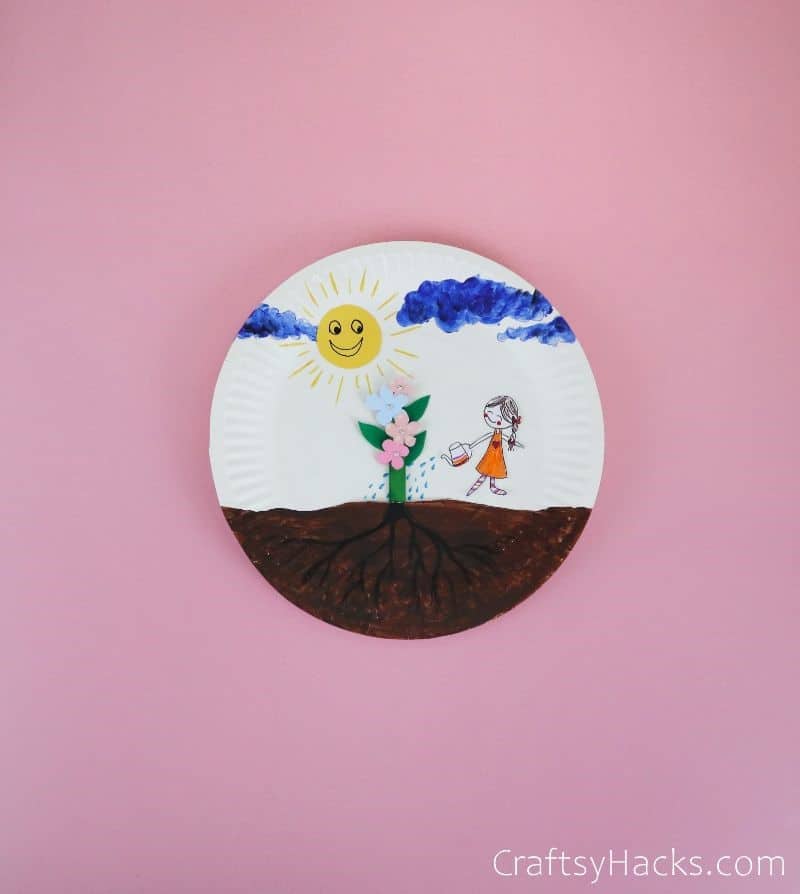
Once you have the components, simply help your child assemble them onto the “stem” and glue them down. I find these flowers look best when layered, so experiment to find the right look for you!
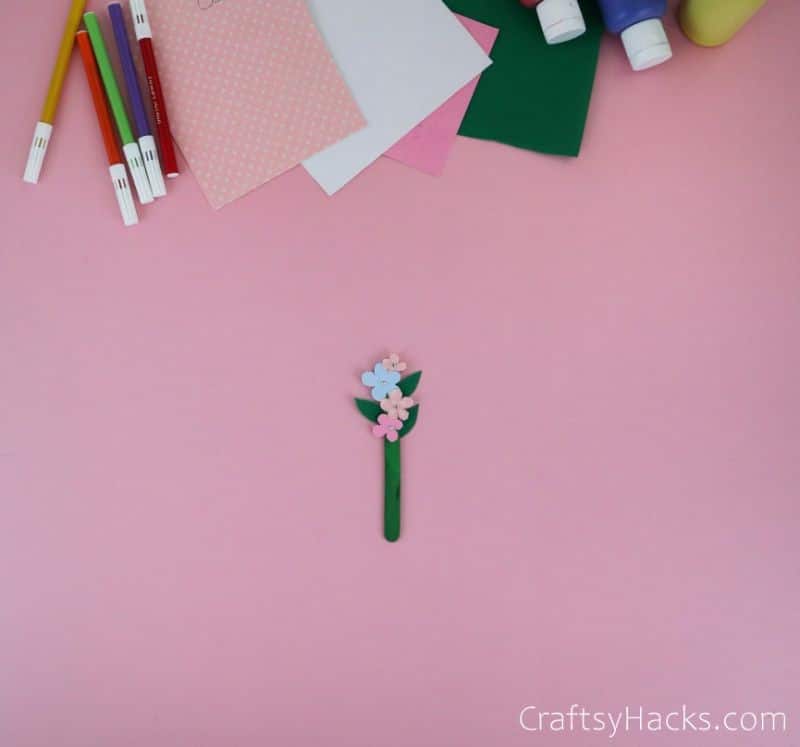
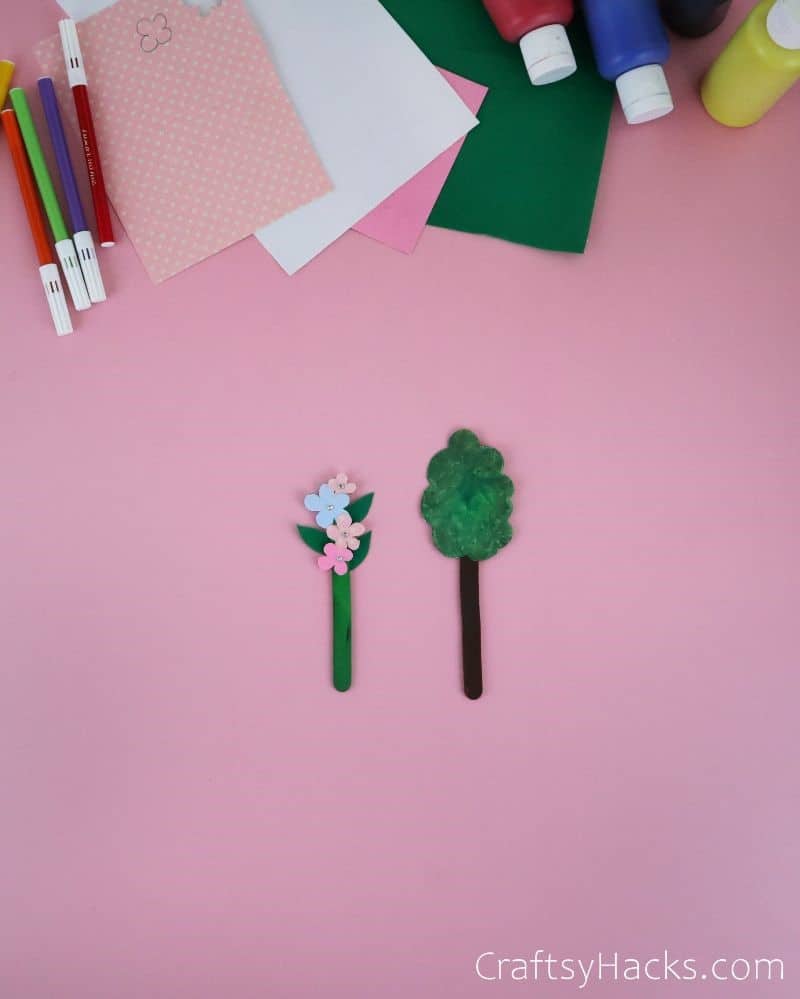
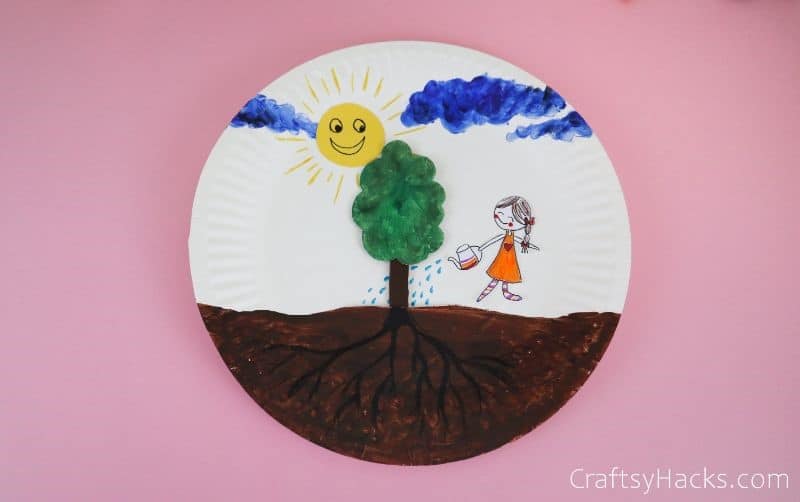
If your kids aren’t the biggest fan of flowers, they can always create any other vegetation. I tried out a tree in the photo below, but really, they can make vegetables, a fruit tree, or even a whole forest.
Encourage them to use their imagination with this one!
Step 10
Once the glue on your flower (or tree) has dried, help your child gently guide it through the notch in the paper plate. Don’t glue it in place, though! You’ll see why later.
Step 11
Next up, it’s time for your little one to add themselves into the mix! Help them draw themselves into the scene, making sure they’re holding a watering can in the same direction as the plant.
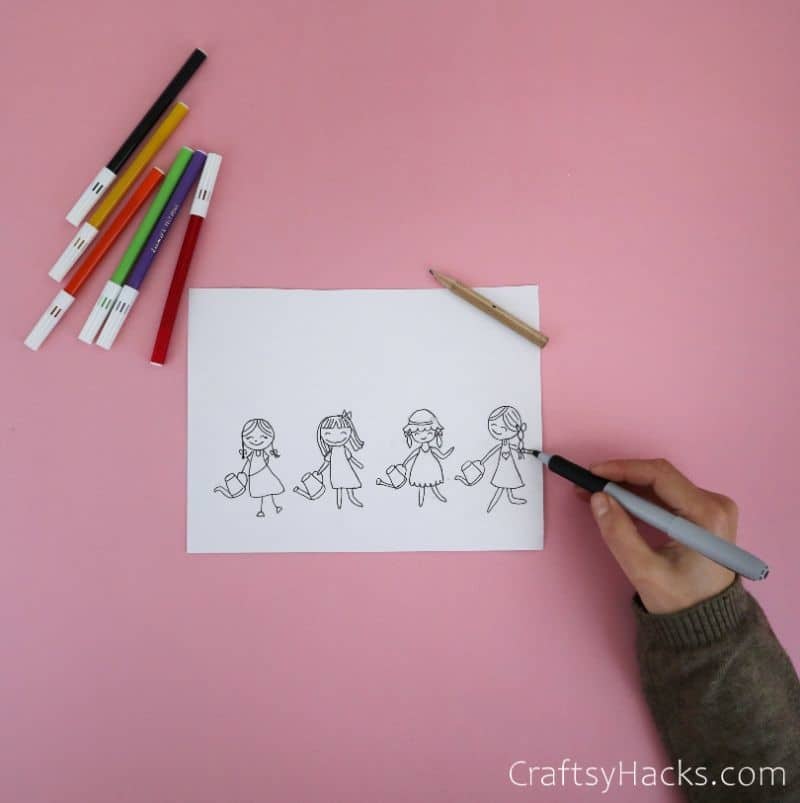
I drew a few examples above and colored them in. Draw some inspiration from the below (see what I did there?) or do your own thing. It’s up to you and the little one!
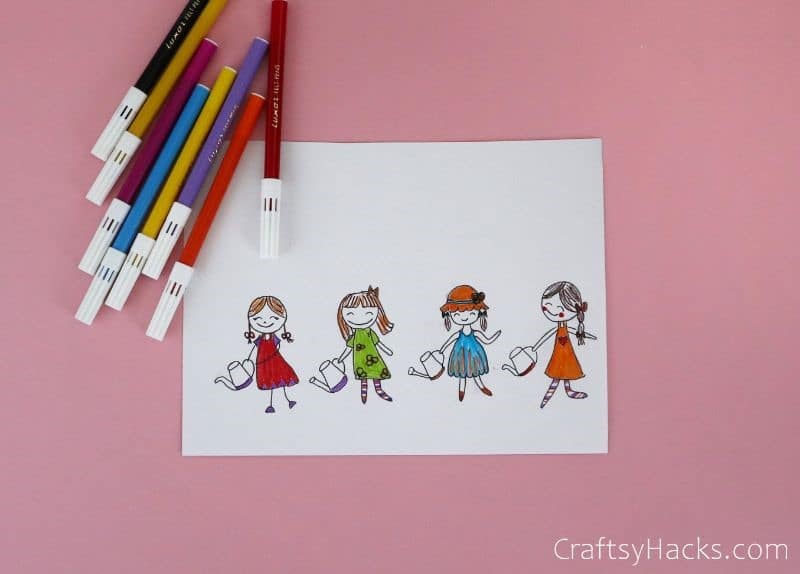
Step 12
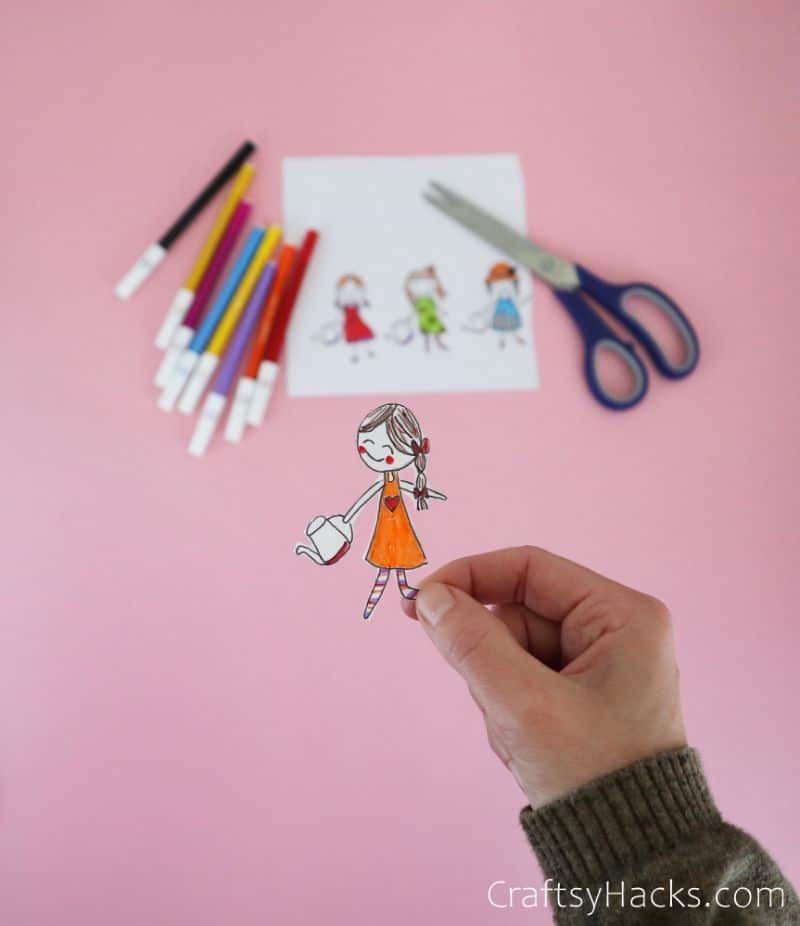
Carefully cut out the drawing, spread a thin layer of glue on the back, and affix the new addition to the paper plate. Draw some blue drops coming out of the watering can to complete the look.
So, why is our vegetation on a popsicle stick, and why don’t we glue it in place? Well, that’s because this is actually a kid craft project and an educational tool all wrapped up in one!
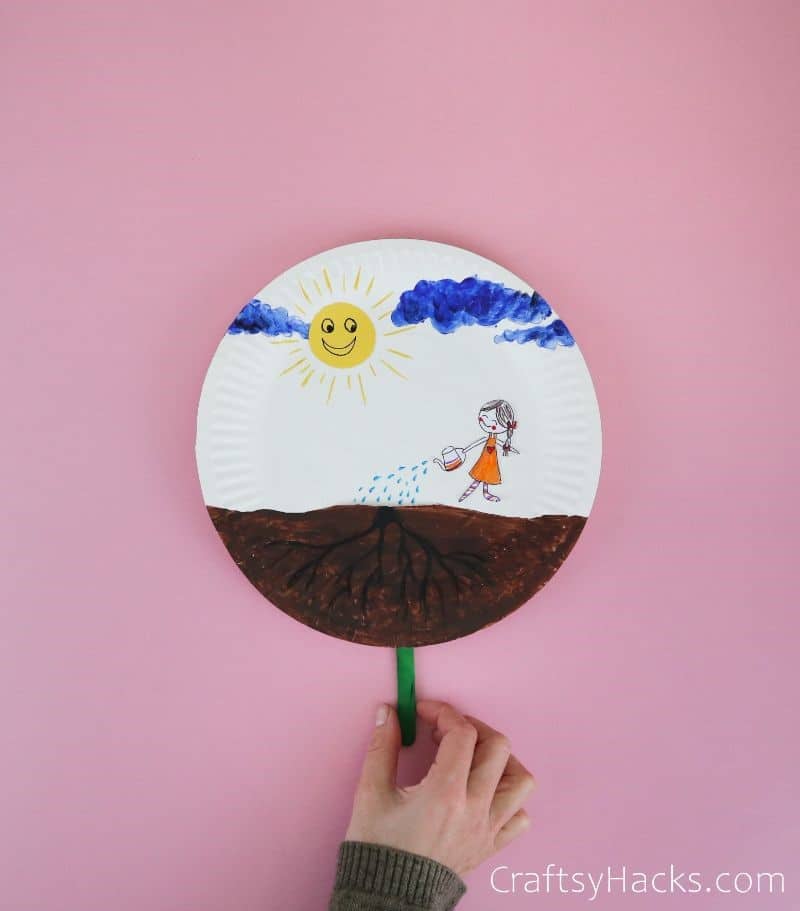
By moving the stick up and down through the paper plate’s notch, your child can make it look like they’re growing their very own plant!
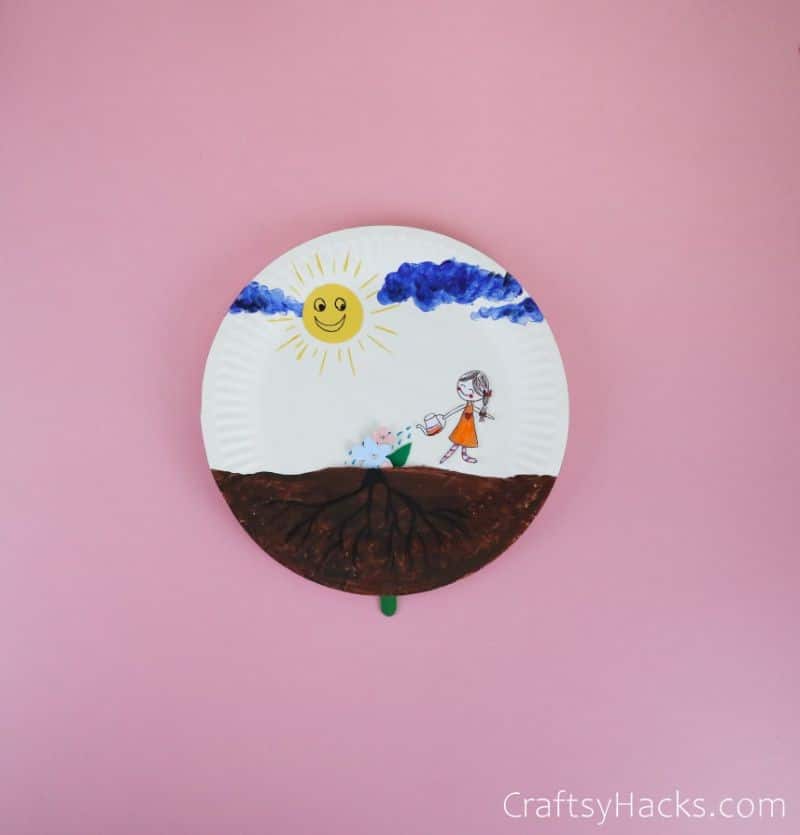
This is a great way to teach them about how plants grow. You can explain how plants need nutrients from the soil, freshwater, and sunlight to grow healthy and strong. It’s a great educational tool!
Other Crafts for Kids
If you’re on the hunt for some other kid-friendly craft projects, I’ve got you covered. Here are just a few of the articles on CraftsyHacks dedicated to helping kids get creative:
- DIY Paper Wallets for Kids to Make
- 20 Popsicle Stick Crafts Kids Will Love
- 20 Fun Crafts for Kids That Will Keep Them Busy
- DIY Picture Frames
- 20 Paper Crafts
- Paper Crafts for Adults
- Upcycling Ideas
- Painted Rock Ideas
- Sewing Projects
- Crafts for Teens
- Pencil
- Pen
- Scissors
- Brush
- Safety cutter
- Glue
Prevent SleepPrevent your screen from going dark
▢ Green craft stick or dyed lolly stick
▢ Construction paper
▢ Markers
Raid your art cupboard for all the required supplies!
Start by sketching out the clouds and the land, then filling them in as you like. I used paint and paper, but you can use any method you want.
Create a Sun for your scene. Once again, I used paper for the Sun and a marker for the rays, but you can do it however you choose.
Using a craft knife, slice a notch into the paper plate wide enough for your plant to fit through.
Either cut flower and leaf shapes out of colored paper or draw them on white paper before cutting them out.
Assemble the leaves and blooms onto your prepared popsicle stick. You can make a tree, a vegetable plant, a fruit tree, absolutely anything you like!
Gently insert the completed plant through the notch.
Finally, help your child sketch and color themselves in (make sure they're holding a watering can!).
Cut them out, then glue them directly next to the 3D vegetation.
Now that you're done, you can use this paper plate as a tool to explain how plants grow!
Leave a comment below with your rating! I love the feedback and respond to every comment!