How to Make Scented Candles (Step-by-step Tutorial) (original) (raw)
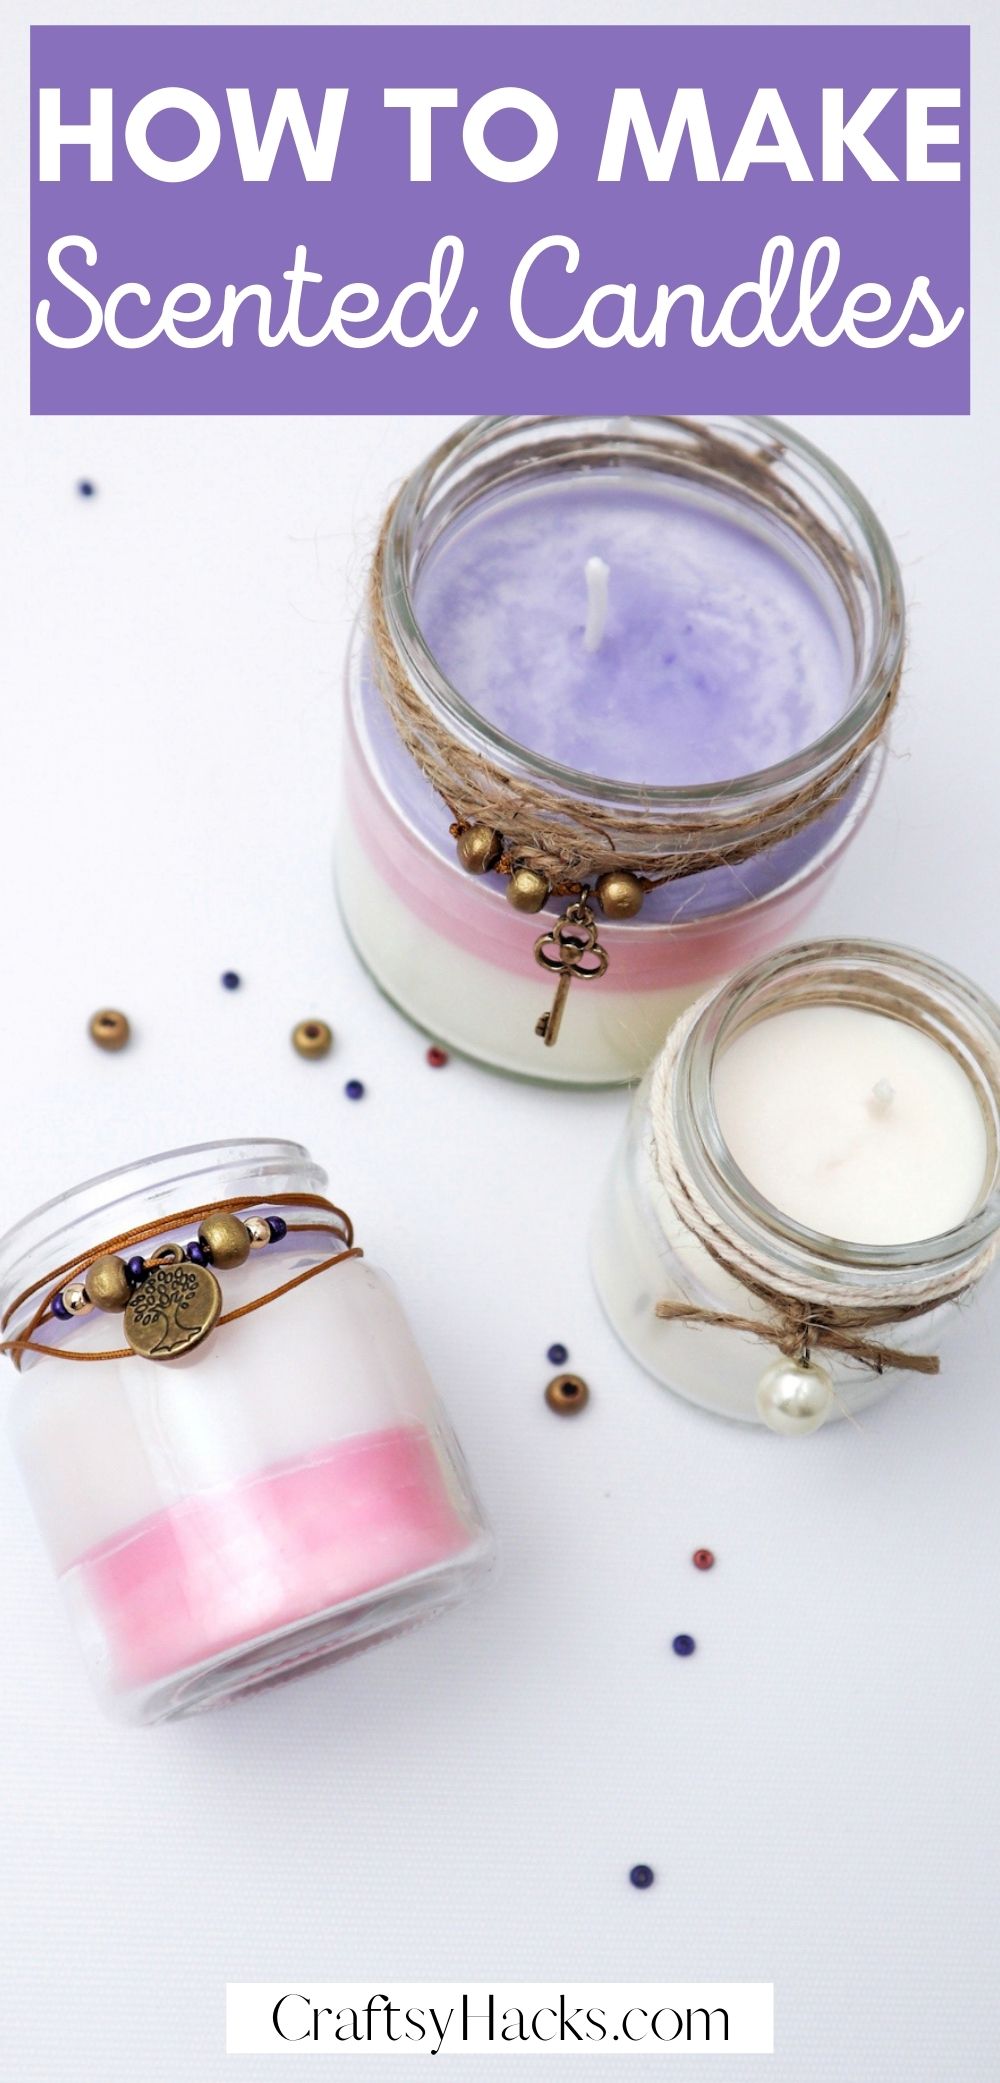
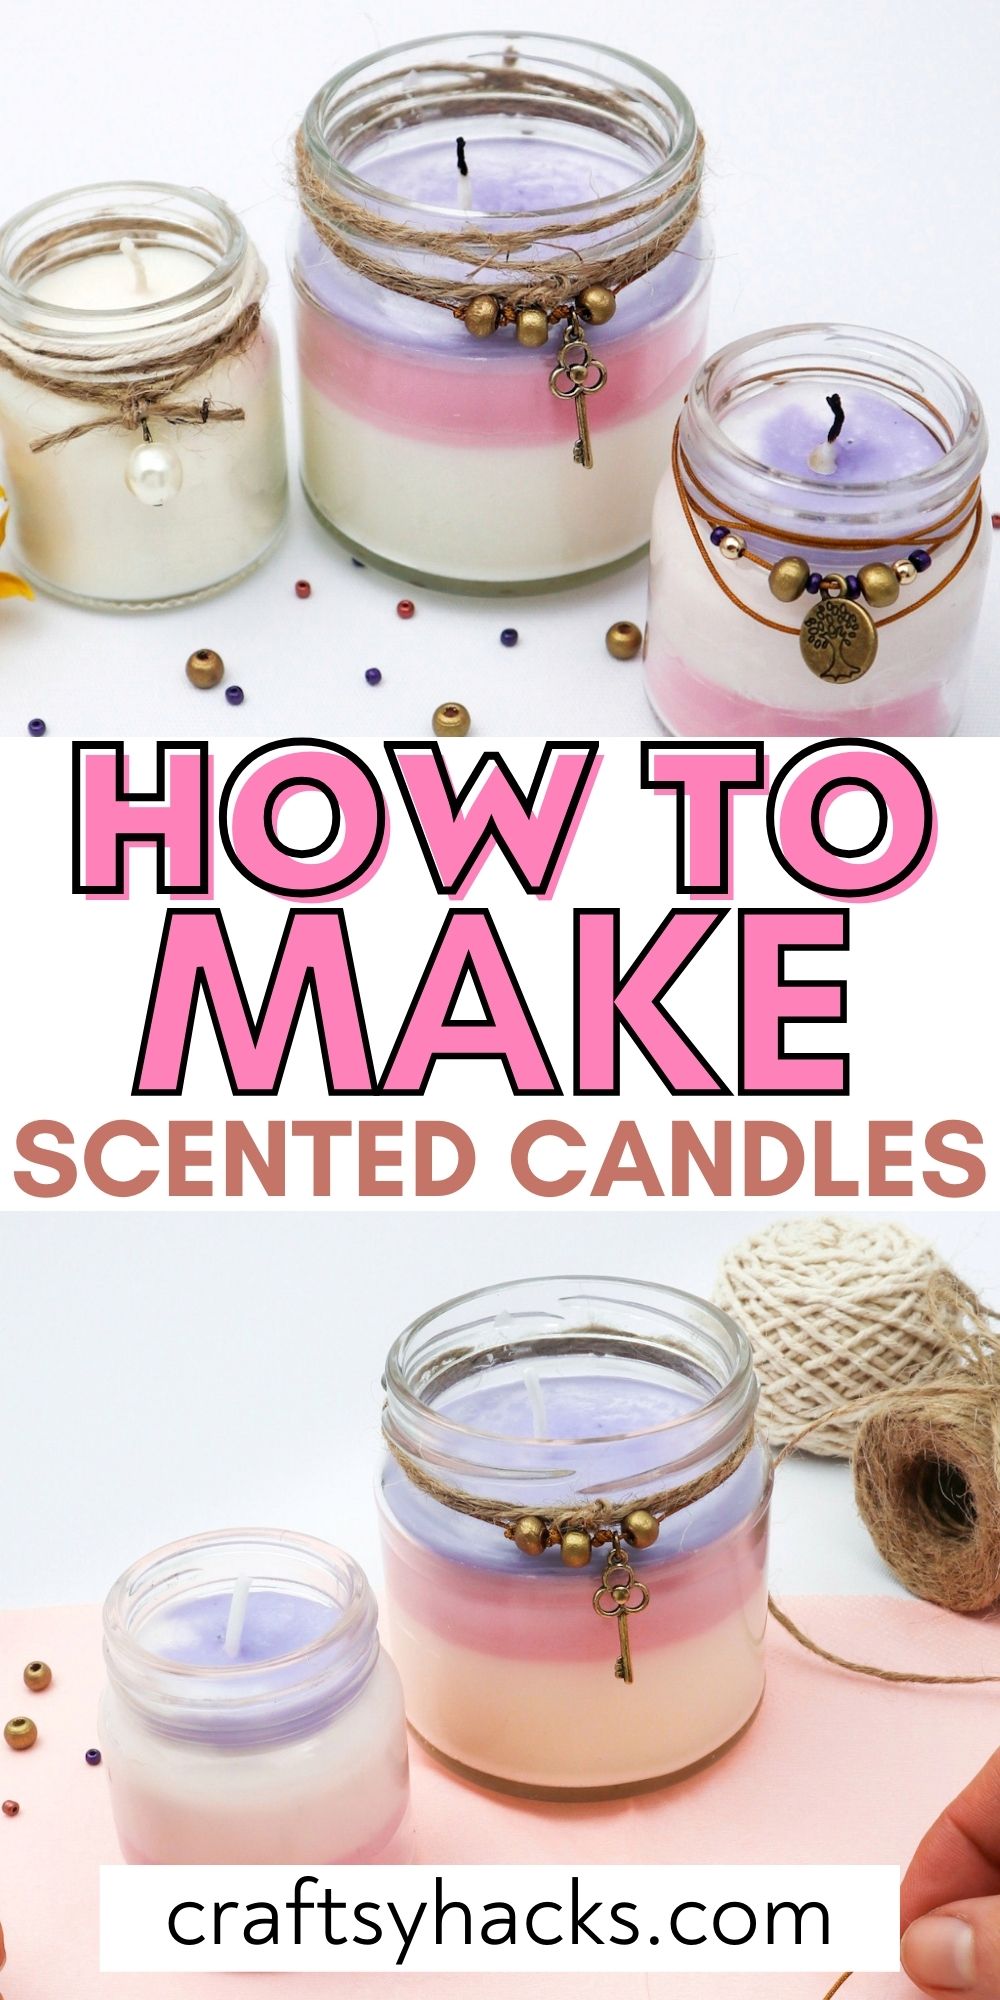
Make your very own candles! These DIY scented candles are cute, fun to make, and do for a great gift or decoration.
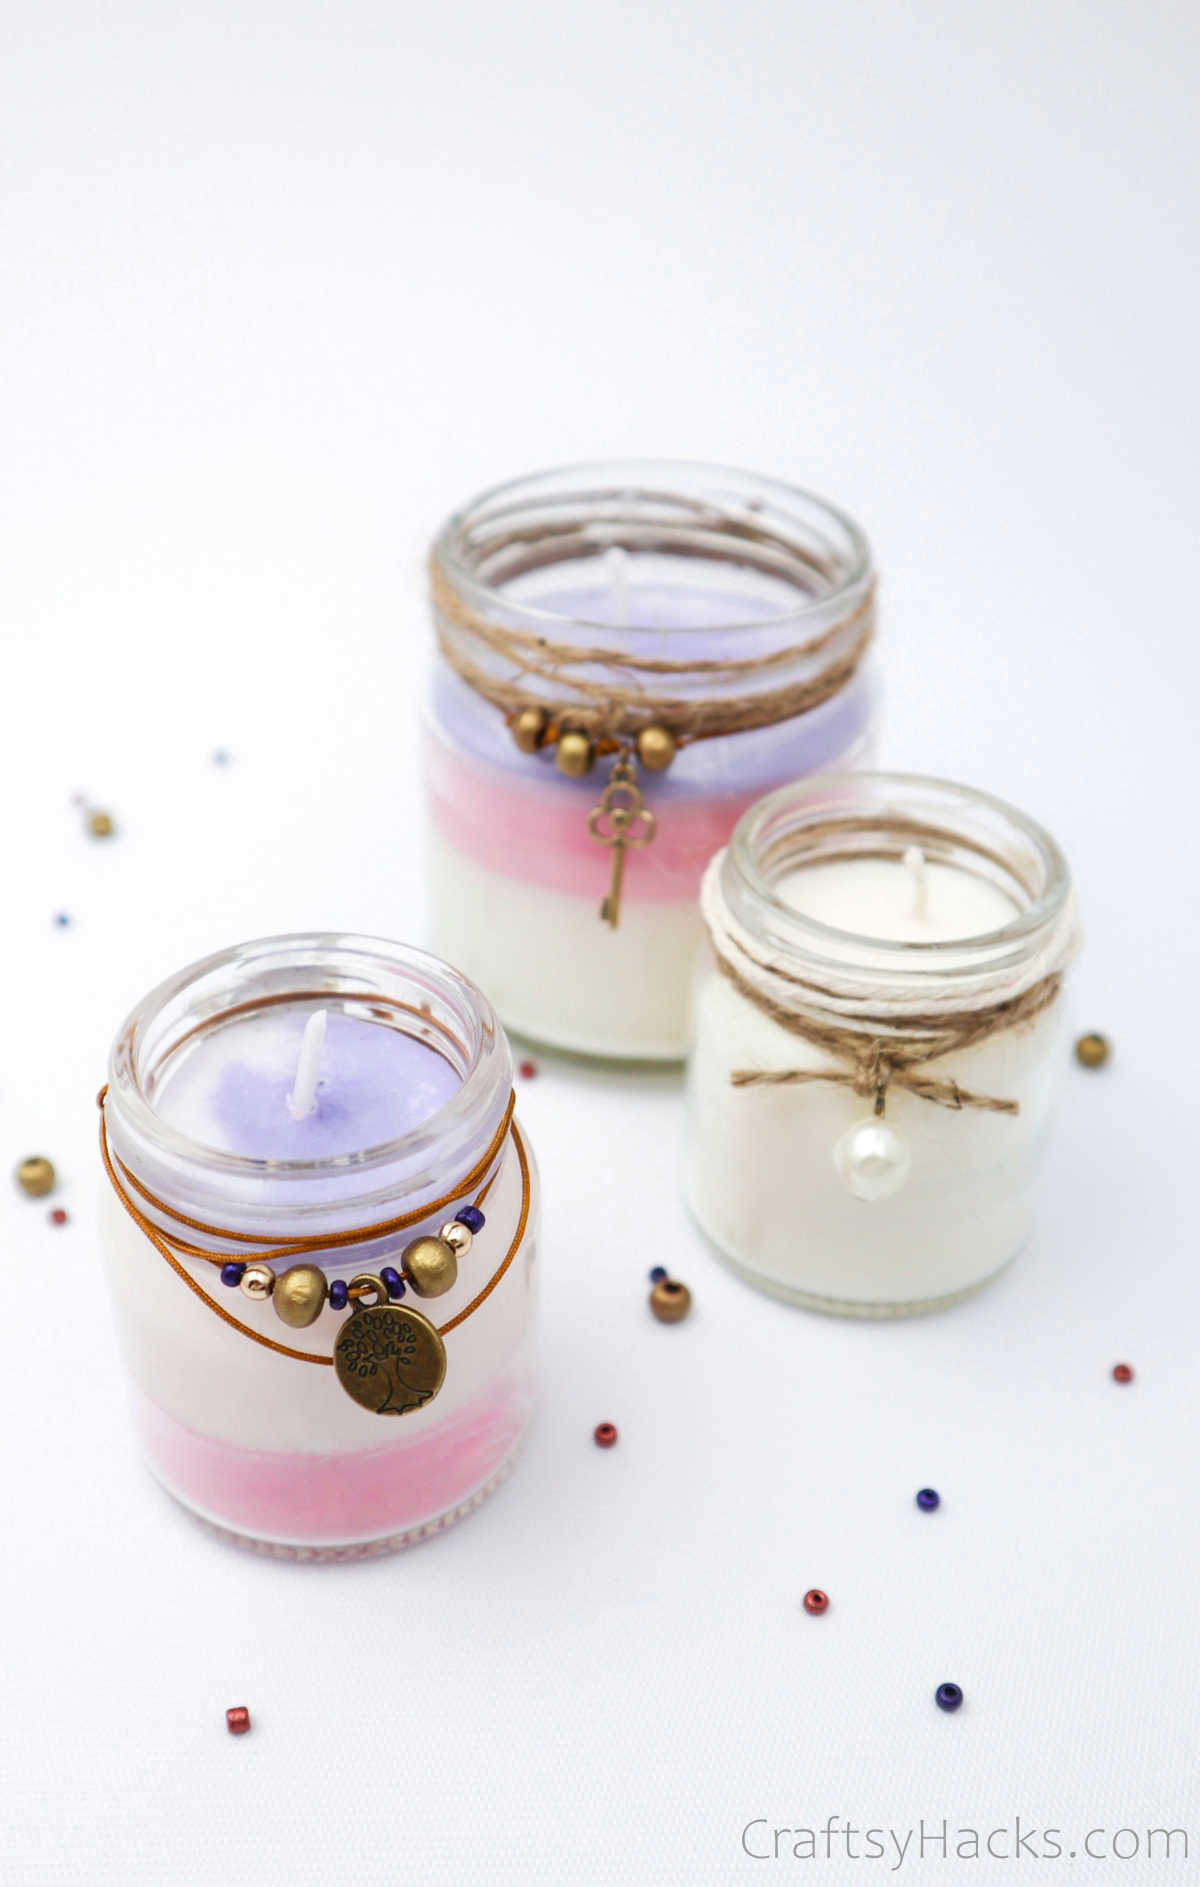
You can never have too many scented candles at home. No, really, you can’t have too many! I have a dozen or so scattered around the living room, and definitely twice that in my bathroom and bedroom.
Scented candles just set the mood for the entire space. You walk into a room and light a couple of candles, and voila! The entire place smells like a spa.
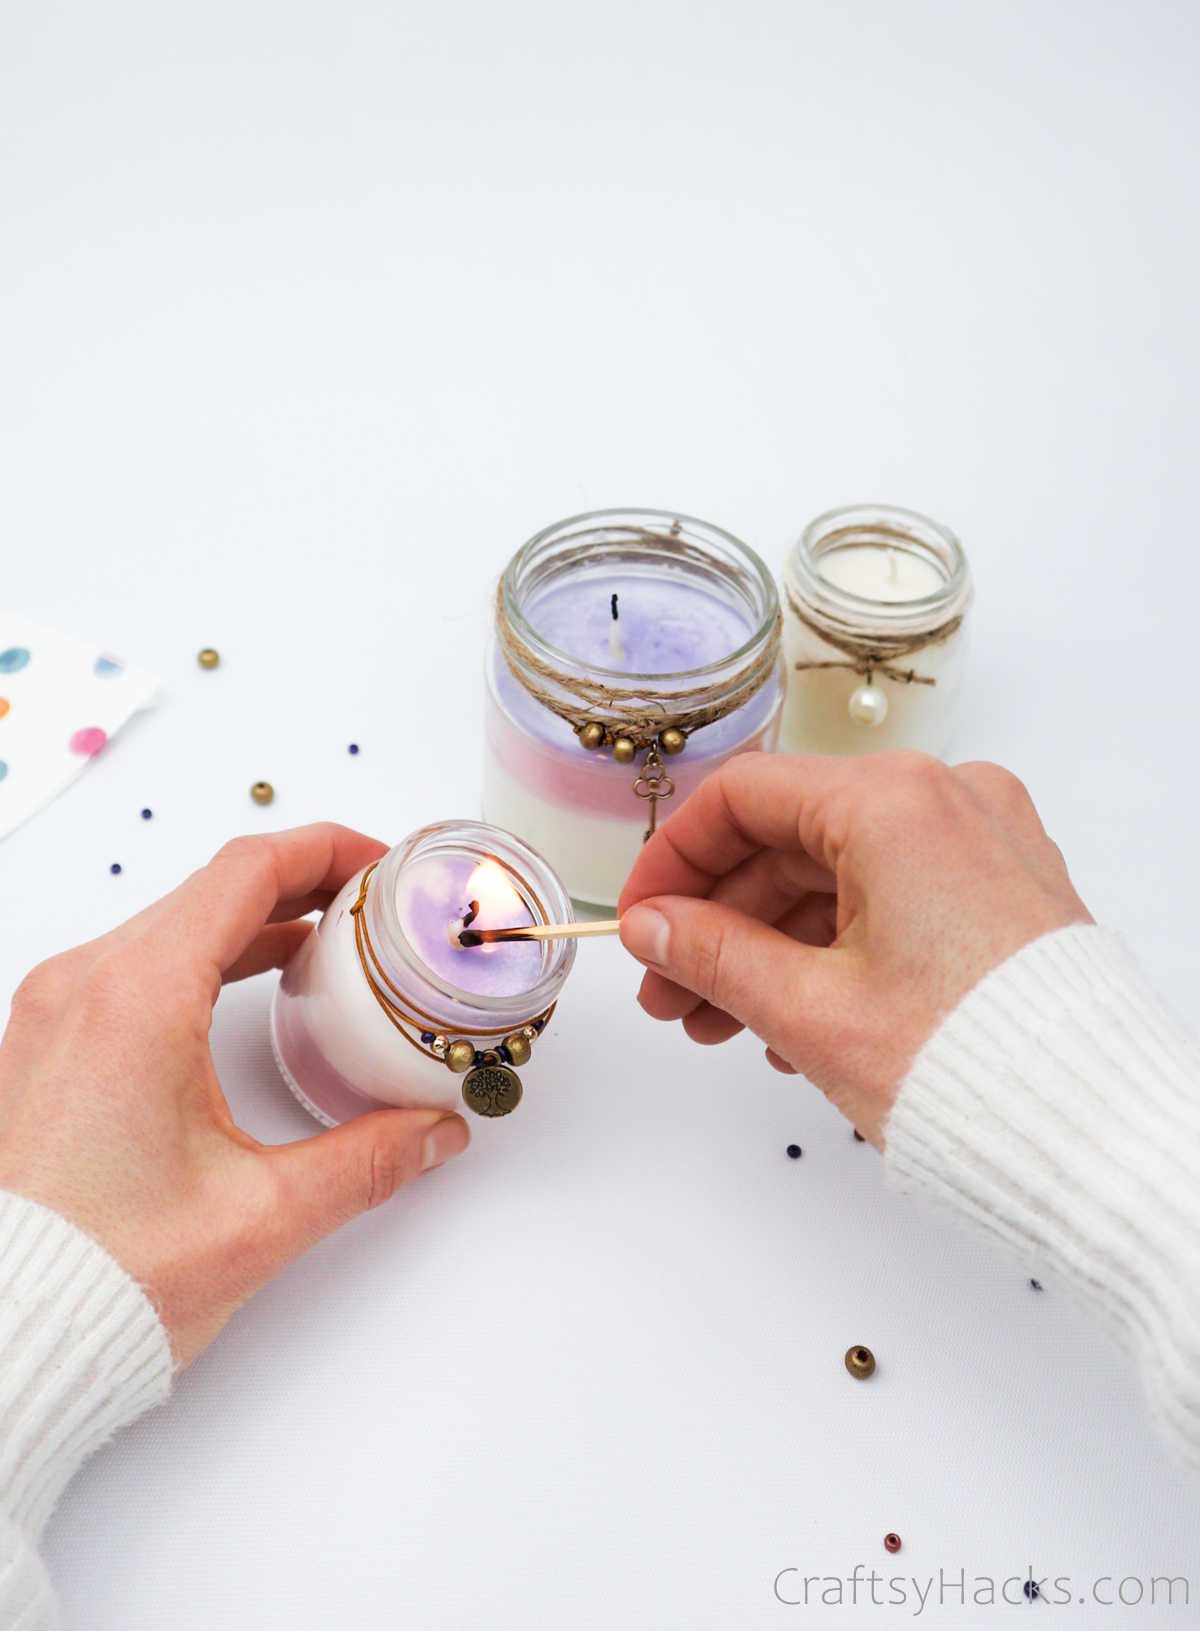
Sure, you can buy them online or at stores, but how about you try making one right at home. It’s easier than you think.
I bet you already have a ton of candle jars you’ve been meaning to recycle, so now you finally have the perfect DIY project to experiment with!
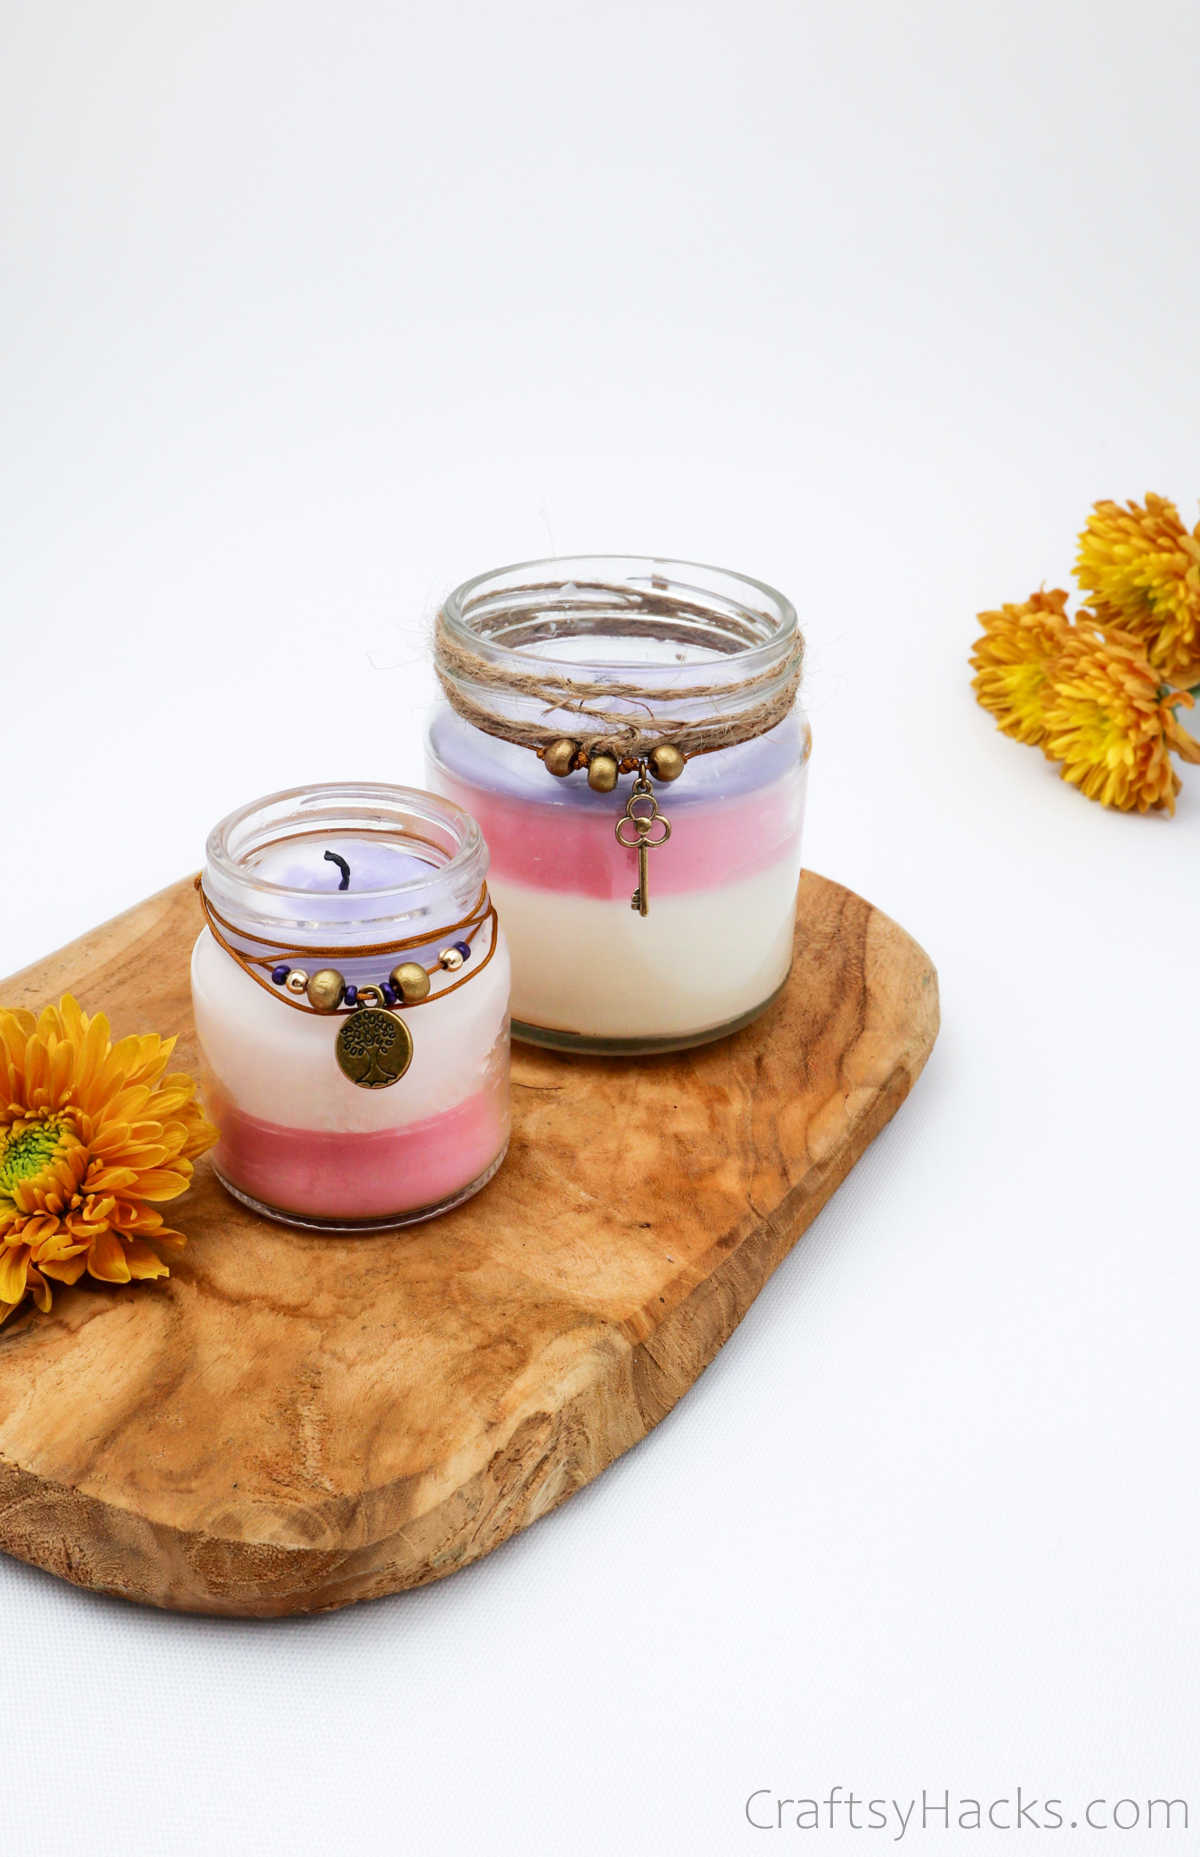
What You’ll Need for Candles
Here’s a complete list of everything you’ll need to make these DIY scented candles:
- Mason jars
- Soy wax flakes
- Wooden skewers
- Lolly sticks
- Scissors
- Essential oils
- Candle dye
- Candle wicks
- Old pot
- Jute twine
- Charms, beads (optional)
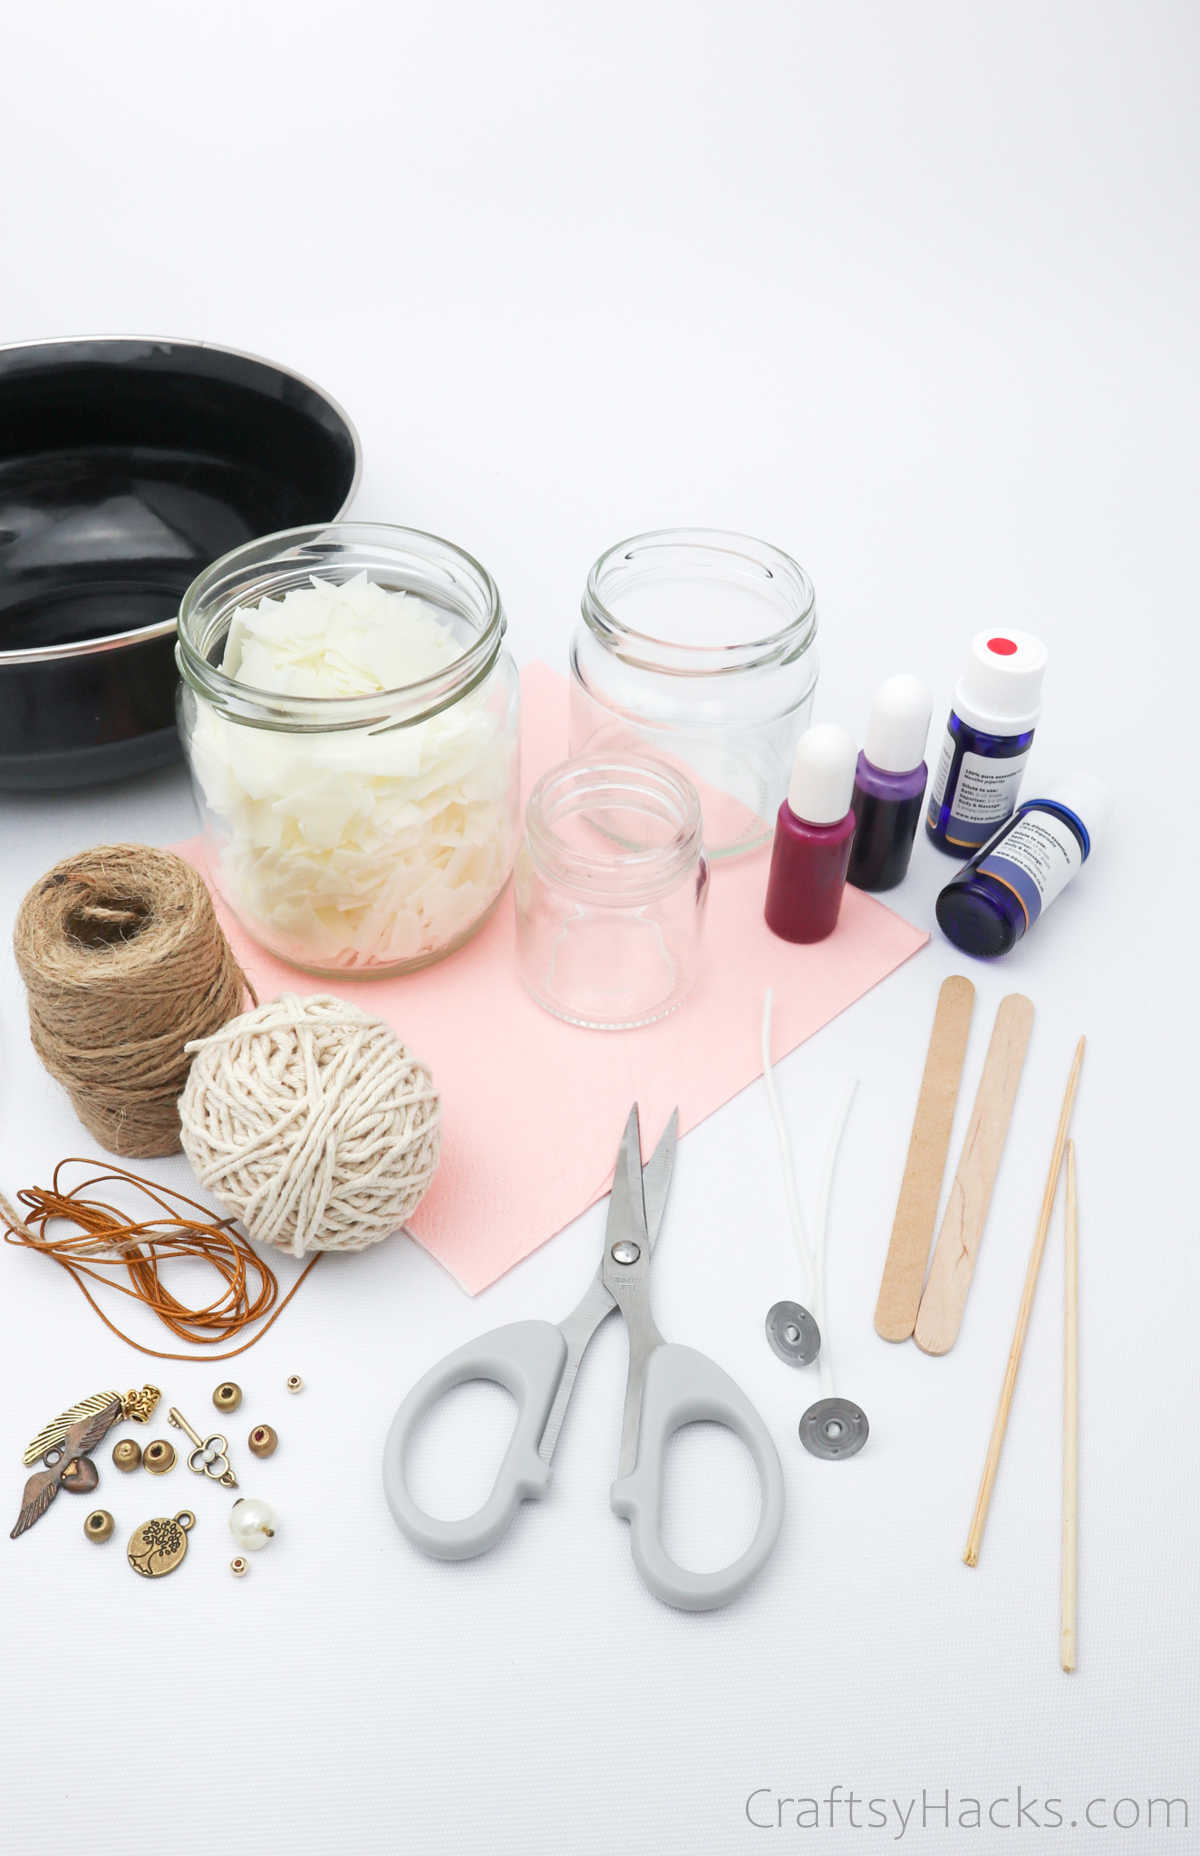
Are you familiar with how to make candles at home? It really is a simple process.
Here’s how you make them.
Step 1
Have you picked out the jar you want to use? Perfect, go ahead and make sure the insides are clean and dry. Grab a wooden craft stick or a lolly stick and twirl the wick around it.
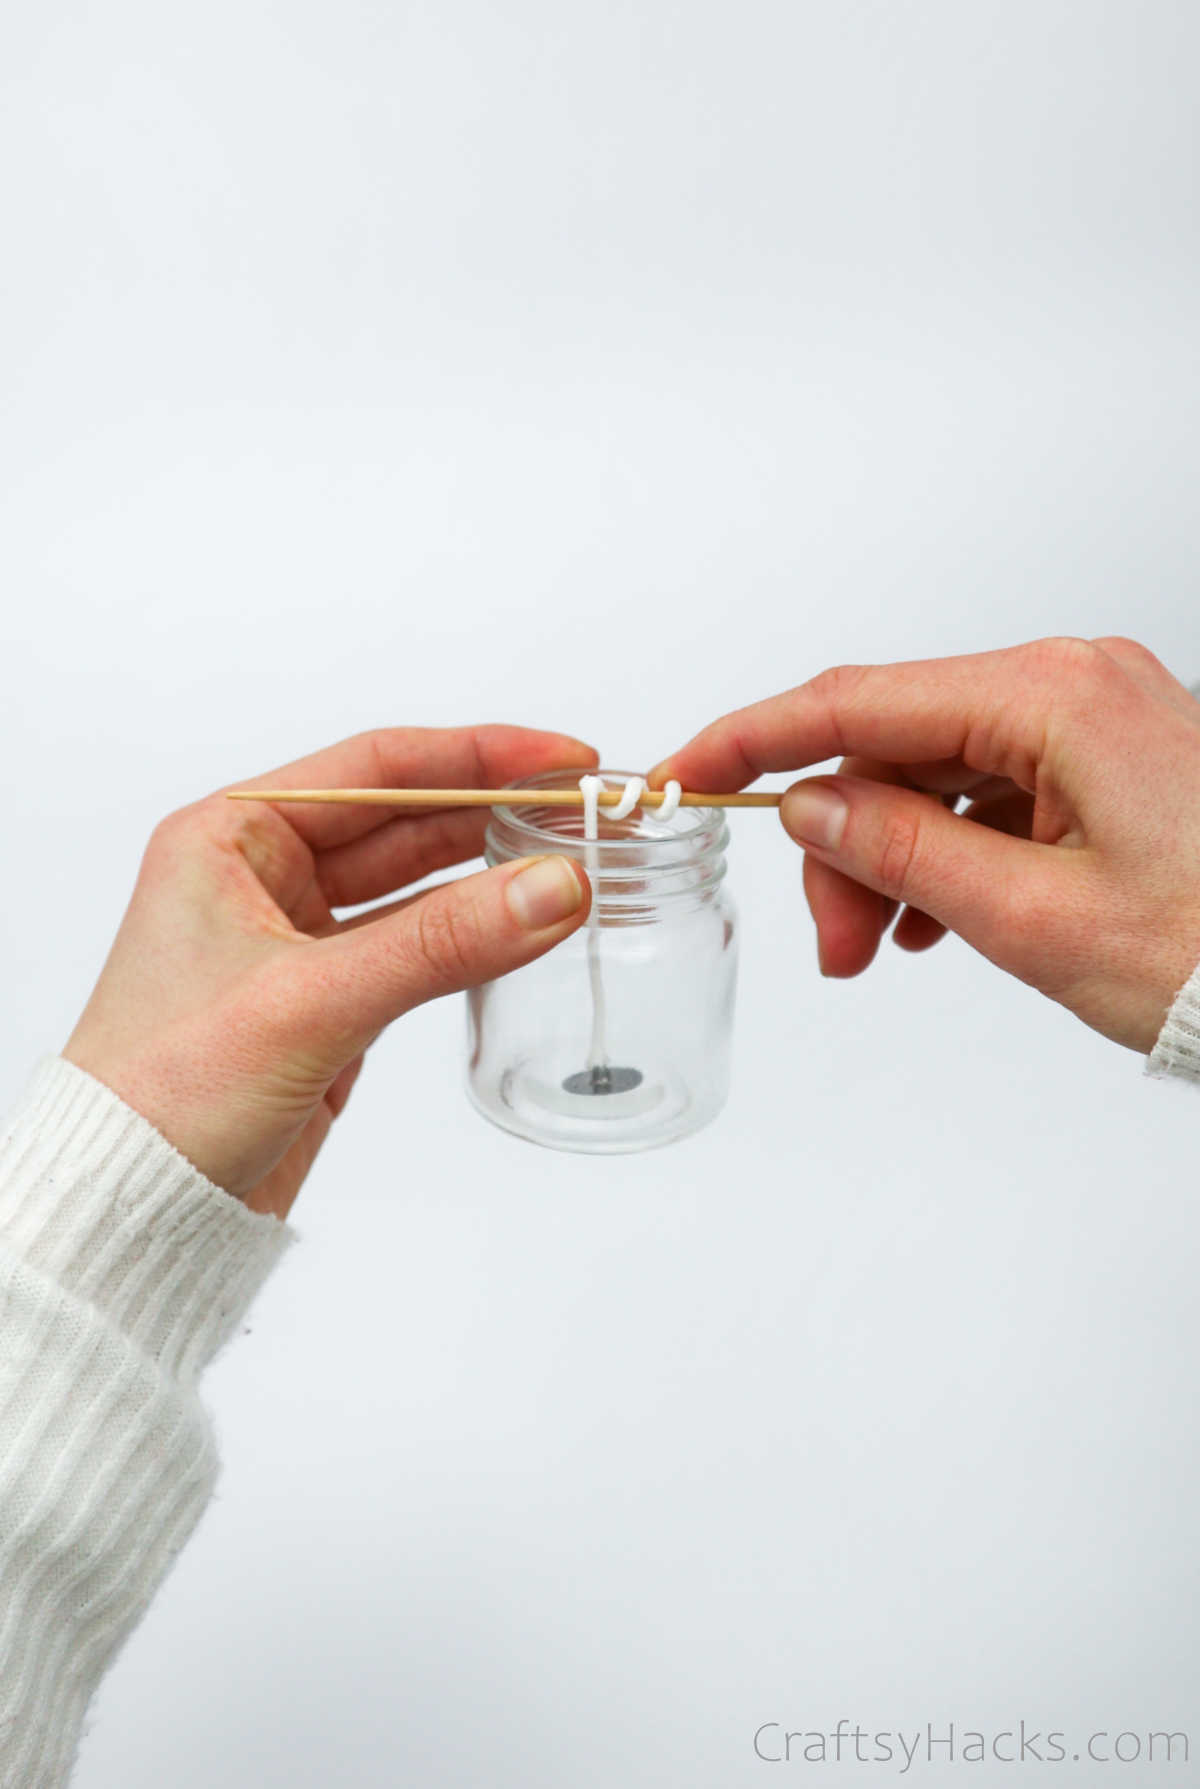
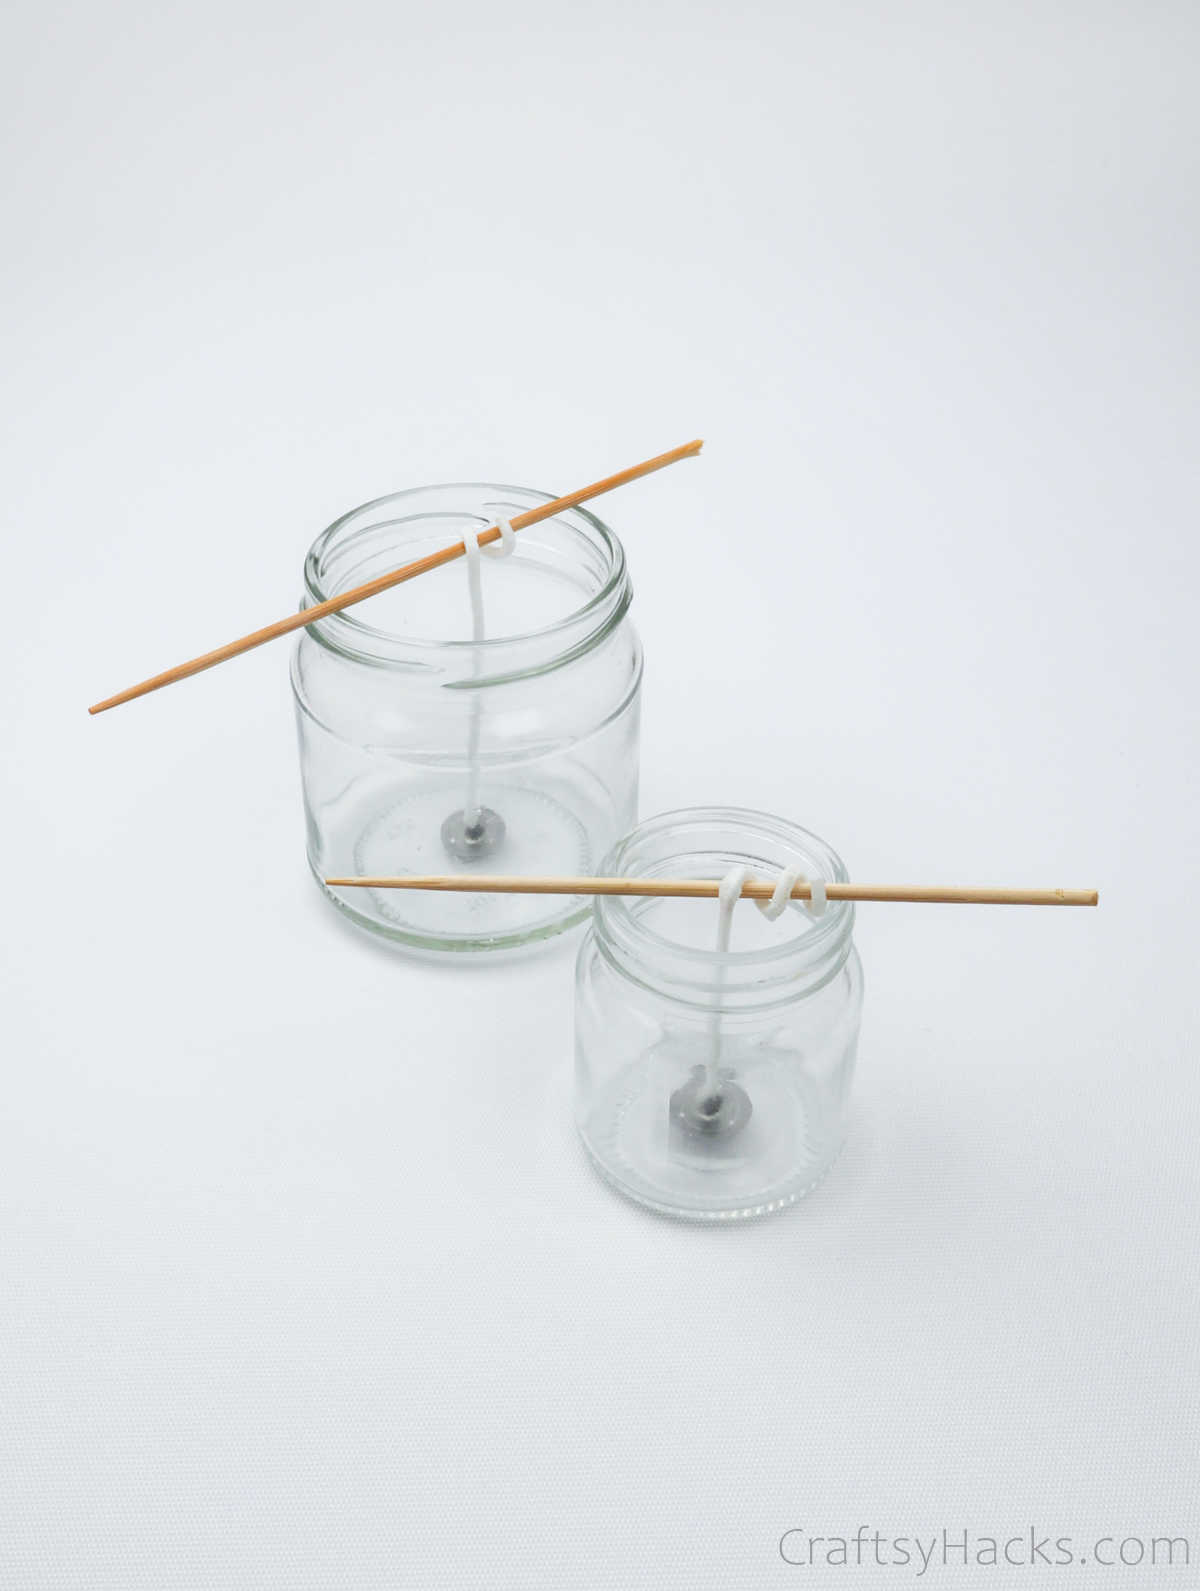
Let the end drop into the jar until the flat metal base sits comfortably at the bottom. Balance the stick on the rim of the jar and subsequently adjust the wick to keep it in place.
Step 2
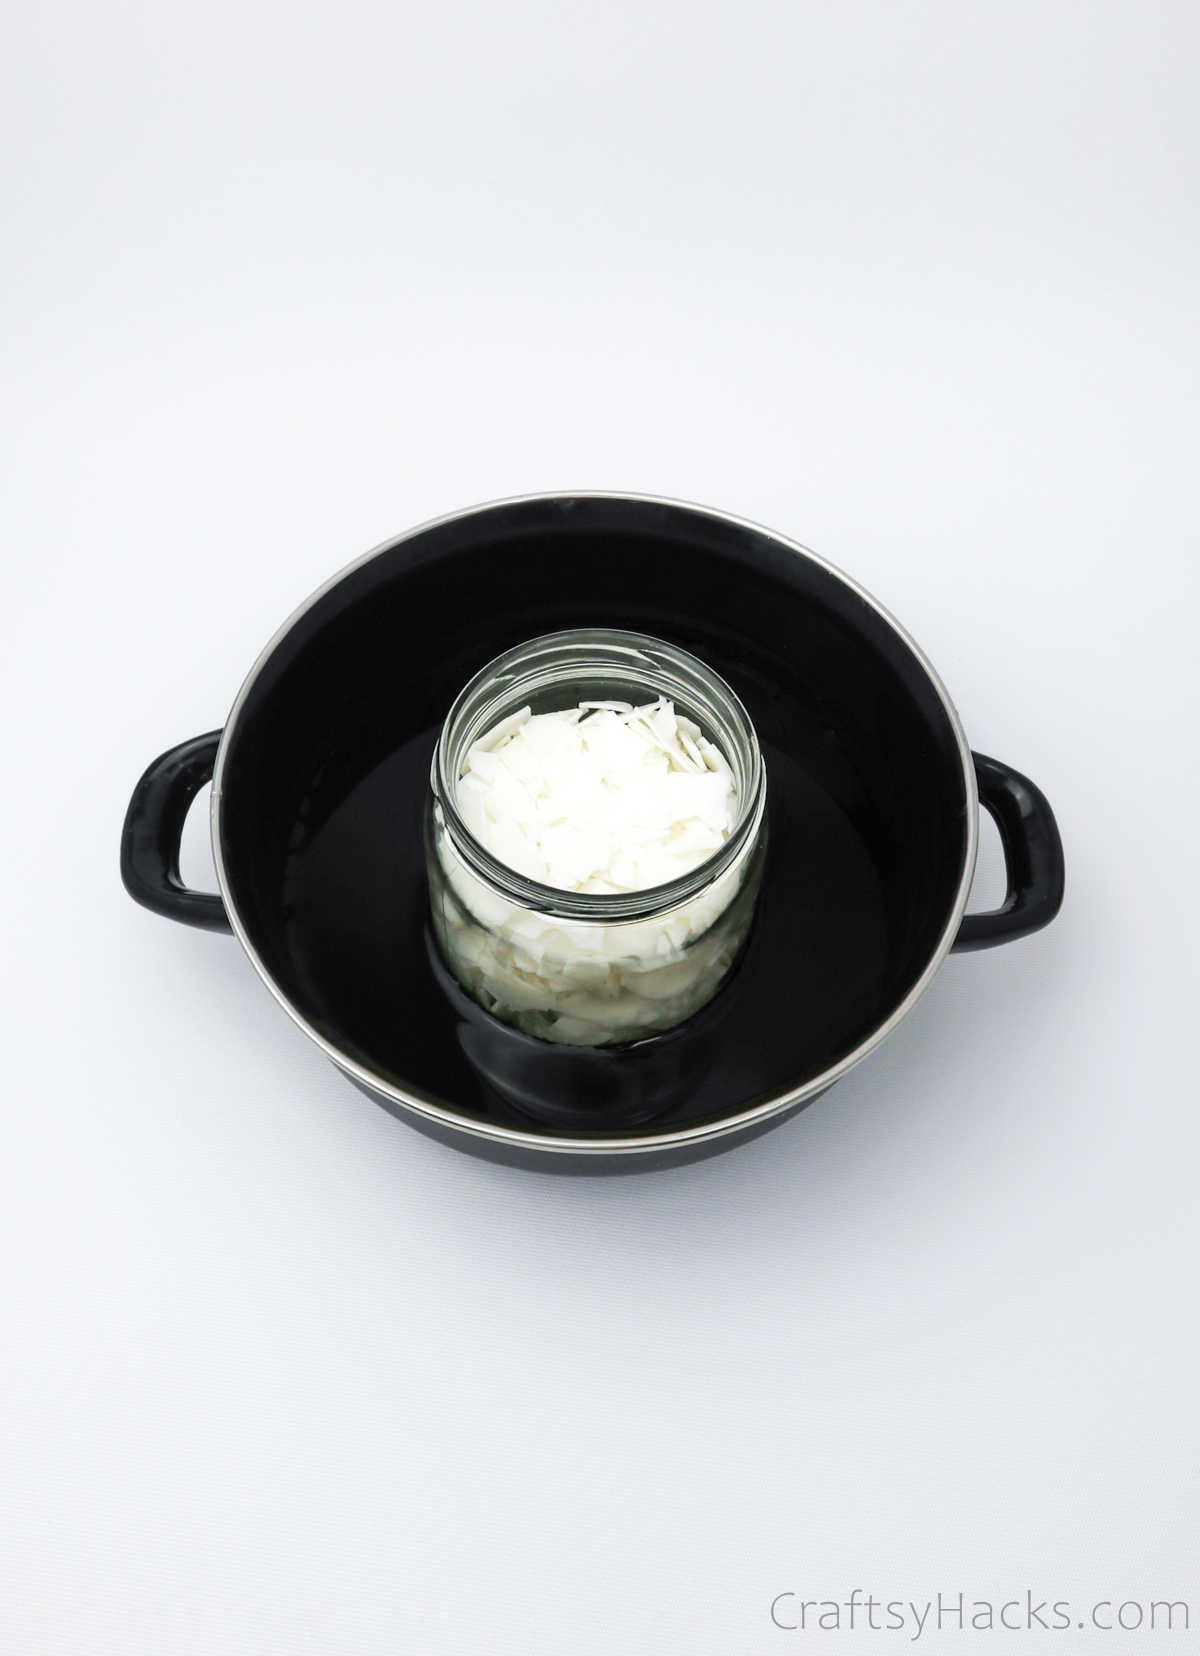
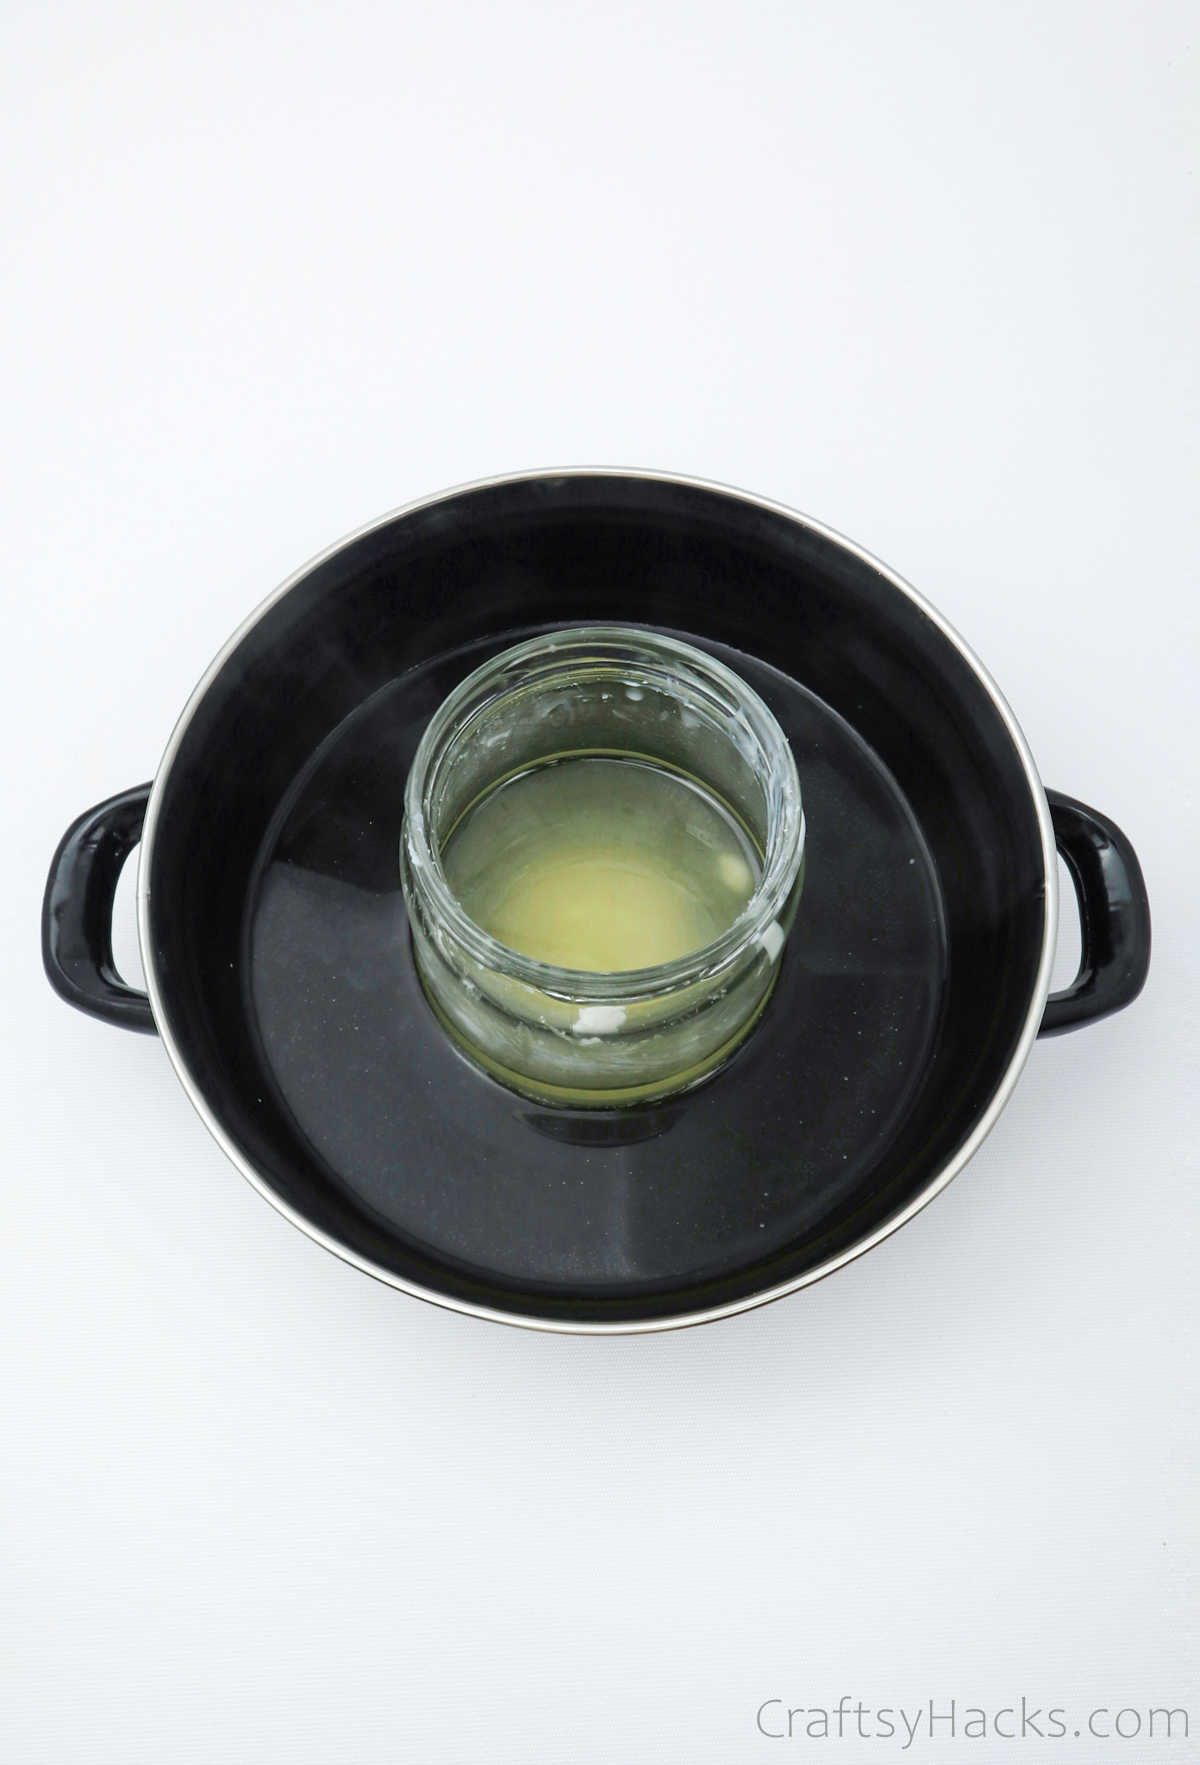
In a wide-bottomed saucepan, pour some water and place the wax—not directly in, but rather in a glass jar—in it.
Step 3
Bring the water to boil and watch as the wax begins to melt. Use a stirrer to get rid of any lumps and keep stirring the wax around till you’re happy with the consistency.
Step 4
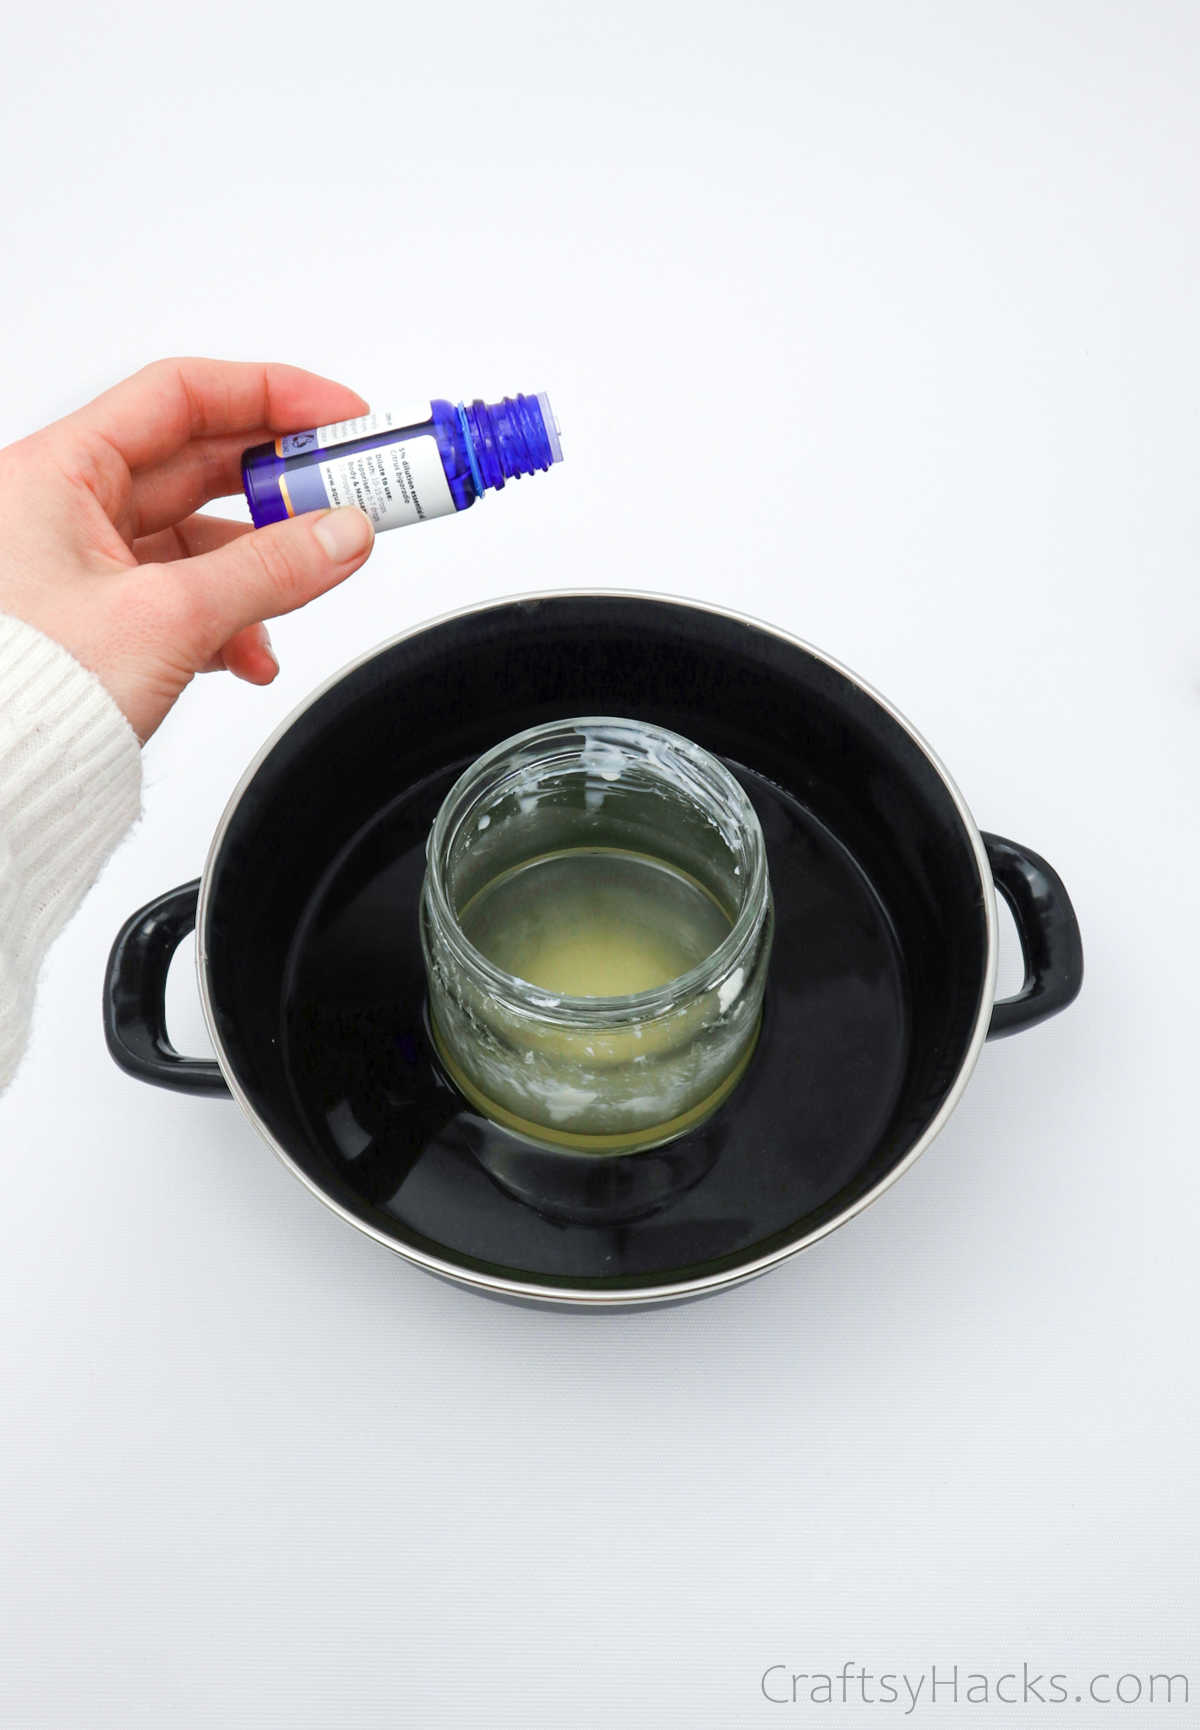
Now, add a few drops of essential oil to the wax and keep stirring it around.
Give it a good stir and your wax is ready to pour. Doesn’t it smell like a million bucks already?
Step 5
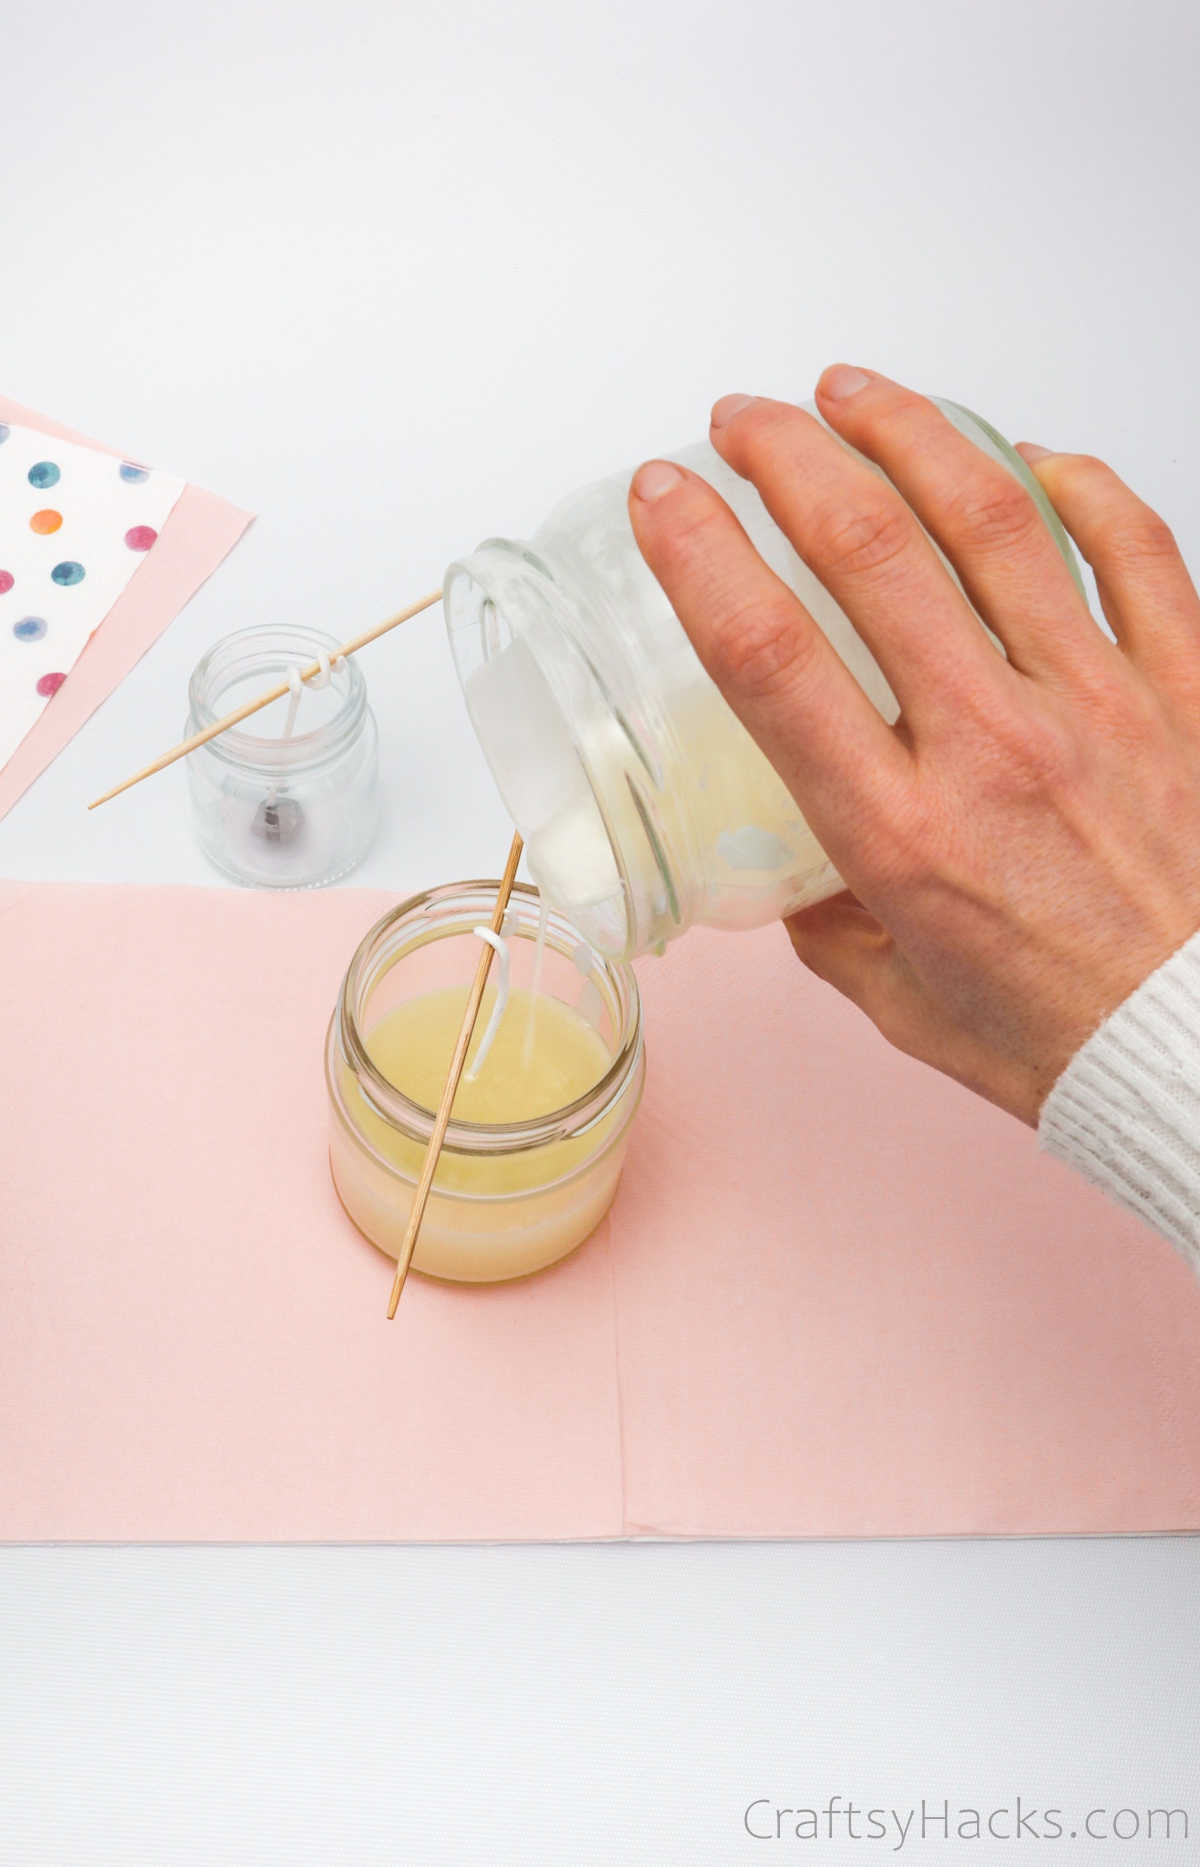
Be careful here, as you’re handling hot wax when you pour it into the jars. Fill it all the way up and wipe down the rim to get rid of any spills.
Step 6
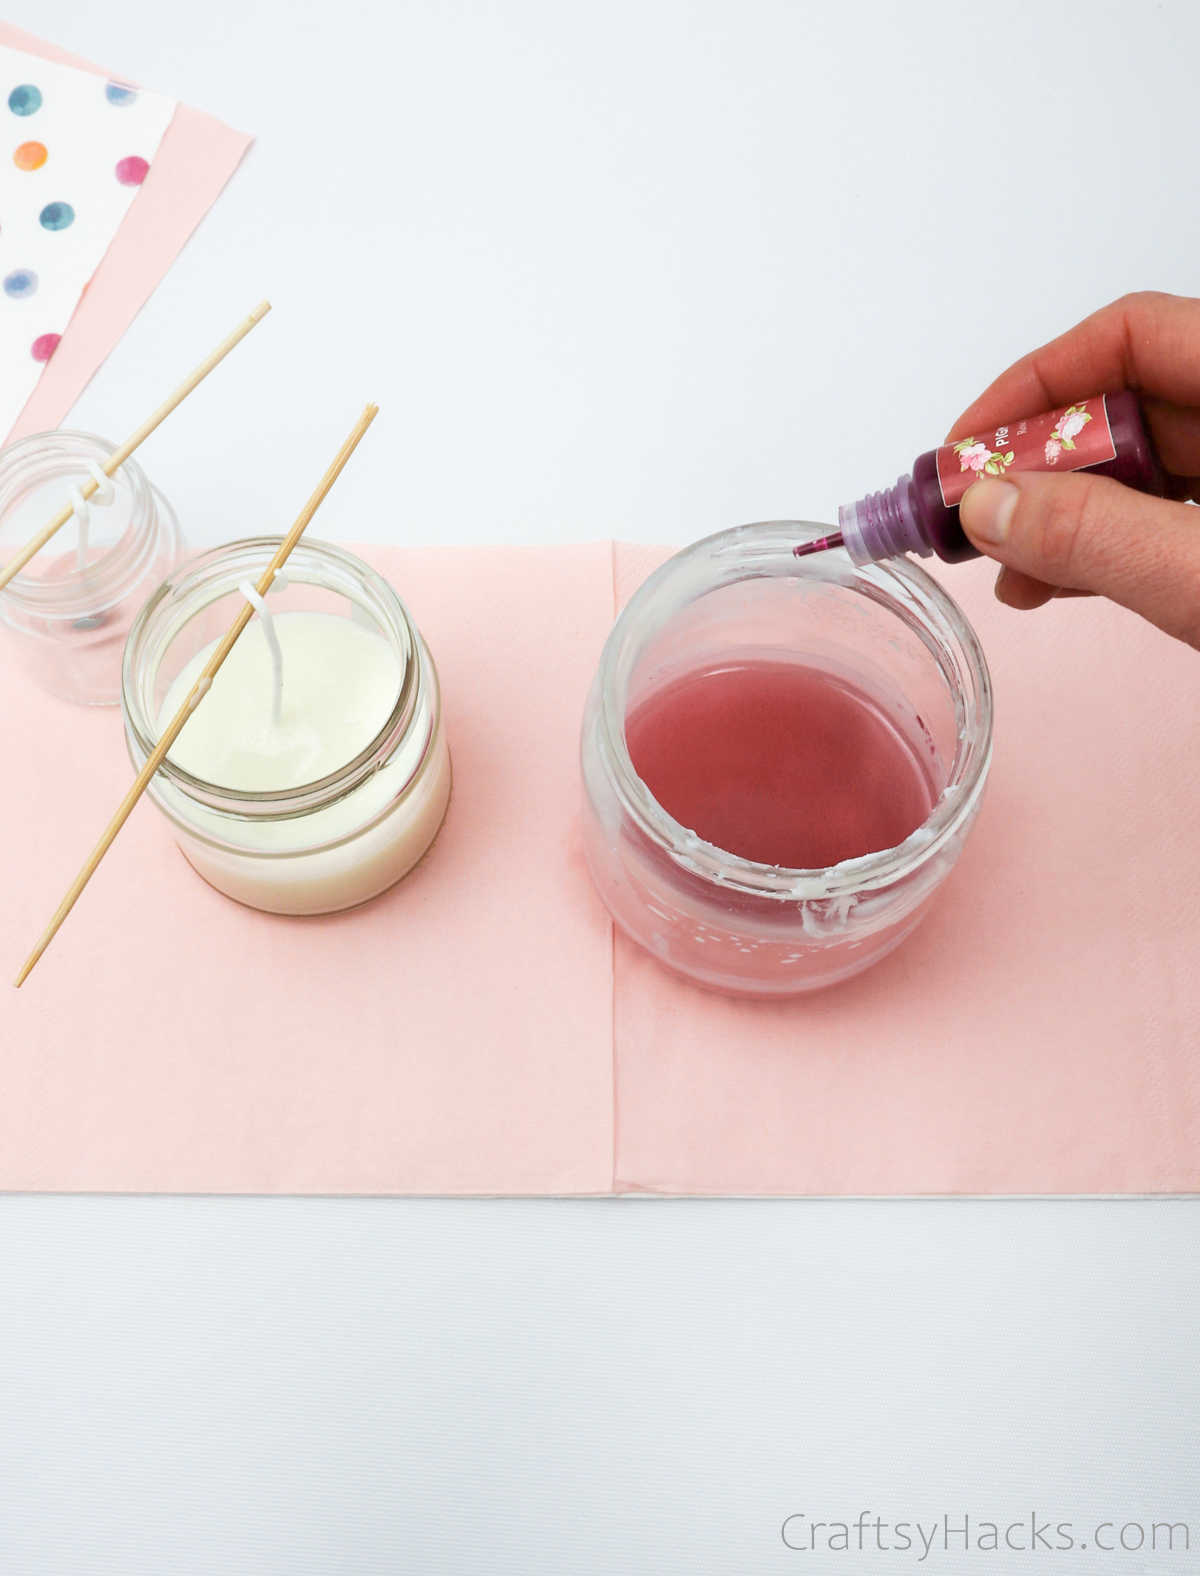
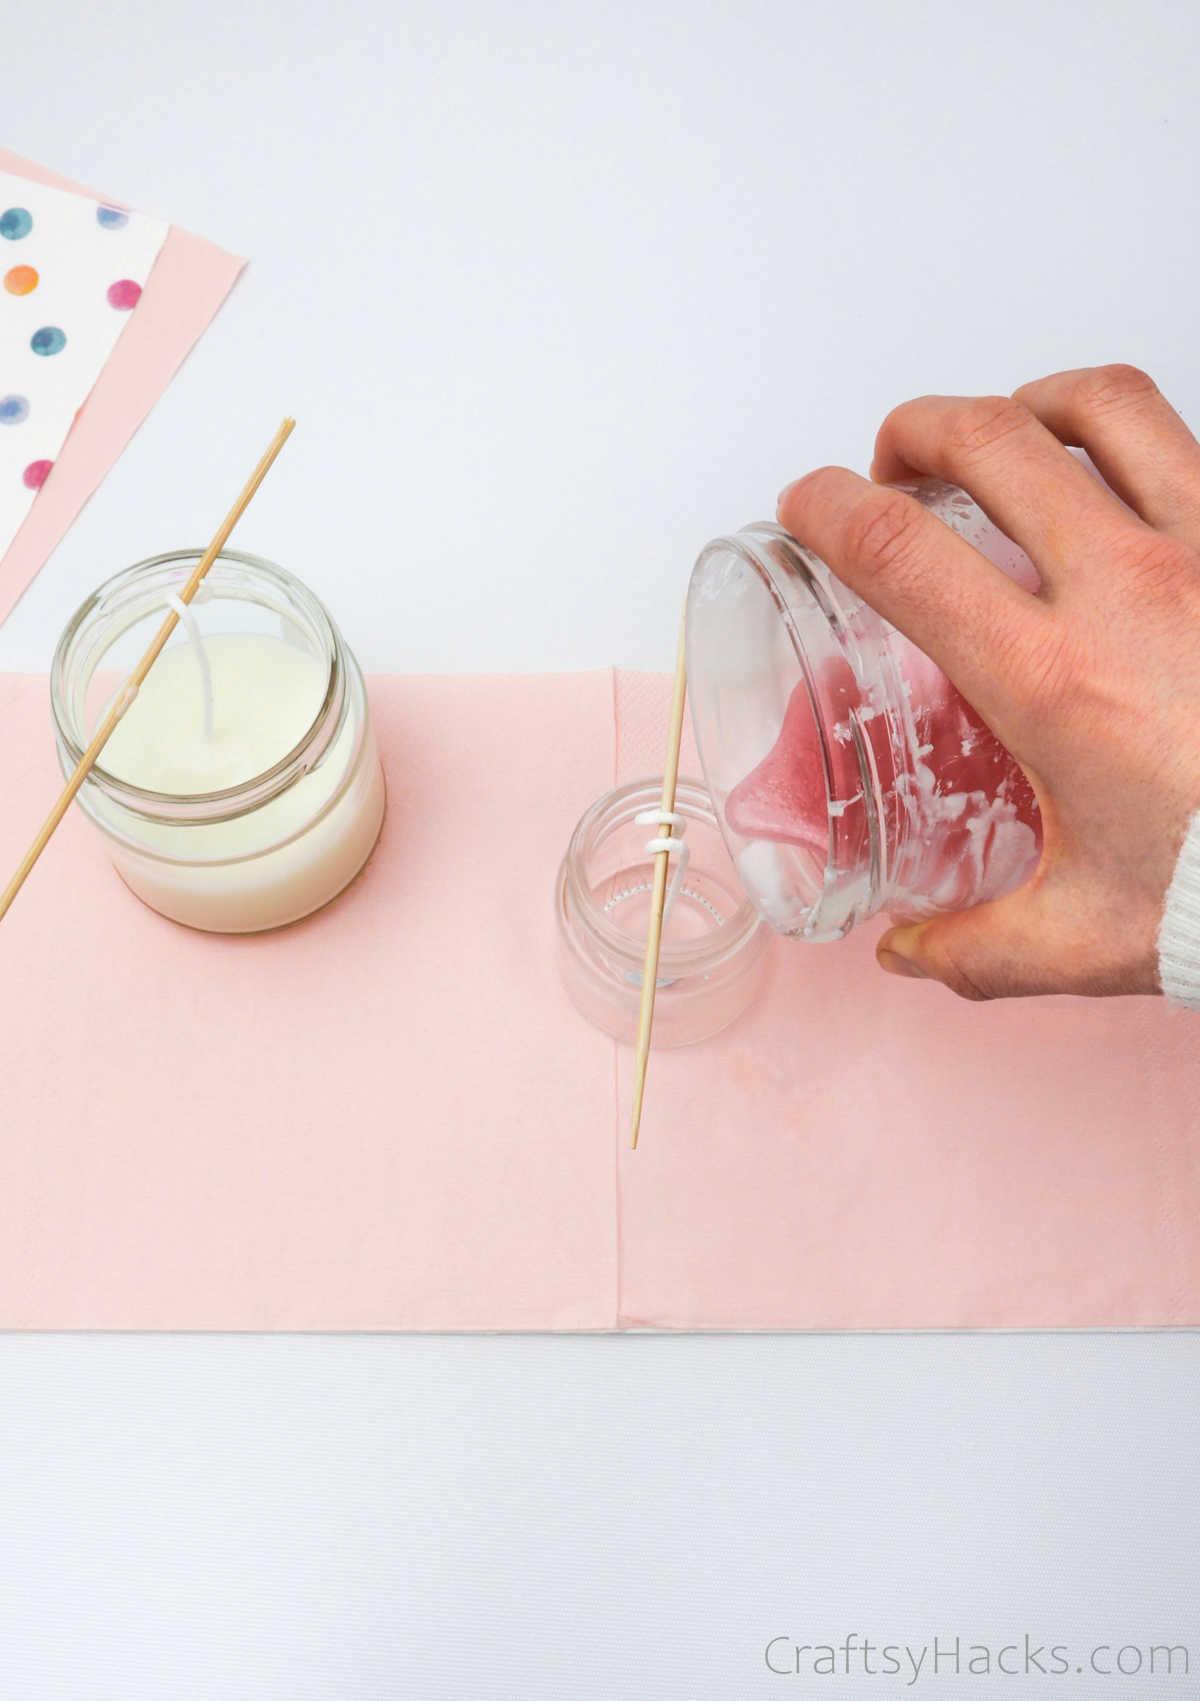
You can choose to keep your wax in its natural color or you can use a few drops of colored food dye and stir it around till the color is fully incorporated.
Then just pour the wax into the jar and layer it with different color patterns.
Step 7
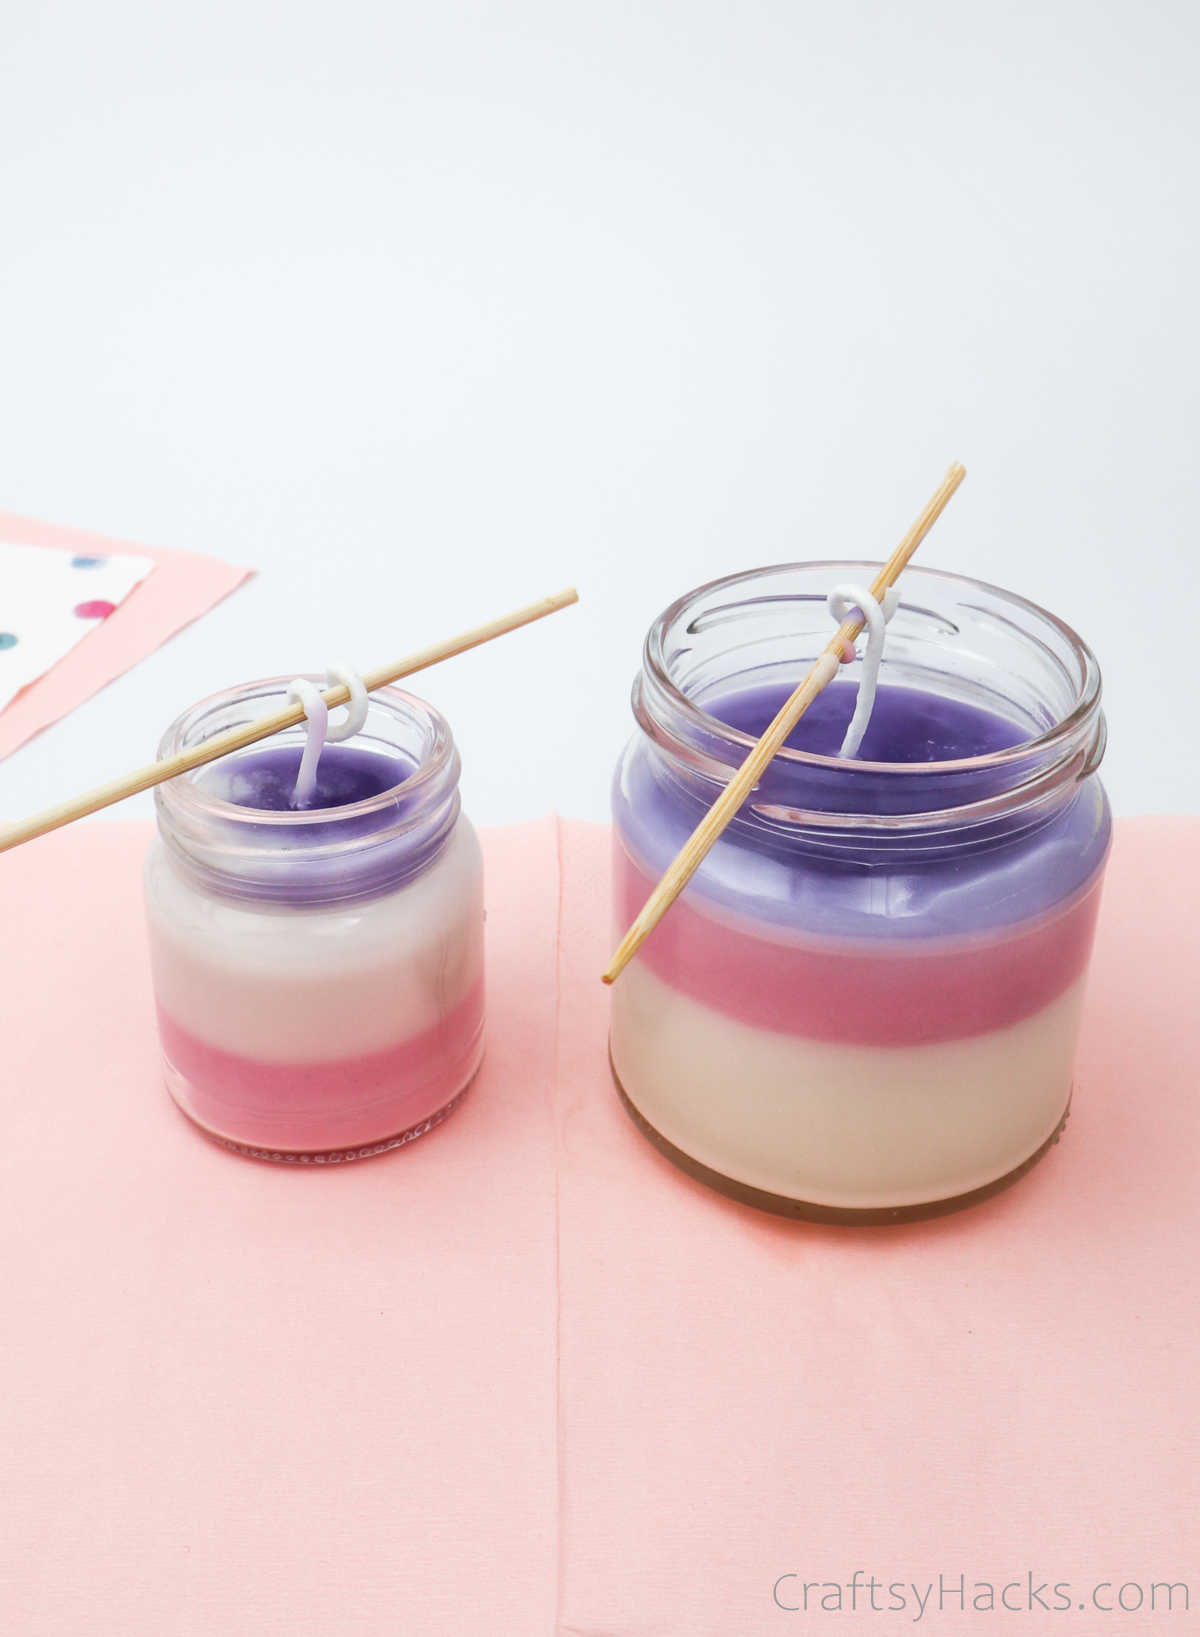
Let the wax cool down and allow it to harden. The craft stick holding the wick will secure it in place so you don’t have to worry about the wick dislodging.
Step 8
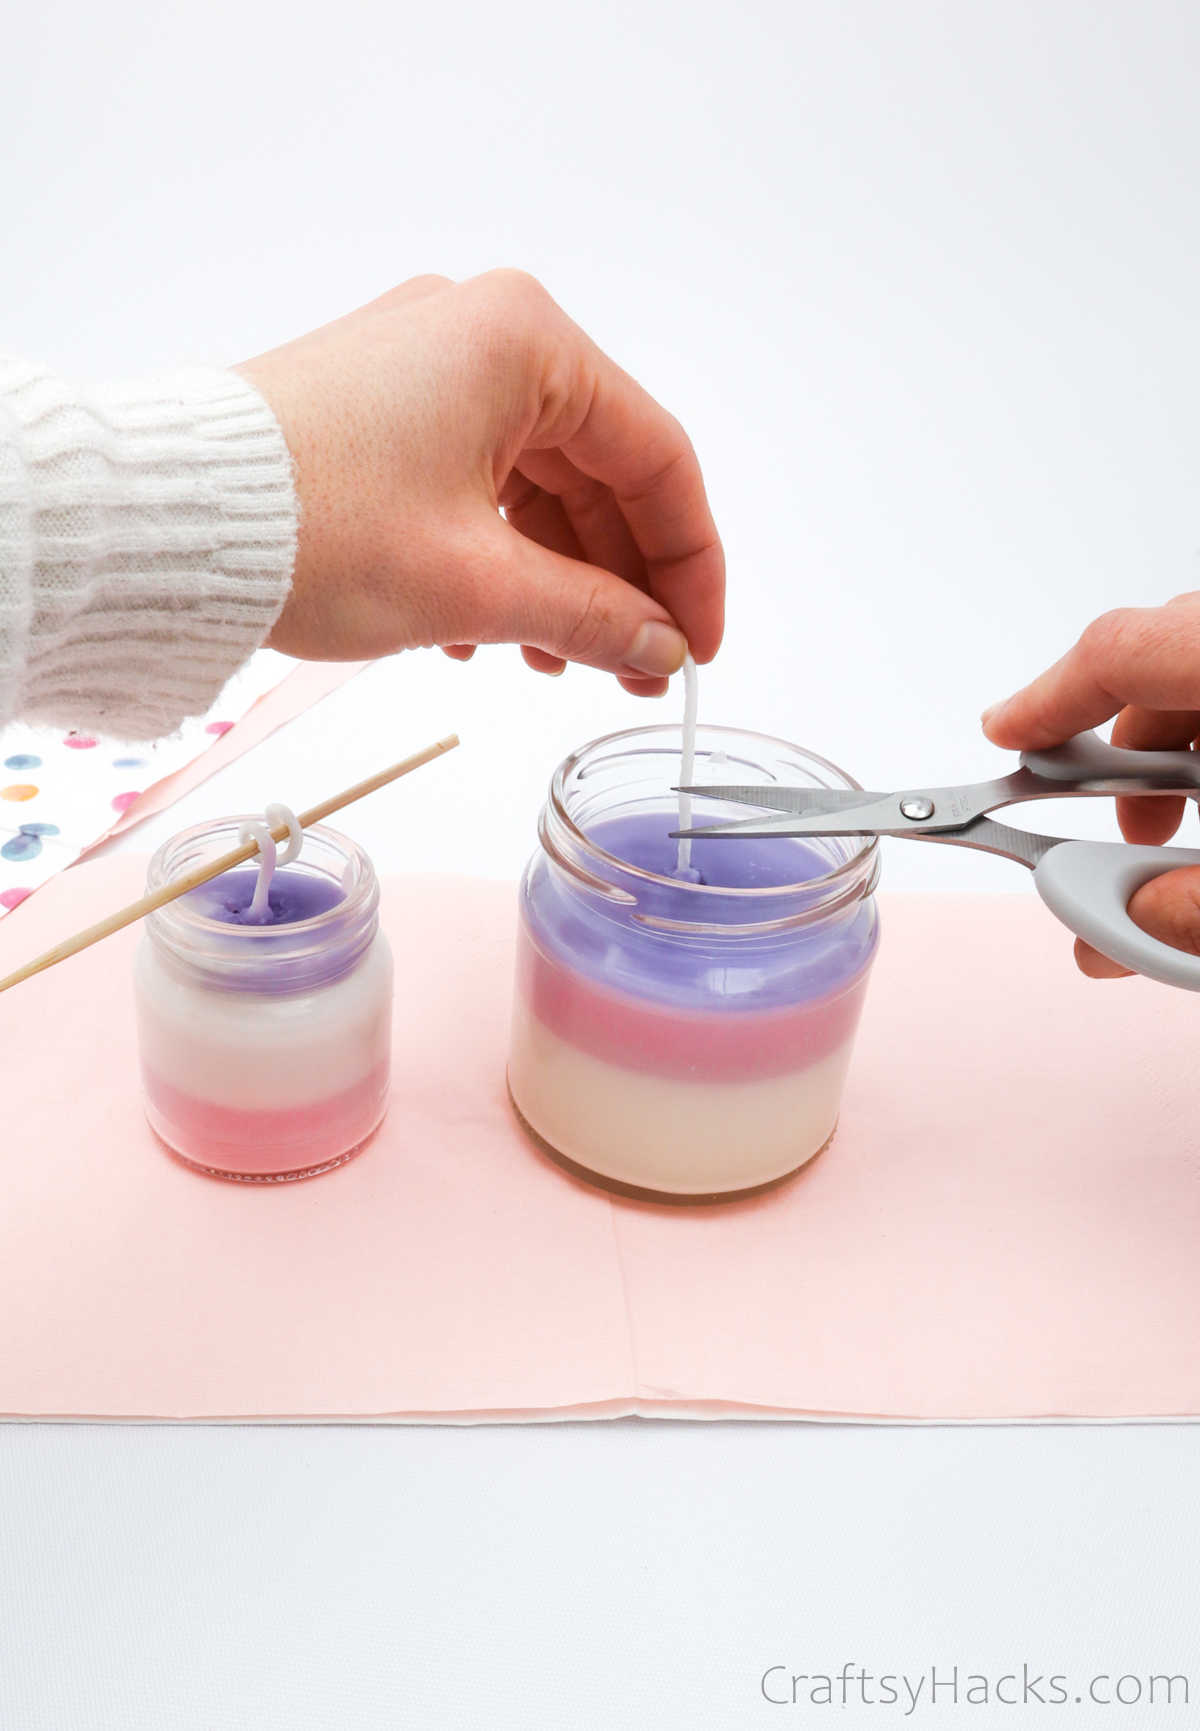
Once the wax has hardened, carefully uncurl the wick from the stick and trim the extra ends off.
Step 9
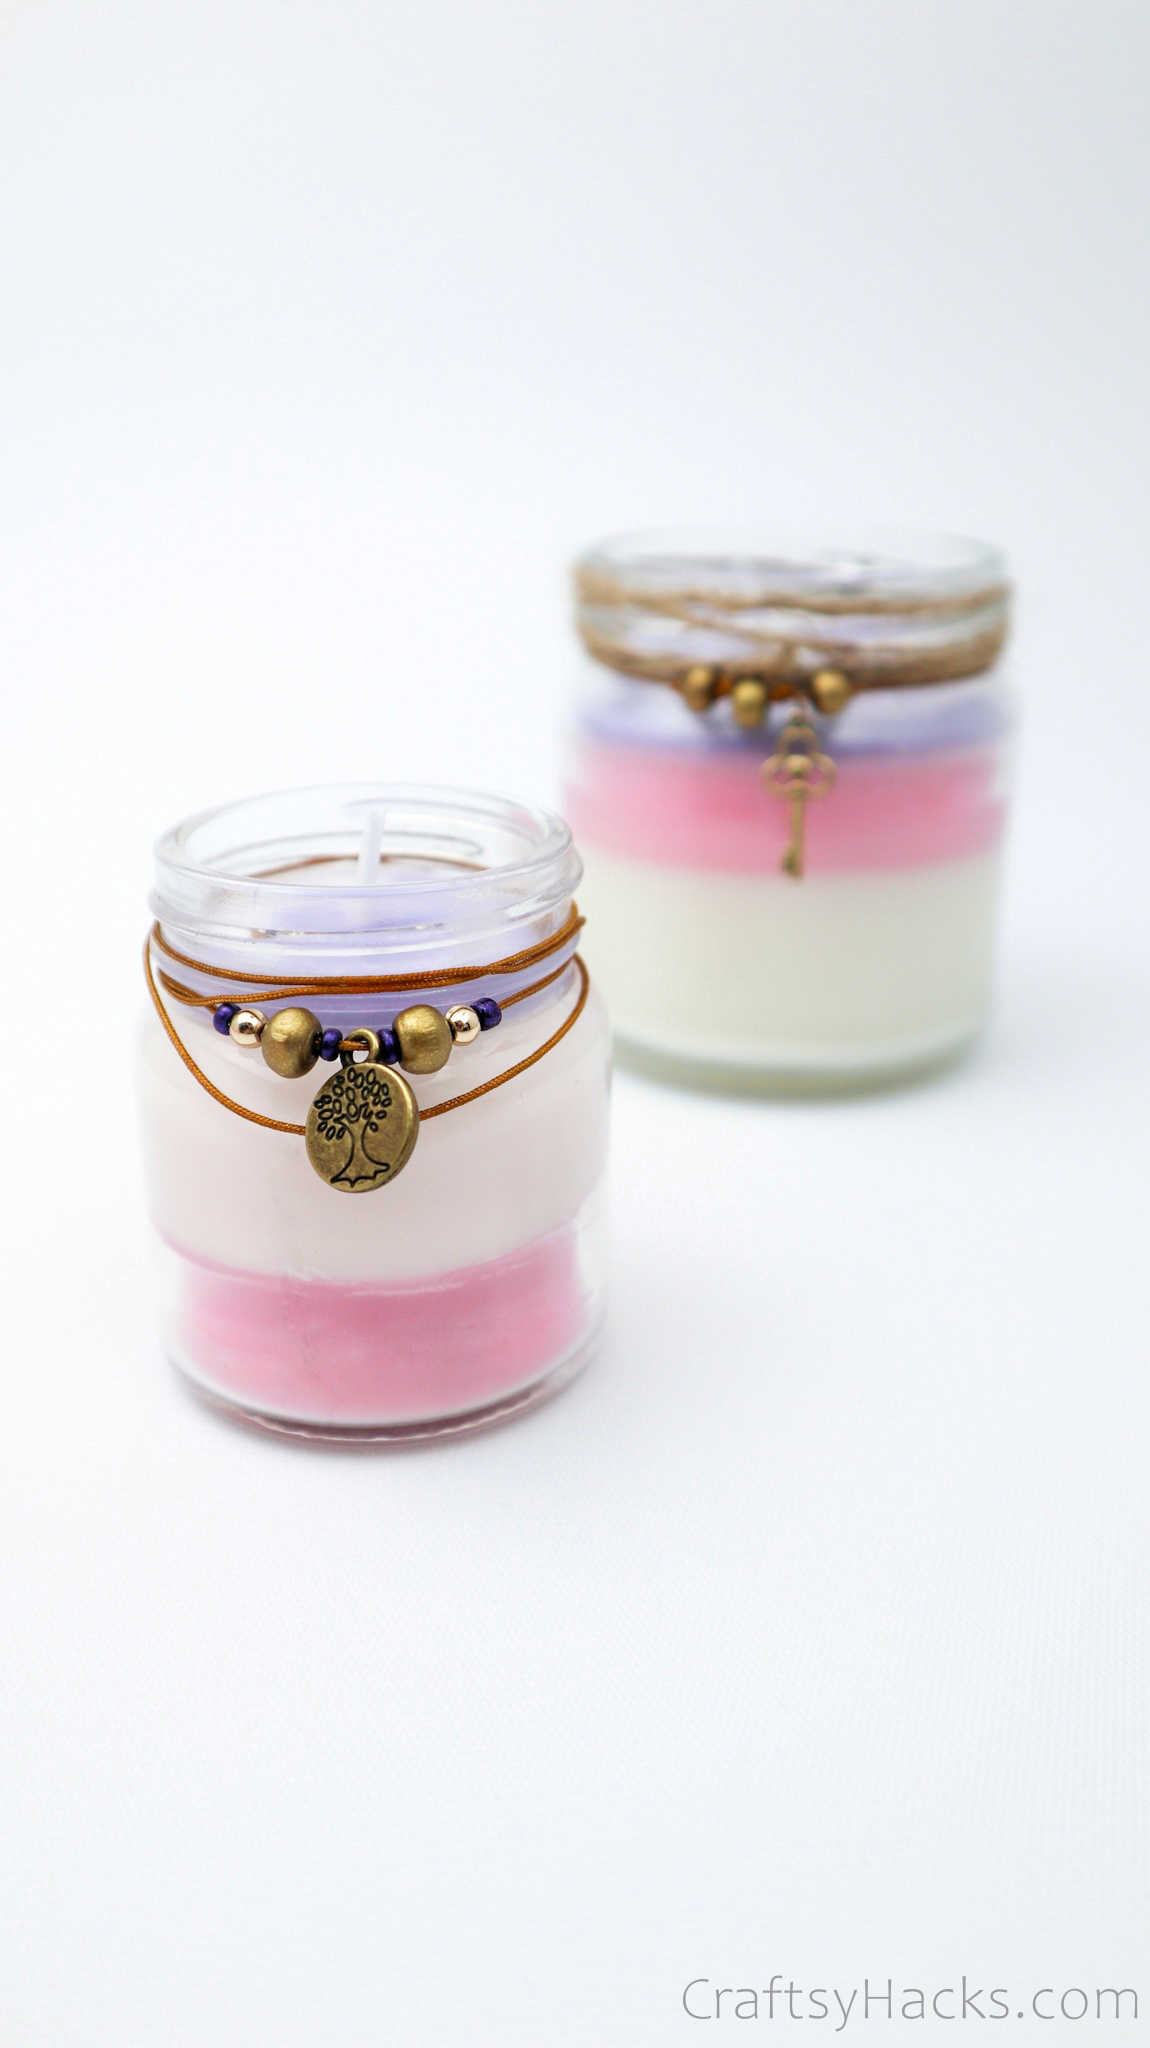
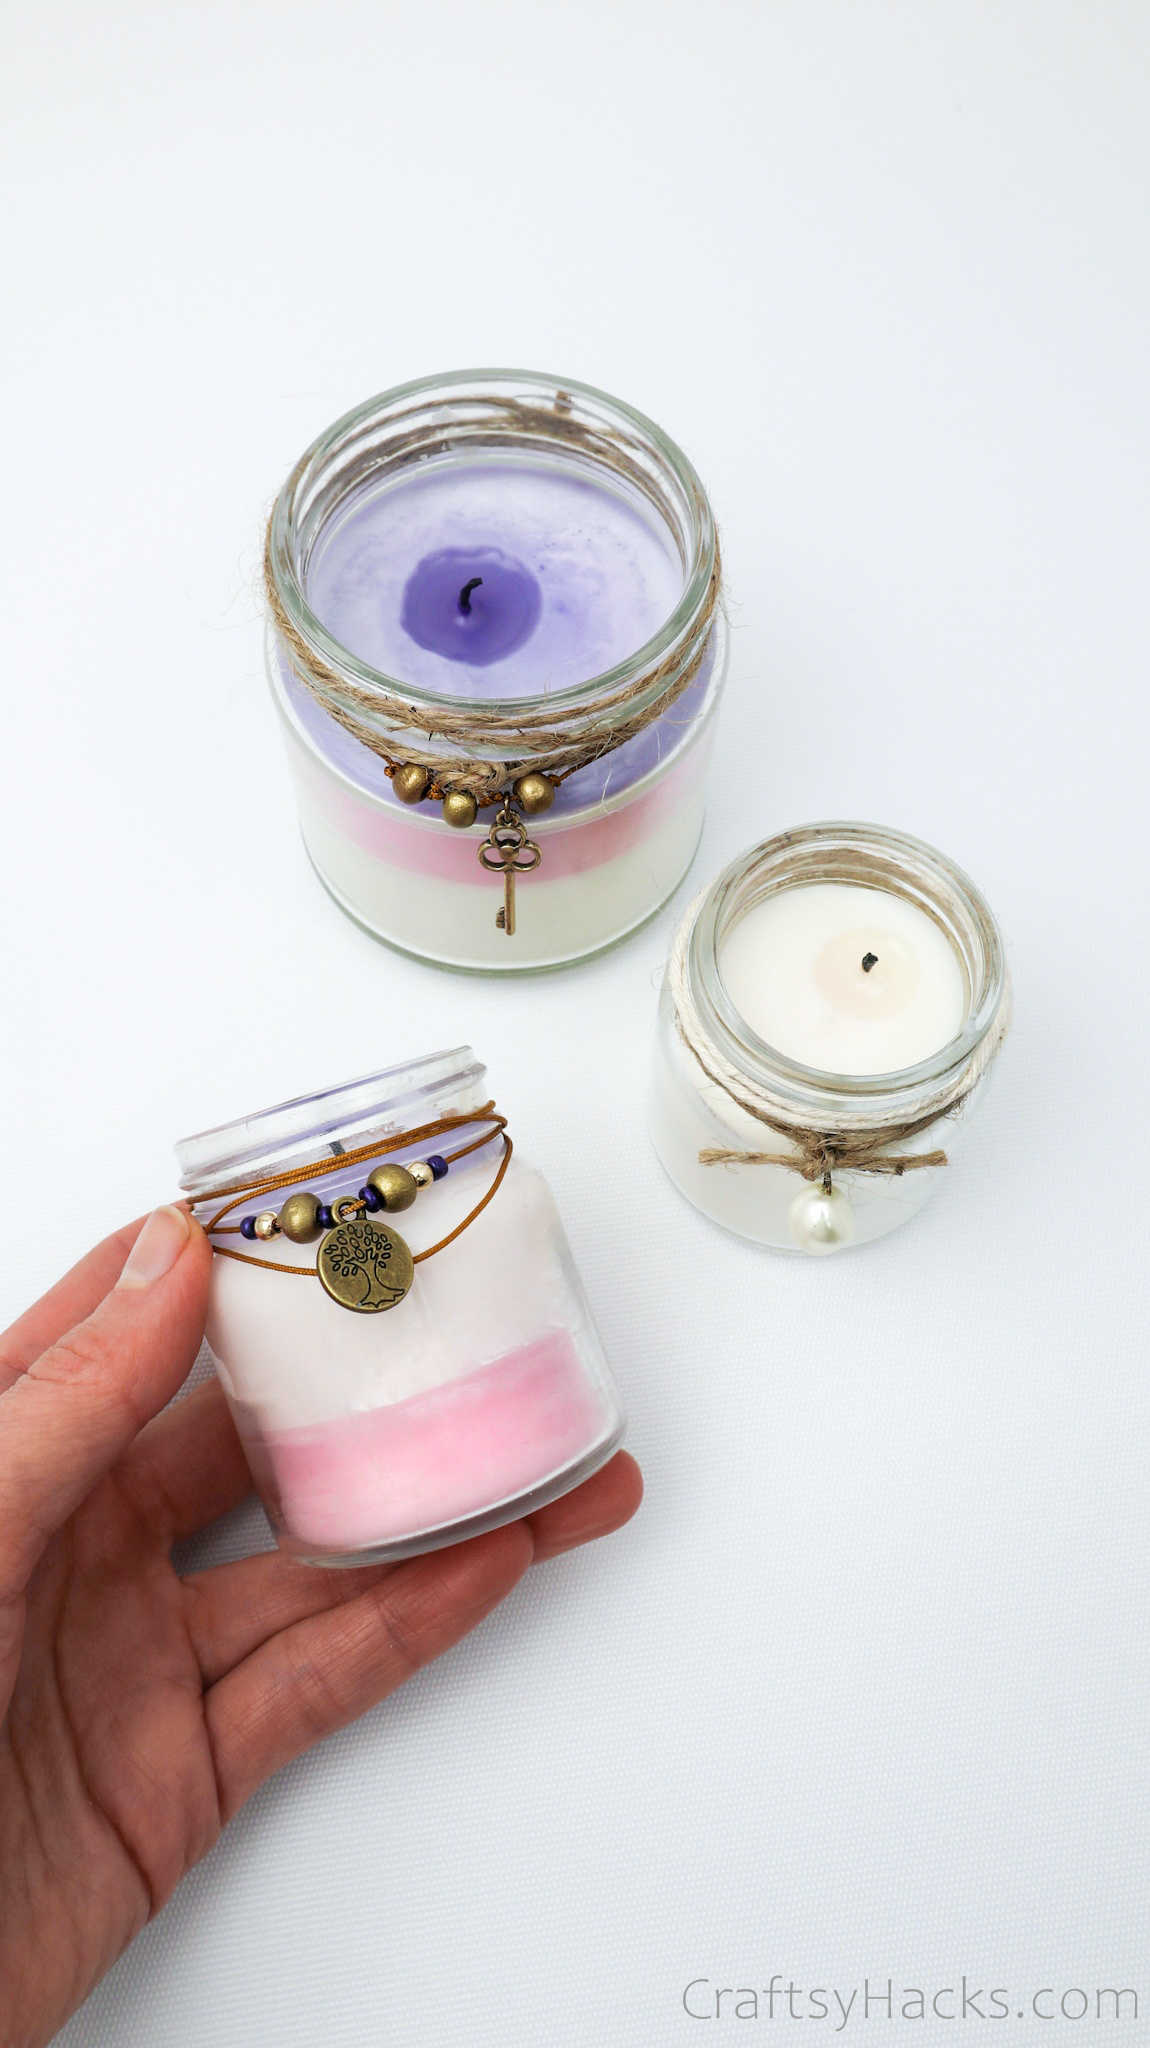
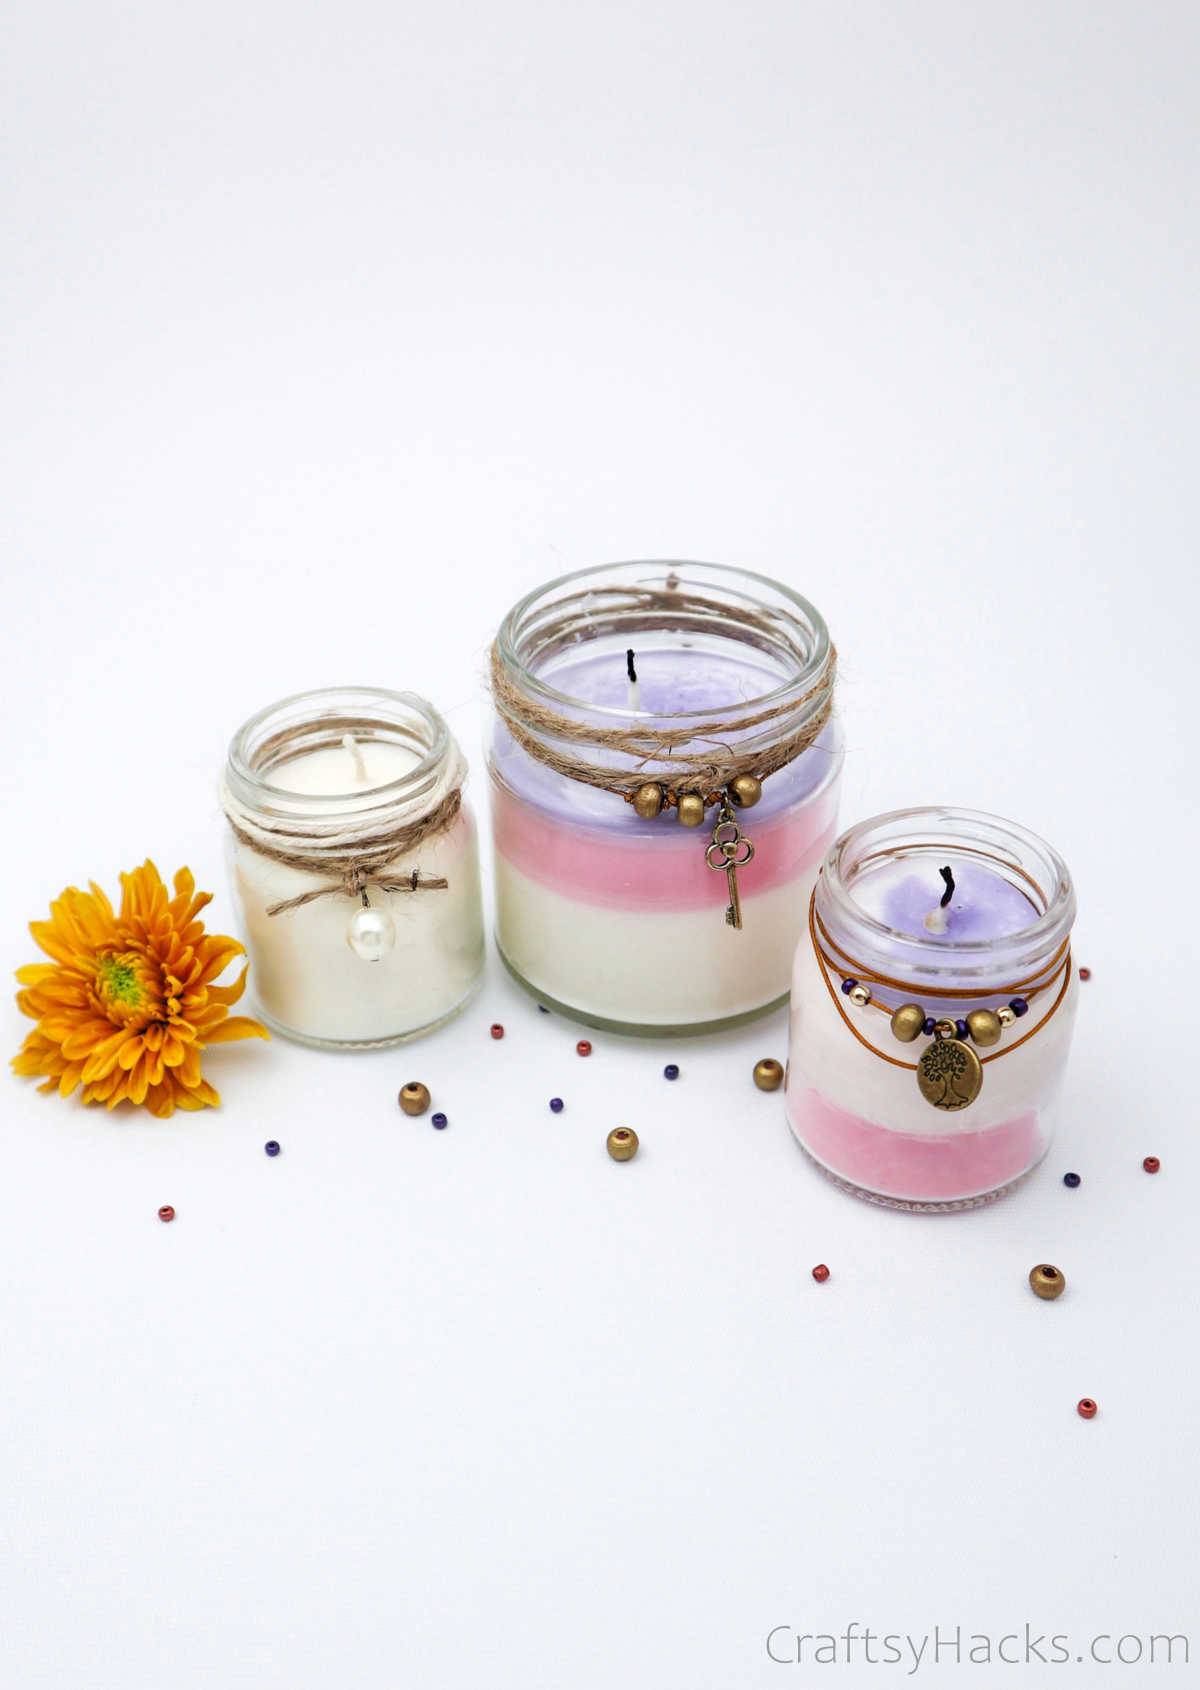
You can wrap a length of twine or jute around the rim and also add little beads, buttons, and charms to decorate your candle.
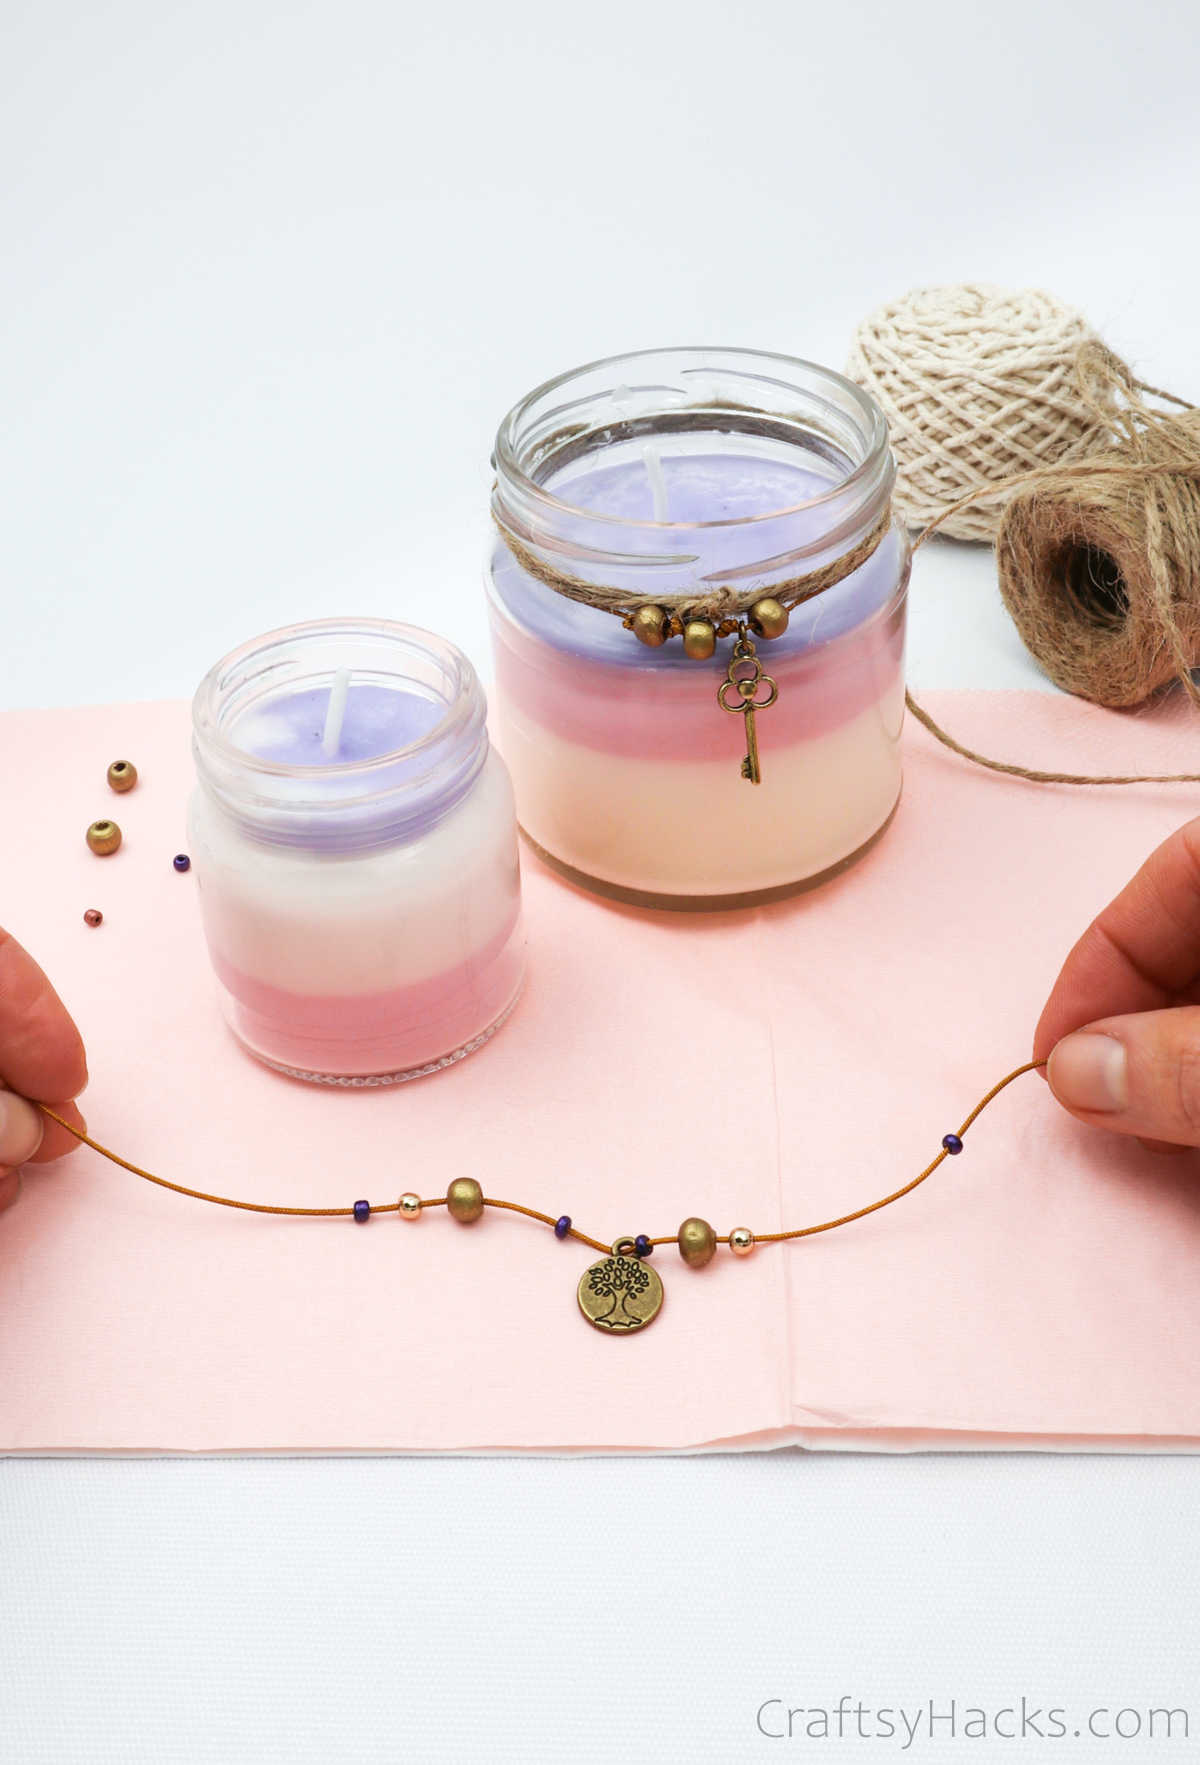
And, there you go, your DIY scented candle is ready to be lit!
Is It Cheaper to Make Your Own Candles?
Making DIY candles is definitely cheaper than buying them. The only items you need to buy are the wax, essential oils—which I’m sure we all have at home—and the wick.
You can upcycle and repurpose old mason jars, as well, and save a pretty penny there.
Here are 20 DIY spring mason jar ideas you can explore to decorate your home and upcycle old jars!
Types of Wax You Can Use for Candles
When it comes to picking out the wax you plan to use for your candle, you have quite a few options to choose from. You’ll need to consider several factors beforehand, though, like whether you want an all-natural wax, the type of finish you want, what form the candle will take, the vigor of fragrance you want it to give out, and more.
Thus, with that in mind, here’s a list of different types of wax you can use:
- Paraffin wax is the most commonly used wax and is also the most cost-effective. You can use them to make any type of candle. But paraffin can have a negative effect on the environment, which is why people prefer all-natural wax these days.
- Soy wax is all-natural, seeing as how it’s made from soybean oil. It also happens to be the softest wax, so it melts pretty easily and loses its shape. It might be advisable to use it to make candles in jars or tins, as opposed to pillar or tapering candles.
- Beeswax is also an all-natural wax and is perhaps the most popular in all categories: it’s natural, can be used to make all types of candles, and not just ones in jars or containers, and it’s also paraffin-free.
- Palm wax offers a rather interesting crystal or feather-like pattern to the candles, and they’re mostly used to make tapers, pillars, and votives. Again, it, too, is an all-natural wax.
- Other plant-based waxed include coconut wax, jojoba wax, candelilla wax, and carnauba wax.
Full Video Tutorial
We also have this tutorial fully on video in case it’s easier to follow!
What Candle Wax Holds the Most Fragrance?
Paraffin is considered to hold and throw off the maximum scent. That’s why, despite its harmful effects, paraffin remains a popular choice of wax used in scented candles.
But, don’t fret; soy wax candles are a close second. You can just as well use soy wax to the same effect if you use the right type of oils to scent it.
What is the Healthier Candle Wax?
Just about any all-natural wax is a healthier choice. They produce less soot and toxic chemicals than your average paraffin wax.
The top three contenders are beeswax, soy wax, and palm wax. These are closely followed by coconut wax.
In terms of which one to pick, I’d say that you should also consider the other factors at play: cost, scent-holding capacity, and the shape and medium you require.
What Containers Can You Use for Candles?
The rule of thumb when it comes to picking out the containers you want to use for your wax candle is that you pick one that is heat-resistant.
Remember that not all glass or ceramic are heat resistant. So always check to make sure that the containers are heat resistant.
Typically, microwave or oven-friendly ceramic containers, glassware, pressure canning jars, and cast-iron containers are the best options. Plastic is, of course, a definite no-no. If made and prepared properly, terracotta is also a great choice of container for wax candles.
Fragrances You Can Use for Candles
When picking out your scents, always—but always—choose 100% pure essential oils. The artificial ones might be cheaper, but they’re just as likely to give you some unwelcome side effects.
Here’s a list of eight popular essential oils that people often pick, along with their pros and cons:
- Lavender is popular for being a stress-relieving oil that promotes natural sleep. However, it can cause a headache if used over a long period of time or if used too virulently.
- Eucalyptus is rather minty, with a ton of earthy notes that can alleviate cold or sinus symptoms. It’s used to relieve a sore throat and also to control allergies.
- Peppermint is also pretty minty and can decongest the nasal passage in no time at all. A couple of peppermint-scented candles can do wonders for a headache, too.
- Lemongrass has been known to increase hemoglobin in the body. It also helps soothe achy joints and relieve muscle pains.
- Citrus like lemon, lime, and orange are all amazing choices of scents for candles. Their sharp citrusy notes can not just clear the air of unpleasant odors—ergo their popularity in cleaning products—they also happen to be mood-boosters.
- Chamomile essential oils, not unlike tea, help to soothe ulcers and sores. They’re also quite popularly known to relieve anxiety.
Other DIY Ideas You Might Like
Wooden skewers
Scissors
Old pot
Prevent SleepPrevent your screen from going dark
▢ Mason jars
▢ Soy wax flakes
▢ Lolly sticks
▢ Essential oils
▢ Candle dye
▢ Candle wicks
▢ Jute twine
▢ Charms beads (optional)
Pick out your candle jar and make sure the insides are clean and dry.
Use a craft or lolly stick to balance the wick in place. Make sure that the wick sits snug at the bottom of the jar.
Melt your wax by placing it in a glass jar and into a saucepan of water. Heat the water, and not the wax, to ensure that you don’t burn or char it.
Add a few drops of essential oil and give it a good stir to get rid of lumps as the wax melts.
Carefully pour the wax into the jar without dislodging the wick. You can also add a few drops of colored food dye if you like.
Allow the wax to harden and set before trimming off the extra bit of wick.
Decorate the jar however you like with twine, charms, and ribbon.
Light it up and enjoy your DIY scented candle!
Leave a comment below with your rating! I love the feedback and respond to every comment!