加入含有標記的地圖 (original) (raw)
本教學課程說明如何在 Android 應用程式中加入 Google 地圖。地圖中包含一個標記 (也稱為圖釘),用以表示特定位置。
請按照教學課程的說明,使用 Maps SDK for Android 建構 Android 應用程式。建議的開發環境為 Android Studio。
取得程式碼
從 GitHub 複製或下載 Google Maps Android API 第 2 版範例存放區。
查看 Java 版本的活動:
// Copyright 2020 Google LLC// // Licensed under the Apache License, Version 2.0 (the "License"); // you may not use this file except in compliance with the License. // You may obtain a copy of the License at // // http://www.apache.org/licenses/LICENSE-2.0 // // Unless required by applicable law or agreed to in writing, software // distributed under the License is distributed on an "AS IS" BASIS, // WITHOUT WARRANTIES OR CONDITIONS OF ANY KIND, either express or implied. // See the License for the specific language governing permissions and // limitations under the License.
package com.example.mapwithmarker;
import android.os.Bundle; import androidx.appcompat.app.AppCompatActivity;
import com.google.android.gms.maps.CameraUpdateFactory; import com.google.android.gms.maps.GoogleMap; import com.google.android.gms.maps.OnMapReadyCallback; import com.google.android.gms.maps.SupportMapFragment; import com.google.android.gms.maps.model.LatLng; import com.google.android.gms.maps.model.MarkerOptions;
/**
An activity that displays a Google map with a marker (pin) to indicate a particular location. */ public class MapsMarkerActivity extends AppCompatActivity implements OnMapReadyCallback { @Override protected void onCreate(Bundle savedInstanceState) { super.onCreate(savedInstanceState); // Retrieve the content view that renders the map. setContentView(R.layout.activity_maps); // Get the SupportMapFragment and request notification when the map is ready to be used. SupportMapFragment mapFragment = (SupportMapFragment) getSupportFragmentManager() .findFragmentById(R.id.map); mapFragment.getMapAsync(this); }
/**
- Manipulates the map when it's available.
- The API invokes this callback when the map is ready to be used.
- This is where we can add markers or lines, add listeners or move the camera. In this case,
- we just add a marker near Sydney, Australia.
- If Google Play services is not installed on the device, the user receives a prompt to install
- Play services inside the SupportMapFragment. The API invokes this method after the user has
- installed Google Play services and returned to the app. */ @Override public void onMapReady(GoogleMap googleMap) { // Add a marker in Sydney, Australia, // and move the map's camera to the same location. LatLng sydney = new LatLng(-33.852, 151.211); googleMap.addMarker(new MarkerOptions() .position(sydney) .title("Marker in Sydney")); googleMap.moveCamera(CameraUpdateFactory.newLatLng(sydney)); }
}
查看 Kotlin 版本的活動:

// Copyright 2020 Google LLC
// // Licensed under the Apache License, Version 2.0 (the "License"); // you may not use this file except in compliance with the License. // You may obtain a copy of the License at // // http://www.apache.org/licenses/LICENSE-2.0 // // Unless required by applicable law or agreed to in writing, software // distributed under the License is distributed on an "AS IS" BASIS, // WITHOUT WARRANTIES OR CONDITIONS OF ANY KIND, either express or implied. // See the License for the specific language governing permissions and // limitations under the License.
package com.example.mapwithmarker
import android.os.Bundle import android.widget.Toast import androidx.appcompat.app.AppCompatActivity import com.google.android.gms.maps.CameraUpdateFactory import com.google.android.gms.maps.GoogleMap import com.google.android.gms.maps.OnMapReadyCallback import com.google.android.gms.maps.SupportMapFragment import com.google.android.gms.maps.model.LatLng import com.google.android.gms.maps.model.MarkerOptions
/**
An activity that displays a Google map with a marker (pin) to indicate a particular location. */ class MapsMarkerActivity : AppCompatActivity(), OnMapReadyCallback {
override fun onCreate(savedInstanceState: Bundle?) { super.onCreate(savedInstanceState) // Retrieve the content view that renders the map. setContentView(R.layout.activity_maps) // Get the SupportMapFragment and request notification when the map is ready to be used. val mapFragment = supportFragmentManager.findFragmentById(R.id.map) as? SupportMapFragment mapFragment?.getMapAsync(this) }
override fun onMapReady(googleMap: GoogleMap) { val sydney = LatLng(-33.852, 151.211) googleMap.addMarker( MarkerOptions() .position(sydney) .title("Marker in Sydney") ) googleMap.moveCamera(CameraUpdateFactory.newLatLng(sydney)) }
}
## 設定開發專案如要在 Android Studio 中建立教學課程專案,請按照下列步驟操作。
- 下載並安裝 Android Studio。
- 將 Google Play 服務套件加入 Android Studio。
- 如果您開始閱讀本教學課程時,尚未複製或下載 Google Maps Android API 第 2 版範例存放區,請先複製或下載。
- 匯入教學課程專案:
- 在 Android Studio 中,選取「File」(檔案) >「New」(新增) >「Import Project」(匯入專案)。
- 下載完成後,請前往您儲存 Google Maps Android API 第 2 版範例存放區的位置。
- 在這個位置找到 MapWithMarker 專案:
PATH-TO-SAVED-REPO/android-samples/tutorials/java/MapWithMarker(Java) 或PATH-TO-SAVED-REPO/android-samples/tutorials/kotlin/MapWithMarker(Kotlin) - 選取專案目錄,然後按一下「Open」(開啟)。Android Studio 現在會使用 Gradle 建構工具來建立您的專案。
啟用必要的 API 並取得 API 金鑰
如想完成本教學課程,請建立 Google Cloud 專案並啟用必要的 API,以及加入獲授權使用 Maps SDK for Android 的 API 金鑰。 相關詳情請參閱:
在應用程式中加入 API 金鑰
- 開啟專案的
local.properties檔案。 - 加入以下字串,然後將
YOUR_API_KEY替換成您的 API 金鑰值:
MAPS_API_KEY=YOUR_API_KEY 建構應用程式時,Secrets Gradle Plugin for Android 會複製 API 金鑰,並將該金鑰當成 Android 資訊清單的建構變數使用,相關詳情請見下方說明。
建構並執行應用程式
如要建構並執行應用程式,請按照下列步驟操作:
- 將 Android 裝置連接到電腦。按照操作說明在 Android 裝置中啟用開發人員選項,並設定系統以偵測裝置。
您也可以使用 Android 虛擬裝置管理工具 (AVD Manager) 來設定虛擬裝置;選擇模擬器時,請務必挑選包含 Google API 的映像檔。如要進一步瞭解相關詳情,請參閱「設定 Android Studio 專案」一文。 - 在 Android Studio 中,按一下「Run」(執行) 選單選項 (或播放按鈕圖示),然後按照系統提示選擇裝置。
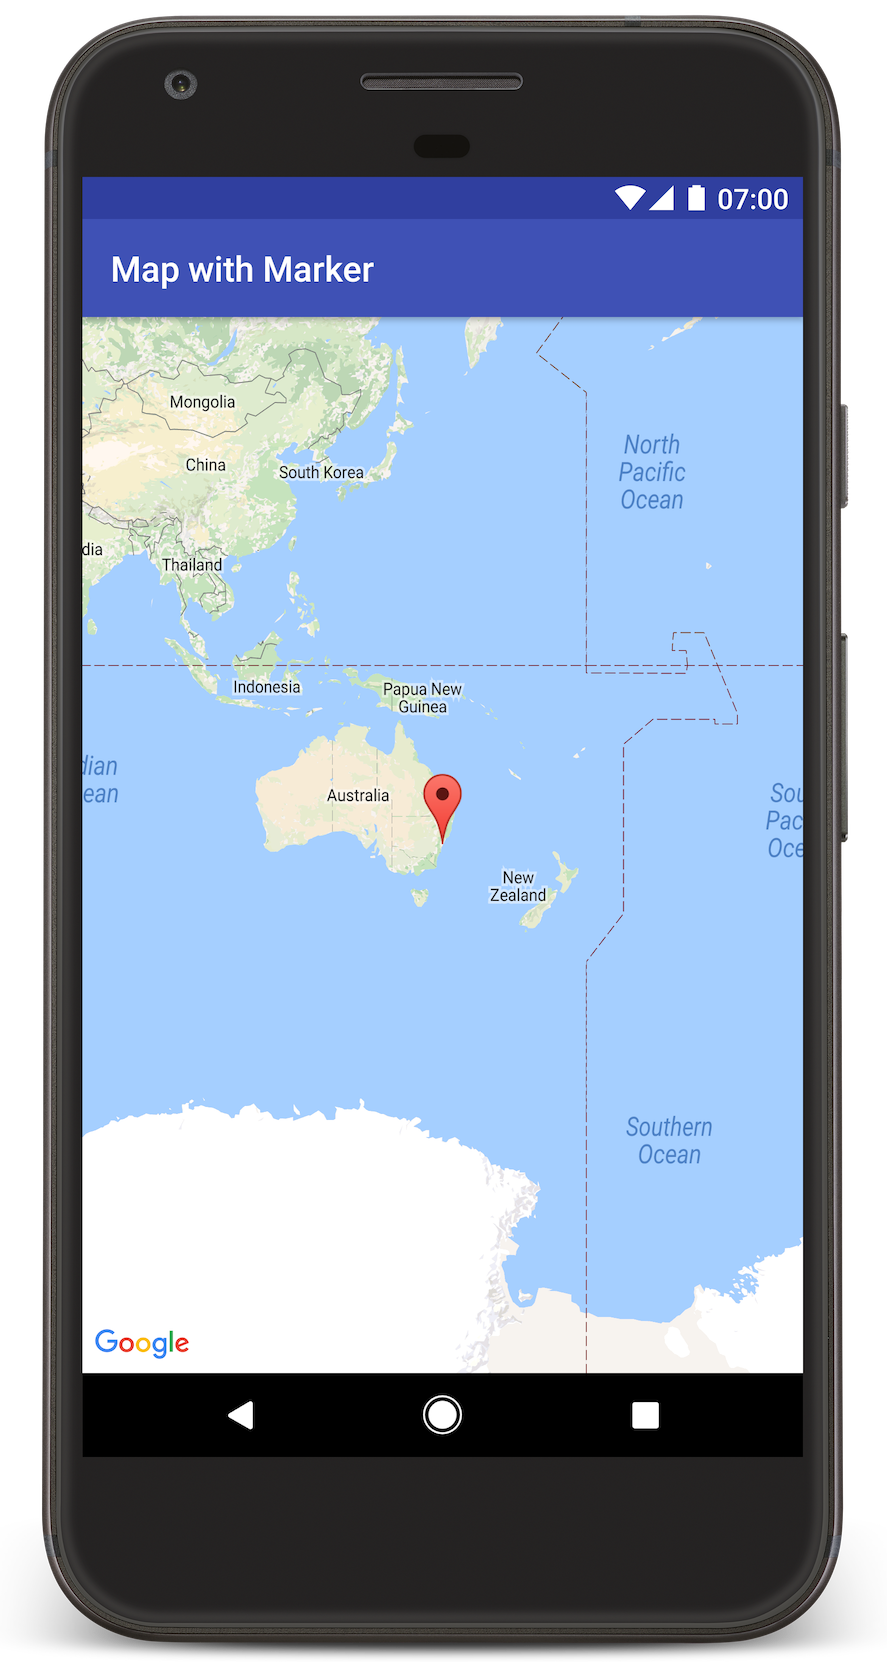
Android Studio 會叫用 Gradle 來建構應用程式,然後在裝置或模擬器上執行應用程式。您應該會看到地圖,上面有一個標記指向澳洲東海岸的雪梨,與本頁中的圖片類似。
疑難排解:
- 如未看到地圖,請檢查您是否已按照上述步驟取得 API 金鑰,並加到應用程式。在 Android Studio 的 Android Monitor 查看記錄檔,檢視是否有關於 API 金鑰的錯誤訊息。
- 使用 Android Studio 偵錯工具查看記錄檔並為應用程式偵錯。
瞭解程式碼
本教學課程這一段將說明 MapWithMarker 應用程式最重要的部分,協助您瞭解如何建構類似的應用程式。
檢查您的 Android 資訊清單
請注意應用程式 AndroidManifest.xml 檔案中的下列元素:
- 新增
meta-data元素,以嵌入用來編譯應用程式的 Google Play 服務版本。
<meta-data
    android:name="com.google.android.gms.version"
android:value="@integer/google_play_services_version" /> - 新增指定 API 金鑰的
meta-data元素。本教學課程隨附的範例,會將 API 金鑰的值對應到吻合您先前所定義金鑰名稱 (MAPS_API_KEY) 的建構變數。建構應用程式時,Secrets Gradle Plugin for Android 會將local.properties檔案中的金鑰當成資訊清單建構變數使用。
<meta-data
  android:name="com.google.android.geo.API_KEY"
  android:value="${MAPS_API_KEY}" />
在 build.gradle 檔案中,下列程式碼會將您的 API 金鑰傳送至 Android 資訊清單。
id 'com.google.android.libraries.mapsplatform.secrets-gradle-plugin' 以下是完整資訊清單的範例:
<application
    android:allowBackup="true"
    android:icon="@mipmap/ic_launcher"
    android:label="@string/app_name"
    android:supportsRtl="true"
    android:theme="@style/AppTheme">

    <meta-data
        android:name="com.google.android.gms.version"
        android:value="@integer/google_play_services_version" />

    <!--
         The API key for Google Maps-based APIs.
    -->
    <meta-data
        android:name="com.google.android.geo.API_KEY"
        android:value="${MAPS_API_KEY}" />

    <activity
        android:name=".MapsMarkerActivity"
        android:label="@string/title_activity_maps"
        android:exported="true">
        <intent-filter>
            <action android:name="android.intent.action.MAIN" />

            <category android:name="android.intent.category.LAUNCHER" />
        </intent-filter>
    </activity>
</application>
新增地圖
使用 Maps SDK for Android 顯示地圖。
- 在活動的版面配置檔案
activity_maps.xml中加入<fragment>元素。這個元素會將 SupportMapFragment 定義為地圖的容器並提供GoogleMap物件的存取權。本教學課程使用 Android 支援資料庫版本的地圖片段,確保與舊版 Android 架構能回溯相容。 - 在活動的
onCreate()方法中,將版面配置檔案設為內容檢視畫面。呼叫 FragmentManager.findFragmentById() 以取得地圖片段的控制代碼,然後使用 getMapAsync() 註冊地圖回呼:
Java
@Override
protected void onCreate(Bundle savedInstanceState) {
super.onCreate(savedInstanceState);
// Retrieve the content view that renders the map.
setContentView(R.layout.activity_maps);
// Get the SupportMapFragment and request notification when the map is ready to be used.
SupportMapFragment mapFragment = (SupportMapFragment) getSupportFragmentManager()
.findFragmentById(R.id.map);
mapFragment.getMapAsync(this);
}
Kotlin
override fun onCreate(savedInstanceState: Bundle?) {
super.onCreate(savedInstanceState)
// Retrieve the content view that renders the map.
setContentView(R.layout.activity_maps)
// Get the SupportMapFragment and request notification when the map is ready to be used.
val mapFragment = supportFragmentManager.findFragmentById(R.id.map) as? SupportMapFragment
mapFragment?.getMapAsync(this)
}
3. 導入 OnMapReadyCallback 介面並覆寫 onMapReady() 方法,以便在 GoogleMap 物件可用時設定地圖:
Java
public class MapsMarkerActivity extends AppCompatActivity
implements OnMapReadyCallback {
// ...
@Override
public void onMapReady(GoogleMap googleMap) {
LatLng sydney = new LatLng(-33.852, 151.211);
googleMap.addMarker(new MarkerOptions()
.position(sydney)
.title("Marker in Sydney"));
}
}
Kotlin
class MapsMarkerActivity : AppCompatActivity(), OnMapReadyCallback {
// ...
override fun onMapReady(googleMap: GoogleMap) {
val sydney = LatLng(-33.852, 151.211)
googleMap.addMarker(
MarkerOptions()
.position(sydney)
.title("Marker in Sydney")
)
}
}
根據預設,Maps SDK for Android 會在使用者輕觸標記時顯示資訊視窗的內容。如果您可以接受使用預設行為,就不需要為標記新增點擊事件監聽器。