Easily add sign-in to your Android app with FirebaseUI (original) (raw)
FirebaseUI is a library built on top of the Firebase Authentication SDK that provides drop-in UI flows for use in your app. FirebaseUI provides the following benefits:
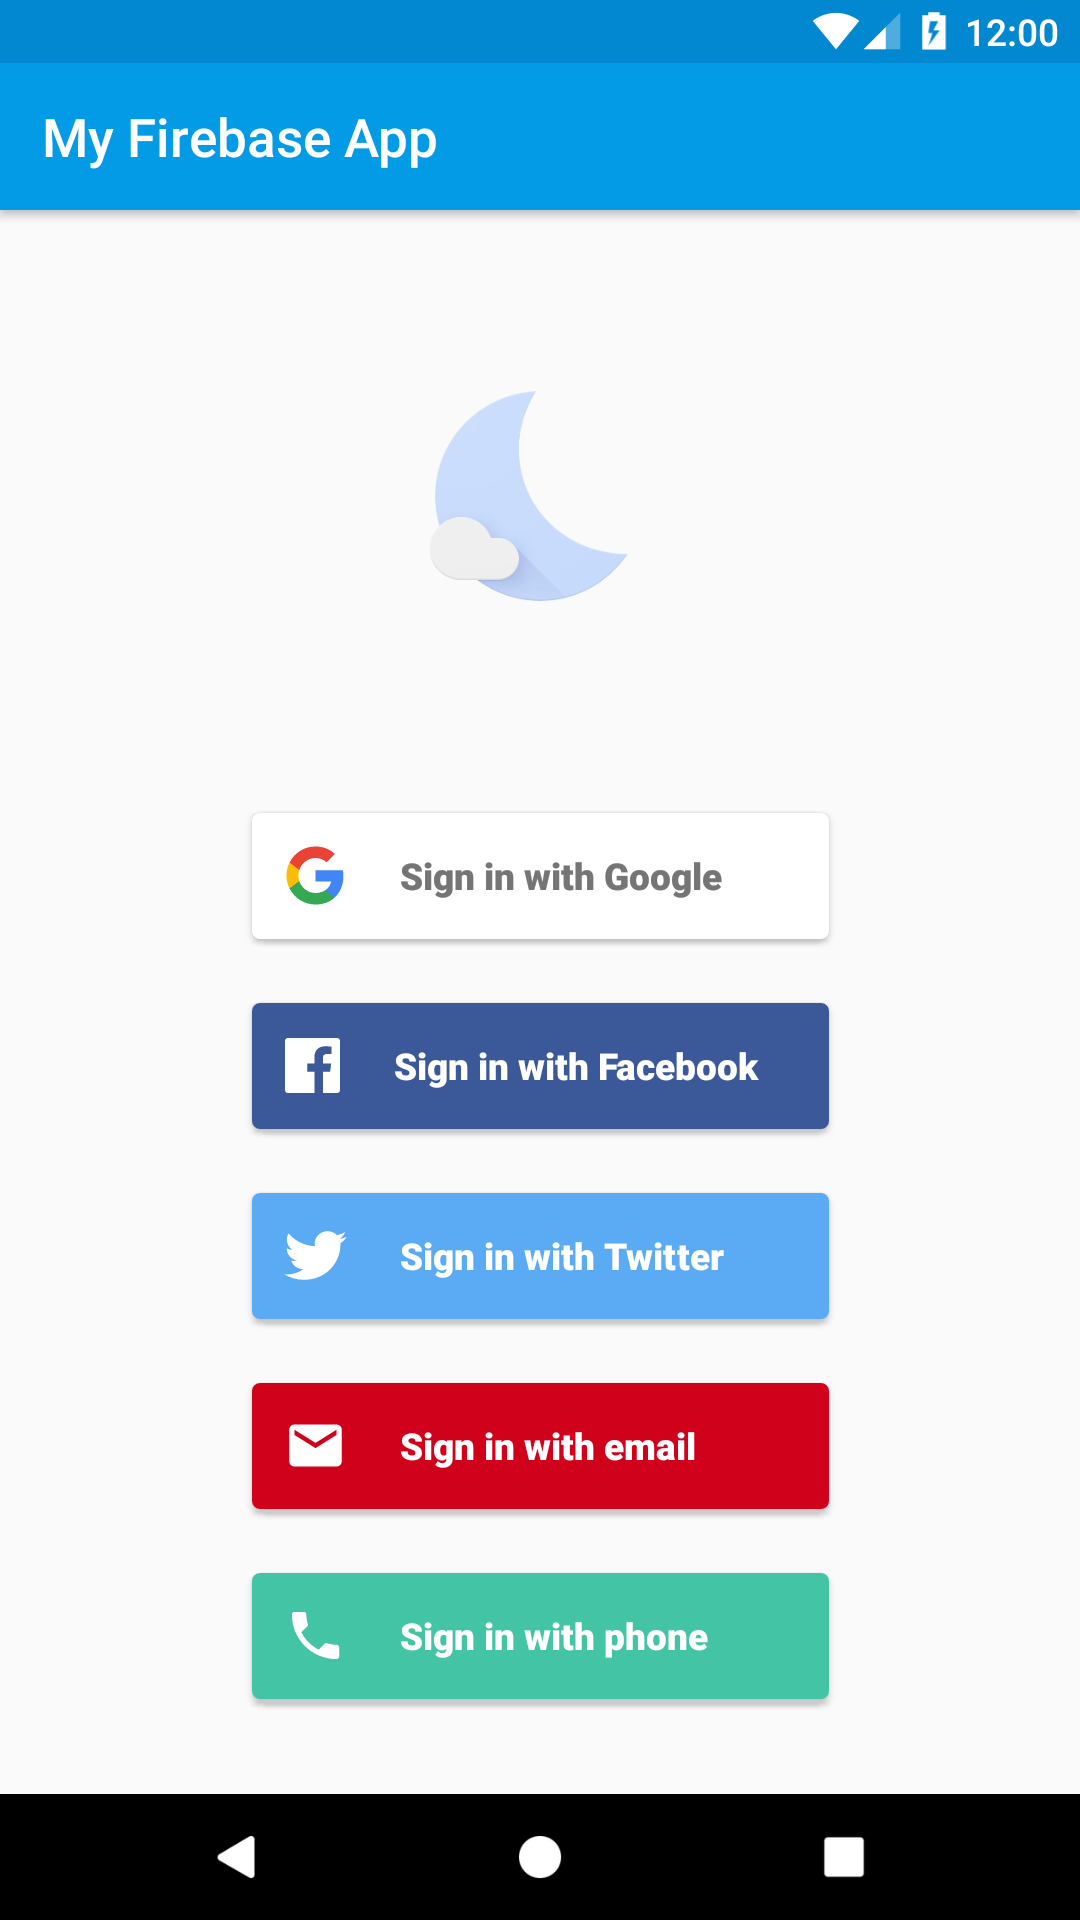
- Multiple Providers - sign-in flows for email/password, email link, phone authentication, Google Sign-In, Facebook Login, Twitter Login, and GitHub Login.
- Account Management - flows to handle account management tasks, such as account creation and password resets.
- Account Linking - flows to safely link user accounts across identity providers.
- Anonymous User Upgrading - flows to safely upgrade anonymous users.
- Custom Themes - customize the look of FirebaseUI to match your app. Also, because FirebaseUI is open source, you can fork the project and customize it exactly to your needs.
- Credential Manager - automatic integration withCredential Managerfor fast cross-device sign-in.
Before you begin
- If you haven't already,add Firebase to your Android project.
- Add the dependencies for FirebaseUI to your app-level
build.gradle(.kts)file. If you want to support sign-in with Facebook or Twitter, also include the Facebook and Twitter SDKs:
    dependencies {
        // ...
        implementation("com.firebaseui:firebase-ui-auth:9.0.0")
        // Required only if Facebook login support is required
        // Find the latest Facebook SDK releases here: https://goo.gl/Ce5L94
        implementation("com.facebook.android:facebook-android-sdk:8.x")
    }
The FirebaseUI Auth SDK has transitive dependencies on the Firebase SDK and the Google Play services SDK. 3. In the Firebase console, go to Security >Authentication. 4. In the Sign-in method tab, enable the sign-in providers you want to support. Some sign-in providers require additional information, usually available in the service's developer console. 5. If you enabled Google Sign-in:
- Update your Firebase config file.
- When prompted in the Firebase console, download the updated Firebase config file (
google-services.json), which now contains the OAuth client information required for Google sign-in. - Move this updated config file into your Android Studio project,replacing the now-outdated corresponding config file. (SeeAdd Firebase to your Android project.)
- When prompted in the Firebase console, download the updated Firebase config file (
- Specify your app's SHA-1 fingerprint if you haven't already.
- In the Firebase console, go to the Settings >General tab.
- Scroll down to the Your apps card, select your Android app, and add your SHA-1 fingerprint in the SHA certificate fingerprintsfield.
See Authenticating Your Clientfor details on how to get your app's SHA fingerprint.
- If you support sign-in with Facebook or Twitter, add string resources to
strings.xmlthat specify the identifying information required by each provider: YOUR_APP_ID fbYOUR_APP_ID
Create an ActivityResultLauncher which registers a callback for the FirebaseUI Activity result contract:
Kotlin
// See: https://developer.android.com/training/basics/intents/result private val signInLauncher = registerForActivityResult( FirebaseAuthUIActivityResultContract(), ) { res -> this.onSignInResult(res) }
Java
// See: https://developer.android.com/training/basics/intents/result private final ActivityResultLauncher signInLauncher = registerForActivityResult( new FirebaseAuthUIActivityResultContract(), new ActivityResultCallback() { @Override public void onActivityResult(FirebaseAuthUIAuthenticationResult result) { onSignInResult(result); } } );
To kick off the FirebaseUI sign in flow, create a sign in intent with your preferred sign-in methods:
Kotlin
// Choose authentication providers val providers = arrayListOf( AuthUI.IdpConfig.EmailBuilder().build(), AuthUI.IdpConfig.PhoneBuilder().build(), AuthUI.IdpConfig.GoogleBuilder().build(), AuthUI.IdpConfig.FacebookBuilder().build(), AuthUI.IdpConfig.TwitterBuilder().build(), )
// Create and launch sign-in intent val signInIntent = AuthUI.getInstance() .createSignInIntentBuilder() .setAvailableProviders(providers) .build() signInLauncher.launch(signInIntent)
Java
// Choose authentication providers List<AuthUI.IdpConfig> providers = Arrays.asList( new AuthUI.IdpConfig.EmailBuilder().build(), new AuthUI.IdpConfig.PhoneBuilder().build(), new AuthUI.IdpConfig.GoogleBuilder().build(), new AuthUI.IdpConfig.FacebookBuilder().build(), new AuthUI.IdpConfig.TwitterBuilder().build());
// Create and launch sign-in intent Intent signInIntent = AuthUI.getInstance() .createSignInIntentBuilder() .setAvailableProviders(providers) .build(); signInLauncher.launch(signInIntent);
When the sign-in flow is complete, you will receive the result inonSignInResult:
Kotlin
private fun onSignInResult(result: FirebaseAuthUIAuthenticationResult) { val response = result.idpResponse if (result.resultCode == RESULT_OK) { // Successfully signed in val user = FirebaseAuth.getInstance().currentUser // ... } else { // Sign in failed. If response is null the user canceled the // sign-in flow using the back button. Otherwise check // response.getError().getErrorCode() and handle the error. // ... } }
Java
private void onSignInResult(FirebaseAuthUIAuthenticationResult result) { IdpResponse response = result.getIdpResponse(); if (result.getResultCode() == RESULT_OK) { // Successfully signed in FirebaseUser user = FirebaseAuth.getInstance().getCurrentUser(); // ... } else { // Sign in failed. If response is null the user canceled the // sign-in flow using the back button. Otherwise check // response.getError().getErrorCode() and handle the error. // ... } }
Set up sign-in methods
Email link authentication
- In the Firebase console, navigate to Security >Authentication.
- On the Sign in method tab, enable the Email/Password sign-in method. Note that email/password sign-in must be enabled to use email link sign-in.
- In the same section, enable the **Email link (passwordless sign-in)**sign-in method, and click Save.
- You also need to enable Firebase Dynamic Links to use email-link sign in:
- In the Firebase console, go to DevOps & Engagement >Dynamic Links.
- Click Get started, and then add a domain. The domain you choose here will be reflected in the email links sent to your users.
- You can enable email link sign in FirebaseUI by calling the
enableEmailLinkSignInon anEmailBuilderinstance. You will also need to provide a validActionCodeSettingsobject withsetHandleCodeInAppset to true.
Additionally, you need to whitelist the URL you pass tosetUrl:- In the Firebase console, go to theSecurity > Authentication >Settings tab.
- In the Authorized domains section, click Add domain, and add your domain.
Kotlin
val actionCodeSettings = ActionCodeSettings.newBuilder()
.setAndroidPackageName( // yourPackageName=
"...", // installIfNotAvailable=
true, // minimumVersion=
null,
)
.setHandleCodeInApp(true) // This must be set to true
.setUrl("https://google.com") // This URL needs to be whitelisted
.build()
val providers = listOf(
EmailBuilder()
.enableEmailLinkSignIn()
.setActionCodeSettings(actionCodeSettings)
.build(),
)
val signInIntent = AuthUI.getInstance()
.createSignInIntentBuilder()
.setAvailableProviders(providers)
.build()
signInLauncher.launch(signInIntent)
Java
ActionCodeSettings actionCodeSettings = ActionCodeSettings.newBuilder()
.setAndroidPackageName(
/* yourPackageName= / "...",
/ installIfNotAvailable= / true,
/ minimumVersion= */ null)
.setHandleCodeInApp(true) // This must be set to true
.setUrl("https://google.com") // This URL needs to be whitelisted
.build();
List<AuthUI.IdpConfig> providers = Arrays.asList(
new AuthUI.IdpConfig.EmailBuilder()
.enableEmailLinkSignIn()
.setActionCodeSettings(actionCodeSettings)
.build()
);
Intent signInIntent = AuthUI.getInstance()
.createSignInIntentBuilder()
.setAvailableProviders(providers)
.build();
signInLauncher.launch(signInIntent);
6. If you want to catch the link in a specific activity, please follow the steps outlinedhere. Otherwise, the link will redirect to your launcher activity.
7. Once you catch the deep link, you will need to call verify that we can handle it for you. If we can, you need to then pass it to us via setEmailLink.
Kotlin
if (AuthUI.canHandleIntent(intent)) {
val extras = intent.extras ?: return
val link = extras.getString("email_link_sign_in")
if (link != null) {
val signInIntent = AuthUI.getInstance()
.createSignInIntentBuilder()
.setEmailLink(link)
.setAvailableProviders(providers)
.build()
signInLauncher.launch(signInIntent)
}
}
Java
if (AuthUI.canHandleIntent(getIntent())) {
if (getIntent().getExtras() == null) {
return;
}
String link = getIntent().getExtras().getString("email_link_sign_in");
if (link != null) {
Intent signInIntent = AuthUI.getInstance()
.createSignInIntentBuilder()
.setEmailLink(link)
.setAvailableProviders(providers)
.build();
signInLauncher.launch(signInIntent);
}
}
8. Optional Cross device email link sign in is supported, which means that the link sent via your Android app can be used to log in on your web or Apple apps. By default, cross device support is enabled. You can disable it by calling setForceSameDevice on the EmailBuilder instance.
See FirebaseUI-Weband FirebaseUI-iOSfor more information.
Sign Out
FirebaseUI provides convenience methods to sign out of Firebase Authentication as well as all social identity providers:
Kotlin
AuthUI.getInstance() .signOut(this) .addOnCompleteListener { // ... }
Java
AuthUI.getInstance() .signOut(this) .addOnCompleteListener(new OnCompleteListener() { public void onComplete(@NonNull Task task) { // ... } });
You can also completely delete the user's account:
Kotlin
AuthUI.getInstance() .delete(this) .addOnCompleteListener { // ... }
Java
AuthUI.getInstance() .delete(this) .addOnCompleteListener(new OnCompleteListener() { @Override public void onComplete(@NonNull Task task) { // ... } });
Customization
By default FirebaseUI uses AppCompat for theming, which means it will naturally adopt the color scheme of your app. If you require further customization you can pass a theme and a logo to the sign-in Intent builder:
Kotlin
val signInIntent = AuthUI.getInstance() .createSignInIntentBuilder() .setAvailableProviders(providers) .setLogo(R.drawable.my_great_logo) // Set logo drawable .setTheme(R.style.MySuperAppTheme) // Set theme .build() signInLauncher.launch(signInIntent)
Java
Intent signInIntent = AuthUI.getInstance() .createSignInIntentBuilder() .setAvailableProviders(providers) .setLogo(R.drawable.my_great_logo) // Set logo drawable .setTheme(R.style.MySuperAppTheme) // Set theme .build(); signInLauncher.launch(signInIntent);
You can also set a custom privacy policy and terms of service:
Kotlin
val signInIntent = AuthUI.getInstance() .createSignInIntentBuilder() .setAvailableProviders(providers) .setTosAndPrivacyPolicyUrls( "https://example.com/terms.html", "https://example.com/privacy.html", ) .build() signInLauncher.launch(signInIntent)
Java
Intent signInIntent = AuthUI.getInstance() .createSignInIntentBuilder() .setAvailableProviders(providers) .setTosAndPrivacyPolicyUrls( "https://example.com/terms.html", "https://example.com/privacy.html") .build(); signInLauncher.launch(signInIntent);
Next Steps
- For more information on using and customizing FirebaseUI, see theREADMEfile on GitHub.
- If you find an issue in FirebaseUI and would like to report it, use theGitHub issue tracker.