GitHub - NodePassProject/NodePanel: 一款轻量化 NodePass 管理面板 (original) (raw)
Navigation Menu
Appearance settings
- AI CODE CREATION
* GitHub CopilotWrite better code with AI
* GitHub SparkBuild and deploy intelligent apps
* GitHub ModelsManage and compare prompts
* MCP RegistryNewIntegrate external tools - DEVELOPER WORKFLOWS
* ActionsAutomate any workflow
* CodespacesInstant dev environments
* IssuesPlan and track work
* Code ReviewManage code changes - APPLICATION SECURITY
* GitHub Advanced SecurityFind and fix vulnerabilities
* Code securitySecure your code as you build
* Secret protectionStop leaks before they start - EXPLORE
* Why GitHub
* Documentation
* Blog
* Changelog
* Marketplace
- AI CODE CREATION
- BY COMPANY SIZE
* Enterprises
* Small and medium teams
* Startups
* Nonprofits - BY USE CASE
* App Modernization
* DevSecOps
* DevOps
* CI/CD
* View all use cases - BY INDUSTRY
* Healthcare
* Financial services
* Manufacturing
* Government
* View all industries
- BY COMPANY SIZE
- EXPLORE BY TOPIC
* AI
* Software Development
* DevOps
* Security
* View all topics - EXPLORE BY TYPE
* Customer stories
* Events & webinars
* Ebooks & reports
* Business insights
* GitHub Skills - SUPPORT & SERVICES
* Documentation
* Customer support
* Community forum
* Trust center
* Partners
- EXPLORE BY TOPIC
- COMMUNITY
* GitHub SponsorsFund open source developers - PROGRAMS
* Security Lab
* Maintainer Community
* Accelerator
* Archive Program - REPOSITORIES
* Topics
* Trending
* Collections
- COMMUNITY
- Pricing
Provide feedback
We read every piece of feedback, and take your input very seriously.
Include my email address so I can be contacted
Saved searches
Use saved searches to filter your results more quickly
Appearance settings
NodePassProject / NodePanel Public
- Notifications You must be signed in to change notification settings
- Fork34
- Star 43
一款轻量化 NodePass 管理面板
License
43 stars 34 forks Branches Tags Activity
Notifications You must be signed in to change notification settings
Additional navigation options
Folders and files
| Name | Name | Last commit message | Last commit date |
|---|---|---|---|
| Latest commitHistory82 Commits | |||
| public | public | ||
| src | src | ||
| wiki | wiki | ||
| .gitignore | .gitignore | ||
| .modified | .modified | ||
| LICENSE | LICENSE | ||
| README.md | README.md | ||
| apphosting.yaml | apphosting.yaml | ||
| components.json | components.json | ||
| next.config.ts | next.config.ts | ||
| package-lock.json | package-lock.json | ||
| package.json | package.json | ||
| postcss.config.mjs | postcss.config.mjs | ||
| tailwind.config.ts | tailwind.config.ts | ||
| tsconfig.json | tsconfig.json |
Repository files navigation
NodePanel 轻量化管理面板
这是一个由 NodePass (yosebyte/nodepass) 强力驱动的前端管理面板,提供了一个用户友好的WebUI来管理您的 NodePass 服务。
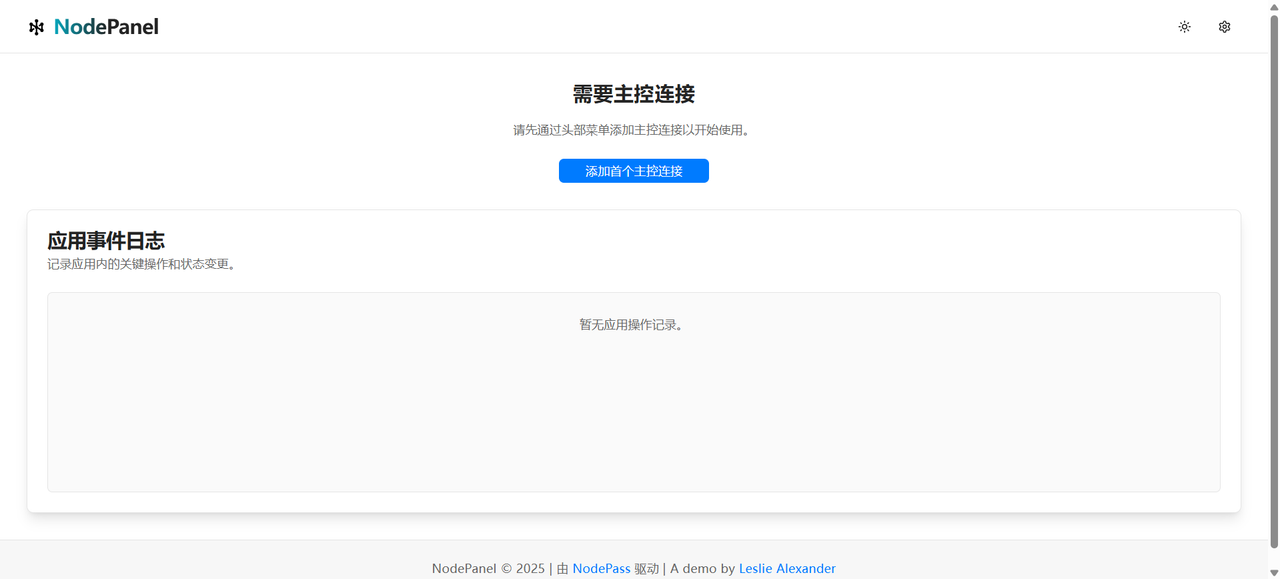
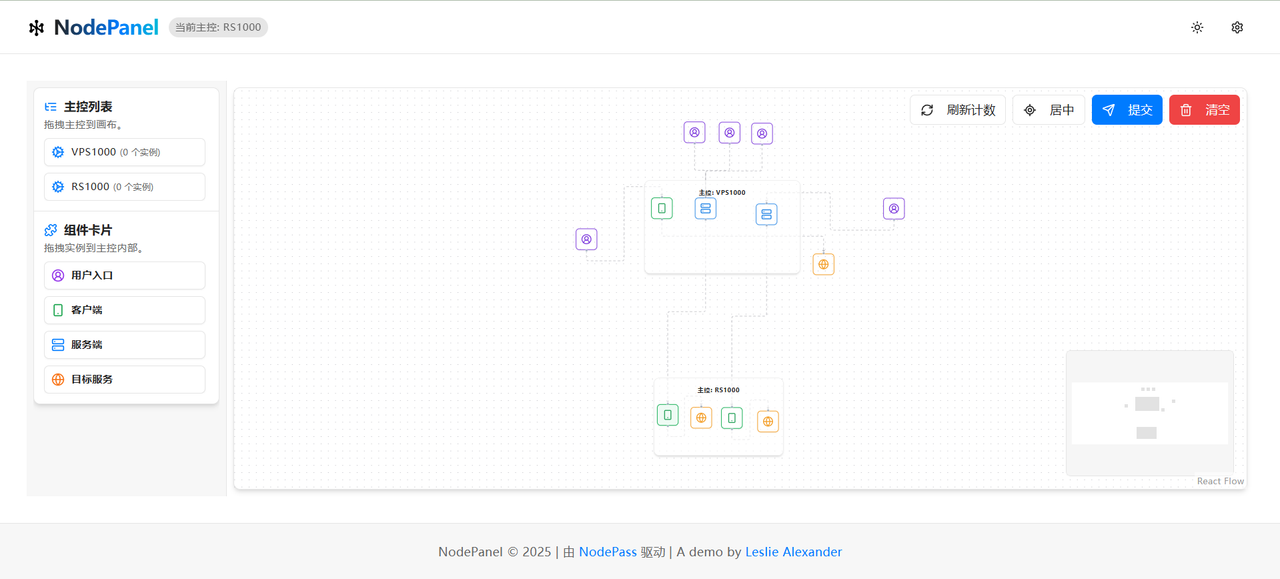
Demo
部署
部署到 Vercel
Vercel 是部署此前端面板的推荐方式之一。
快速部署:
手动部署:
- Fork 本仓库 (如果你还没有这样做)。
- 登录到你的 Vercel 账户。
- 点击 "New Project"。
- 选择 "Import Git Repository",然后选择你 Fork 的仓库。
- Vercel 通常会自动检测到这是一个 Next.js 项目并配置好构建设置。确认设置无误。
- 点击 "Deploy"。
部署完成后,你将获得一个 Vercel 域名 (例如 xxx.vercel.app),前端面板将通过该域名访问。
部署到 Cloudflare Pages
Cloudflare Pages 对 Next.js 应用提供了良好的支持,能够将其部署到 Cloudflare 的全球边缘网络,实现快速、稳定的访问体验。
步骤如下:
- Fork 本仓库(如果尚未 Fork)。
- 登录你的 Cloudflare 账户。
- 在控制台主页,导航至 Workers & Pages。
- 点击 Create application → 选择 Pages 选项卡 → 点击 Connect to Git。
- 选择你 Fork 的仓库,点击 Begin setup 开始配置。
- 配置项说明:
- 项目名称:可保持默认或自定义;
- 生产分支:选择
main或master等你的主要分支。
- 在 Build settings(构建设置)部分:
- 框架选择:
Next.js;- 构建命令:
npx @cloudflare/next-on-pages@1;- 构建输出目录:
.vercel/output/static。
- 点击 Save and Deploy 开始部署。
- 如构建失败,请前往「设置 → 运行时 → 兼容性标志」,输入并选择
nodejs_compat保存,然后重新部署 。
部署完成后,Cloudflare Pages 将为你的项目分配一个 *.pages.dev 域名,例如:your-project.pages.dev。你可以通过此域名访问你的前端页面。
🙏 致谢
⭐ Star
About
一款轻量化 NodePass 管理面板
Topics
Resources
License
Stars
Watchers
Forks
Releases
No releases published
Packages
No packages published
Contributors3
Languages
- TypeScript 99.1%
- Other 0.9%