Writing an Android application (original) (raw)
With Brython you can write applications in Python that run in modern browsers, including most of smartphones browsers. But you can also write native Android applications : this page explains how to do it, taking the example of a basic "Hello world" application.
The first step is to install the latest version of Android Studio. This page refers to version 3.5.3
1. Initialize the application
Follow the instructions to create a new application in Android Studio. In this post, we suppose that you have entered :
application name  : NewBrythonApp
company domain : brython
For the Form factor : select Phone and Tablet, and the minimum SDK required (API 15 is ok).
In "Add an Activity to Mobile" select "Empty activity".
Android Studio starts building the project and presents a window like this one :
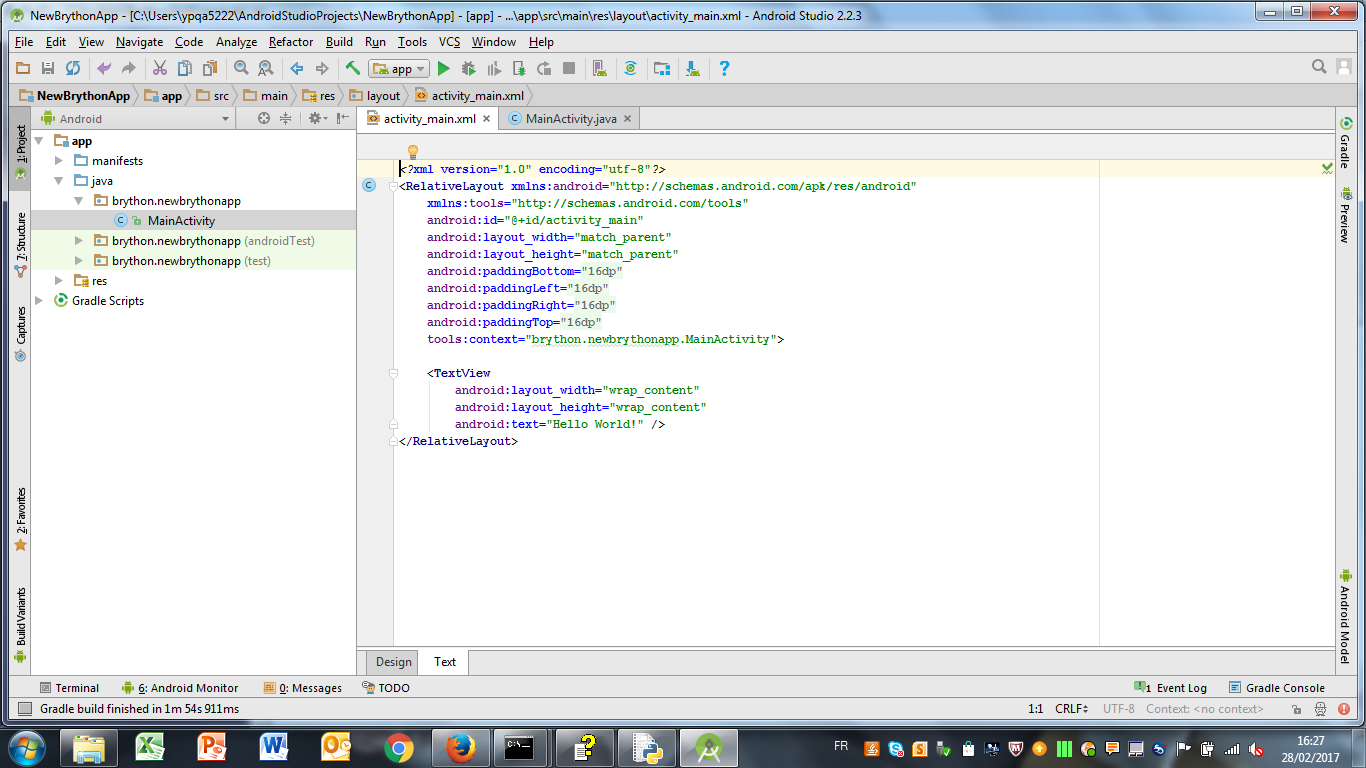
The application files are stored in a directory shown in the title bar of the Android Studio window. In the rest of this page, you can edit the files either in Android Studio or in any text editor.
2. Customize settings
2.1 activity_main.xml
Edit the file activity_main.xml and replace its content by
<WebView
    android:id="@+id/activity_main_webview"
    android:layout_width="match_parent"
    android:layout_height="match_parent" />
2.2 MainActivity.java
The content of this file may vary with the kind of application you want to use. The setting must at least allow the use of Javascript.
Keep the first line of the script (with the package name) and replace the rest with :
import android.app.Activity; import android.os.Bundle; import android.webkit.WebChromeClient; import android.webkit.WebSettings; import android.webkit.WebView;
public class MainActivity extends Activity {
private WebView mWebView;

@Override
protected void onCreate(Bundle savedInstanceState) {
    super.onCreate(savedInstanceState);
    setContentView(R.layout.activity_main);

    mWebView = (WebView) findViewById(R.id.activity_main_webview);

    WebSettings webSettings = mWebView.getSettings();

    // Enable Javascript
    webSettings.setJavaScriptEnabled(true);

    // If you need local storage uncomment the following line
    // webSettings.setDomStorageEnabled(true);

    mWebView.setWebChromeClient(new WebChromeClient());
    webSettings.setJavaScriptCanOpenWindowsAutomatically(true);

    // WebView entry point
    mWebView.loadUrl("file:///android_asset/index.html");
}
}
2.3 AndroidManifest.xml
Replace the content of the <manifest> tag by :
<application
    android:allowBackup="true"
    android:icon="@mipmap/ic_launcher"
    android:label="Brython Hello"
    android:supportsRtl="true"
    android:theme="@style/NoTitleBar">
    <activity android:name=".MainActivity">
        <intent-filter>
            <action android:name="android.intent.action.MAIN" />

            <category android:name="android.intent.category.LAUNCHER" />
        </intent-filter>
    </activity>
</application>

<uses-permission android:name="android.permission.INTERNET" />
The value of android:label will be the name of the application on the Android smartphone when it is installed.
2.4 styles.xml
The application uses a style, NoTitleBar, that must be defined in the filestyles.xml, in the subdirectory res/values. We add the theme by adding a new <style> tag :
<resources>

    <!-- Base application theme. -->
    <style name="AppTheme" parent="Theme.AppCompat.Light.DarkActionBar">
        <!-- Customize your theme here. -->
        <item name="colorPrimary">@color/colorPrimary</item>
        <item name="colorPrimaryDark">@color/colorPrimaryDark</item>
        <item name="colorAccent">@color/colorAccent</item>
    </style>

    <!-- Theme with no title. -->
    <style name="NoTitleBar" parent="Theme.AppCompat.NoActionBar">
    </style>

</resources>
3. Write the Brython application
In the panel at the left of the Android studio window, right-click on the "app" directory and click on New > Folder > Assets folder. Keep "main" in "Target source set" and click "Finish".
This creates the folder app/src/main/assets where we will store the Brython application. It includes at least index.html (the page loaded by the Android app) and brython.js, plus brython_stdlib.js if the application uses modules from the standard distribution and all the additional files (css, images, javascript...) needed by the application.
In this example, we only use brython.js and index.html holds a basic "Hello" application :
Hello worldYour name is : click !
4. Build the Android application (APK)
To generate the Android executable (a file with the extension .apk), select Build > Build Bundle(s) / APK(s) > Build APK in Android Studio. When the file is generated, use the "locate" link in the popup window to open the file system explorer at the location of the APK file, which is called app-debug.apk.
5. Install the application on the smartphone
Connect the Android smartphone to the PC with a cable and choose a location for the APK file, for instance Download, preferably in Card if the smartphone has a memory card, otherwise in Phone. Use the file explorer to drag-and-drop app-debug.apk to this location.
Open the Applications window on the smartphone and select an application to explore the local files ; usually My Files is installed, otherwise download it from Google Play. With this application, navigate to the directory where app-debug.apk has been installed, and click on it.
You will get a message saying that the installation is blocked for security reasons ; select Parameters and check the "Unknown Sources" box. In the next page, select "Install", then "Open" to run the application.
The application is now featured in the Applications window, with the default Android icon, under the name "Brython Hello", the one we specified in section android:label of AndroidManifest.xml.