GitHub - pipecat-ai/nemotron-january-2026 (original) (raw)
Voice Agent With NVIDIA Open Models
This repo is sample code for building voice agents with three NVIDIA open source models:
- Nemotron Speech ASR
- Nemotron 3 Nano LLM
- Magpie TTS (Preview)
Run locally on an NVIDIA DGX Spark or RTX 5090. Or deploy to the cloud with Modal and Pipecat Cloud.
Accompanying blog posts:
- Nemotron Speech ASR Open Source Model Launch Post
- More About Voice Agent Architectures and This Agent's Design
Quick start - Run everything locally (DGX Spark or RTX 5090)
1. Build the Unified Container
docker build -f Dockerfile.unified -t nemotron-unified:cuda13 .
Build time: 2-3 hours (builds PyTorch, NeMo, vLLM, llama.cpp from source for CUDA 13.1 / Blackwell).
2. Start the Container
Start with default Q8 model (auto-detected from HuggingFace cache)
./scripts/nemotron.sh start
Or specify a model explicitly
./scripts/nemotron.sh start --model ~/.cache/huggingface/hub/models--unsloth--Nemotron-3-Nano-30B-A3B-GGUF/snapshots/.../Q8_0.gguf
Start with vLLM instead of llama.cpp (requires ~72GB VRAM)
./scripts/nemotron.sh start --mode vllm
3. Run the Voice Bot
uv run pipecat_bots/bot_interleaved_streaming.py
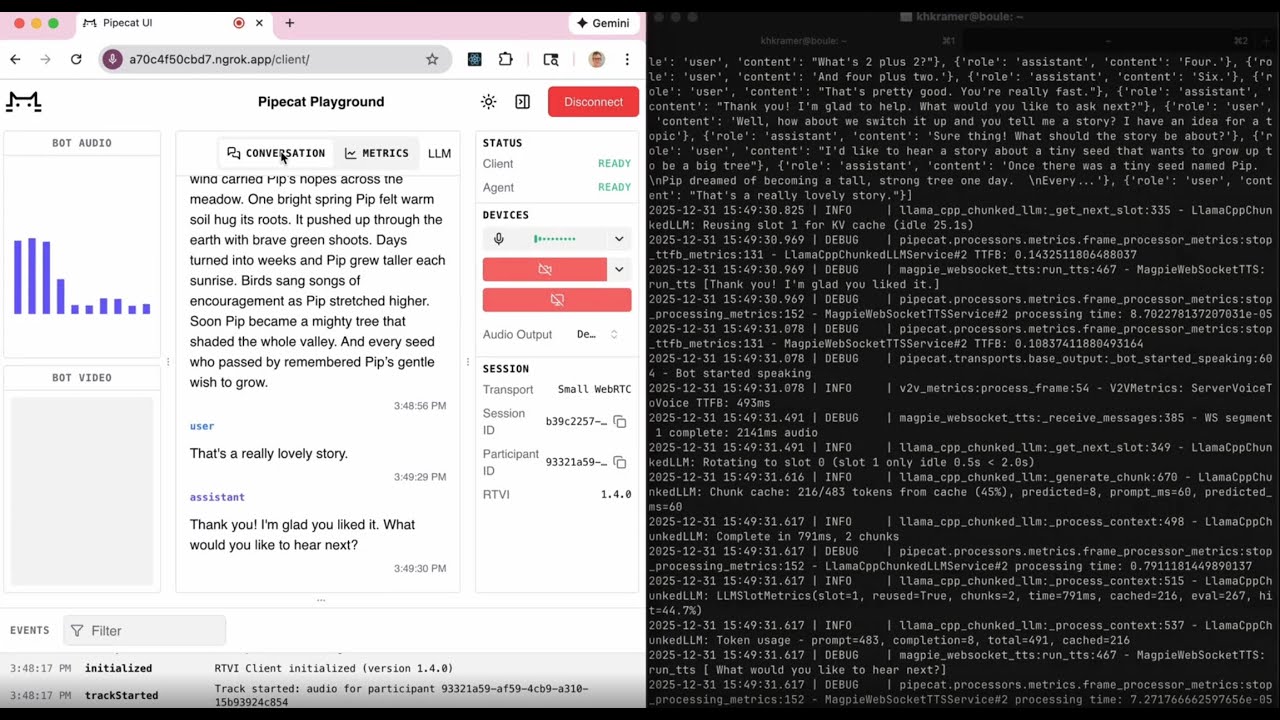
Open http://localhost:7860/client in your browser.
Quick start - Deploy to Cloud with Modal and Pipecat Cloud
Modal (Services)
1. Prerequisites
Create a Modal account if you don't have one.
Then, install the necessary dependencies using uv with optional dependency group modal and authenticate your account.
Install Modal and Pipecat Cloud dependencies
uv sync --extra modal --extra bot
Authenticate with Modal
modal setup
2. Deploy Services to Modal
Deploy ASR service
modal deploy -m src.nemotron_speech.modal.asr_server_modal
Deploy TTS service
modal deploy -m src.nemotron_speech.modal.tts_server_modal
Deploy vLLM service
modal deploy -m src.nemotron_speech.modal.vllm_modal
The ASR deployment takes about 30 seconds to cold-start, 60 seconds for TTS, and about 3 minutes for vLLM. You can uncomment the min_containers = 1 input to the Modal Function and Cls decorators to ensure that bots can start up quickly for production or development.
3. Run the bot locally or using Pipecat Cloud (see below)
uv run -m pipecat_bots.modal.bot_modal
Pipecat Cloud (Bot)
1. Login to your Pipecat Cloud account using the CLI
Install Pipecat Cloud package
uv sync --extra bot
Or Pipecat Cloud and Modal
uv sync --extra bot --extra modal
Login
pipecat cloud auth login
2. Create a new secret set with the necessary API keys
pipecat cloud secrets set gdx-spark-bot-secrets
NVIDIA_ASR_URL=wss://
NVIDIA_LLM_URL=https://
NVIDIA_TTS_URL=wss://
Alternatively, create your secret set from a .env file:
pipecat cloud secrets set gdx-spark-bot-secrets --file .env
3. Create image pull secret
Image pull secrets are used to authenticate with private Docker registries when deploying agents. See docs.
pipecat cloud secrets image-pull-secret gdx-spark-bot-pull-secret https://index.docker.io/v1/
Optional: Create a PCC deploy toml:
To speed up deployment you can create a pcc-deploy.toml in the project root. This file is read by the Pipecat CLI to pre-fill command arguments:
agent_name = "gdx-spark-bot" image = "your-docker-repository/gdx-spark-bot:latest" secret_set = "gdx-spark-bot-secrets" image_credentials = "gdx-spark-bot-pull-secret" agent_profile = "agent-1x"
[scaling] min_agents = 1
4. Build and push Docker image
docker build -f Dockerfile.bot -t gdx-spark-bot:latest .
Optional: tag image
docker tag gdx-spark-bot:latest your-docker-repository/gdx-spark-bot:latest
Push to image repository e.g. Docker Hub
docker push your-docker-repository/gdx-spark-bot:latest
5. Deploy
Run deploy command:
pipecat cloud deploy
...or if not using pcc-deploy.toml
pipecat cloud deploy gdx-spark-bot your-docker-repository/gdx-spark-bot:latest
--credentials gdx-spark-bot-pull-secret
--secrets gdx-spark-bot-secrets
--profile agent-1x
6. Start bot using CLI
Create a public access key for Pipecat Cloud. Set this is a the default key when prompted:
pipecat cloud organizations keys create
Start an active session with your deployed bot:
pipecat cloud agent start gdx-spark-bot --use-daily
See docs for REST and Python usage.
Bot Variants
Three bot implementations are available:
| Bot | Description | Use Case |
|---|---|---|
| bot_interleaved_streaming.py | Buffered LLM (single-slot, 100% KV cache) + adaptive TTS + SmartTurn | Optimized for voice-to-voice latency on a single GPU |
| bot_simple_vad.py | Same as above, but simple VAD (fixed silence threshold) | When fixed silence detection is sufficient |
| bot_vllm.py | vLLM + SentenceAggregator + SmartTurn | Production multi-GPU cloud deployment |
Transport Options
All bots support multiple transport backends via the -t flag:
| Transport | Description |
|---|---|
| webrtc | Native WebRTC (default) - opens browser at localhost:7860 |
| daily | Daily.co rooms - requires Daily API key |
| twilio | Twilio WebSocket - for telephony integration |
bot_interleaved_streaming.py / bot_simple_vad.py
| Variable | Default | Description |
|---|---|---|
| NVIDIA_ASR_URL | ws://localhost:8080 | ASR WebSocket endpoint |
| NVIDIA_LLAMA_CPP_URL | http://localhost:8000 | llama.cpp API endpoint |
| NVIDIA_TTS_URL | http://localhost:8001 | Magpie TTS endpoint |
| ENABLE_RECORDING | false | Enable stereo audio recording (user left, bot right) |
bot_vllm.py
| Variable | Default | Description |
|---|---|---|
| NVIDIA_ASR_URL | ws://localhost:8080 | ASR WebSocket endpoint |
| NVIDIA_LLM_URL | http://localhost:8000/v1 | vLLM OpenAI-compatible endpoint |
| NVIDIA_LLM_MODEL | nvidia/NVIDIA-Nemotron-3-Nano-30B-A3B-BF16 | Model name/path |
| NVIDIA_LLM_API_KEY | not-needed | API key (if required) |
| NVIDIA_TTS_URL | http://localhost:8001 | Magpie TTS endpoint |
Pipecat Bot Components
Custom services in pipecat_bots/:
| Service | File | Description |
|---|---|---|
| LlamaCppBufferedLLMService | llama_cpp_buffered_llm.py | Single-slot operation with SentenceBuffer for 100% KV cache reuse |
| MagpieWebSocketTTSService | magpie_websocket_tts.py | Adaptive streaming (fast TTFB first chunk, batch quality after) |
| NVidiaWebSocketSTTService | nvidia_stt.py | Real-time streaming ASR with soft/hard reset support |
| SentenceBuffer | sentence_buffer.py | Accumulates LLM output and extracts at sentence boundaries |
| V2VMetricsProcessor | v2v_metrics.py | Voice-to-voice response time metrics |
Local Container Management
Use ./scripts/nemotron.sh to manage the container:
Start the container
./scripts/nemotron.sh start [OPTIONS] --mode MODE LLM mode: llamacpp-q8 (default), llamacpp-q4, vllm --model PATH Path to model file --no-asr Disable ASR service --no-tts Disable TTS service --no-llm Disable LLM service -f, --foreground Run in foreground (default: detached)
Stop the container
./scripts/nemotron.sh stop
Restart the container
./scripts/nemotron.sh restart [OPTIONS]
Check status
./scripts/nemotron.sh status
View logs
./scripts/nemotron.sh logs # All logs interleaved ./scripts/nemotron.sh logs asr # ASR logs only ./scripts/nemotron.sh logs tts # TTS logs only ./scripts/nemotron.sh logs llm # LLM logs only
Open shell in container
./scripts/nemotron.sh shell
Show help
./scripts/nemotron.sh help
Service Endpoints
| Service | Port | Protocol | Health Check |
|---|---|---|---|
| ASR | 8080 | WebSocket | http://localhost:8080/health |
| TTS | 8001 | HTTP + WebSocket | http://localhost:8001/health |
| LLM | 8000 | HTTP | http://localhost:8000/health |
Building the Container
Build the unified container (2-3 hours)
docker build -f Dockerfile.unified -t nemotron-unified:cuda13 .
The build compiles from source for CUDA 13.1 / Blackwell (sm_121):
- PyTorch (with NVRTC support)
- torchaudio
- NeMo ASR/TTS
- vLLM
- llama.cpp
Model Requirements
| Model | Source | Size | Used With |
|---|---|---|---|
| Nemotron Speech ASR | HuggingFace nvidia/nemotron-speech-streaming-en-0.6b (auto-downloaded) | ~2.4GB | All configurations |
| Nemotron-3-Nano Q8 | HuggingFace unsloth/Nemotron-3-Nano-30B-A3B-GGUF | ~32GB | llama.cpp on DGX Spark |
| Nemotron-3-Nano Q4 | HuggingFace unsloth/Nemotron-3-Nano-30B-A3B-GGUF | ~16GB | llama.cpp on RTX 5090 |
| Nemotron-3-Nano BF16 | HuggingFace nvidia/NVIDIA-Nemotron-3-Nano-30B-A3B-BF16 | ~72GB | vLLM (cloud/multi-GPU) |
| Magpie TTS | HuggingFace nvidia/magpie_tts_multilingual_357m (auto-downloaded) | ~1.4GB | All configurations |
Download LLM models (ASR and TTS are auto-downloaded on first run):
GGUF quantized models (Q8 and Q4 variants for llama.cpp)
huggingface-cli download unsloth/Nemotron-3-Nano-30B-A3B-GGUF
BF16 full precision (for vLLM)
huggingface-cli download nvidia/NVIDIA-Nemotron-3-Nano-30B-A3B-BF16
Architecture
For detailed architecture documentation including frame flow, protocols, and timing diagrams, see docs/streaming-pipeline-architecture.md.
Troubleshooting
LLM crashes or stalls:
- The buffered LLM service uses single-slot operation (
--parallel 1) - Ensure adequate VRAM for context size (default 16384 tokens)
- Check for httpx connection issues if generation hangs
vLLM takes 10-15 minutes to start:
- This is normal for first startup (model loading, kernel compilation)
- Set
SERVICE_TIMEOUT=900if needed
vLLM DNS resolution issues:
- The container uses
--network=hostin vLLM mode to avoid DNS issues with HuggingFace