3D Metal & Ceramic Printer (original) (raw)
Tired of printing plastic? This is the first Open Source 3D Metal & Ceramic Printer using an electron beam.
Please, support the 3D Metal Printer project, a low-cost 3D metal and ceramic printer for makers, hospitals, institutions and companies, and access to updates, designs, tests, etc.
Support me on Patreon:
https://www.patreon.com/3dmetalprinter
Doing all this takes a lot of time and effort. Your support will help me develop the 3D Metal & Ceramic Printer
You can contact me here or through LinkedIn:
https://www.linkedin.com/in/agustin-cruz/
How this 3D Metal Printer works?
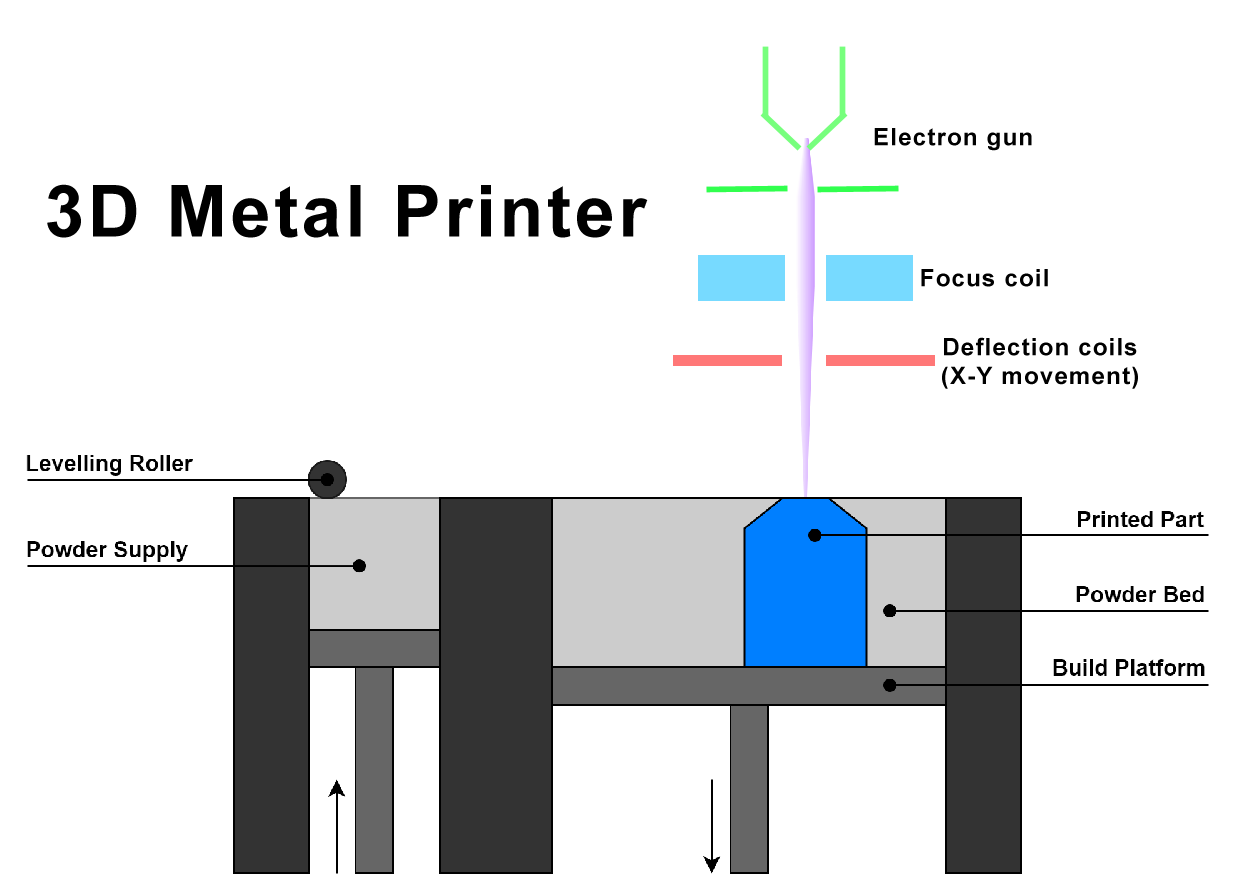
This printer uses an electron beam to selectively melting a layer of metal powder, causing the powder particles to fuse together. After one layer is complete, the build platform is moved down one layer in height. The re-coater comes in again with a fresh layer of powder, and the electron beam starts to induce fusion of powder particles, causing the new layer to form. This process is repeated until the entire part is finished.
The advantages of using an electron beam for 3D metal printing are:
- Higher density and strength due to a full melt of the powder
- Faster printing process
- Non-sintered powder can be recycled
- Fewer supports required compared to laser powder bed fusion
In the picture above you can see titanium 3D printed teeths, for dental implants.
FAQ:
- You're using the same basic technique as laser sintering, but with pure metal heated by a focused electron beam? That's... kinda crazy. Cool, but kinda crazy.
Yes, is the same principle. A electron beam sinters the metal powder, just like a laser beam does.
- How is compared with laser sintering?
When you print a 3D Metal part with laser is very important to take in account heat deformation and cracks when the piece cools itself. If you need a durable and strong part, you will also need a powerful oven to heat the metal part and slowly cool it to eliminate internal stress.
With electron beam printing you dont need an additional oven. The electron beam can be defocus to pre-heat the powder, so you focus again to start the sintering process according to your design.
- How much power does the system use in operation?
The total power consumption is around 1500 watts, considering vacuum pumps. The electron gun itself consume around 100W.
Disclaimer & Safety
This project is for people with experience with high voltage. The electron gun used in this project is very similar to the electron gun used in old televisions. It works with high voltage (10-20kv) and uses thick steel walls the same way old television used leaded glass to block any radiation.
Radiation Safety
When experimenting with ionizing radiation, like X-rays or Gamma-rays, diminishing your and everyone else’s exposure should be the first priority. Ionizing radiation can have serious health effects at high biologically effective doses including skin burns, an increase in cancers, radiation sickness, and even death.
There are three components that figure into the total radiation dose: time, distance, and shielding.
Time: The less time you spend exposed to radiation the lower your dose. When experimenting, make sure you know exactly what you need to get done with the radiation. If necessary, go through a dry run practicing all your motions without the radiation. Only use the radiation when you have worked out all the other potential problems with your experimental procedure.
Distance: Like most other physical phenomena, radiation decreases with distance in accordance with the inverse square law. This means that the further away you are from the source of the radiation, the less radiation you’ll be exposed to. Try to plan your experiments so that you, and anyone else around, are standing as far away from the radiation source as possible.
Shielding: As ionizing radiation passes through matter, the intensity of the radiation is diminished. Thus, to protect yourself from radiation you should erect a barrier or shield. However, the material you use matters significantly; some materials reduce the intensity of radiation more than others. Every material has a “halving thickness.” This is the thickness required to reduce the radiation intensity by half. So if the halving thickness of a material is 1 inch, then a 1 inch thick sheet will cut the radiation to 50%. Two inches will cut the radiation to 25%, 3 inches to 12.5%, and so forth. Traditionally lead is used for shielding because it has a very low halving thickness (0.4 inches). Before working with radiation,...
Agustin Cruz •04/29/2022 at 01:40 • 0 comments
Agustin Cruz •04/27/2022 at 22:28 • 0 comments
First metal powder sintering tests with the electron beam. Sintering Black iron oxide with a defocused electron beam
Agustin Cruz •04/25/2022 at 14:14 • 0 comments
Agustin Cruz •04/14/2022 at 13:47 • 0 comments
Agustin Cruz •04/14/2022 at 01:56 • 0 comments
If you are interested in the 3D Metal Printer project, please try to support it in Patreon.
Since January I'm spending more time trying to get funds, publishing the project in different sites, but is very hard to get some funding.
The goal is to make 3D Metal Printing more affordable to the general public, hospitals, small institutions, organizations and companies around the world. Specifically for developing and low income countries. This project fills a gap that no open hardware successfully fills.
Here is the Patreon site to support the project:
www.patreon.com/3dmetalprinter
Many thanks for your help!
Agustin Cruz
Agustin Cruz •04/07/2022 at 19:47 • 0 comments
Agustin Cruz •04/01/2022 at 23:59 • 0 comments
Agustin Cruz •03/31/2022 at 10:53 • 0 comments
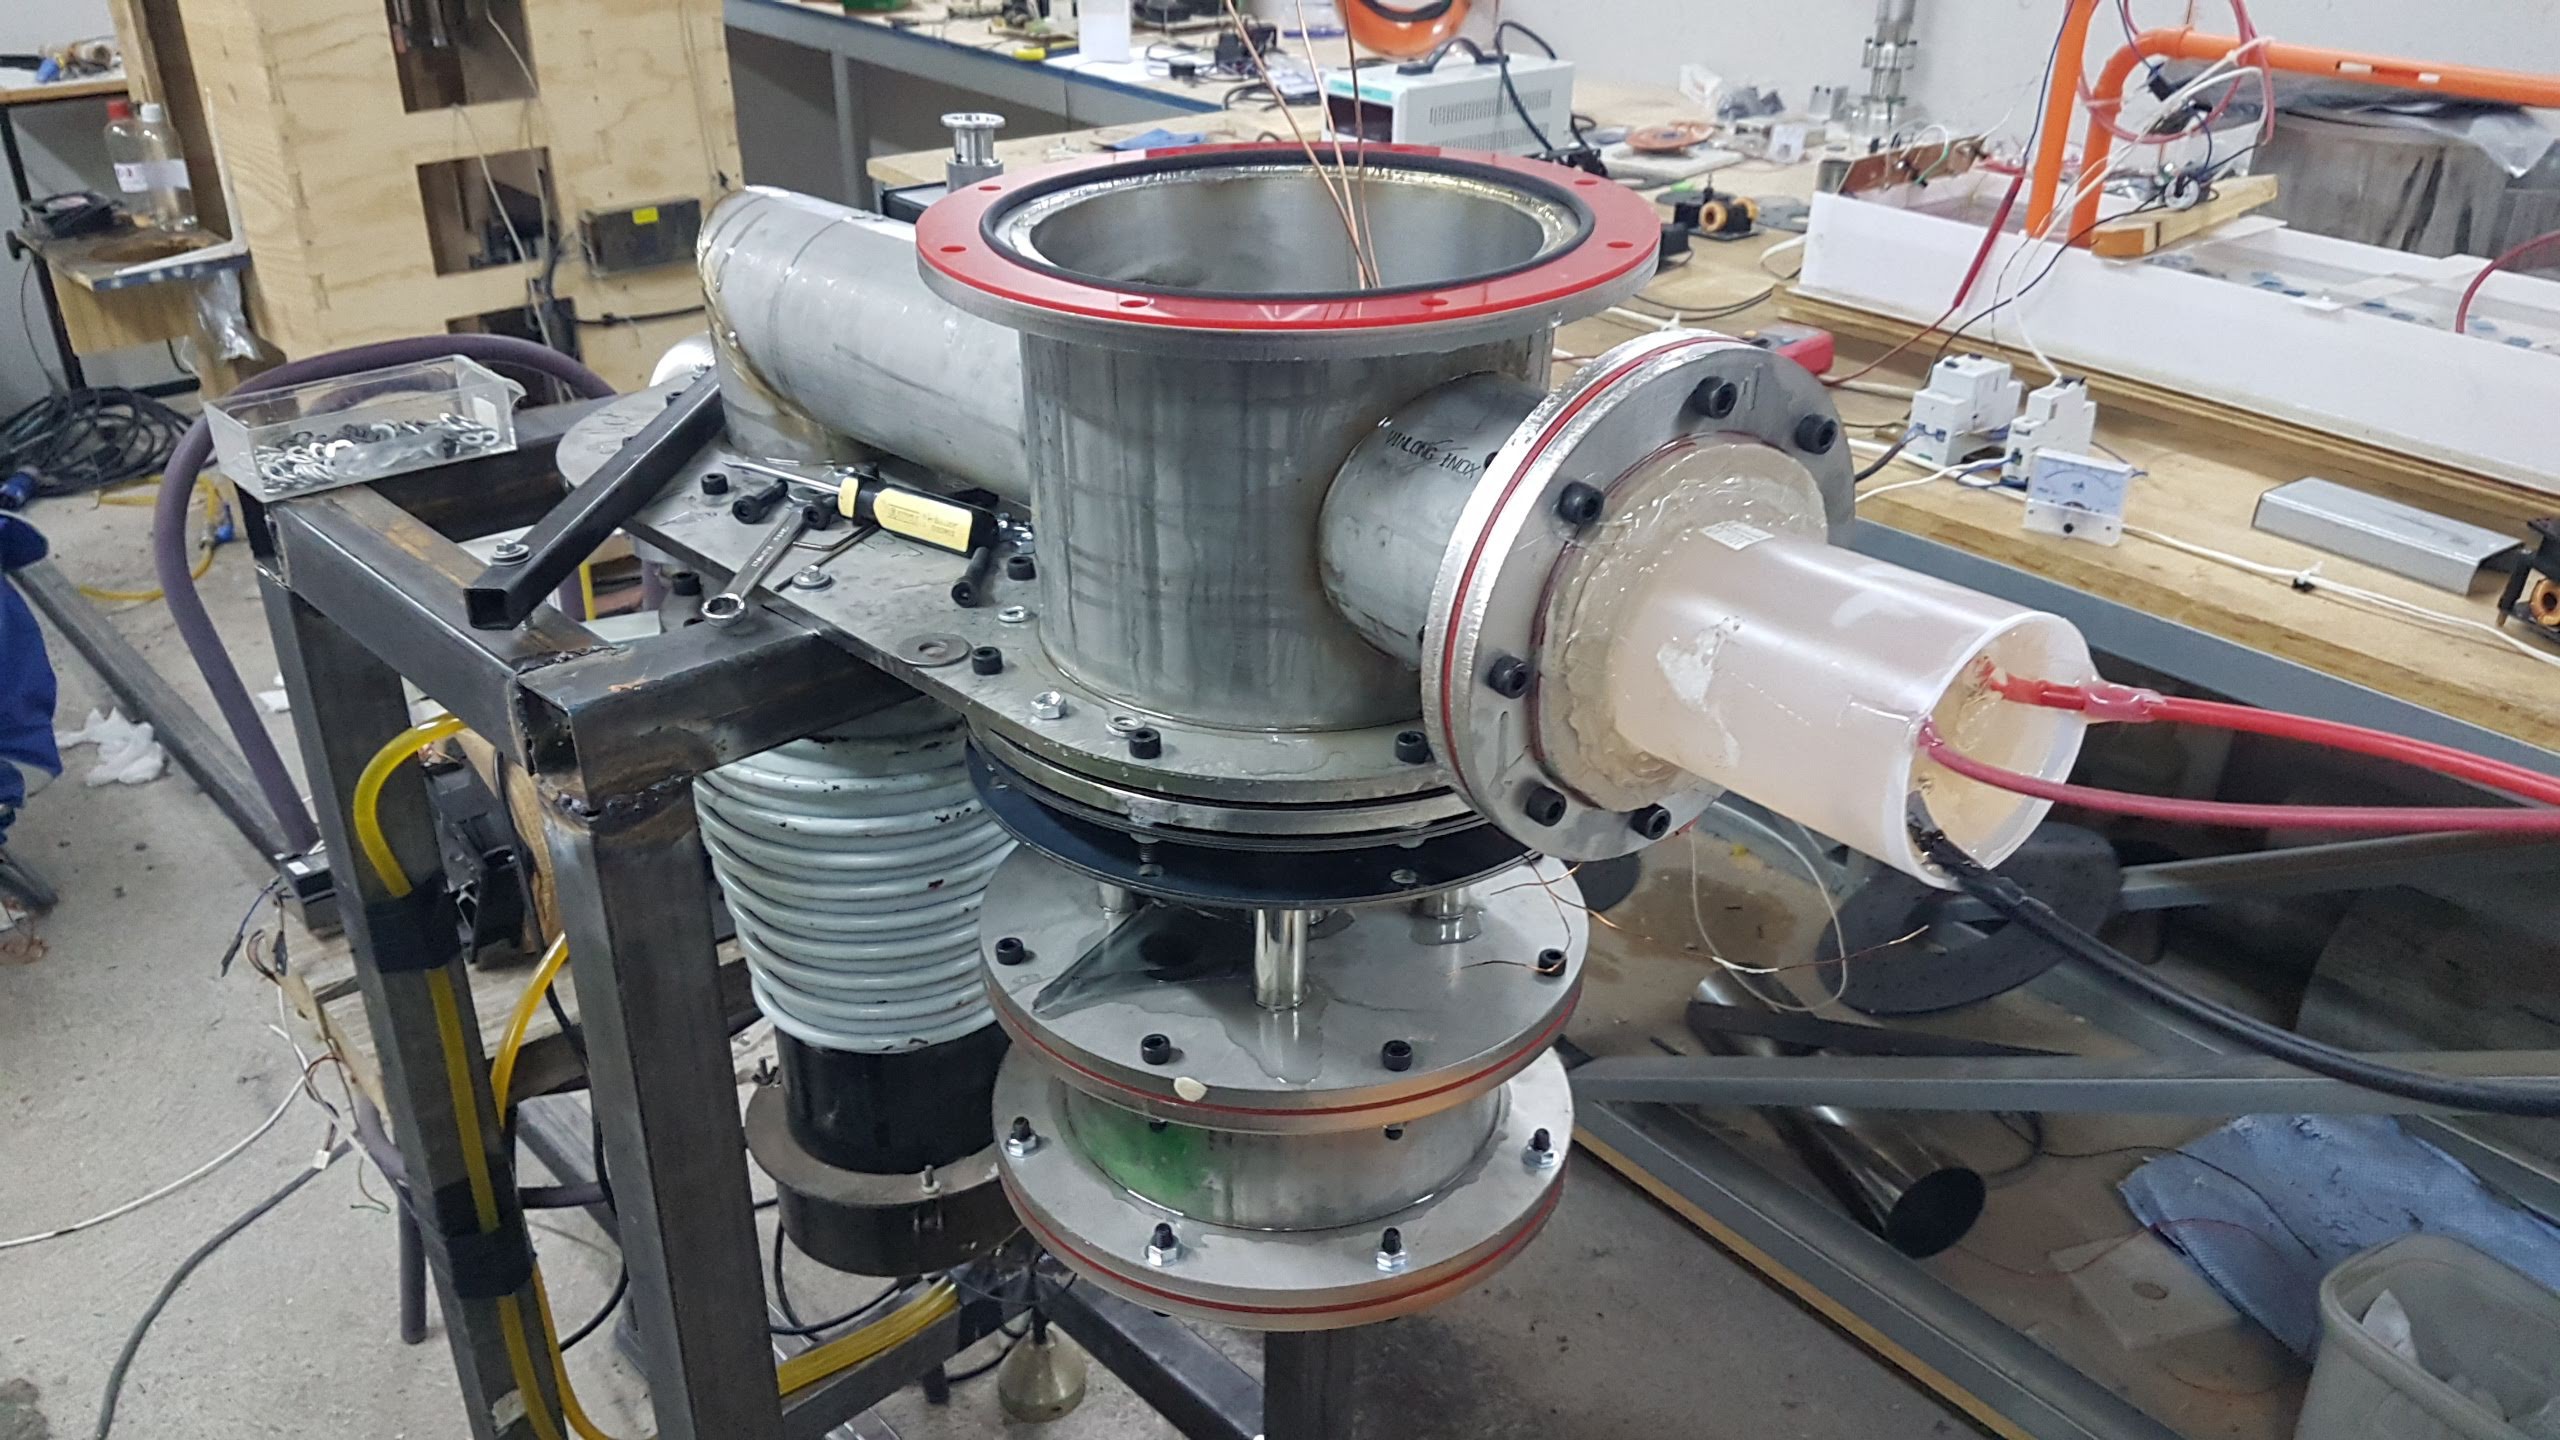
I have been working on the new electron gun for the last months. I have designed and built the new version with many improvements.
I achieved a 0.1mm spot size in the center of the working area. This is very good news for printing fine details in metal parts.
This 0.1mm focus test was very useful to understand the need for a stable HV power supply. With my HV power supply, small changes in the mains AC input translate to changes in the HV output and focus spot size.
So is a good idea to test a commercial HV power supply or add some kind of feedback control to the Cockcroft Walton multiplier.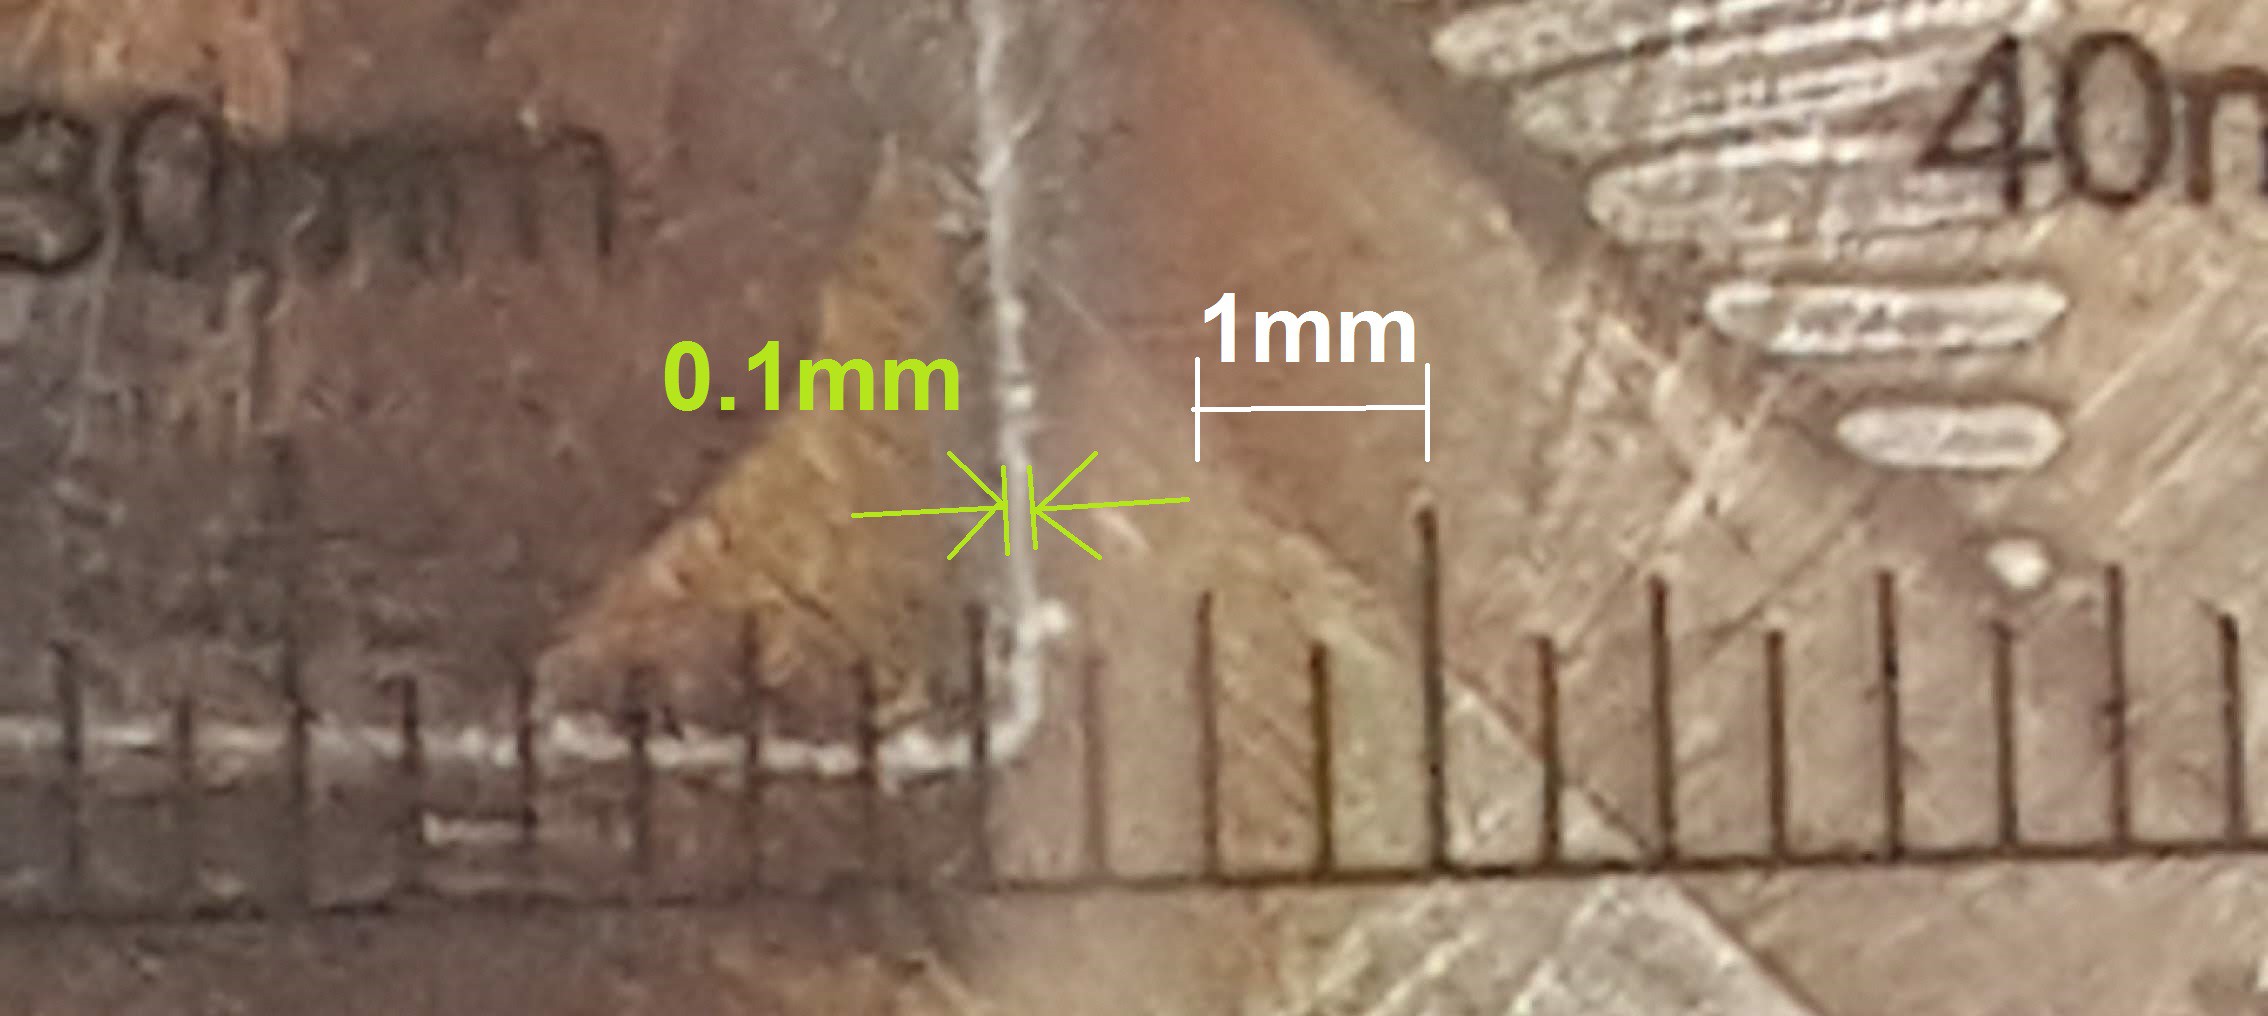
This was one of the most difficult technical parts. There are still many challenges to solve, but this was a big step.
Please remember to support me to continue working on this project. I'm waiting some financial support to release the designs and schematics. Many thanks for your help!
Agustin Cruz •02/08/2022 at 18:02 • 0 comments
- 1
What do you need to make a 3D Metal Printer?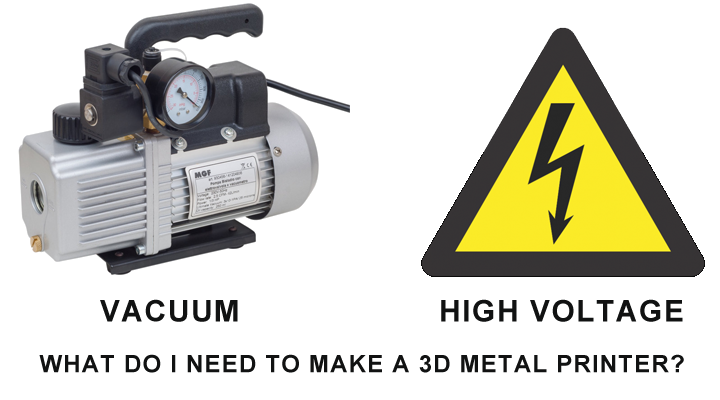
The working principle is very simple. For making a 3D metal printer you need 2 things:- Vacuum
- High Voltage
Vacuum:
Electron beam needs vacuum to travel from the electron gun to the working area. If there is air in between, the electrons cannot travel. The needed vacuum is showed in the table above, and depends in the distance between the electron gun and the working area. If the distance is small (few centimeters), you need medium vacuum. If the distance is large (more than 10cm), you need a better vacuum.
Also, if the vacuum is not enough, electrons will collide with air or gas particles and the beam cannot be well focused (the focus spot size will be bigger). We will cover vacuum part in more detail later.
High Voltage:
For generate the electron beam you need high a voltage source. Don't worry, I will explain later how to make one.
The electrons are "extracted" from a hot filament, like a lightbulb hot filament. If you apply a high voltage difference to the hot filament, electrons will be emitted towards to the positive potential.
In this case the voltage used is between 10.000-20.000 volts. If you increase the voltage, electrons have more energy and can melt or sinter the metal powder faster.
- 2
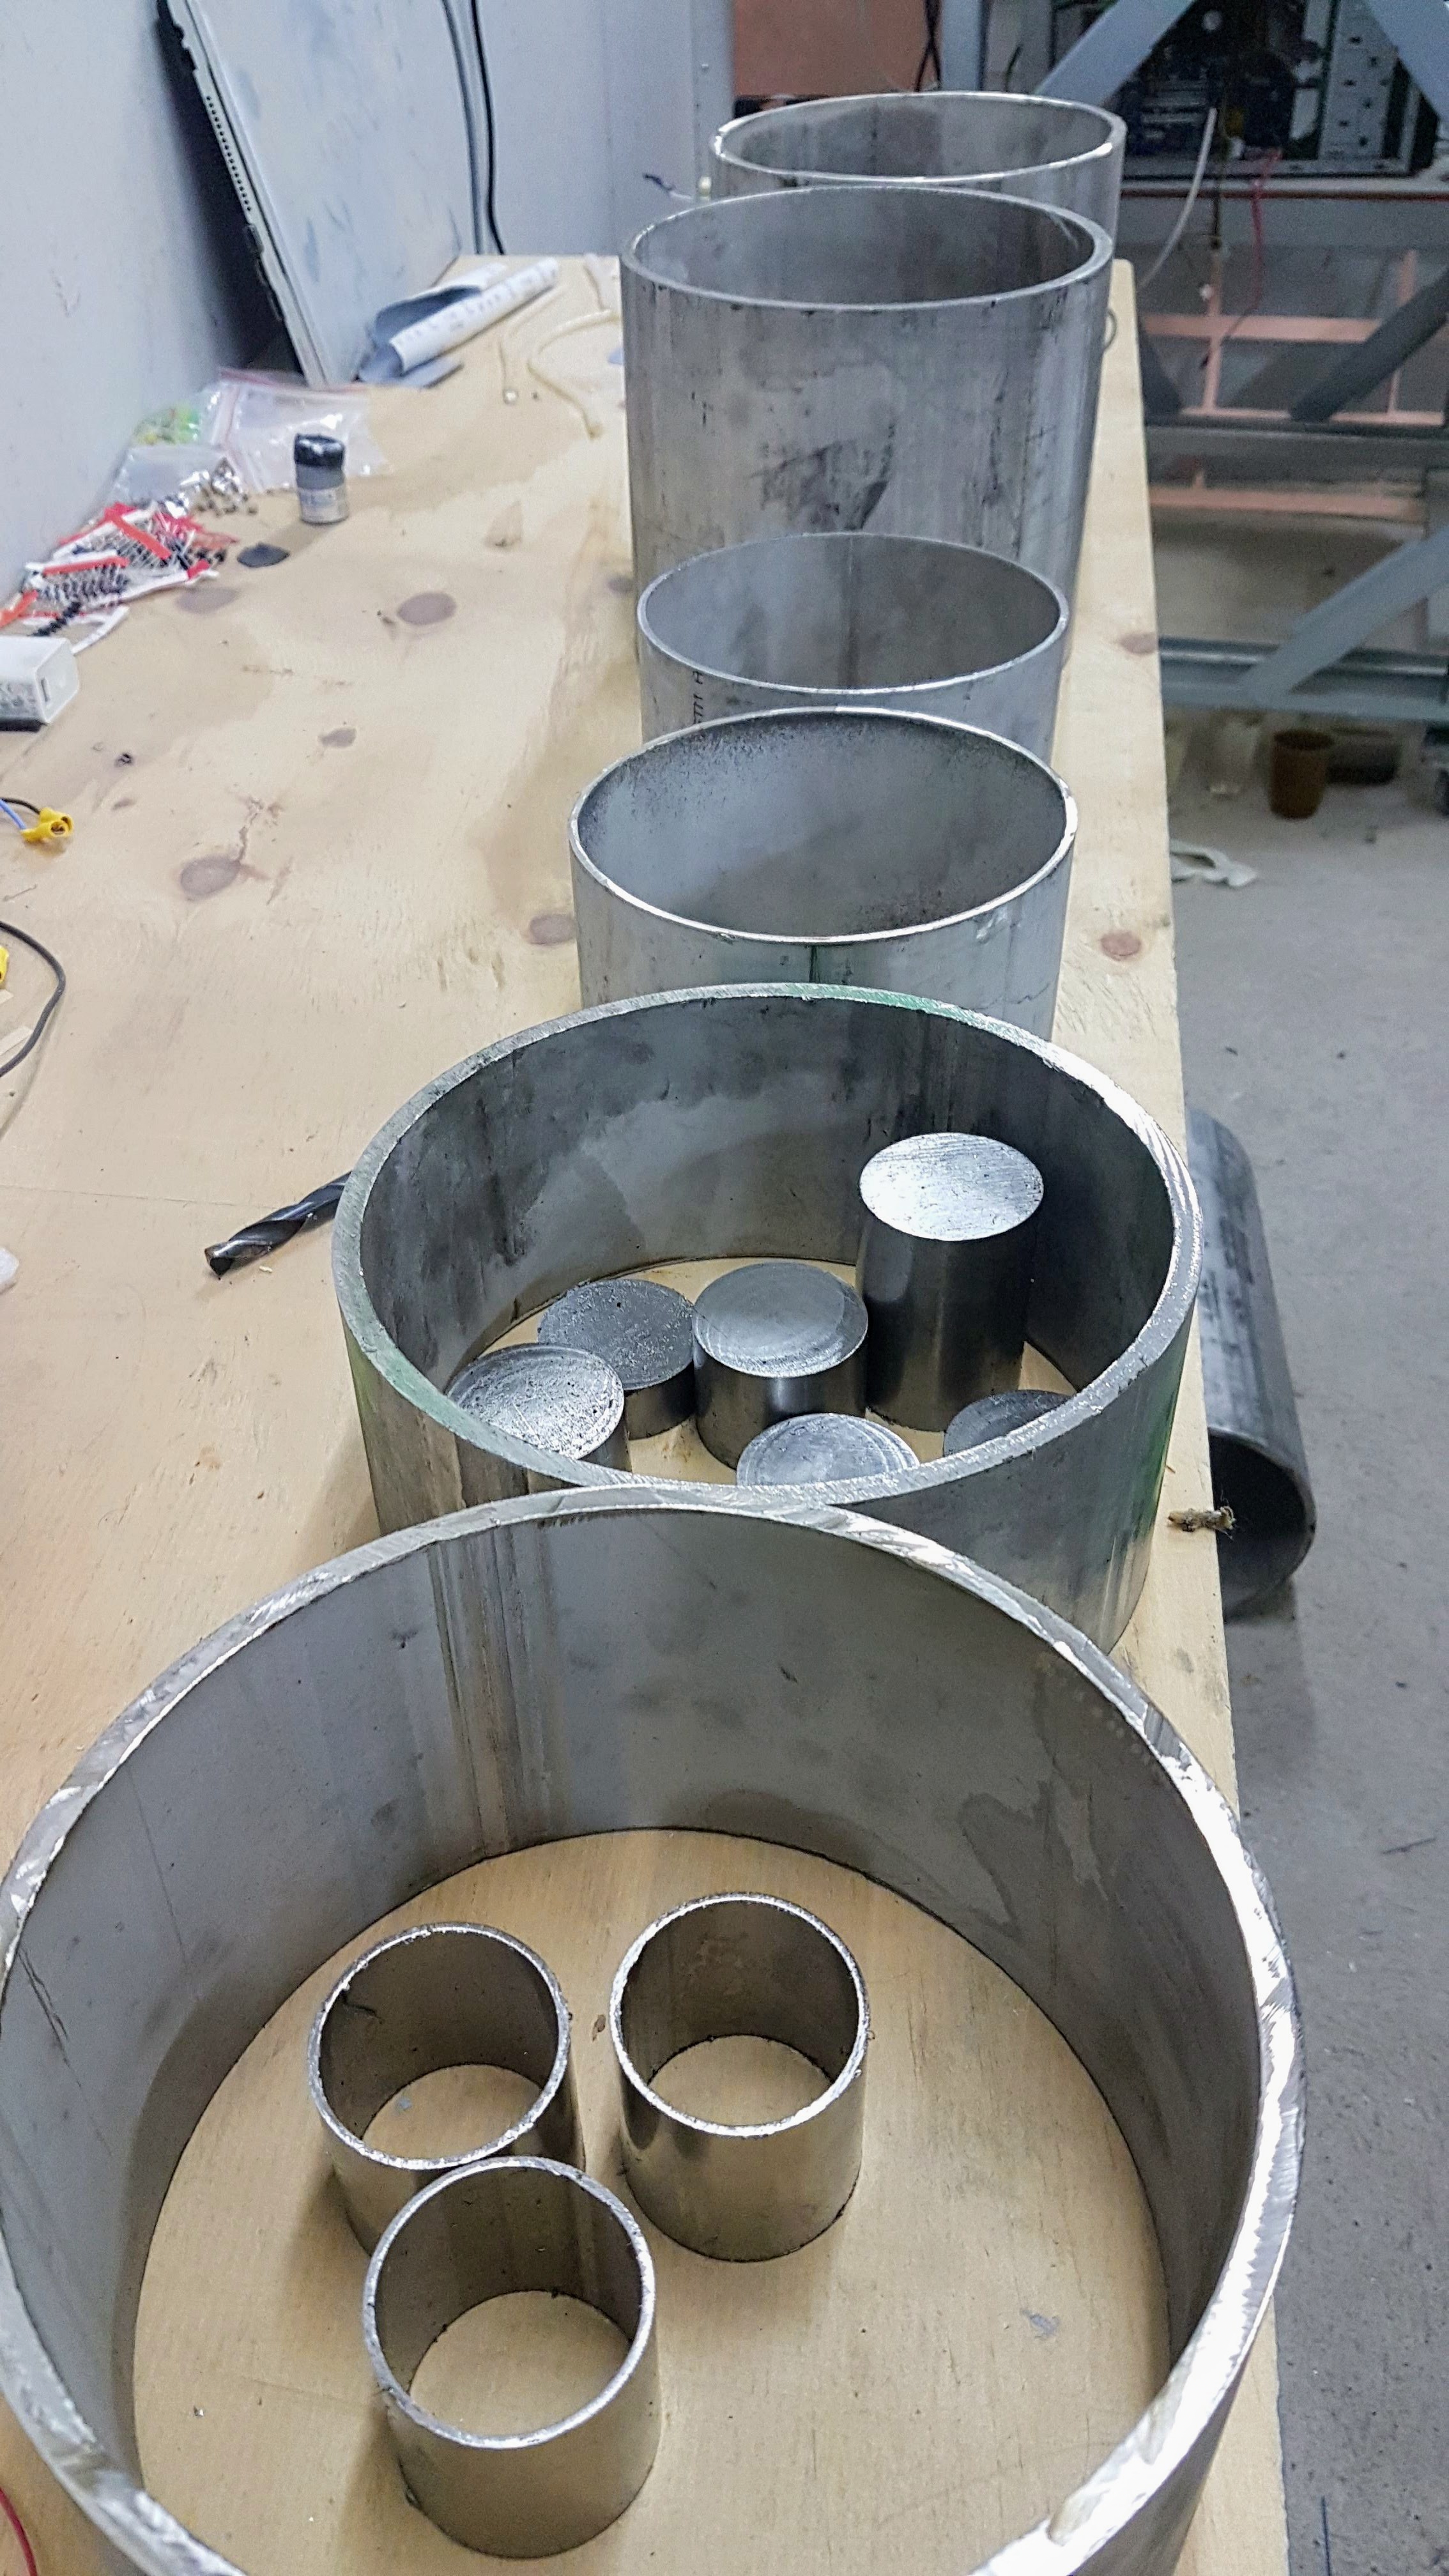
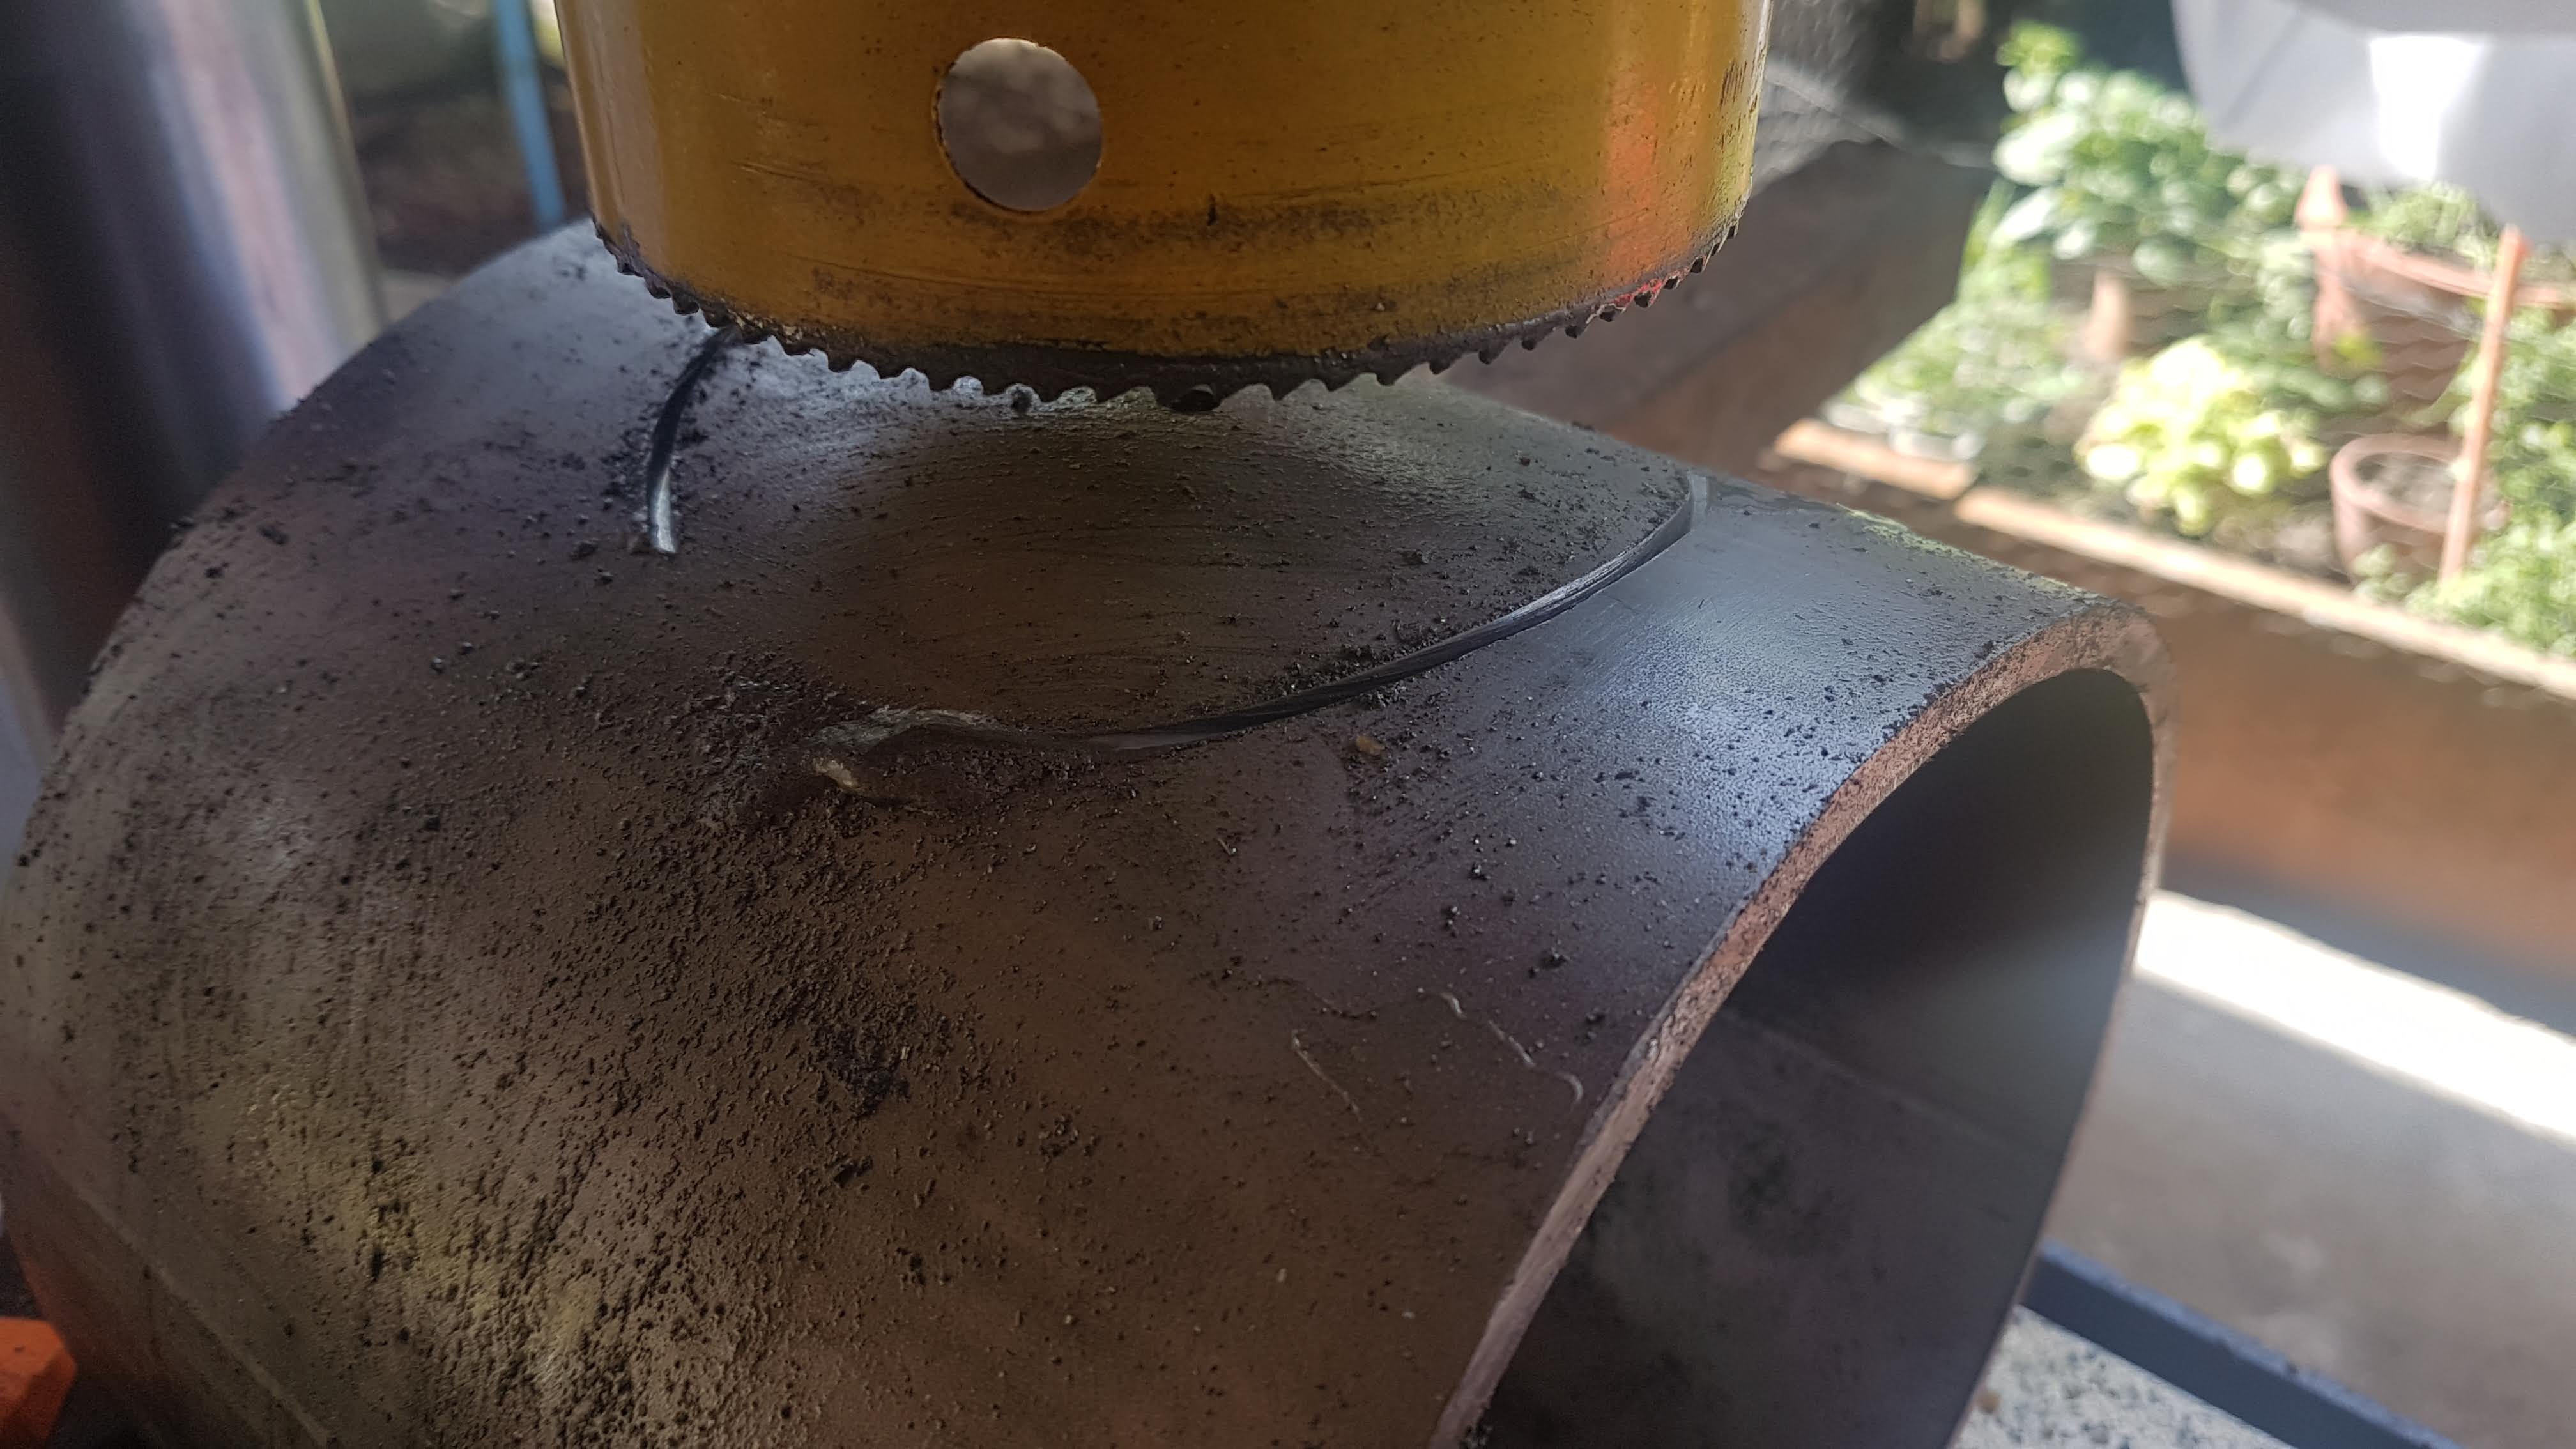
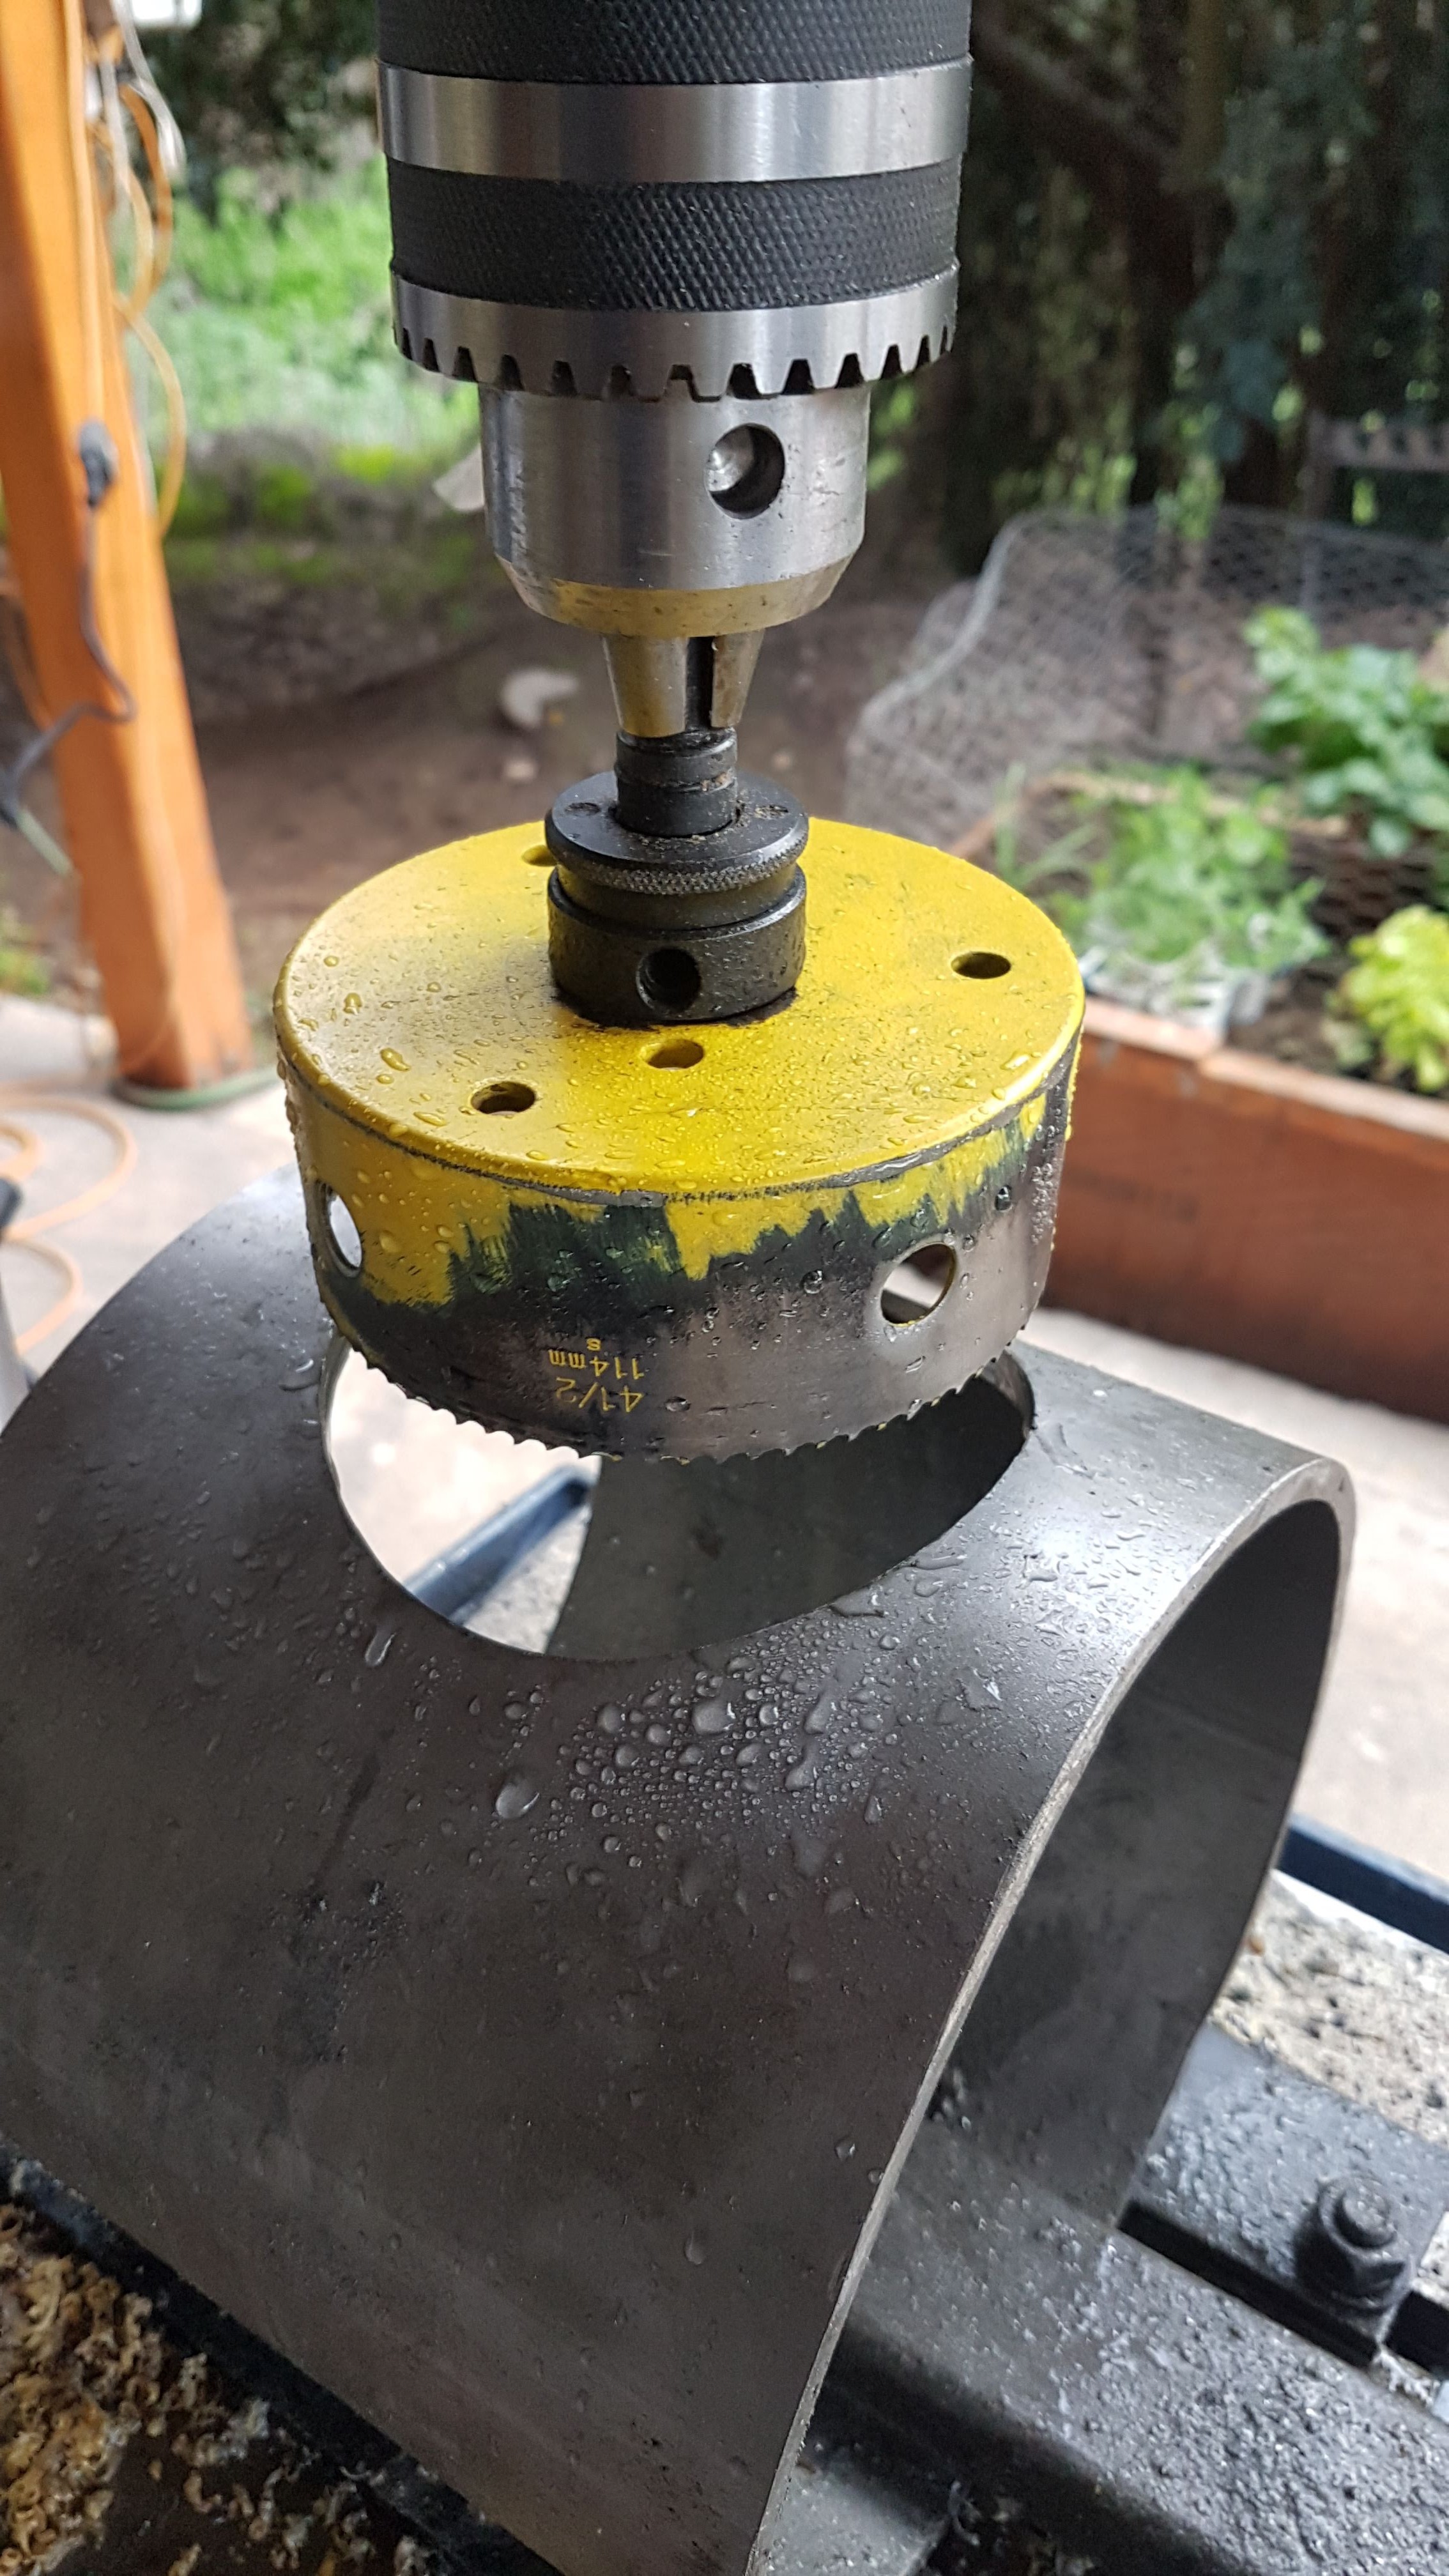
Vacuum Chamber
Vacuum chamber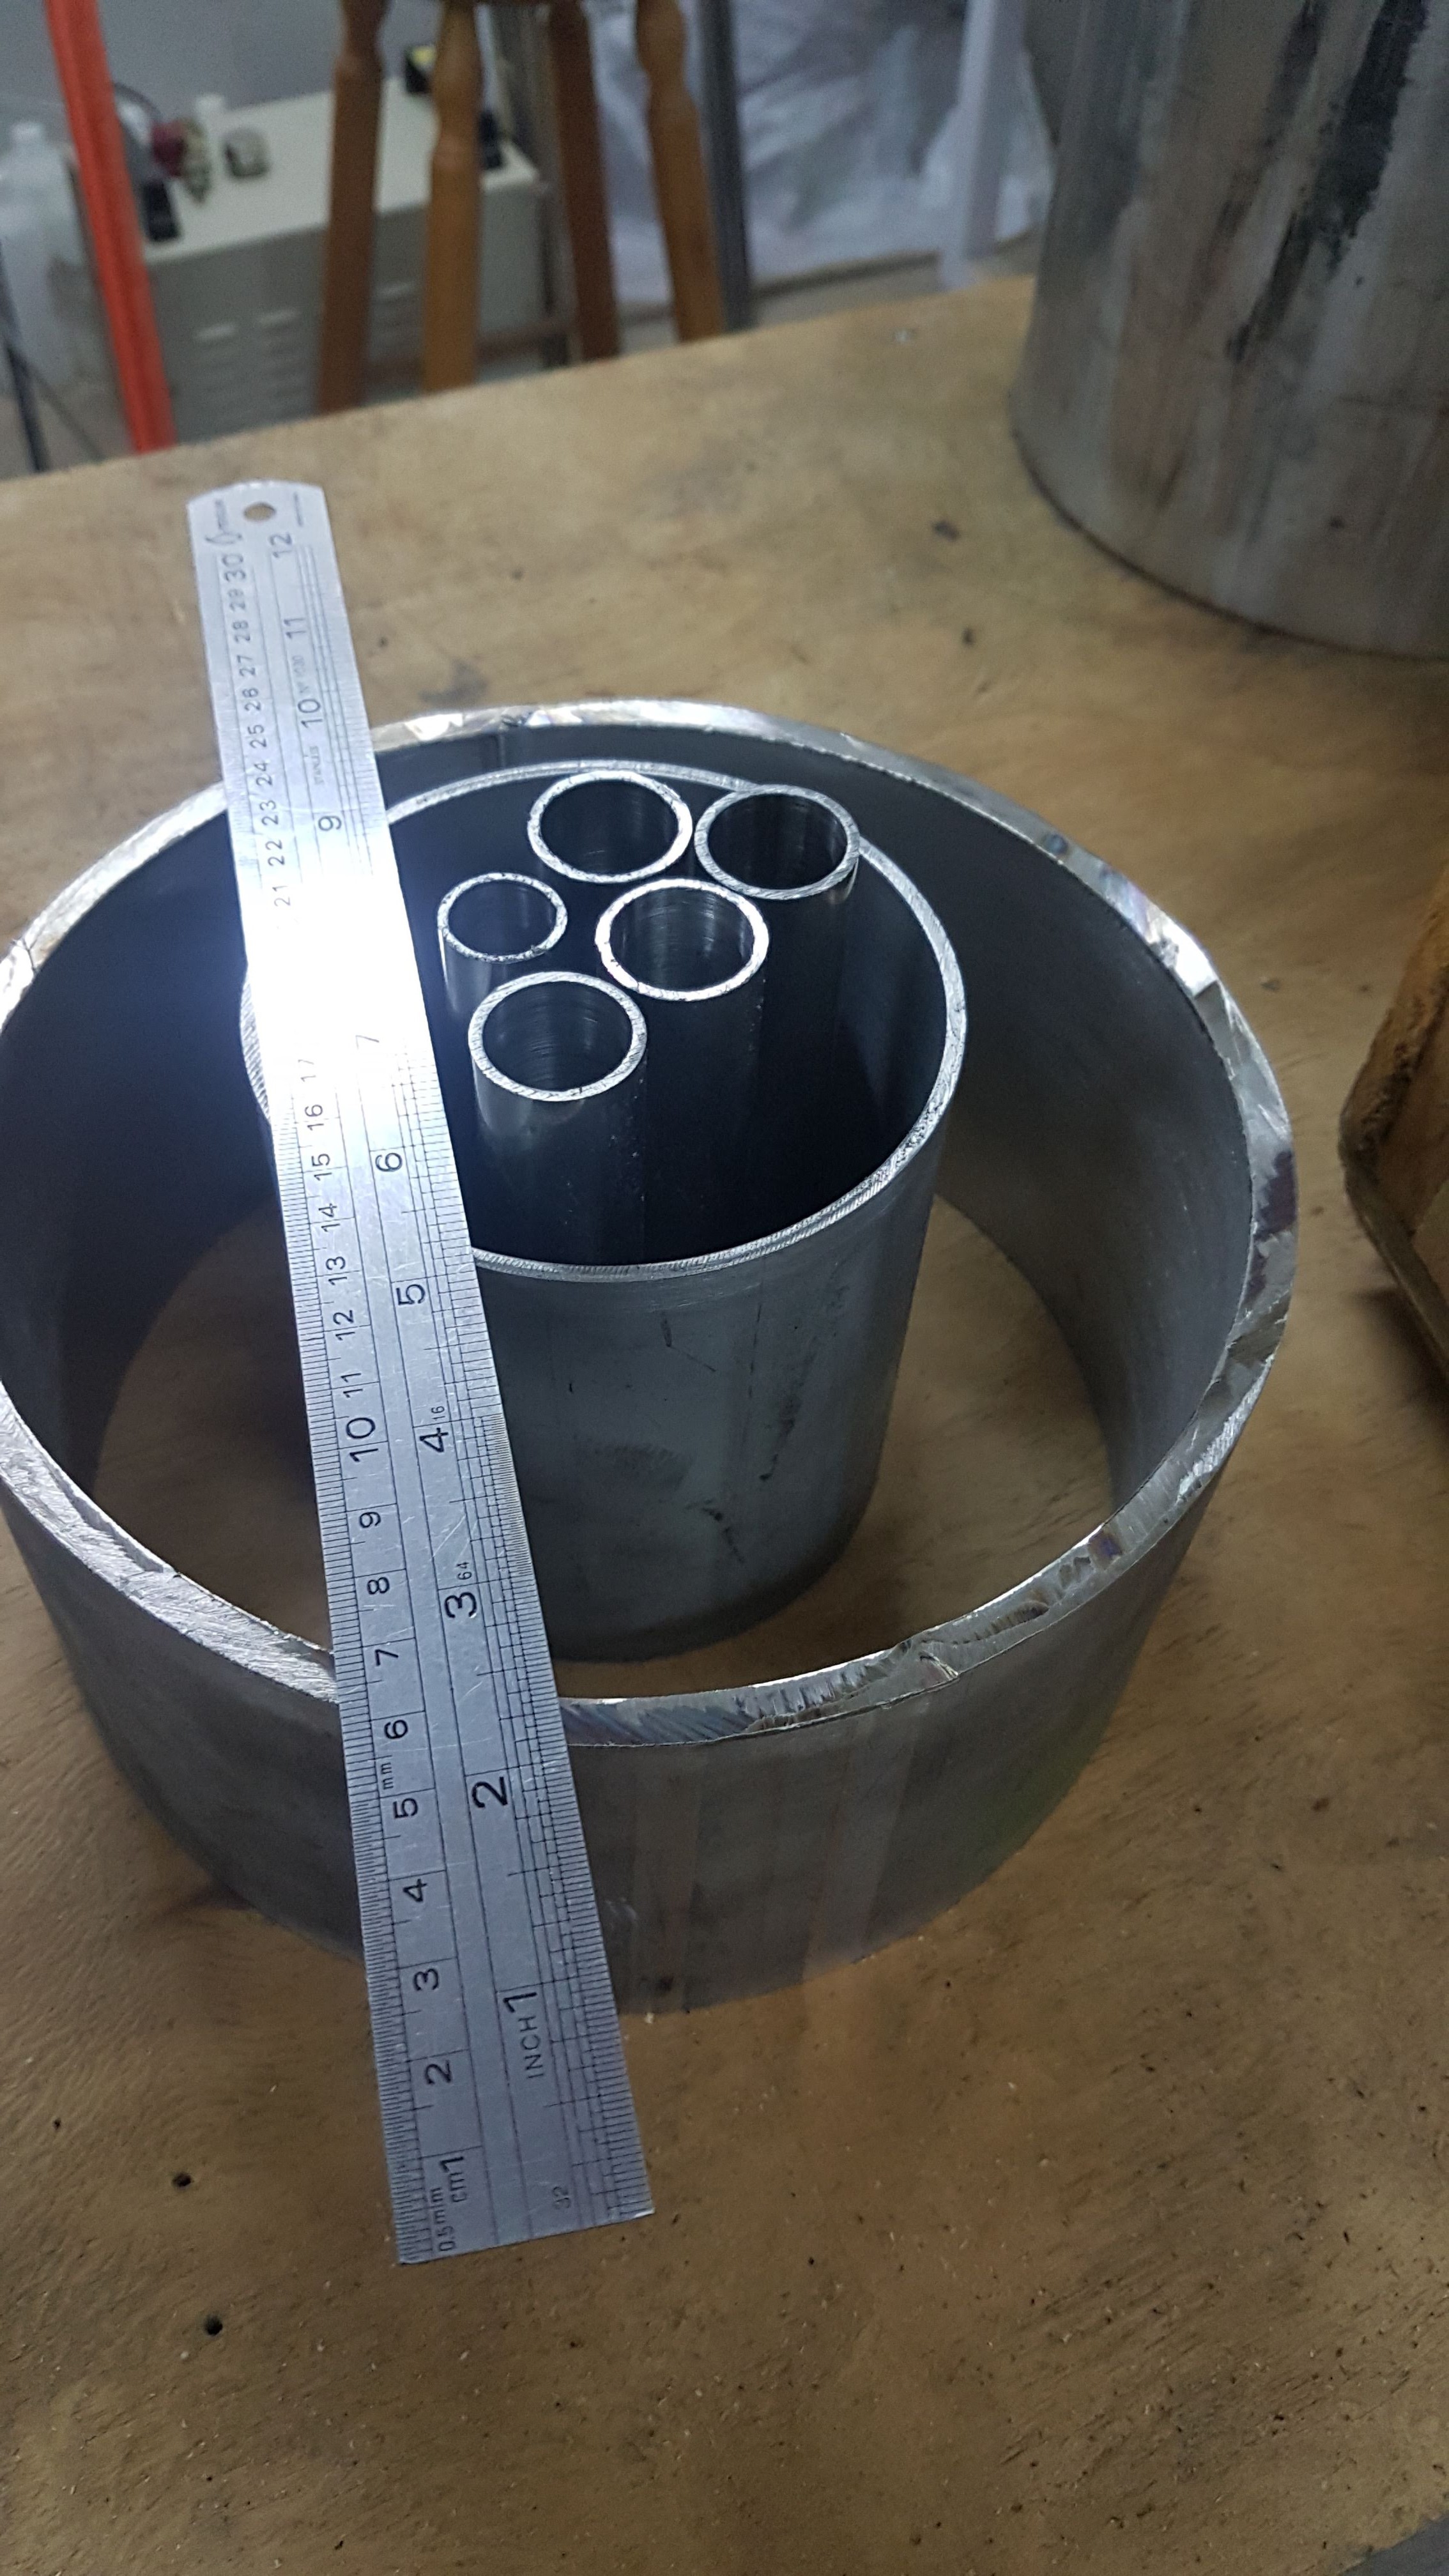
Polishing vacuum chamber inner walls
I used my lathe to polish the inner side of the stainless steel tubes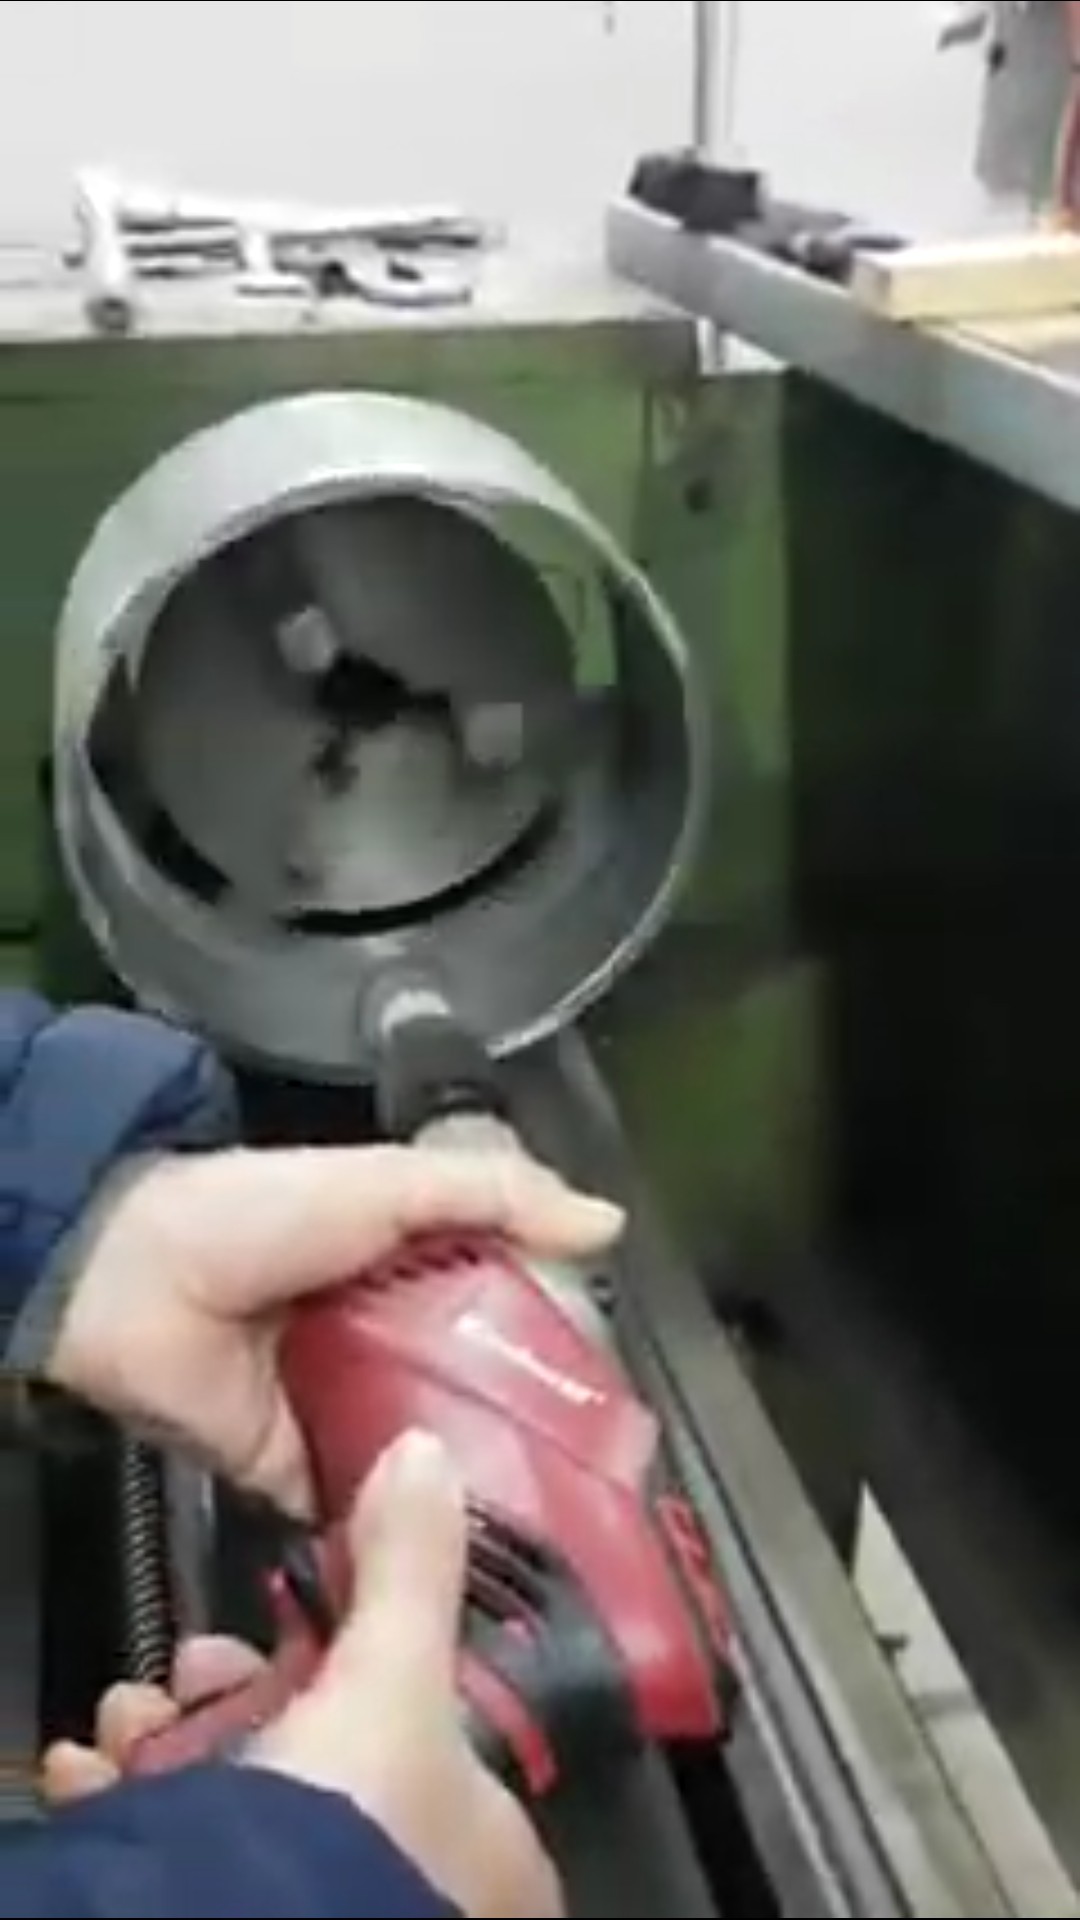
Before polishing: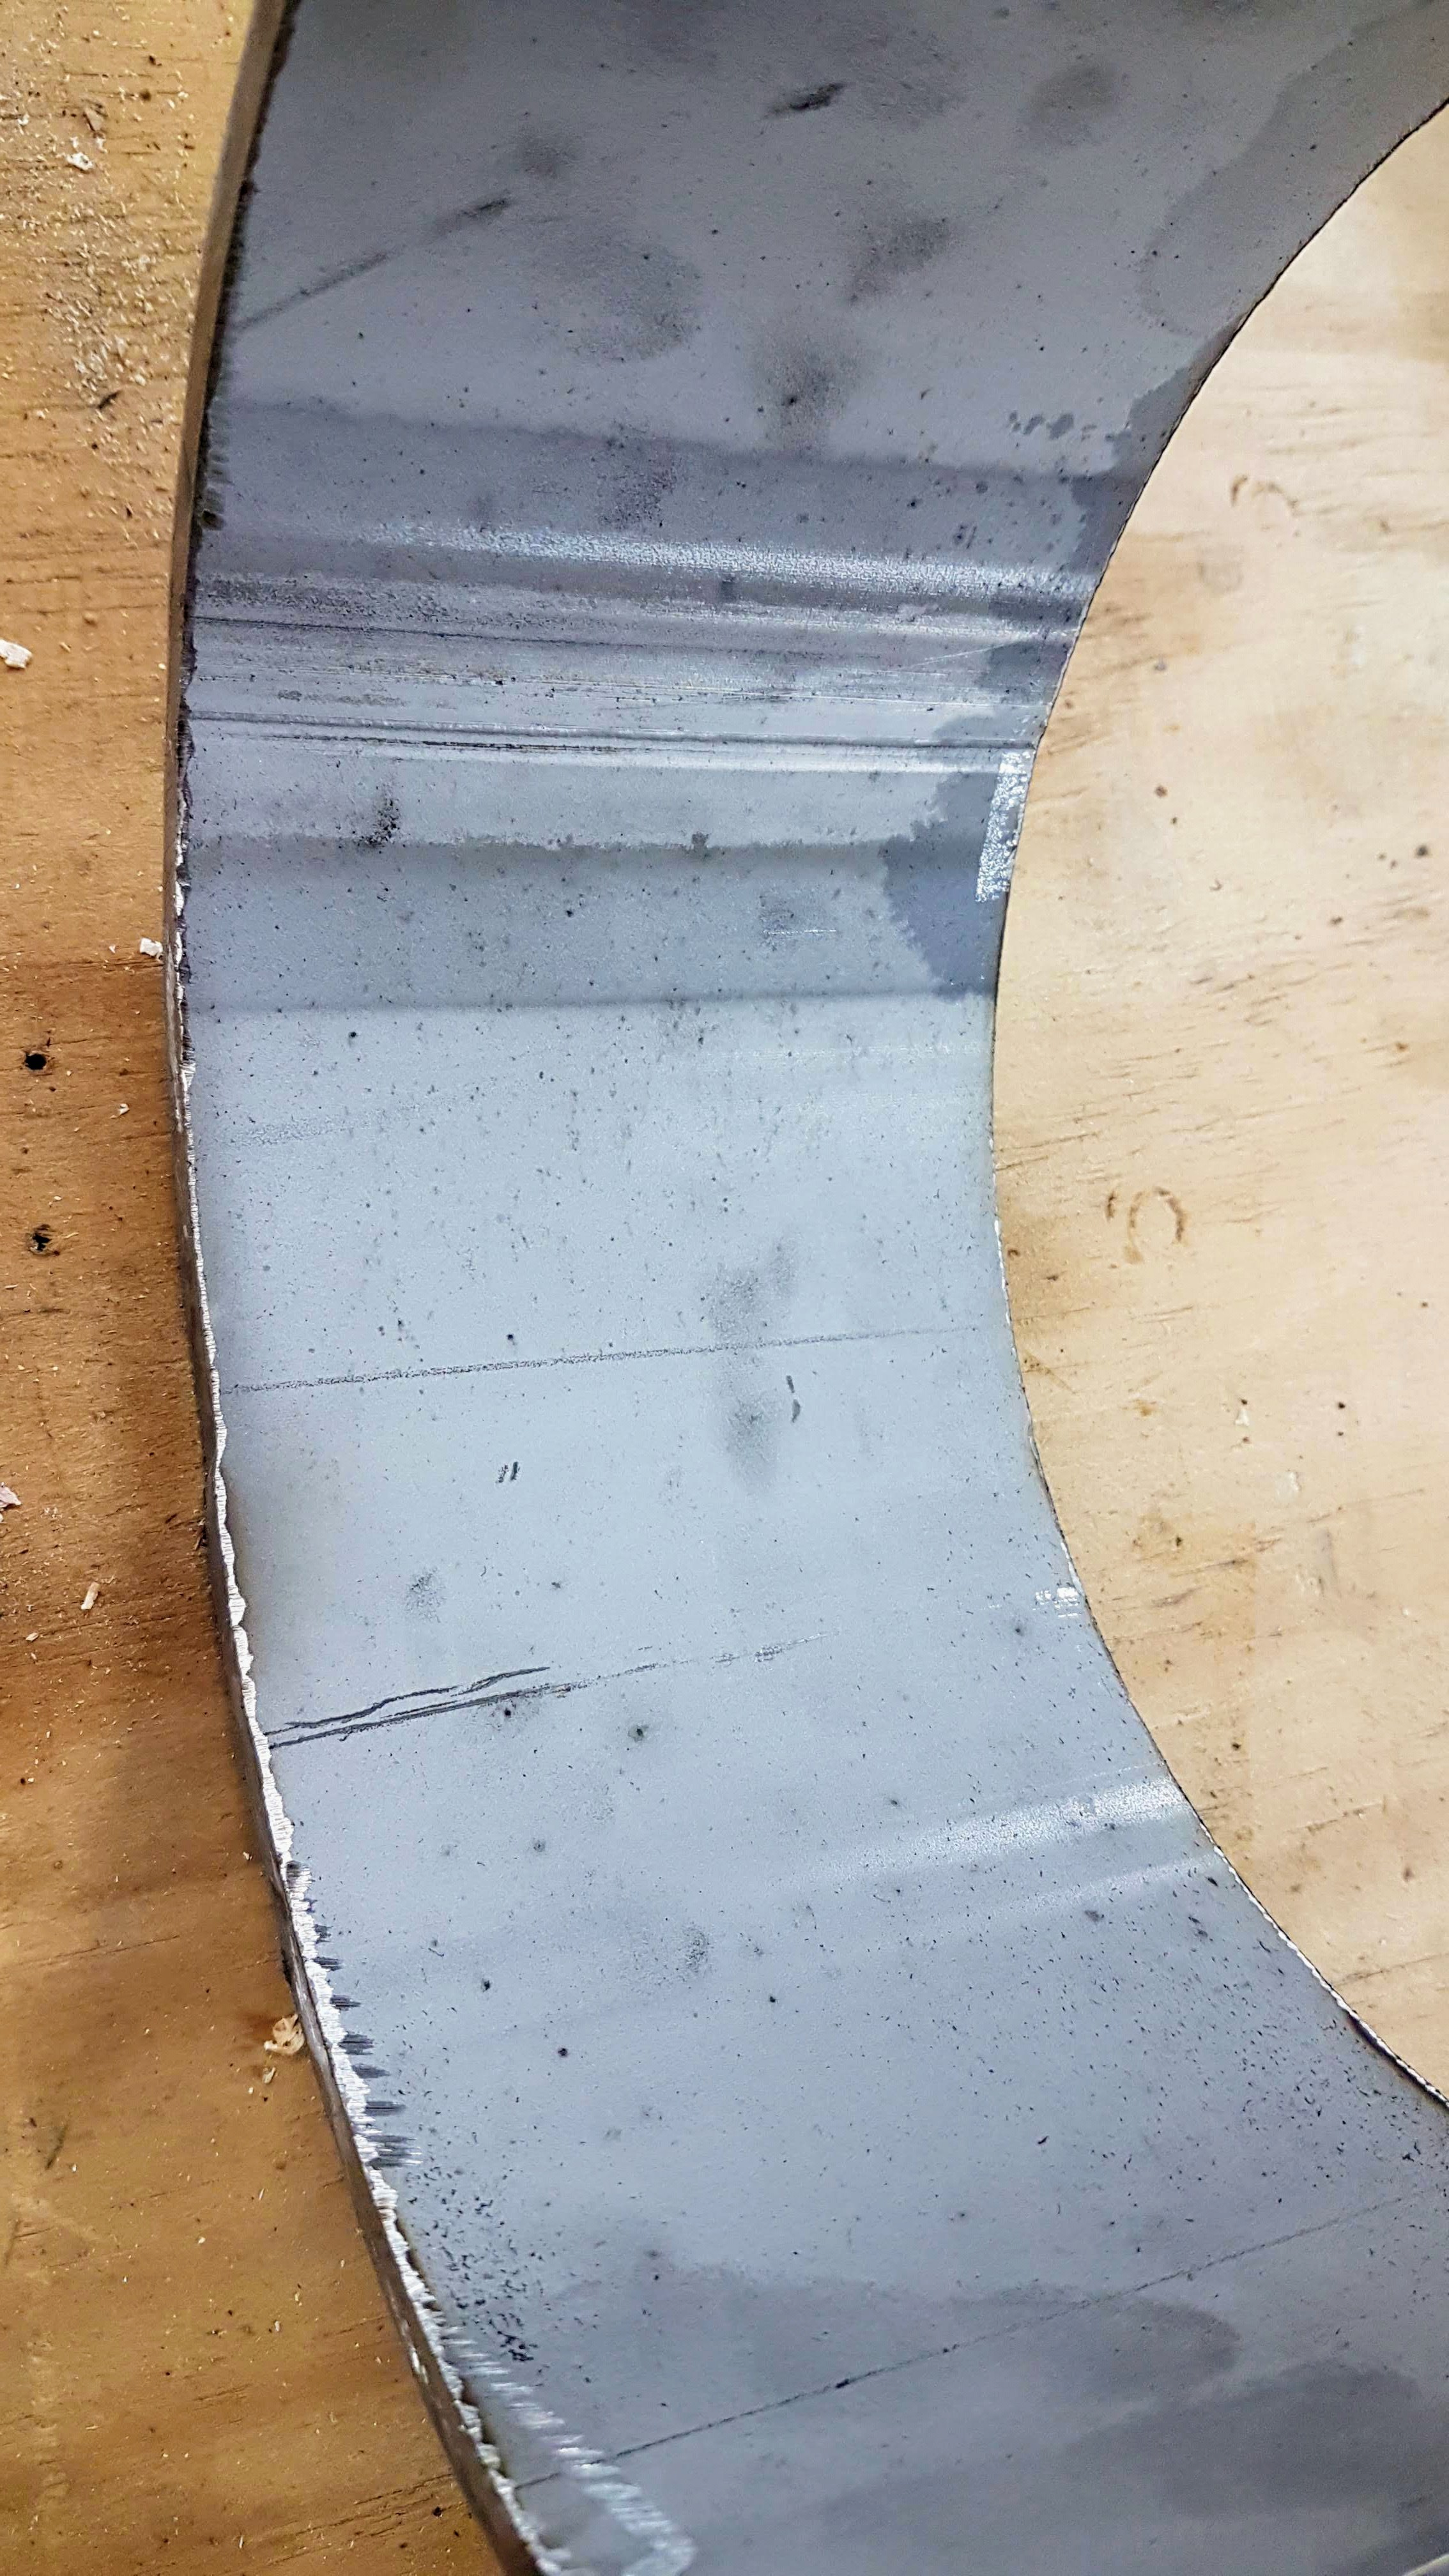
After polishing: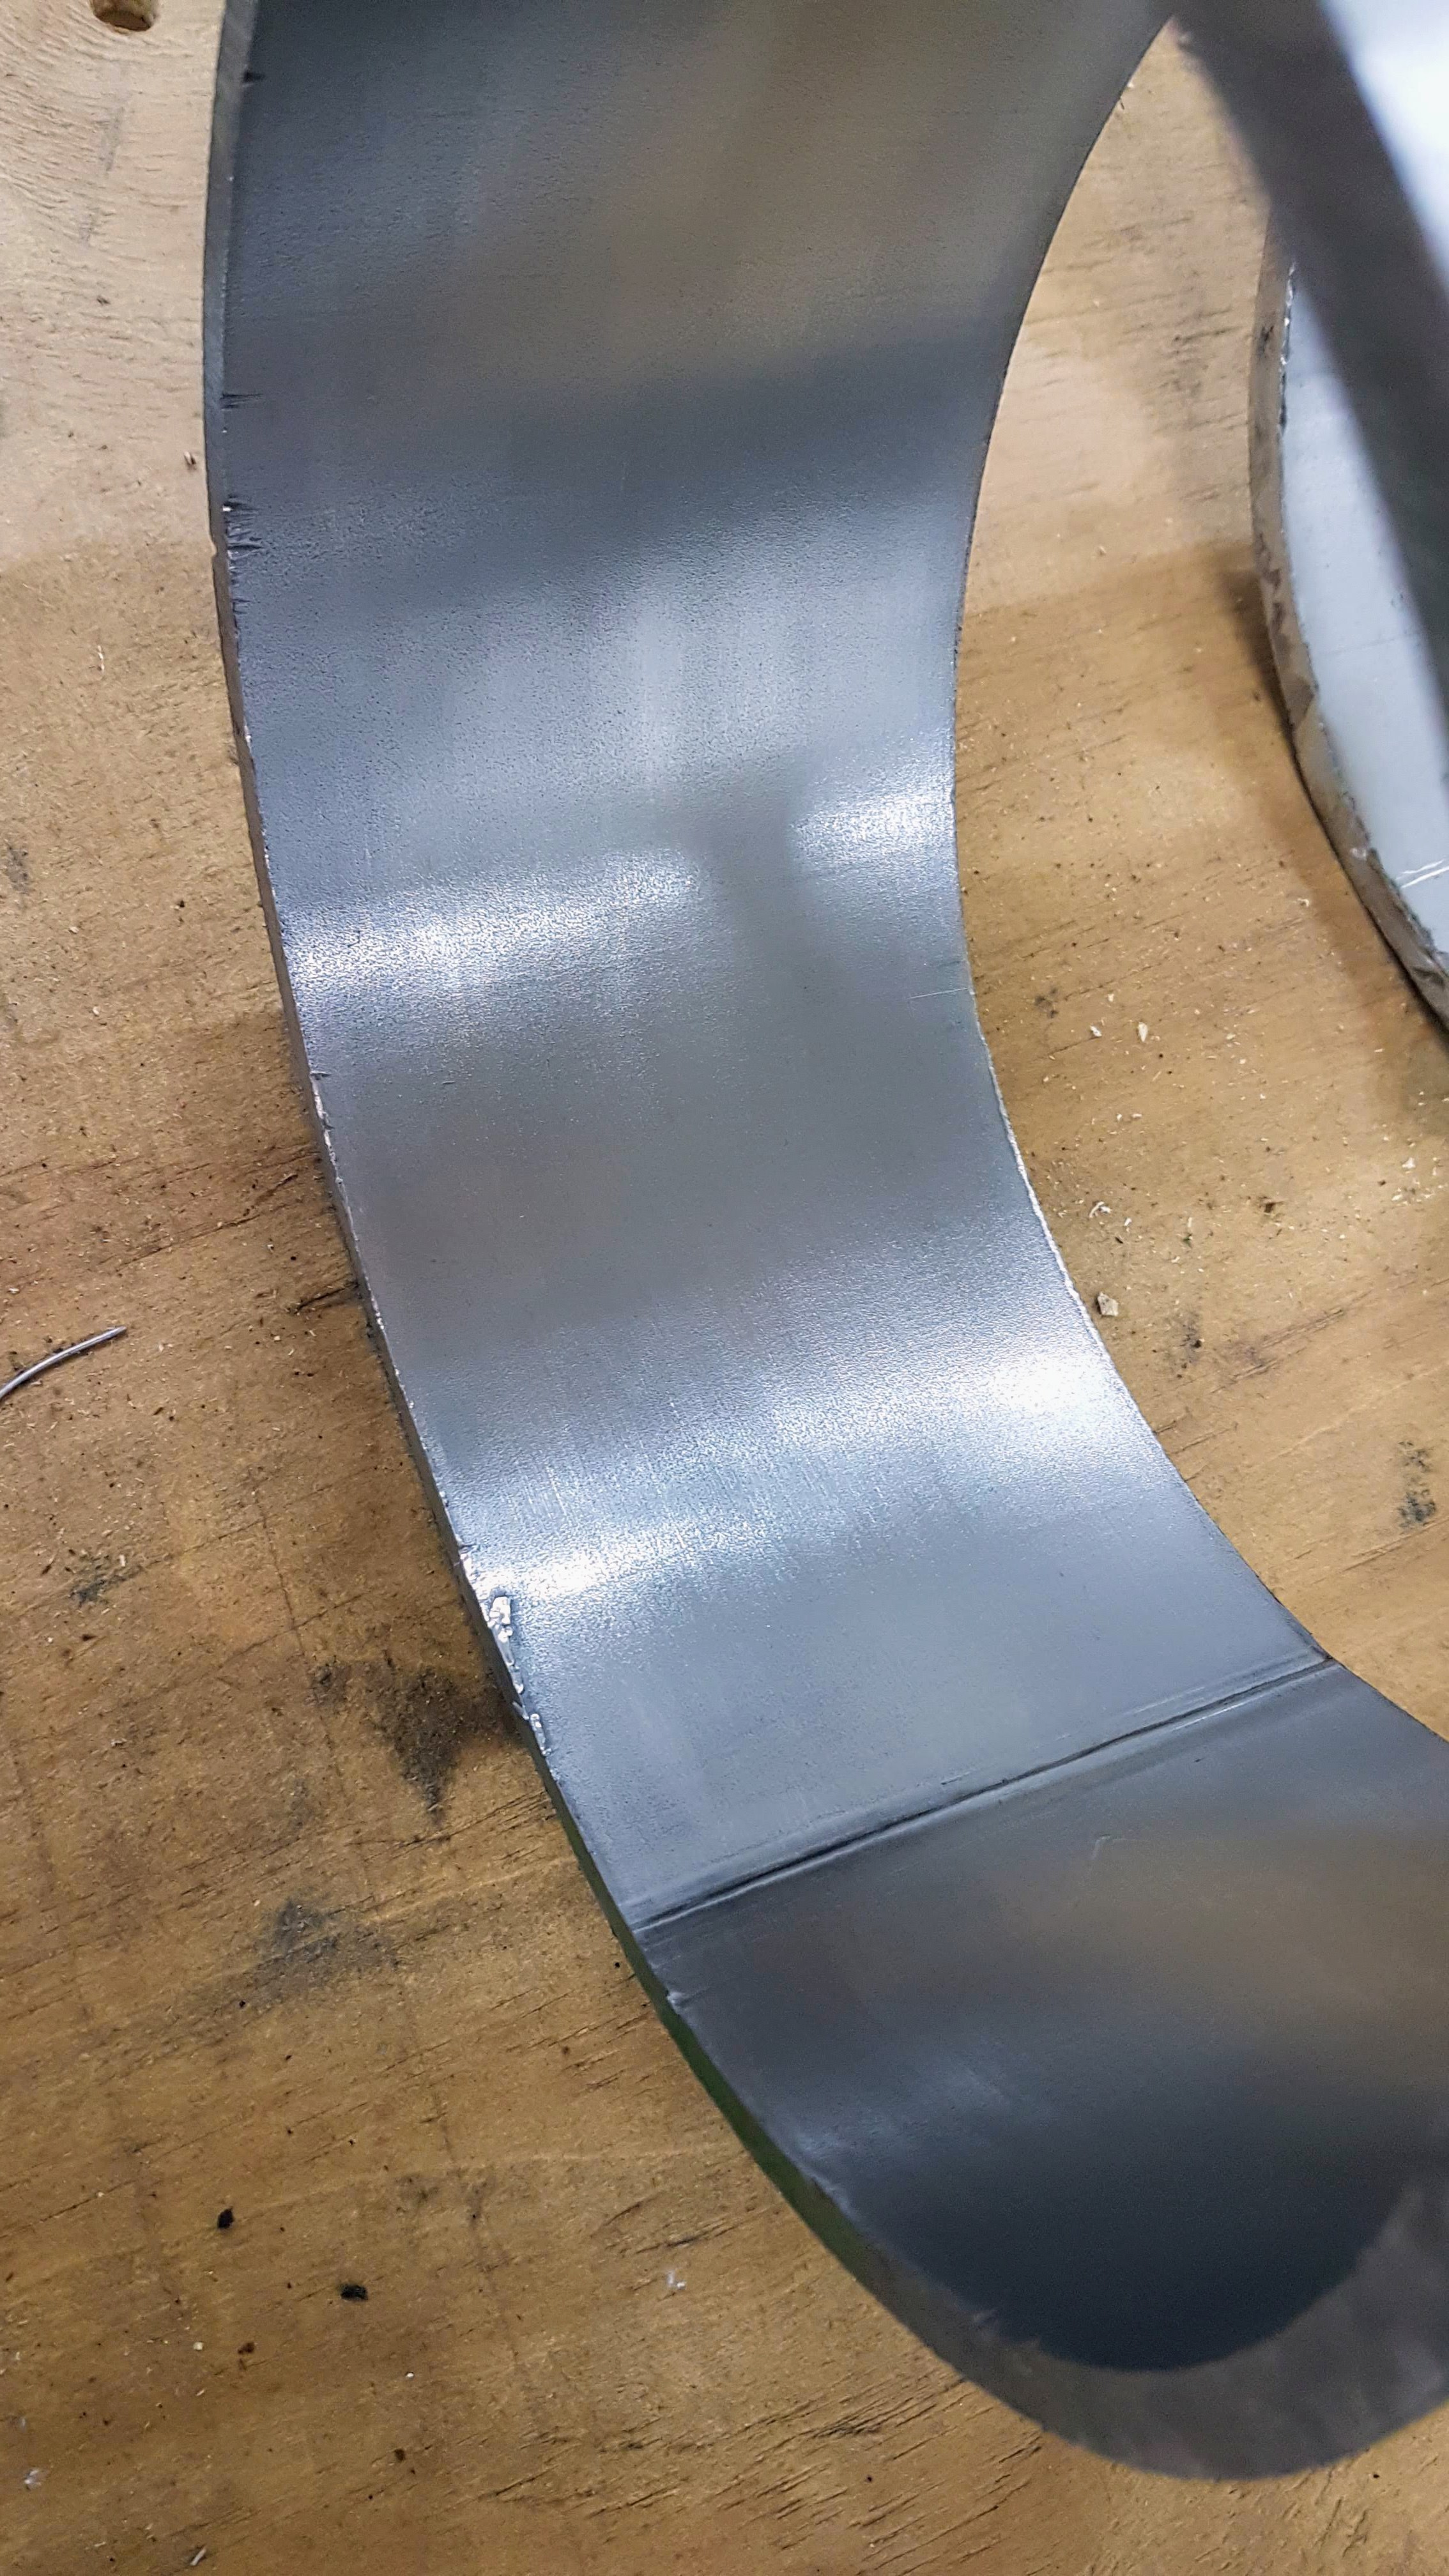
Discussions
Become a Hackaday.io Member
Create an account to leave a comment. Already have an account? Log In.
eirvin wrote 04/06/2022 at 14:08
Very interesting project. I don't know a lot about the field so I apologize if my question is nonsense, but have you looked at the electron beam steering systems found in CRT televisions? Reuse of some off the shelf parts may be another way to reduce cost, and a lot of engineering has gone into them over the years.
Richard K Collins wrote 03/10/2022 at 06:55
I will try to work out all orders of the polarizabilities that can be scanned from the electron beam emissions. Monitoring the beam current and voltage down to femtoamperes and nanovolts, you might want to keep in mind. It might start with microAmperes and milliVolts, but that is a beginning. Publishing usable data will get you connected to a global network of people working on detailed studies. Then you can see new work as it is going on, not have to read it in never complete paper papers.
Richard K Collins wrote 03/10/2022 at 06:53
I wrote to Gennady Sarkisov on ResearchGate about your work just now. I was reading his Jan 2019 paper "Dynamic dipole polarizability of gold and copper atoms for 532- and 1064-nm wavelengths" at
https://www.researchgate.net/publication/330219250\_Dynamic\_dipole\_polarizability\_of\_gold\_and\_copper\_atoms\_for\_532-\_and\_1064-nm\_wavelengths/comments and left him this comment.
-------------------- My comment on ResearchGate -----------------------------------
I just happened to chat with Agustin Cruz, and others, yesterday about his electron beam 3D printer. Here is a description of his work at https://hackaday.io/project/183736-3d-metal-printer
The transcript of our chat is at https://hackaday.io/event/184160-metal-3d-printing-hack-chat/log/203868-hack-chat-transcript-part-1
And a video of his printer in operation is at https://www.youtube.com/watch?v=hnYU1hB2ZDA
You are vaporizing a fairly substantial amount of material with your exploding wire. His electron beam is 100 Watts. The important parameter for data gathering is beam intensity, not total current. You have to do things in nanoseconds or smaller. His device could give you leisure to follow a continuous line of vaporized metal as long as you like. He said he can use it as a microscope as well. So you can correlate the track shape after the fact with the recorded spectrum, voltage, current and transmitted stress (sensors on the material as it is being scanned). That should give you plenty to work with.
I was re-reading Keith Bonin and Vitaly Kresins "Electric Diplole Polarizabilities of Atoms, Molecules and Clusters" this evening when I decided to see who might be doing electric quadrupole work. It is not quite the desert you indicate, but the data and methods and such ARE very scattered and disorganized. I mention this, because ALL orders of the polarizability could be documented in a consistent manner, open to all, and used for calibration and inter-group collaborations.
If it were me, I would set the beam scanning over gold, aluminum, copper, tungsten, vanadium, tantalum, cobalt, beryllium, boron, carbon, silicon nitride, wood, proteins, plastics, rubbers, coal and other common materials. Document their emissions (for monitoring and identification during metal forming) and for characterizing unknown materials in an online shared database open to all. Run some continuously as a resource for global collaboration, training and algorithm development.
Agustin might be able to do that as a service to support his work on 3D electron beam metal forming.
Richard Collins, Director, The Internet Foundation
