Push & Pull Container Image using Azure Container Registry - Azure Container Registry (original) (raw)
An Azure container registry stores and manages private container images and other artifacts, similar to the way Docker Hub stores public Docker container images. You can use the Docker command-line interface (Docker CLI) for login, push, pull, and other container image operations on your container registry.
In the following steps, you download a public Nginx image, tag it for your private Azure container registry, push it to your registry, and then pull it from the registry.
Prerequisites
- Azure container registry - Create a container registry in your Azure subscription. For example, use the Azure portal, the Azure CLI, or Azure PowerShell.
- Docker CLI - You must also have Docker installed locally. Docker provides packages that easily configure Docker on any macOS, Windows, or Linux system.
Log in to a registry
There are several ways to authenticate to your private container registry.
The recommended method when working in a command line is with the Azure CLI command az acr login. For example, to access a registry named myregistry, sign in the Azure CLI and then authenticate to your registry:
az login
az acr login --name myregistry
You can also log in with docker login. For example, you might have assigned a service principal to your registry for an automation scenario. When you run the following command, interactively provide the service principal appID (username) and password when prompted. For best practices to manage login credentials, see the docker login command reference:
docker login myregistry.azurecr.io
Both commands return Login Succeeded once completed.
Note
- You might want to use Visual Studio Code with Docker extension for a faster and more convenient login.
Tip
Always specify the fully qualified registry name (all lowercase) when you use docker login and when you tag images for pushing to your registry. In the examples in this article, the fully qualified name is myregistry.azurecr.io.
Pull a public Nginx image
First, pull a public Nginx image to your local computer. This example pulls the official Nginx image.
docker pull nginx
Run the container locally
Execute the following docker run command to start a local instance of the Nginx container interactively (-it) on port 8080. The --rm argument specifies that the container should be removed when you stop it.
docker run -it --rm -p 8080:80 nginx
Browse to http://localhost:8080 to view the default web page served by Nginx in the running container. You should see a page similar to the following:
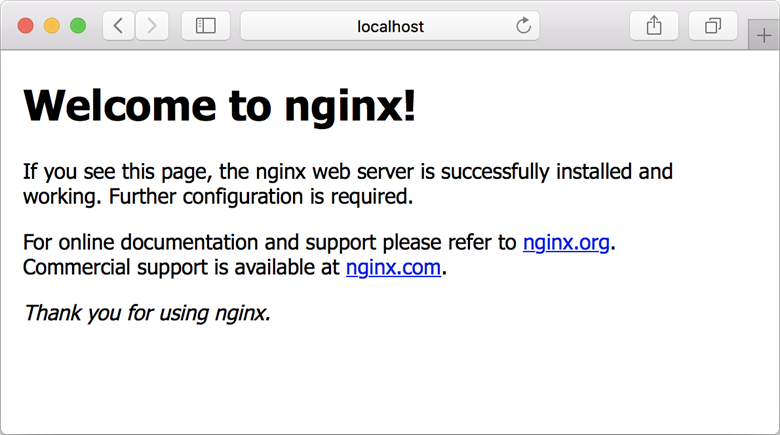
Because you started the container interactively with -it, you can see the Nginx server's output on the command line after navigating to it in your browser.
To stop and remove the container, press Control+C.
Create an alias of the image
Use docker tag to create an alias of the image with the fully qualified path to your registry. This example specifies the samples namespace to avoid clutter in the root of the registry.
docker tag nginx myregistry.azurecr.io/samples/nginx
For more information about tagging with namespaces, see the Repository namespaces section of Best practices for Azure Container Registry.
Push the image to your registry
Now that you've tagged the image with the fully qualified path to your private registry, you can push it to the registry with docker push:
docker push myregistry.azurecr.io/samples/nginx
Pull the image from your registry
Use the docker pull command to pull the image from your registry:
docker pull myregistry.azurecr.io/samples/nginx
Start the Nginx container
Use the docker run command to run the image you've pulled from your registry:
docker run -it --rm -p 8080:80 myregistry.azurecr.io/samples/nginx
Browse to http://localhost:8080 to view the running container.
To stop and remove the container, press Control+C.
Remove the image (optional)
If you no longer need the Nginx image, you can delete it locally with the docker rmi command.
docker rmi myregistry.azurecr.io/samples/nginx
To remove images from your Azure container registry, you can use the Azure CLI command az acr repository delete. For example, the following command deletes the manifest referenced by the samples/nginx:latest tag, any unique layer data, and all other tags referencing the manifest.
az acr repository delete --name myregistry --image samples/nginx:latest
Recommendations
Here you can find more information on the authentication options.
Next steps
Now that you know the basics, you're ready to start using your registry! For example, deploy container images from your registry to:
Optionally install the Docker Extension for Visual Studio Code and the Azure Account extension to work with your Azure container registries. Pull and push images to an Azure container registry, or run ACR Tasks, all within Visual Studio Code.