Create a branch to track code changes - Visual Studio (Windows) (original) (raw)
It's easy to create a new branch in Visual Studio; all you have to do is base it off an existing branch.
Here's how.
- To start, make sure you've got a previously created or cloned repo open.
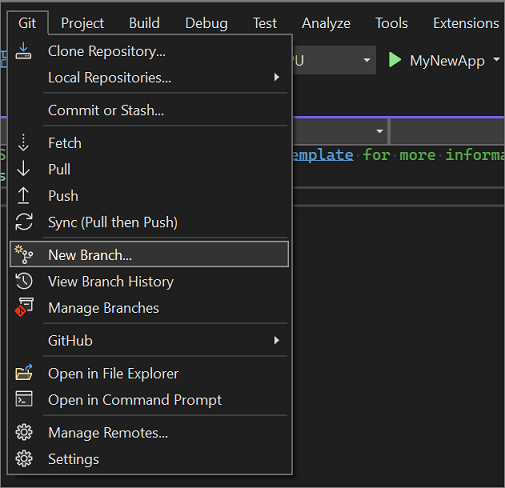
- From the Git menu, select New Branch.
- In the Create a new branch dialog box, enter a branch name.
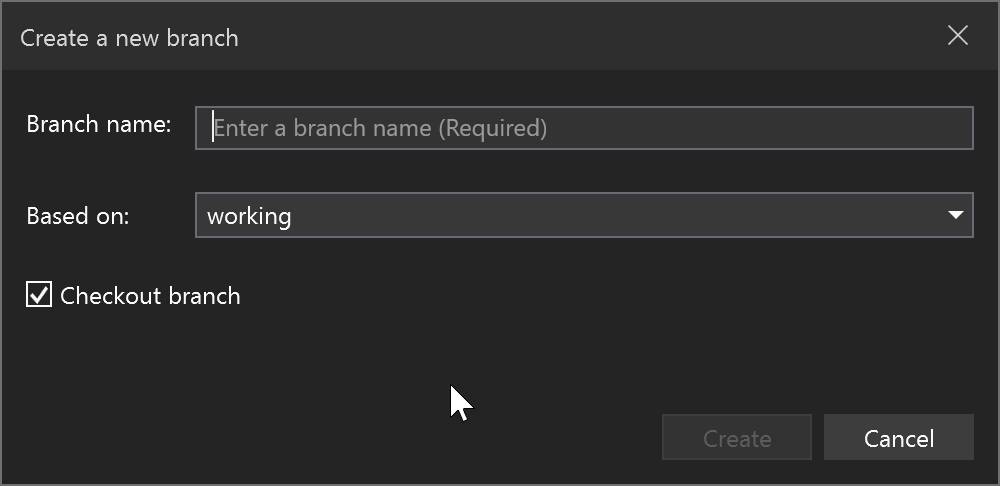
- In the Based on section, use the drop-down list to choose whether you want to base your new branch off an existing local branch or a remote branch.
- The Checkout branch checkbox, which is on by default, automatically switches to the newly created branch. Toggle this option if you want to remain in the current branch.
- The Track remote branch checkbox, which only appears if you select Remote in the Based on section, is selected by default if the remote has a matching branch name. If the branch is intended to be a local version of the remote branch, this should be selected; otherwise, clear the checkbox. See Remote branches.
There you have it; you've created a new branch.
Tip
The equivalent command for this action is git checkout -b <new-branch> <existing-branch>.