Painted Clay Candle Holders (original) (raw)
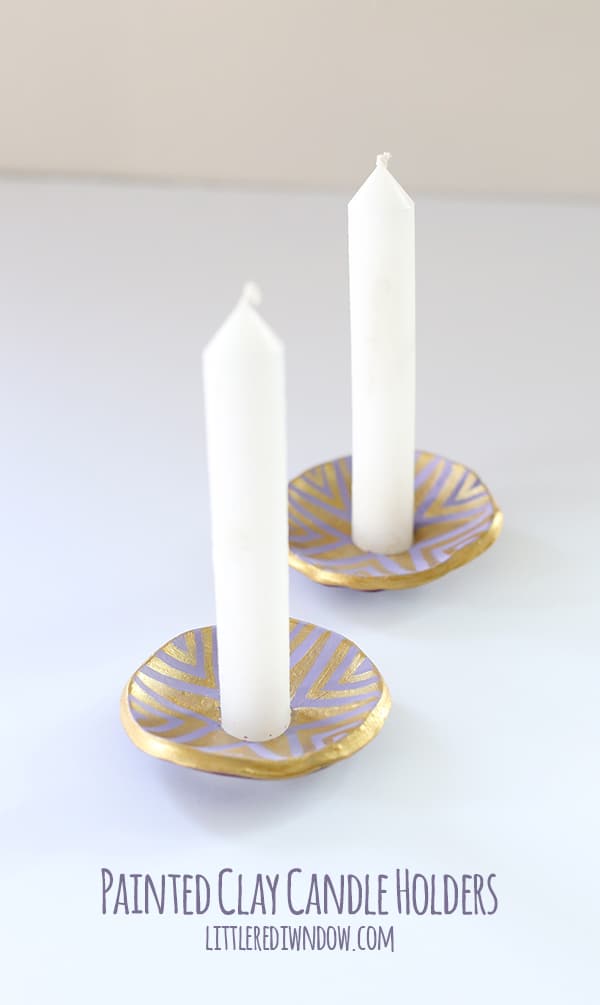
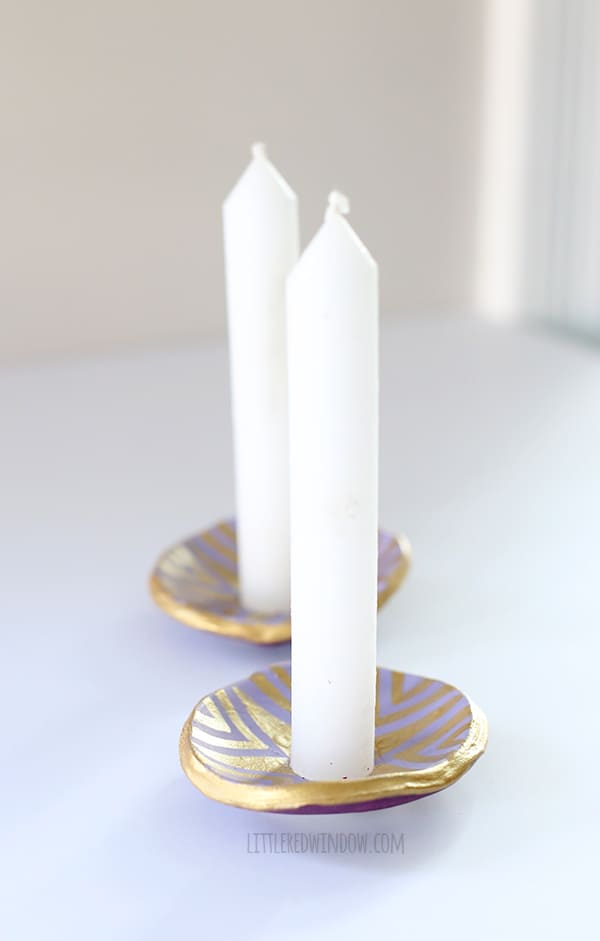
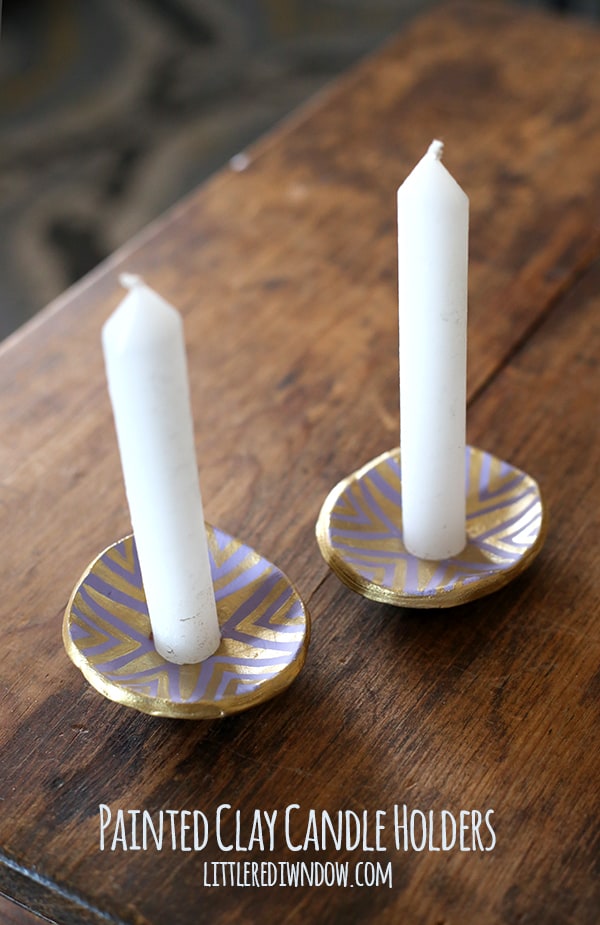
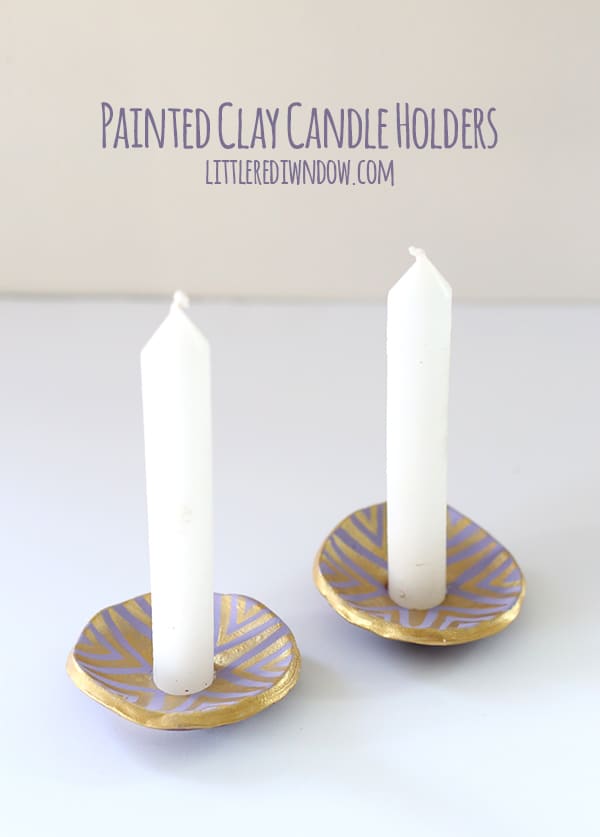
Catch the wax from your candles with these pretty painted candle holders!
 Ok, well after my painted ring dishes, I kind of went on a clay kick. It’s just so much fun to work with. I remember pottery being one of my absolute favorite classes in high school. I have no idea why I didn’t keep doing it in college. What is wrong with me?! Anyway, ever since I found this excellent air dry clay, I can’t stop making pretty little trinkets. And I always give O the scraps and he happily sits next to me making his own things such as “boulders” and rocks”, ha! It’s so cute! But actually, I think it’s a different experience than play-doh because the whole point is to let it dry out and become permanent which is a different creative thought process. So I like to let him have a try. And then once I discovered that it paints nicely, well, consider me obsessed! Hope you all are into clay projects because you’re going to be seeing more of them!
Anyway, after my last claystravaganza (that’s totally a word), I had some scraps and wanted to try making a geometric candle holder. And that failed miserably. This clay is a little on the soft side and while it cuts nicely while flat, I couldn’t carve nice smooth surfaces in 3D. So instead I made some little flat candle holders to catch wax drips and they turned out so pretty!
And of course, if you’re using real candles and making something like this, make sure the base of your candle holders are super flat, wide and sturdy, make sure the spot where the candle sits is flat and deep and before you burn them, pour a little melted wax in the bottom and set the candle on top of that to keep it nice and secure. Also don’t use candles that are too tall and top heavy. The candles pictured here are actually a little tall, I would choose something shorter and wider for maximum safety. And never ever ever leave your candles unattended. Please don’t start any house fires on my account, ok?
Air Dry Clay Candle Holders
Candles (we happened to have these tall thin “emergency candles” in the house but a short wide votive like these would work just as well (and probably be safer)
Acrylic craft paint in lavender, eggplant, and my favorite gold
1. First, roll our your clay to about a 1/4″ thickness with a rolling pin and cut a circle the size you want your candle holder to be.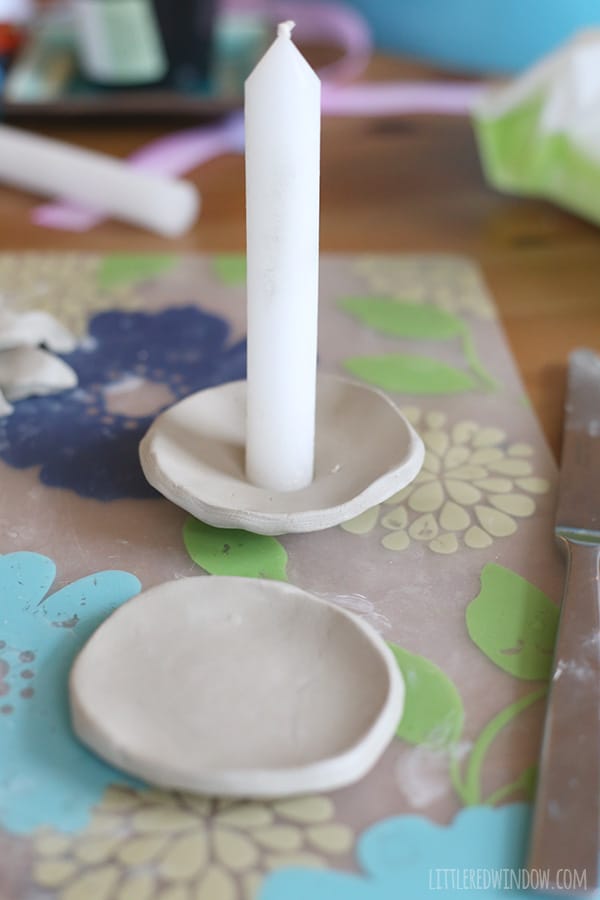 2. Use a damp fingertip to smooth the edges and top. Then let your clay sit for between 15 minutes to a half an hour. It starts out a little too wet and you need it dry just slightly so it will hold its shape better.
3. Then press your candle into the center. With mine, the edges rose up on their own when I pressed the candle in, but you may need to gently shape the candle holder yourself. Make sure the bottom of the candle holder is nice and flat and sturdy. Seriously, you don’t want these to wobble.
 4. Allow your clay to dry (I left the candles in place for this, just in case there was any shrinkage). When they’re all the way dry, go ahead and paint them.
 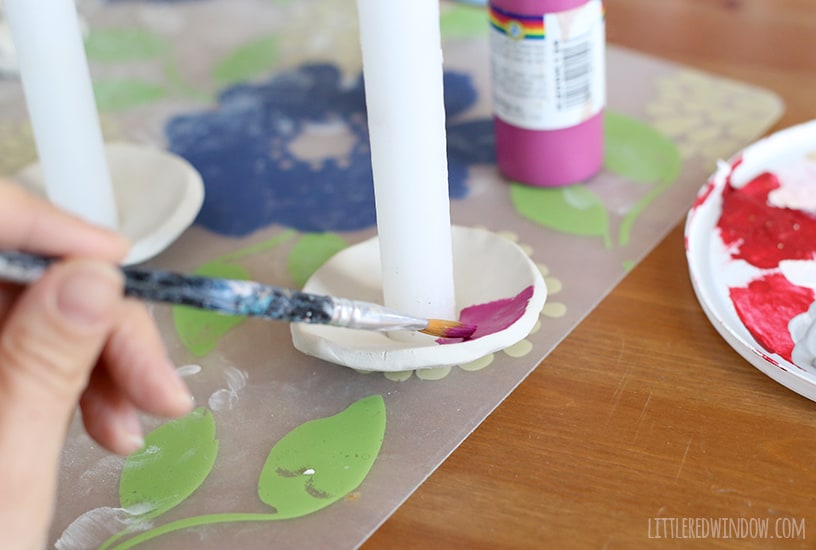 I started out with a different color and pattern and totally HATED it, so then I went back over them with a light lavender and added a pretty gold geometric pattern on top and on the edges. I painted the underside a dark eggplant color. And that’s it! You’re done! Don’t forget to anchor your candles with melted wax and never ever leave them unattended, within reach of children or pets etc. etc. etc. (use your noggin basically). Enjoy!
 If you liked this, you may also like some of my other posts…
Save
Save
Welcome to Little Red Window! I’m Cassie, a professional craft and knitwear designer working in the field for more than 10 years. I have a degree in Art History from Northwestern University and a Master's Degree in Architecture and Design from the University of Wisconsin-Milwaukee. I've designed more than 300 separate knitting patterns, hundreds of craft projects, and I love to bring joy to your crafts and knitting with well-designed, easy to understand tutorials and patterns.
