How to Make Low Carb Yogurt Using an Instant Pot (original) (raw)
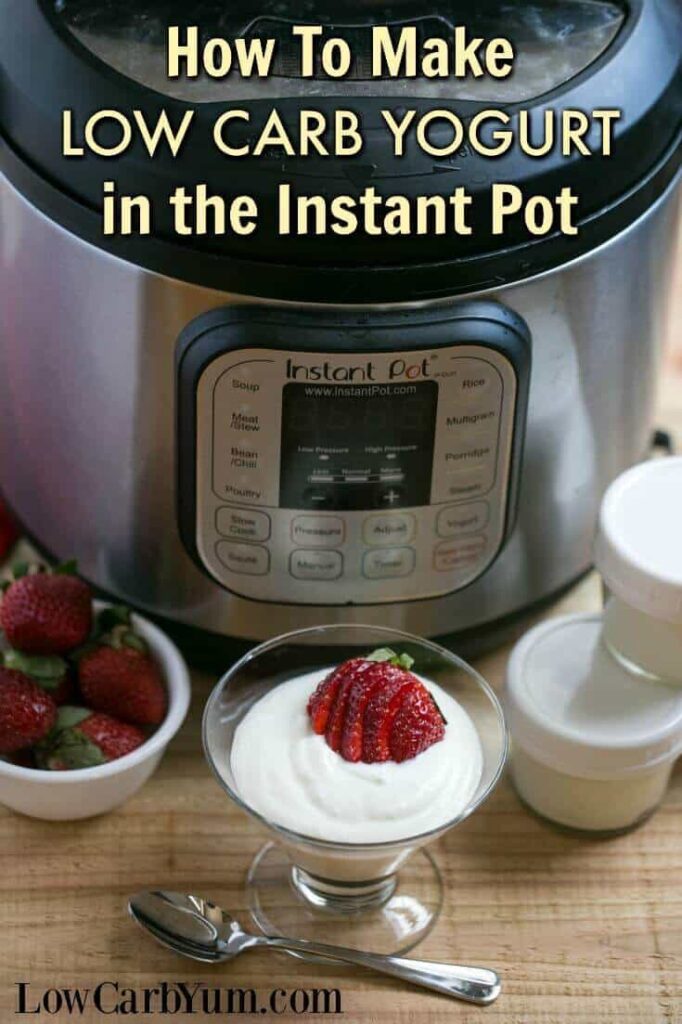
Did you know you can make your own delicious low carb yogurt using an Instant Pot? It's so simple even a beginner should have no trouble on the first try!
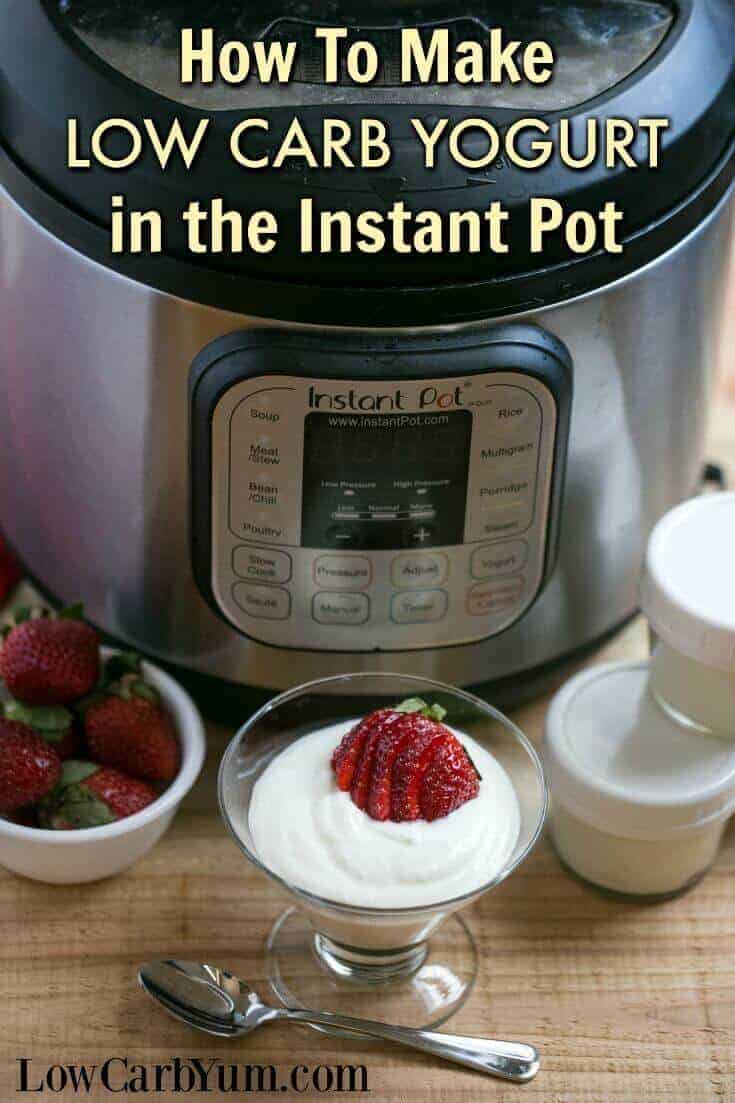
Article Index
I had a half gallon of organic whole milk that had been sitting in my basement refrigerator for a while. Thankfully, organic milk seems to always have a "use by" date pretty far out.
My son had been coming home from college and eating cereal and milk. So, I stocked up on whole milk. But, he hasn't been around to drink it.
I decided to try making a batch of low carb yogurt since the expiration date was coming up in a few weeks. I used the electric pressure cooker method which is super easy!
Do you have an Instant Pot with the yogurt feature? If so, you must give this a try. It was so much easier than I thought it would be to make my own low carb yogurt.
The only ingredients you need are a half gallon of milk and two tablespoons of whole milk yogurt with active cultures in it. I had a container of Organic Stonyfield whole milk plain yogurt in the fridge which was perfect to use as a starter.
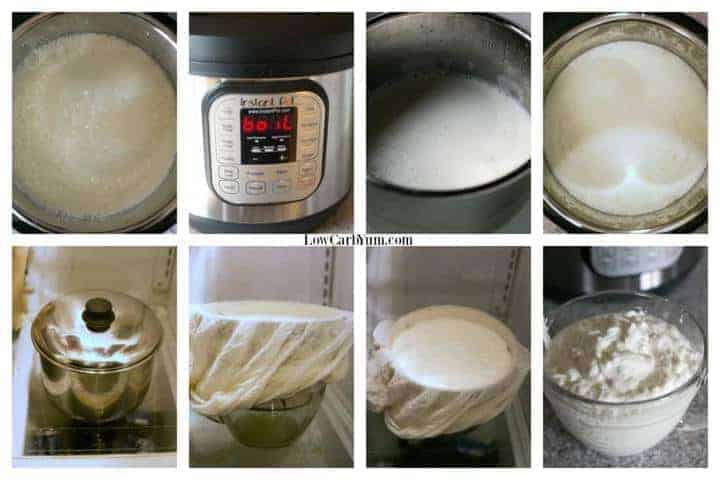
The Instant Pot makes it super easy to make your own low carb yogurt. All you do is dump your container of whole milk into the pot liner, put the lid on, then click the "Yogurt" button and use the "Adjust" button until "boil" is displayed.
The Instant Pot will then heat the milk up until it reaches 180°F. However, This Old Gal provided a very helpful tip. She recommends stirring the milk with a whisk in the middle of the boil cycle to ensure the liquid is evenly heated at 180°F. There is no pressure used when making boiling the milk, so you can open the lid as needed to give the milk a little stir.
Accurate temperature taking is important when making your low carb yogurt. You'll want to have a digital meat thermometer handy to make sure your milk is at the right temperature. If you don't reach the 180°F temperature and continue, you may end up with thin yogurt.
If the milk isn't at 180°F, you'll need to push the "Yogurt" button and "Adjust" button to continue the boil cycle until the temperature is reached. Once reached, you place the inner Instant Pot liner into a sink filled with cold ice water to drop the temperature down to 110°F.
Once the milk has reached 110°F, you add a little bit to your two tablespoons of starter yogurt to temper it before adding it to the warm milk. That keeps the cooler starter yogurt from curdling if it changes temperature too quickly.
The yogurt mixture is then added to the warm milk in the liner which is then placed back into the Instant Pot and the lid put on. Now, you set the pot to incubate the milk into low carb yogurt. And, the longer the better because more milk sugar will be eaten by the live cultures the longer it incubates.
To start the incubate cycle, you simply push the yogurt button and set the incubation time. The default is 8 hours. I set my timer to 15 hours. You want to be careful you don't accidentally hit the yogurt button to many times and get the 24 hour setting which puts the yogurt cycle on low. This was another great tip from This Old Gal. You want to incubate with the yogurt cycle on "normal" not "low" for the lights in the center display.
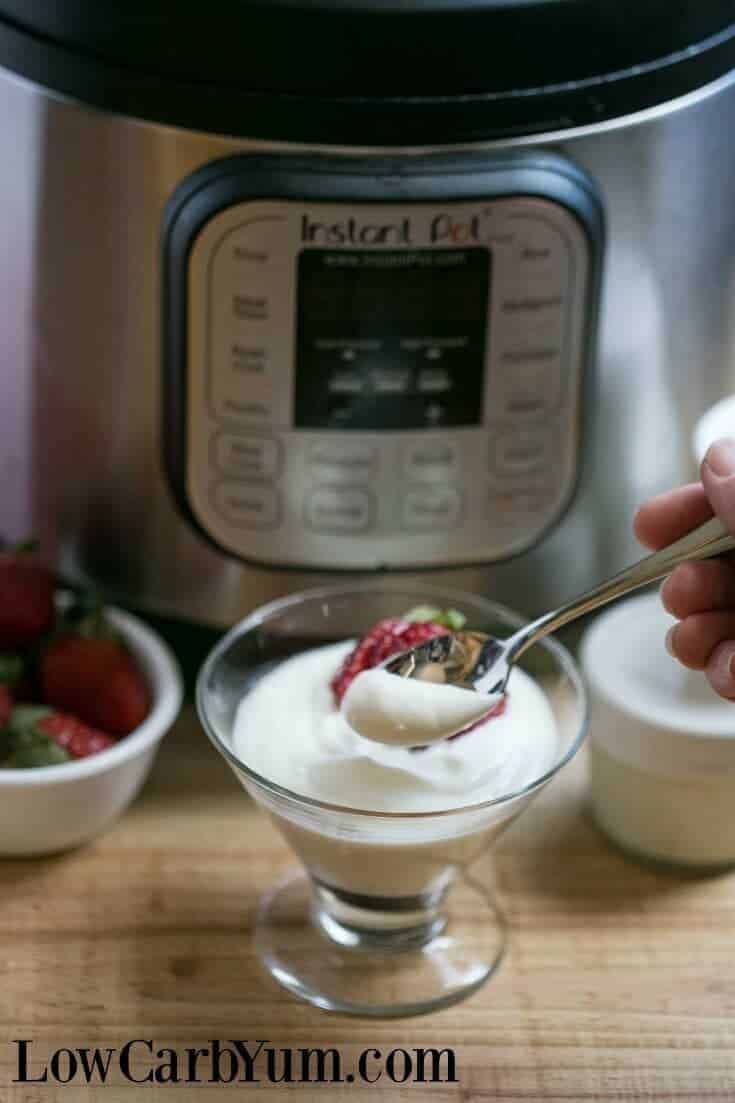
Another tip I got from This Old Gal was that the timer counts up. So, when you set your incubation time (I chose 15:00), the timer will go to 0:00 and then start counting up to let you know how long it's been going.
I started in late afternoon and let my pot sit in the yogurt cycle overnight. I stopped the cycle the next morning after about 13.5 hours. When I lifted the lid, in the morning, I was thrilled to see that my thin milk had turned into thick yogurt.
Since we want low carb yogurt, it's best to strain out the whey so you end up with thicker Greek style yogurt. There are some carbs in the whey so straining it out ensures you'll get the lowest carb count.
Another tip I got from This Old Gal is to let the yogurt chill before straining. So, I let the freshly made yogurt sit in the refrigerator for several hours before putting it in a strainer.
I put the yogurt in a colander lined with cheese cloth over a big bowl. I let it sit like this in the refrigerator until I got almost 4 cups of liquid strained out of the low carb yogurt.
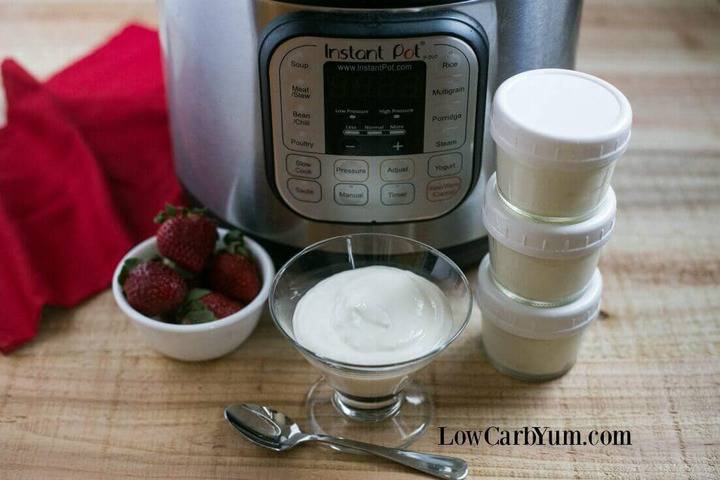
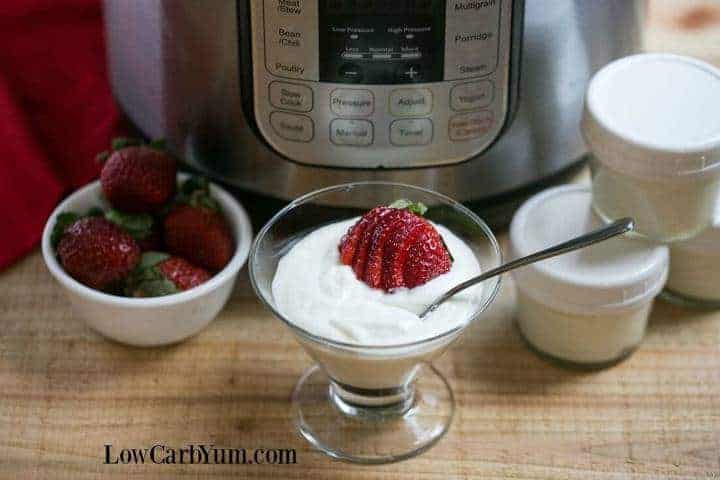
The result was a thick and creamy Greek style yogurt. It was very tart so I mixed in some vanilla stevia and liquid monk fruit to each serving which gave a nice sweet vanilla flavor!
If you think yogurt has too many carbs, think again! The labels on yogurt are typically inaccurate when it comes to carbs because it counts sugars that the cultures have consumed so they are not longer there.
To learn more about why yogurt is much lower in carbs than stated on the label, I recommend reading this article. I typically count about half the carbs on the label to be safe, but plain whole yogurt is so sour, it's safe to assume there's almost no sugar in it.
Enjoy this easy homemade yogurt. And be sure to let us know what you thought of it by leaving a comment. You may also want to use it for making yogurt parfaits by layering it with my keto muesli cereal or my low carb granola.
Follow us on FACEBOOK, PINTEREST, and INSTAGRAM for even more tasty keto-friendly recipes!
Recipe

Making Low Carb Yogurt in the Instant Pot
Did you know you can make your own delicious full fat yogurt using an Instant Pot? It's so simple even a beginner should have no trouble on the first try!
Prep Time:10 minutes
Cook Time:10 hours
Total Time:10 hours 10 minutes
Course: Breakfast, Snack
Cuisine: American
Print Pin Review Recipe Save Recipe View Collections
Servings: 8 people
Calories: 151
▢ ½ gallon whole milk preferably organic
▢ 2 tablespoons whole milk yogurt with live cultures
Pour milk into Instant Pot and close lid. Push "Yogurt" button and then "Adjust" button until "boil" is displayed.
You'll want to remove the lid to stir the milk with a whisk to evenly heat the milk and speed things along during the boil cycle.
While milk is heating, fill sink with ice water at least halfway full.
Once the milk reaches 180°F, the Instant Pot will beep marking the end of the boil cycle. Using a thermometer, make sure the milk is indeed at 180°F. If not at temperature, initiate the boil cycle again until the milk is at 180°F.
Place the inner liner of the Instant Pot (with the hot milk in it) into the sink with ice water. Using your thermometer, monitor the temperature of the milk until it reaches 110°F. Once temperature is reached, place liner back into Instant Pot.
In a small bowl, add the two tablespoons of starter yogurt. Then, slowly incorporate 2-4 tablespoons of the warm milk from the instant pot to temper the yogurt. Add tempered yogurt into the warm milk in the Instant Pot and stir in.
Place lid on Instant Pot and then hit "Yogurt" button. Hit "Adjust" button until you get a time displayed with the "Normal" light on. Use the "+" and or "-" buttons to adjust your time to 10 hours or more. This is the incubation time for the active cultures to turn the milk into yogurt. A longer time will result in more milk sugar being consumed by the cultures which gives a tarter and lower carb yogurt. NOTE: After you set your time, the display will go back to 0:00 and start counting up until the time you se is reached.
Once your incubation time is up, you should have a thick plain yogurt. Place the inner liner into the refrigerator to chill for at least 4 hours.
After yogurt has chilled, place it in a strainer or colander lined with filter paper or cheesecloth over a larger bowl to catch the liquid whey. All the yogurt to fully strain until no longer dripping liquid. I ended up with over three and a half cups of liquid whey.
You should now have a thick Greek style yogurt. Enjoy it with a few drops of flavored stevia and monk fruit for the least carbs. Or, add some fresh berries along with the zero carb sweetener(s).
Adapted from This Old Gal
NOTE: Actual carbs in the yogurt are lower than specified as most of the milk sugar has been consumed by the cultures. Therefore, effective carbs are typically half or less. See this article for more information on why this is true.
Low Carb Sweeteners | Keto Sweetener Conversion Chart
Serving: 200g | Calories: 151 | Carbohydrates: 8.1g | Protein: 20.2g | Fat: 4g | Saturated Fat: 3g | Cholesterol: 10mg | Sodium: 66mg | Potassium: 282mg | Sugar: 8.1g | Calcium: 200mg
Net Carbs: 8.1 g | % Carbs: 21.7 % | % Protein: 54.2 % | % Fat: 24.1 % | SmartPoints: 4
Values
Array ( [serving_size] => 200 [calories] => 151 [carbohydrates] => 8.1 [protein] => 20.2 [fat] => 4 [saturated_fat] => 3 [cholesterol] => 10 [sodium] => 66 [potassium] => 282 [sugar] => 8.1 [calcium] => 200 [serving_unit] => g )
Notes on Nutritional Information
Nutritional information for the recipe is provided as a courtesy and is approximate only. We cannot guarantee the accuracy of the nutritional information given for any recipe on this site. Erythritol carbs are not included in carb counts as it has been shown not to impact blood sugar. Net carbs are the total carbs minus fiber.
Copyright
© LowCarbYum.com - Unauthorized use of this material without written permission is strictly prohibited unless for personal offline purposes. Single photos may be used, provided that full credit is given to LowCarbYum.com along with a link back to the original content.