DIY Paper Spinner for Endless Fun - Make and Takes (original) (raw)
Hi! I’m kimbo from a girl and a glue gun, guest posting today on Make and Takes. I’ve got a super simple craft for a DIY Paper Spinner, keeping the kids entertained this summer as part of the Make and Takes summer series Get Out and Play!!! Let’s get crafting!
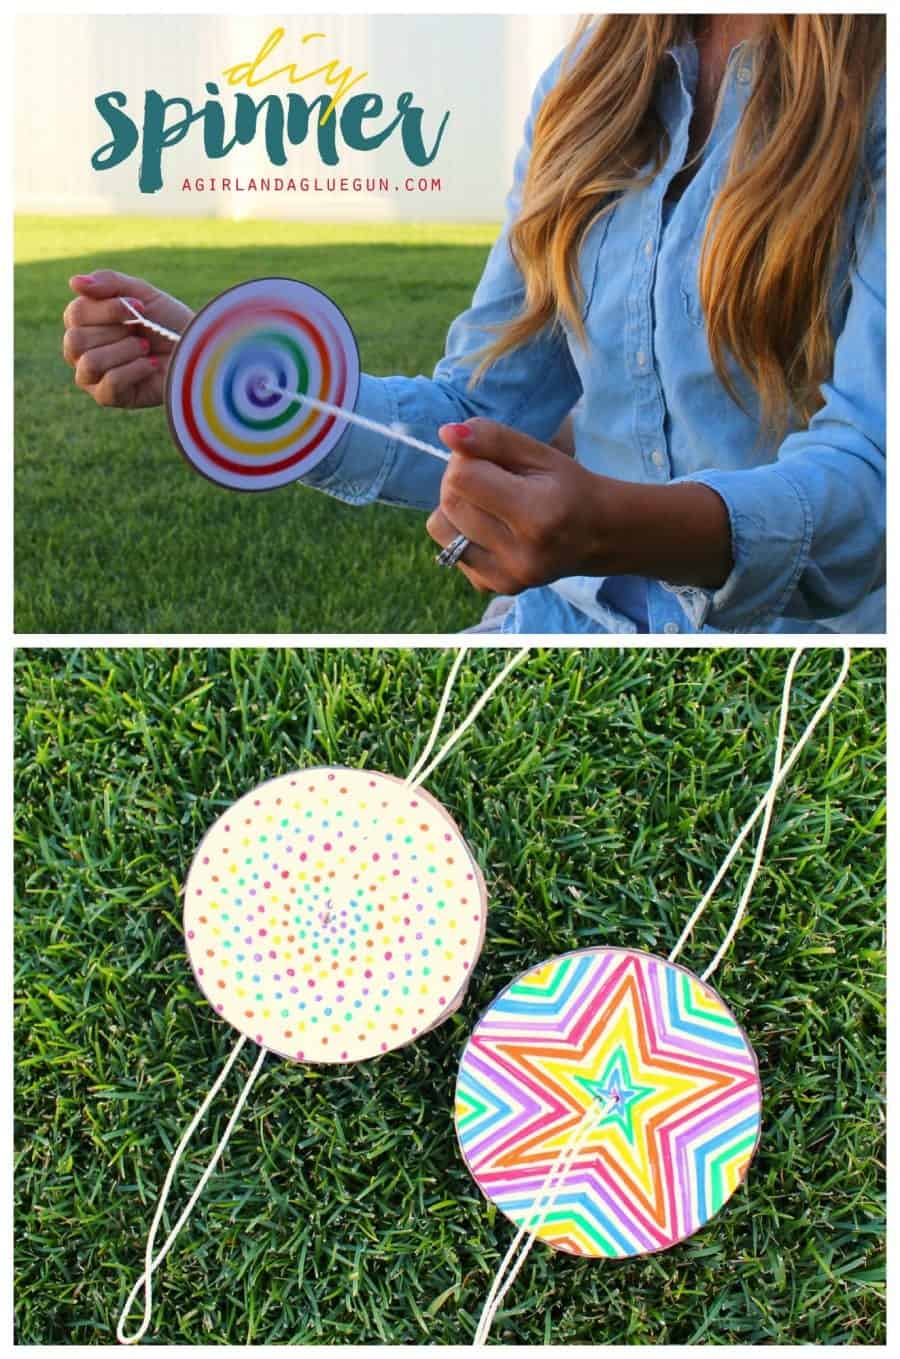
Craft up a few really fun spinners–You spin them and they hum! It’s super fun and most things, you probably already have around the house! Here’s the how-to instructions.
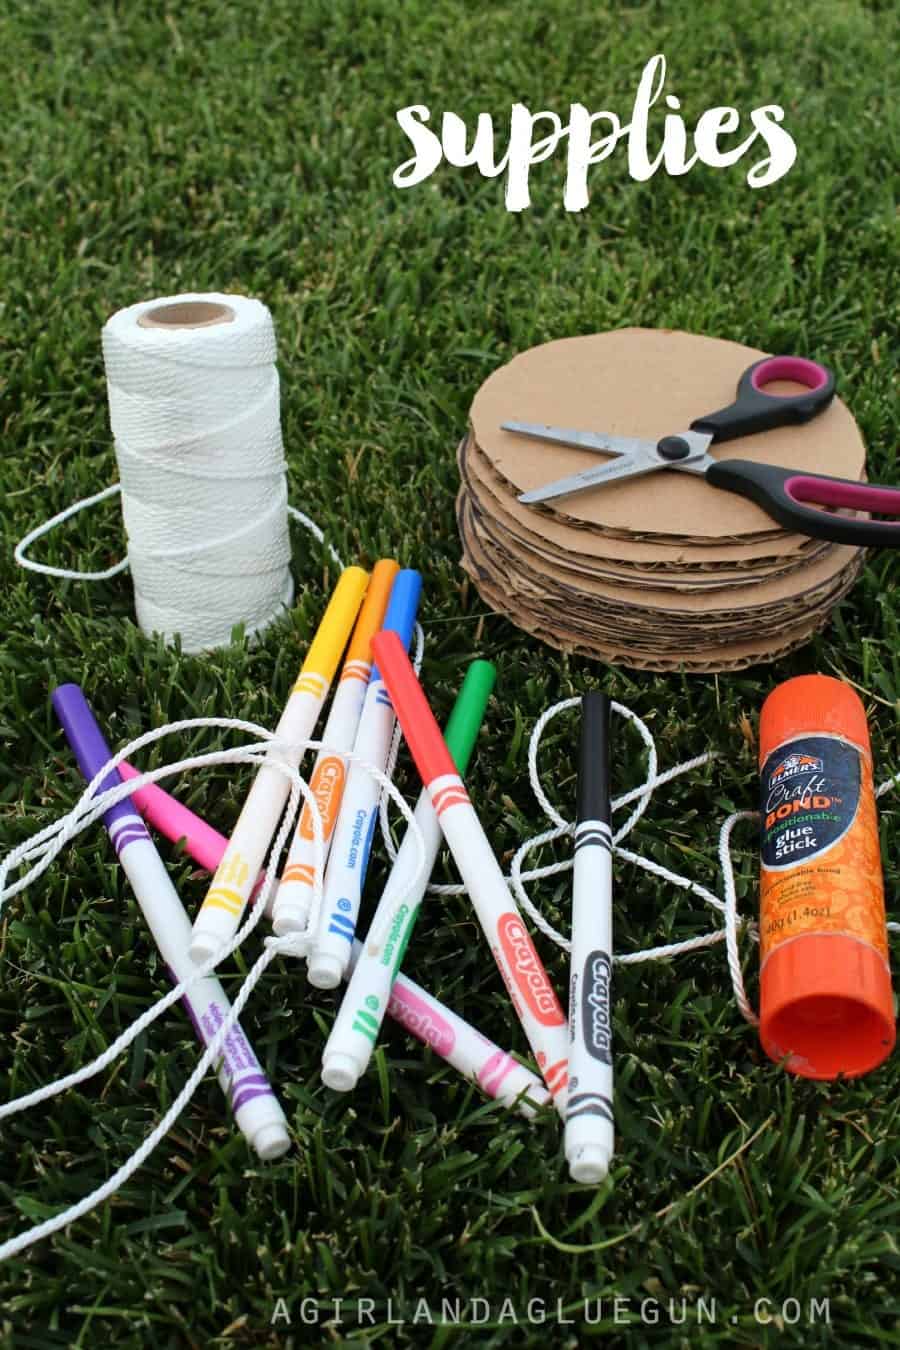
Supplies:
- twine
- cardboard circles
- printer paper with circle template, see below
- markers
- scissors
- glue sticks
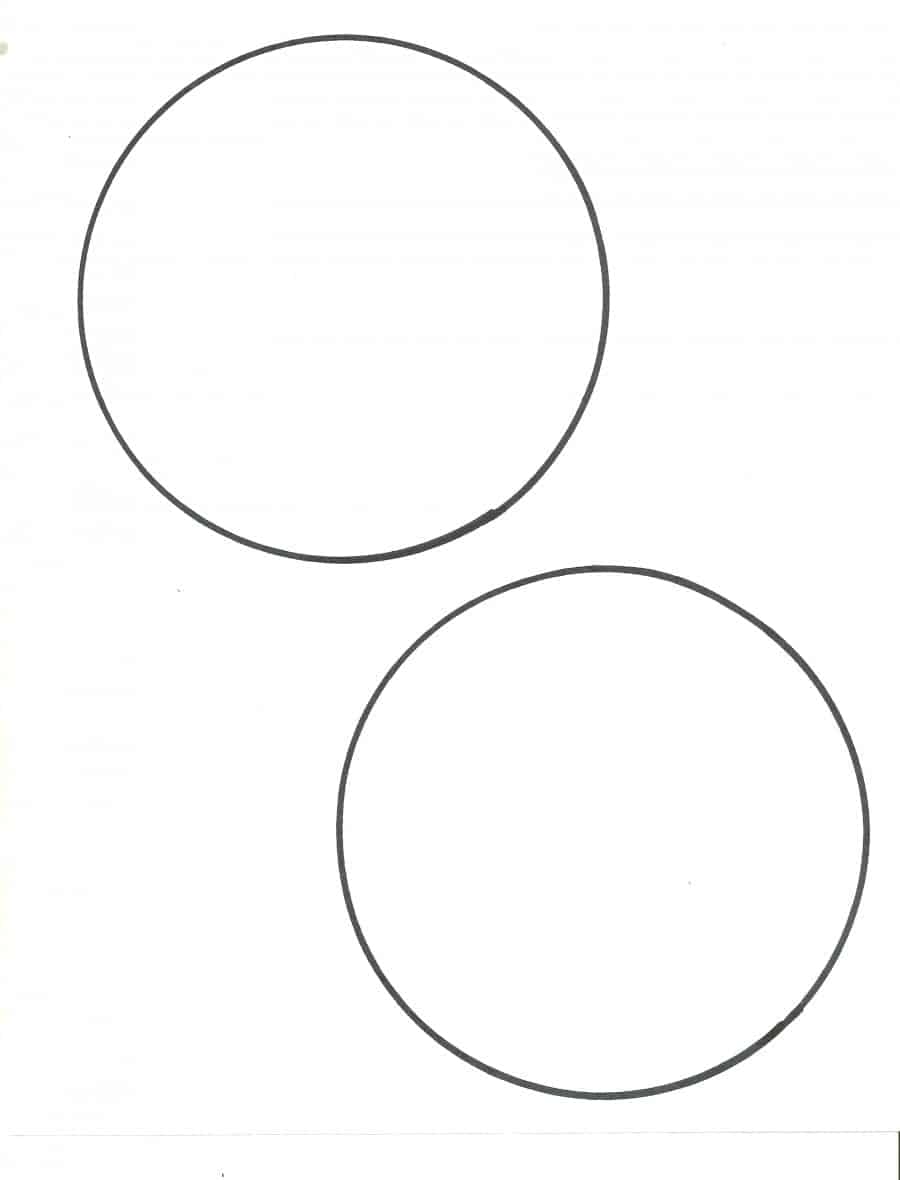
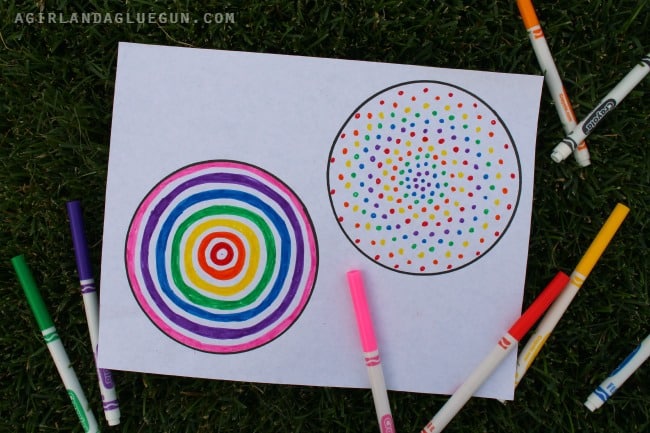
For the circle template:
Just right click and save to your computer if you want to use my circles…you could just decorate the cardboard.
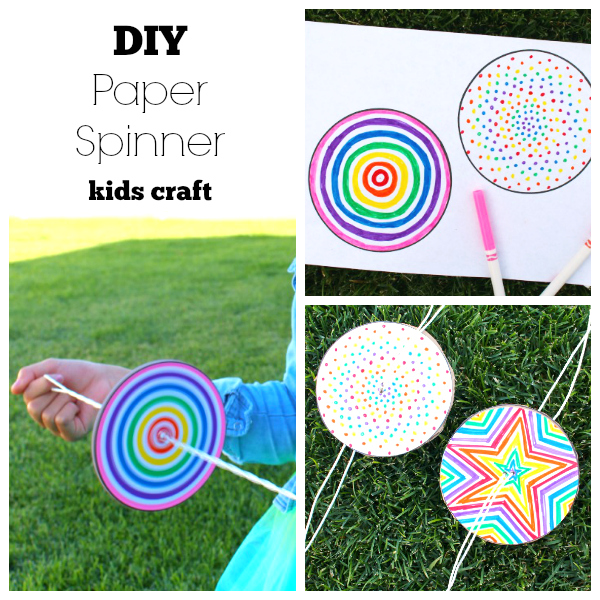
1. Make 2 circles onto your printer paper, or download and print the template above.
2. Add color to these circles, the more colorful, the more fun it is to see as it spins…
3. Cut out paper circles.
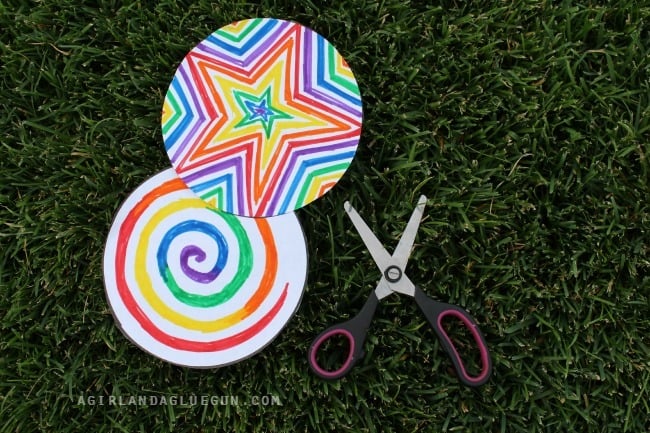
4. Use these to trace on a cardboard box and cut out 1 cardboard circle.
5. Glue on the paper circles to the cardboard, (one on each side!)
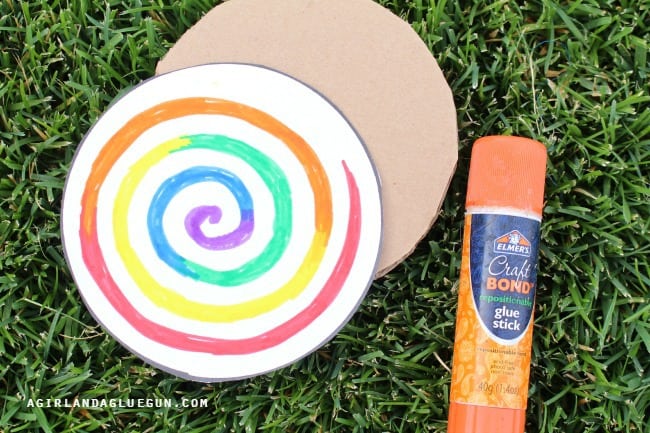
6. Poke two holes right in the center of the cardboard circle.
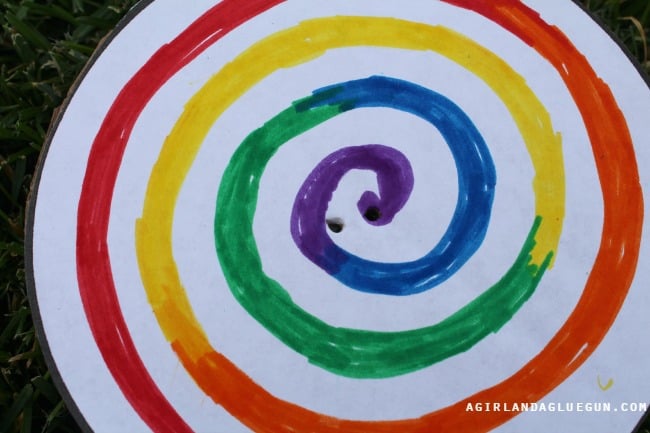
7. Take a piece of twine, or rope, about 28 inches long. TIP: I used a match to burn the ends of my rope so they wouldn’t unravel. Run the rope through the holes and tie a knot.
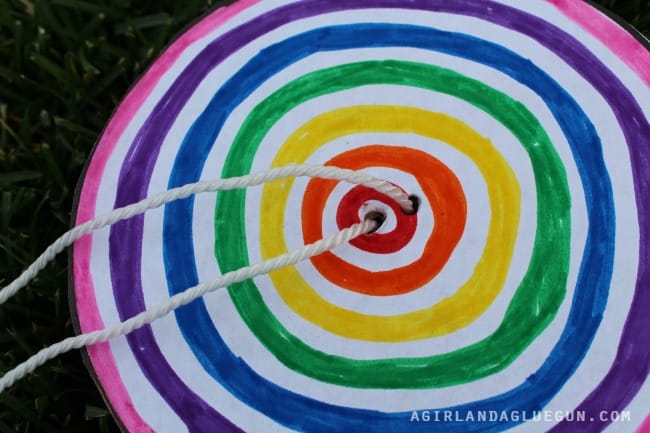
Time to play with your DIY Paper Spinner
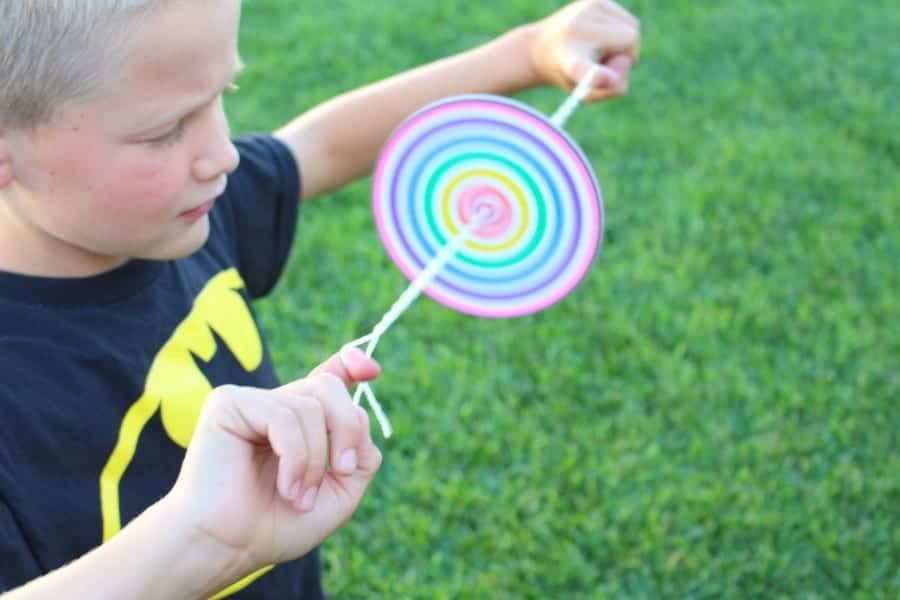
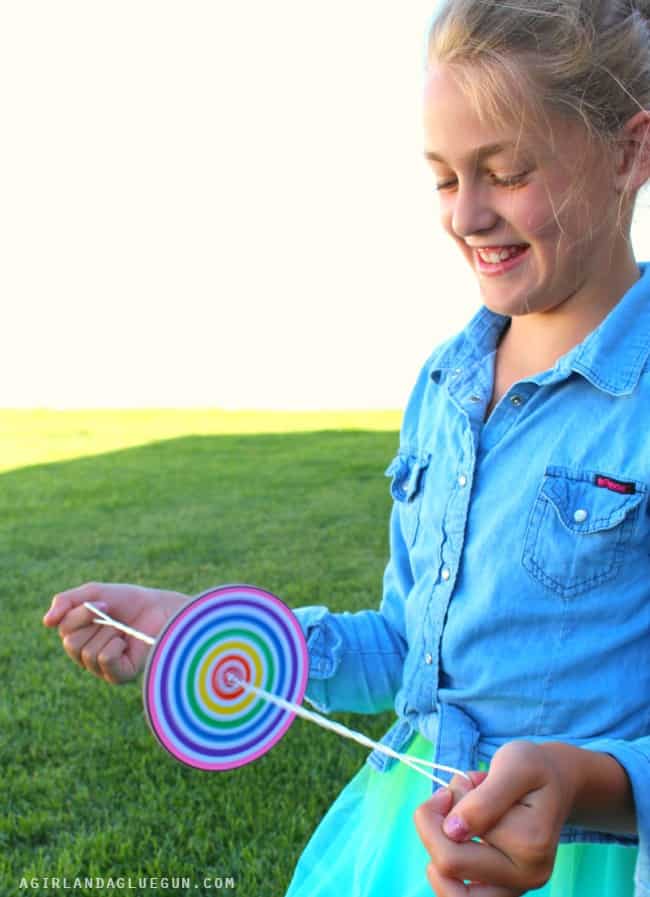
Take a piece of rope in each hand with the circle in the middle and go in circles to get the rope twisted.
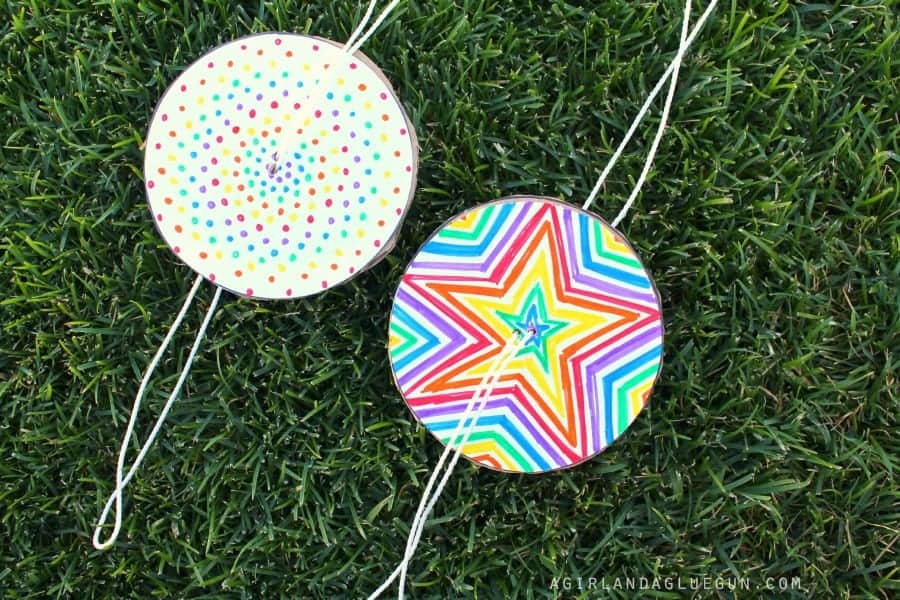
Now you pull…relax…pull…relax. IF you do it right, the spinners make a humming noise!!!!
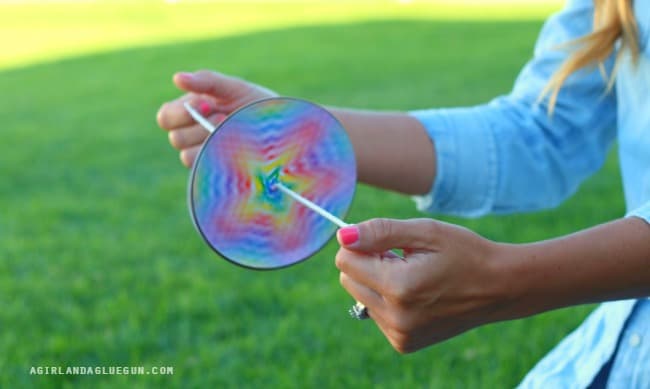
Here is a quick video:
More Kid Crafts:
See more creative Get Out and Play ideas here.

Marie
Marie is a mom of 3 living in Seattle, WA. She's been the founder and managing editor of Make and Takes for the last 16 years, sharing DIY tutorials for home, family, and fun. Author of Make and Takes for Kids, Early Childhood and Elementary graduate, and currently teaching 2nd grade in Seattle!
