momokonichigo (original) (raw)
Project Title: Playing Cards Skirt
Short Project Description: A fairly simple skirt decorated with beading lace and ribbon utilizing a cute card print Japanese cotton.
Projected Deadline: July 20, 2008
Pattern Used: GosuRori Vol. 7 -- 32
Materials needed: 4 yards printed cotton (ordered from Reprodepot.com), 7 yards white beading eyelet, 6 yards 2-inch eyelet lace, and at least one spool of 1/4-inch black ribbon, plus a couple of buttons and a hidden zipper.
Challenges or obstacles: Because of the print, I wanted to leave out the pintucks on the lower front panel of the skirt, but it didn't take much to alter that. I think the biggest problem I will have as I work on this is all the gathering, as it was on the last project. I love how it looks, but it's such a pain to do!
Credits: http://community.livejournal.com/sew\_loli/441880.html#cutid1
Project Updates Form
Project name: Harley Quinn- lolitafied
Progress: Am almost complete with the cutsew. It required 2 t-shirts, XL for extra fabric, cut down to size and parts. I reconstructed the sleeves to have elastic at the ends and puff-age. Attached pom-pom trim to the ends. Also, one sleeve I did a pretty shitty applique of 2 diamonds. I still need to attach the ruffle.
35% done with entire project.
Problems encountered that halted progress: I used t-shirt material for the applique, after I said I would never do that again > < Also I'm slowly getting the hang of setting sleeves in. Still learning though.
Ways considered to solve the problem: Don't use stretchy material for applique!! Common duh sense > <
Questions for the community: None at the moment
The neck looks bare- but that's where the white jester "collar" is going to be. Also the ruffles haven't been sewn on yet, so it's a little askew...

Credits: http://community.livejournal.com/sew\_loli/442195.html#cutid1
Hair accessory tutorial
A quick tutorial for both headdresses and hairbows since I took some pictures during the process of making them. It's somewhat of a weird way to make them but it hides the most seams. This way even if you make a mess stitching on all the lace it will be tucked away between two layers of fabric. Also the headdress is oval but the same steps apply to making a rectangular or circular one.
[info]riantlykalopsic I hope you don't find it strange that the bows you bought are the ones in this tutorial ^_^;;;
1. Cut out two equally sized ovals or rectangles for the headdress. Cut three pairs of rectangles for the bow - two large (one longer, A, and one slightly shorter B) and one little pair - "Center".
*****New: oval headdress template here!
2. Sew all of the detailing on the top of each pair, including the center if you want.
3. Pin lace facing downwards and inwards along the edges of the top pieces. Corners are tricky so try and make sure the lace doesn't get all caught in the seam (sometimes this is unavoidable though).

4. Pin the bottom piece to the top with the right sides facing each other (the right side is the one you want facing outwards on the final product).
5. Sew together leaving a space to pull the fabric inside out. On the headdress this will be an inch or two at the ends. On bow peices A and B the bottom piece can be cut in half so that the fabric can be pulled through but the opening won't be visible once the center peice is wrapped around it.
6. Flip inside out (after removing all the pins :P). The open ends of the headdress will be sewn up and the openings in the bow pieces will be covered by the center.
7. Cut ribbon for securing the headdress to your head. Make sure the peice is long enough to go around your head and tie in a bow. Cut the ribbon for the headdress in half and seal the ends of the ribbon with glue or no-fray.
8. Attach the ribbons. Tuck in the edges at the opening of the headdress and sew it shut with the ribbon tucked in as well. Place bow B and A together with the ribbon below A. Circle the center piece around the middle of the three and handstitch together.
*Please note these are not for the easy, one-layer headdresses and hairbows. These are for those of you who don't mind using a little more fabric to make a more professional-looking hair accessory that sits on your head a little better.
Credits: http://community.livejournal.com/egl/3326043.html
This is how to make a skirt like [img]http://img.photobucket.com/albums/v654/eristel_neko/069-1.jpg[/img]
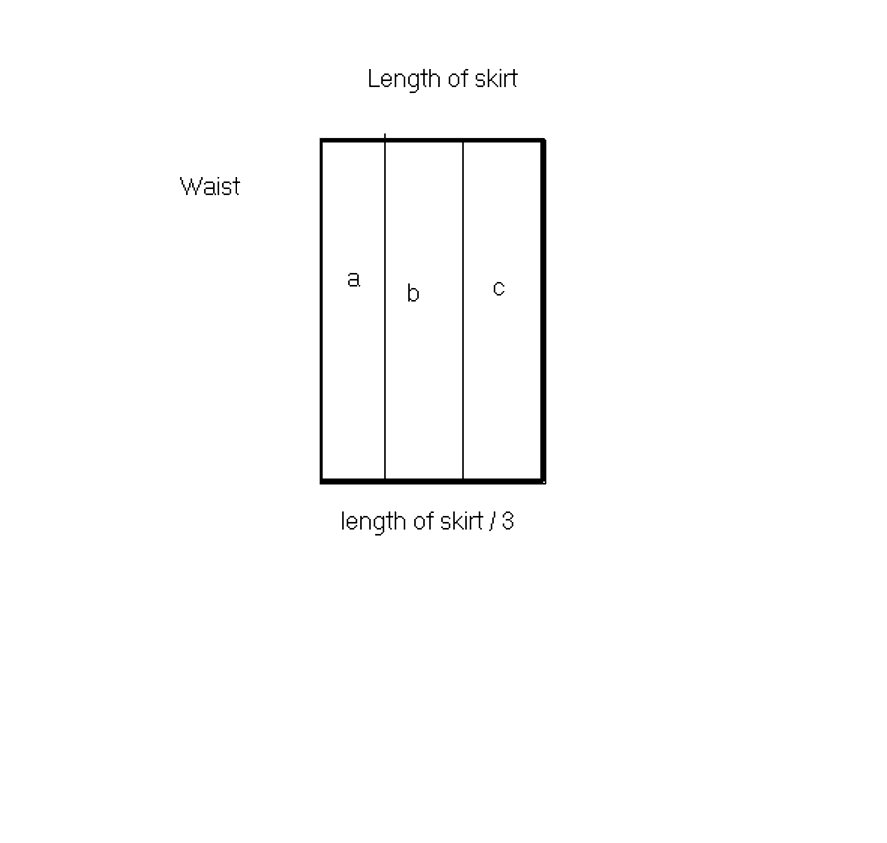
First: You want to measure your waist and how long you want the skirt. you then want to divide the skirt length by 3. This image shows a rectange the width of waist and width of skirt length, and it had been divided in three along skirt length. The sections have been marked a, b, and c.
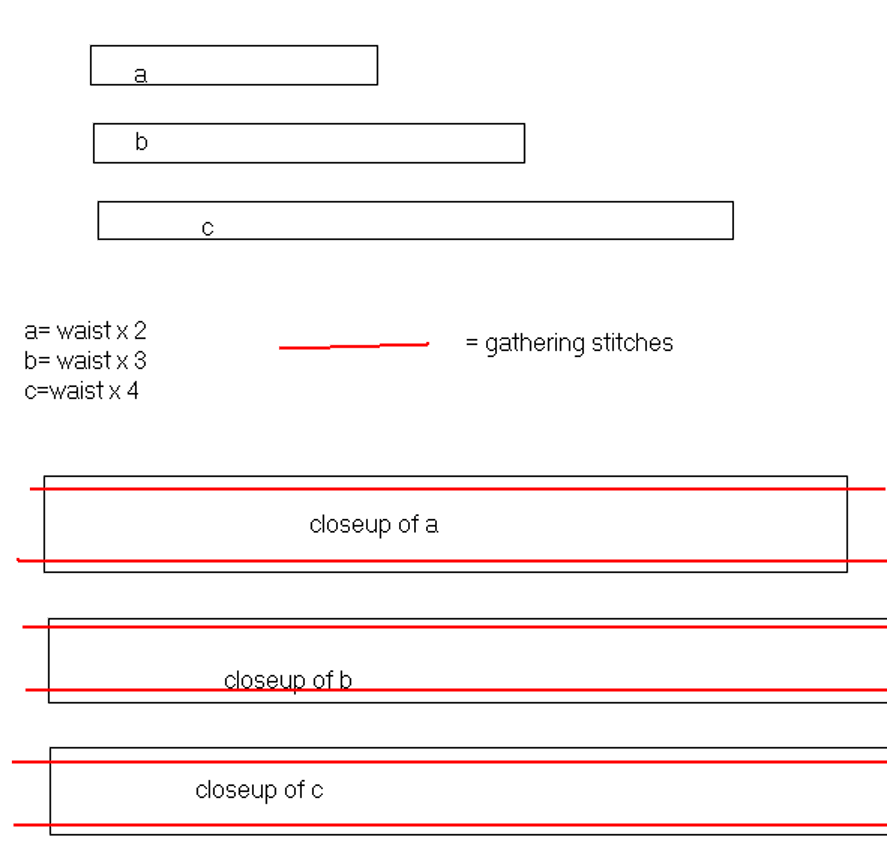
Second: You want to make section a twice the length of your waist, section b three times the length of your waist, and section c four times the length of your waist. Their width will be what you got when you divided skirt length by three. Remember to put in seam allowences! You then want to run gathering stitches along the top and bottom of a and b, and along the top of c. I also marked the gathering stitches on the bottom of c but you don't actualy have to do those unless you have more tiers.

Third: Yyou want to gather along those gather stitches. on peice a make the top gathering the length of your waist, and the bottom gathering a bit longer than that. On peice b, make the top gathering the same length as the gathering on the bottom of peice a and the bottom gathering a bit longer than that. And on peice c, make the gathering on top the same length as the gathering on the bottom of peice b. Pin raw edges together, making sure the fullness (gathering) is even and sew the peices together in order (bottom of a to top of b, bottom of b to top of c) and hem the bottom. Now make your waistband. This can be as wide or narrow as you want, but make sure it's the length of your wast plus seam allowences. I suggest ironing it in half along the middle of the length, then ironing the amount of the seam alowence down towards the inside of the waistband on one side. This will make it easier to make a clean waistband. To sew the waistband to the top of the skirt (top of peice a) place the side of the waist band that's not ironed down and the top of the skirt together at right sides with selvages (raw edges) together and pin, making sure the fulness of the skirt is even. Sew these edges together. Now fold the waistband up, put the raw edges on the inside, and sew the folded side of the waistband to the skirt. Now you'll only have one row of stitches on the outside of the waistband.
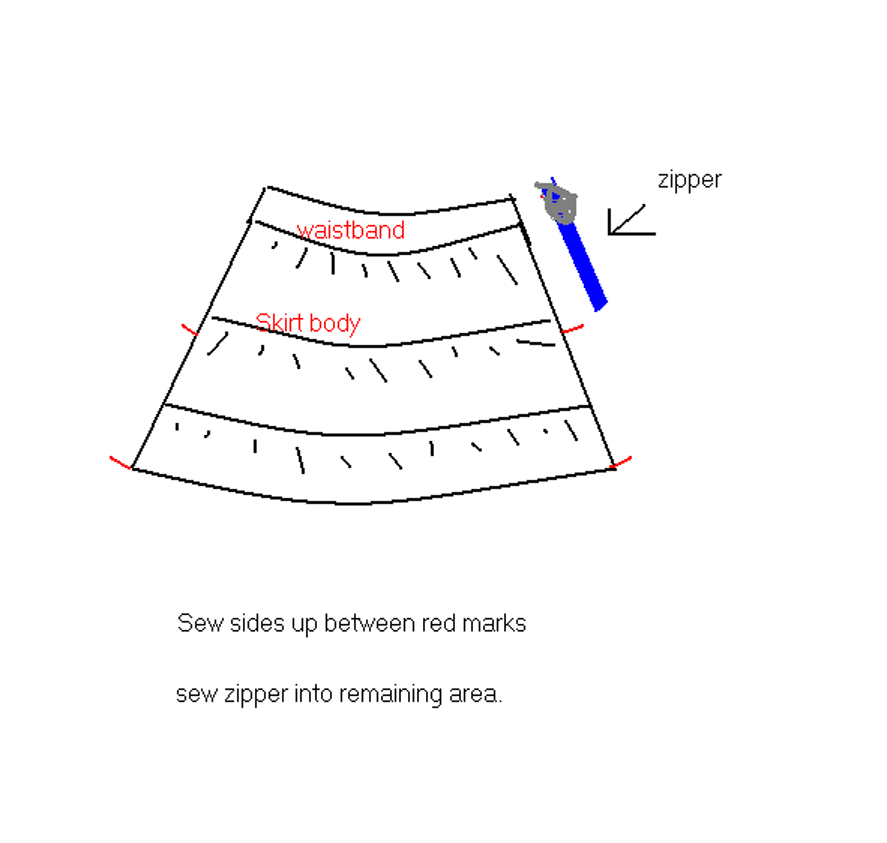
Fourth: At this point you can add lace over the seams between the pannels and on the hem of the skirt if you want lace, or whatever other trim you want. Now that you have your skirt body and your waistband put together, mark how long you want the zipper opening to be (take your zipper and hold the top even with the top of the waistband and mark where the bottom is on the skirt, usualy with a pin or dissapearing-ink-pen made for fabric, or chalk). Put the right sides of your skirt together, making sure raw edges are even, and sew from the mark to the hem of the skirt. Then follow directions on your zipper package for putting in the zipper.
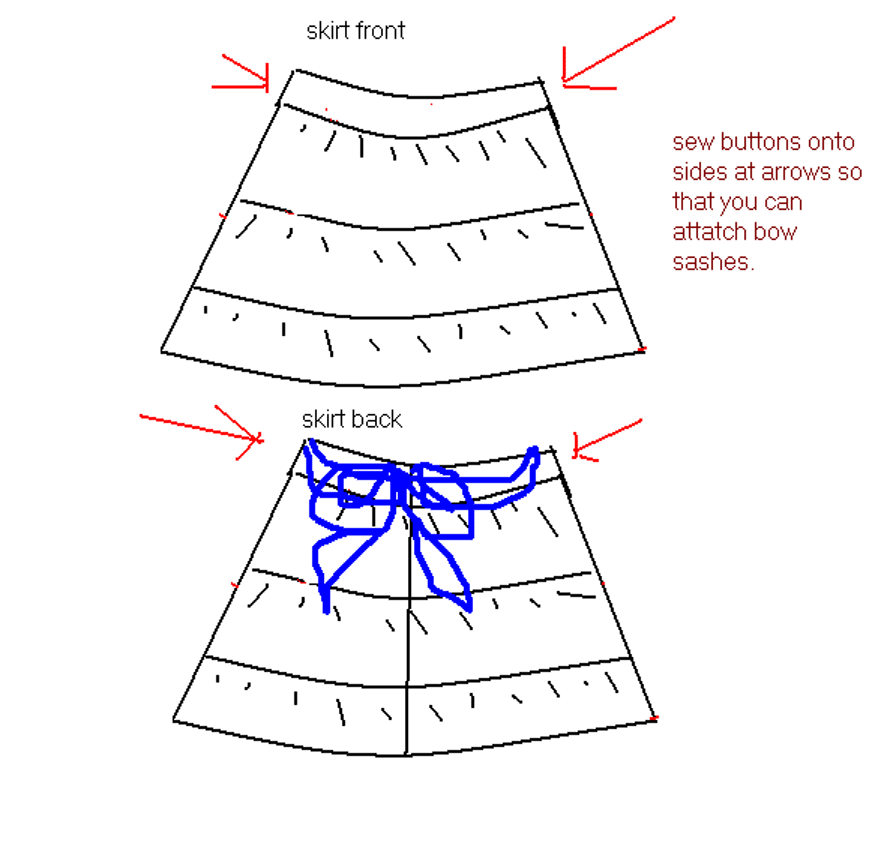
Fifth: Make your sashes for your bow. These are pretty easy to make. Just use the basic pattern like above and cut out four peices total. Take two with right sides together and sew the edges together, leaving a space to turn it right side out, then sew that space closed. Repeat with the other two peices. Now put button holes in the ends so that you can button the sashes to your skirt.
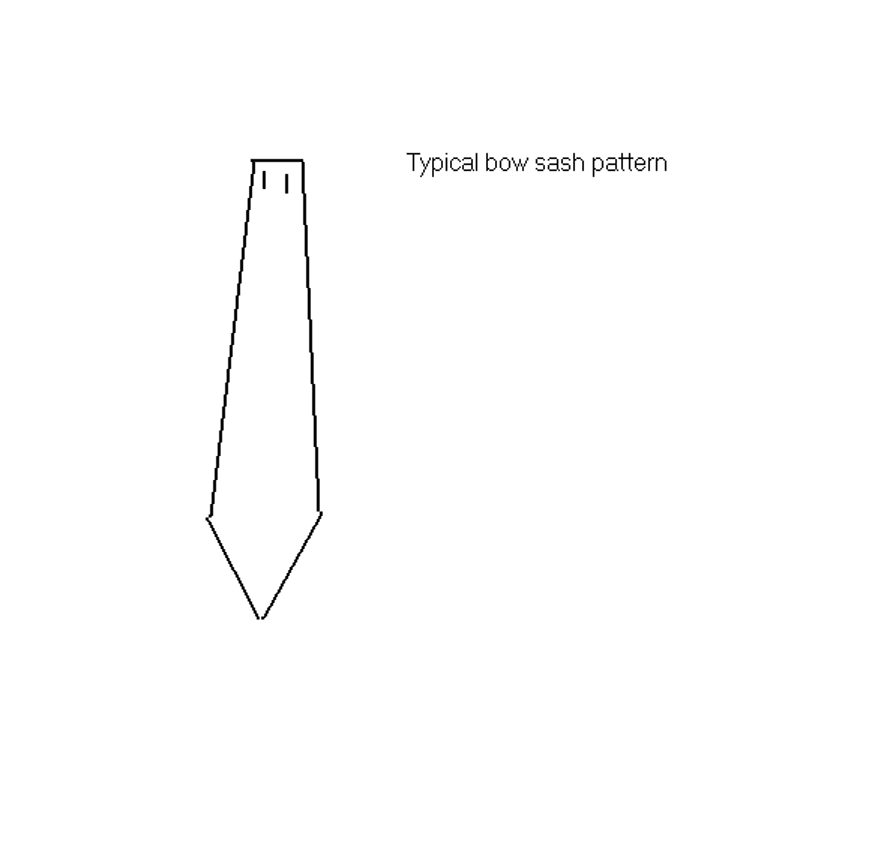
Sixth: Lay out your skirt (if you want the seam in the center back like I have it here, make sure that the seam is actualy in the center, or you can have the seam at the side) and mark where you want the buttons to go on the sides of the waistbands. Make sure that the buttons are placed the right distance apart so that they fit through the button holes properly.
Voila! You now have a skirt like that Metamor skirt! Just button on the sashes when you want the bow in back. Behold my awesome paint skills! lol. I hope you all can understand them. The names for the fifth and sixth pictures are backwards though.
X-posted to a Gaia lolita guild and maybe some other places
Credits: T_T I'm sorry, I lost the link... I'll be searching for it vigorously though!


