DIY Charging Station from Thrifted Box - Prodigal Pieces (original) (raw)
Call me quirky, but I find it a thousand times more fun to make my own decor rather than to go out and buy it. Two reasons (1) it’s kinda like therapy (2) ain’t nobody gonna have one like it – tee hee. When I spied this little box at the thrift store, I saw the potential had to became a DIY charging station. Stay with me now.
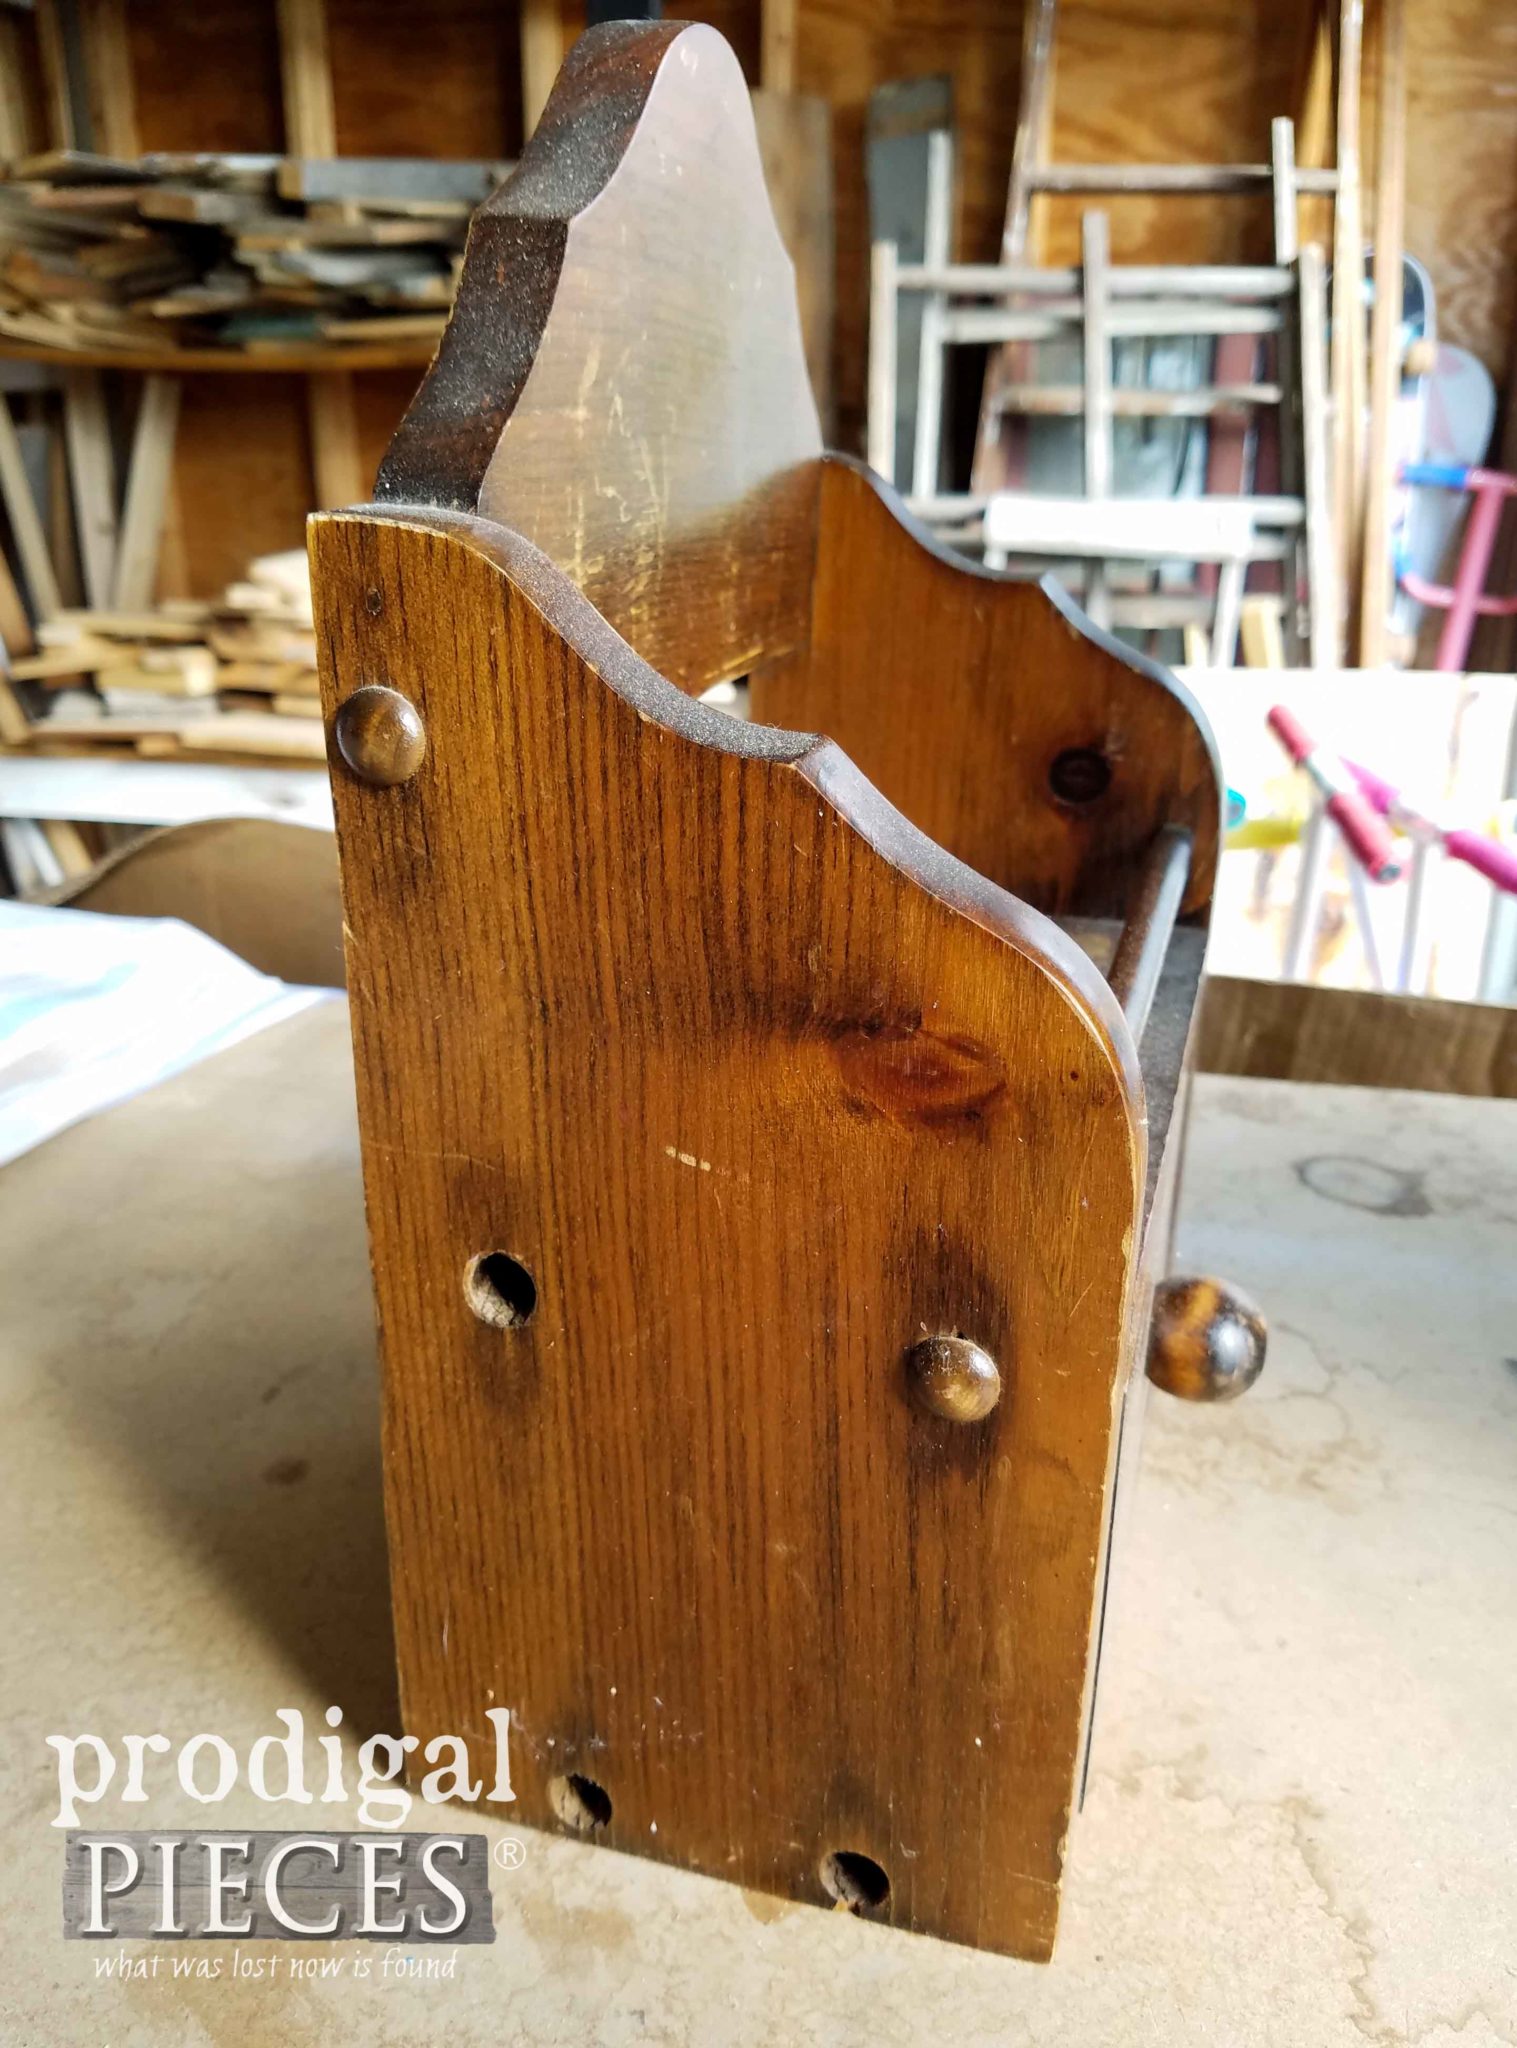
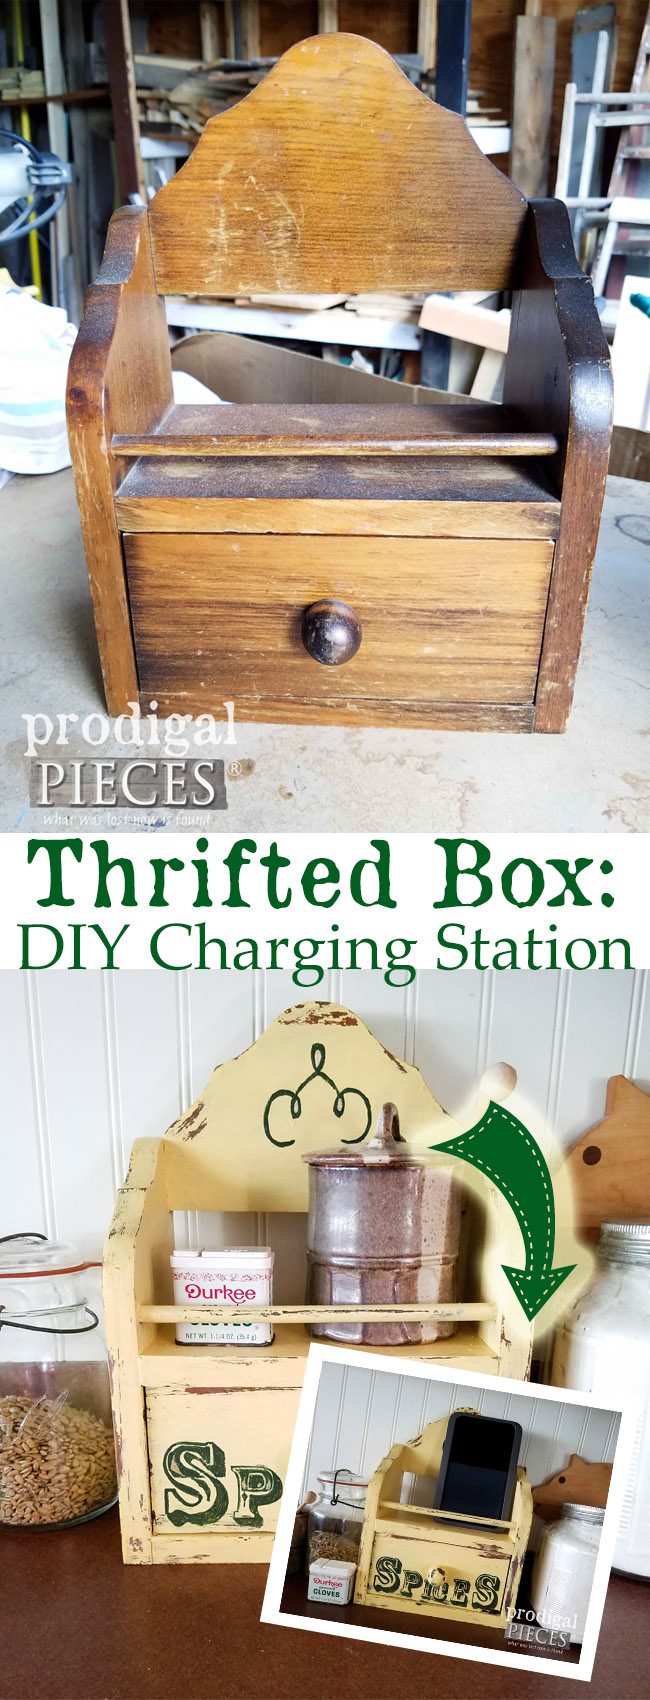
It’s nothing more than a pine box, but there is potential right there. The features that I like: the size, the drawer, and the overall design with open top. However, the box was missing some wooden plugs and the finish was worn – no problem.
DIY FUN
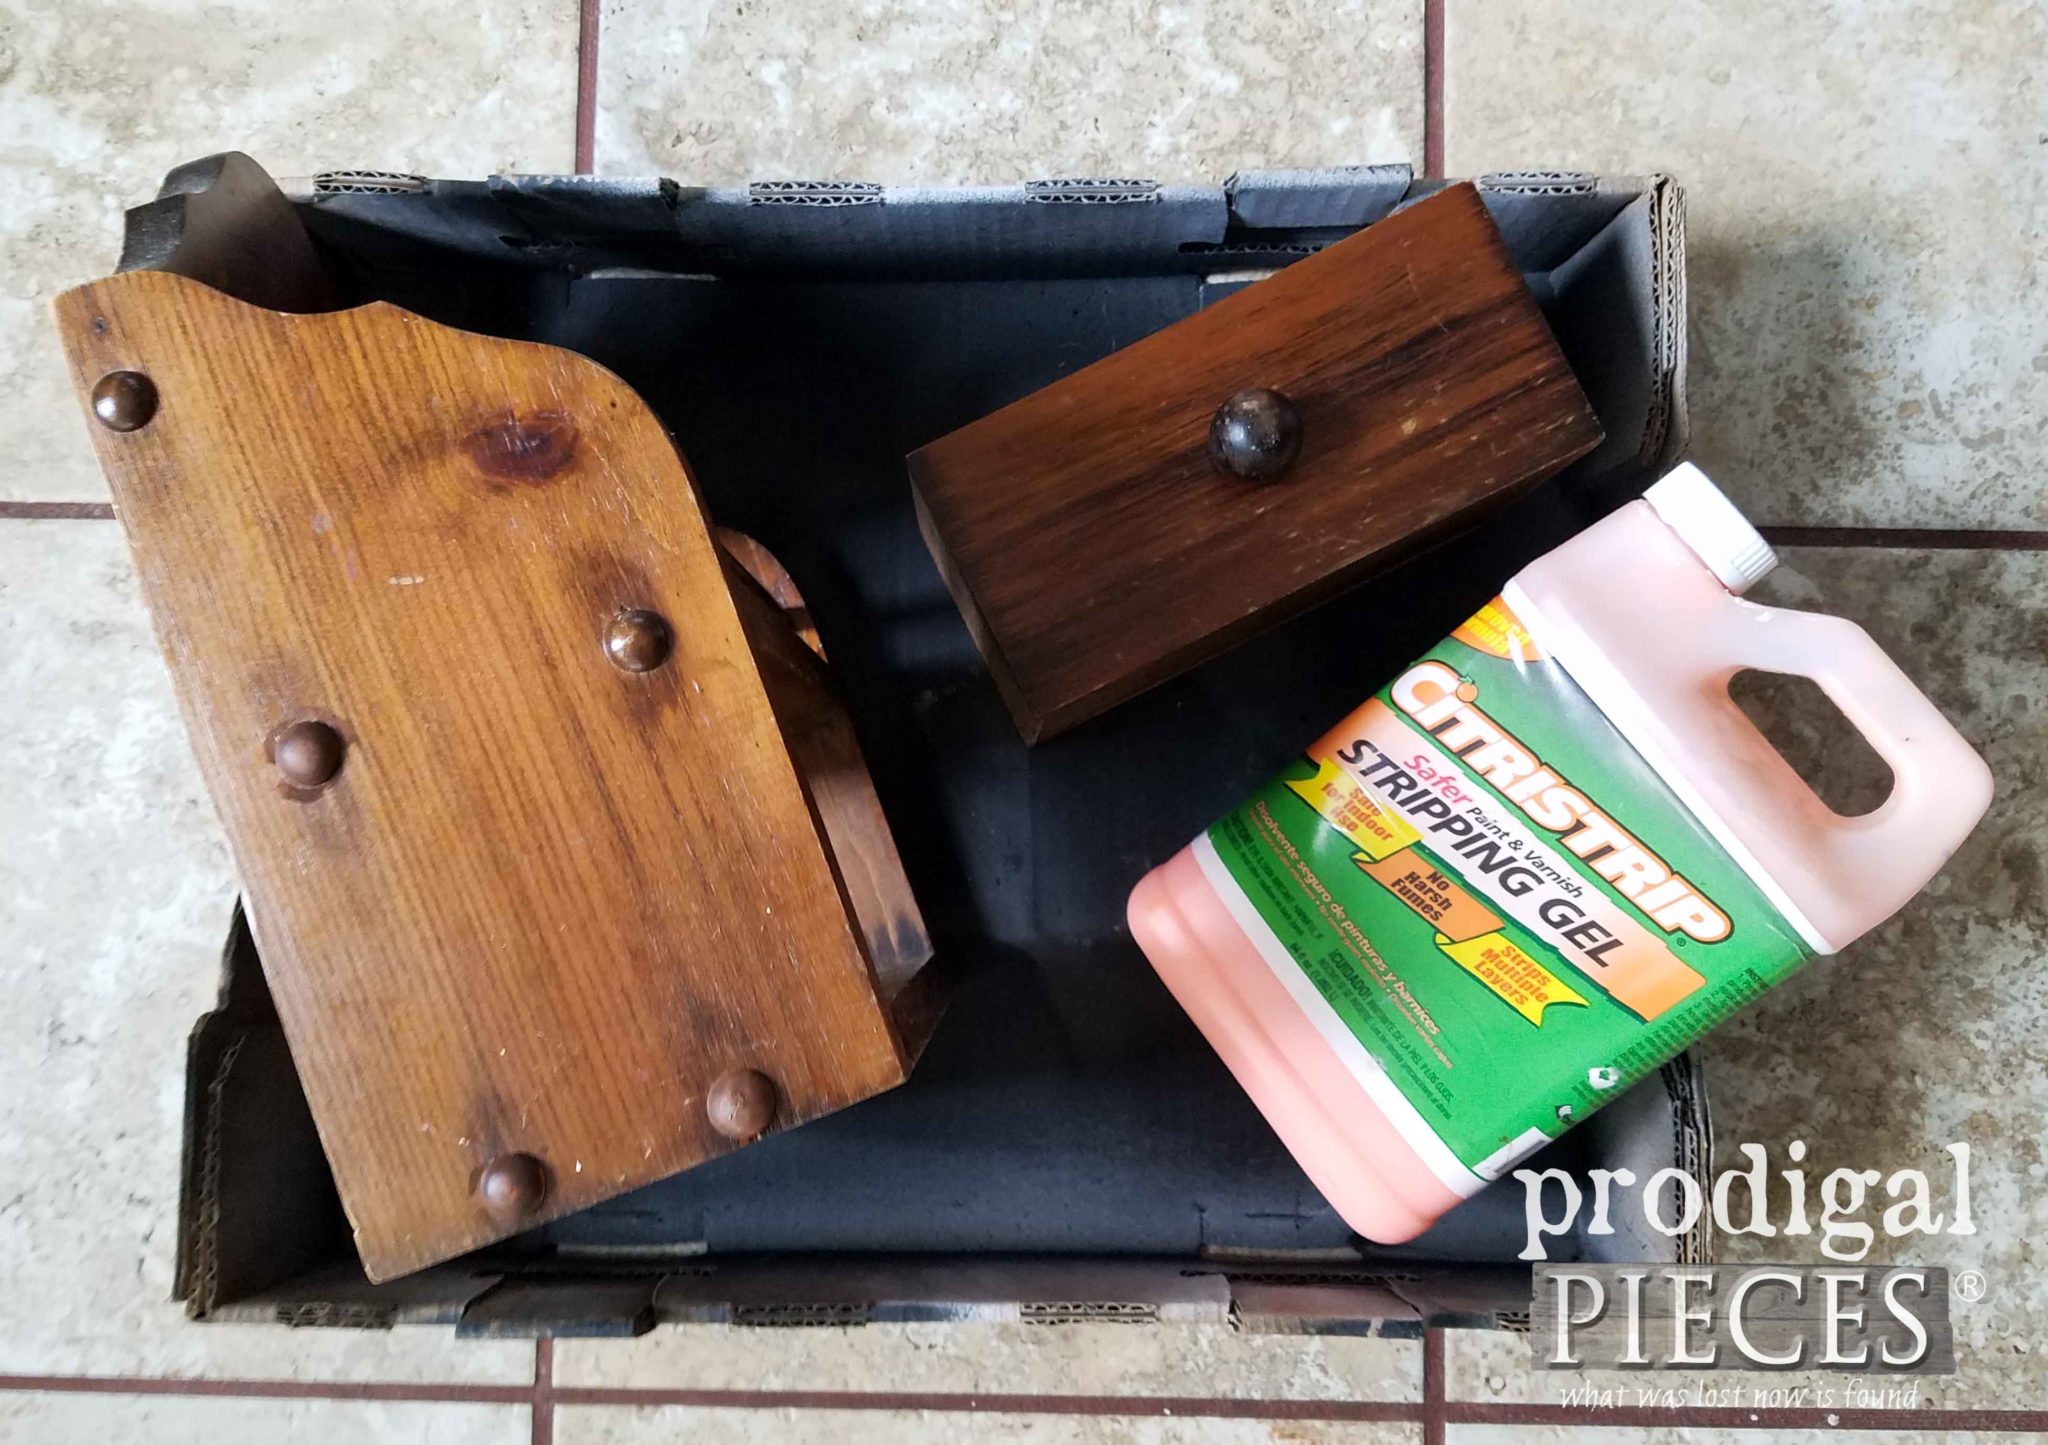
I replaced the missing plugs with some from my stash and stained them to match. Next, I decided to remove the finish to get an even surface, which is easy to do with the right stuff. I like to use CitriStrip for a less harsh method. Just brush it on, leave rest for an hour or so (sometimes overnight if you really have a stubborn piece), then scrape off.
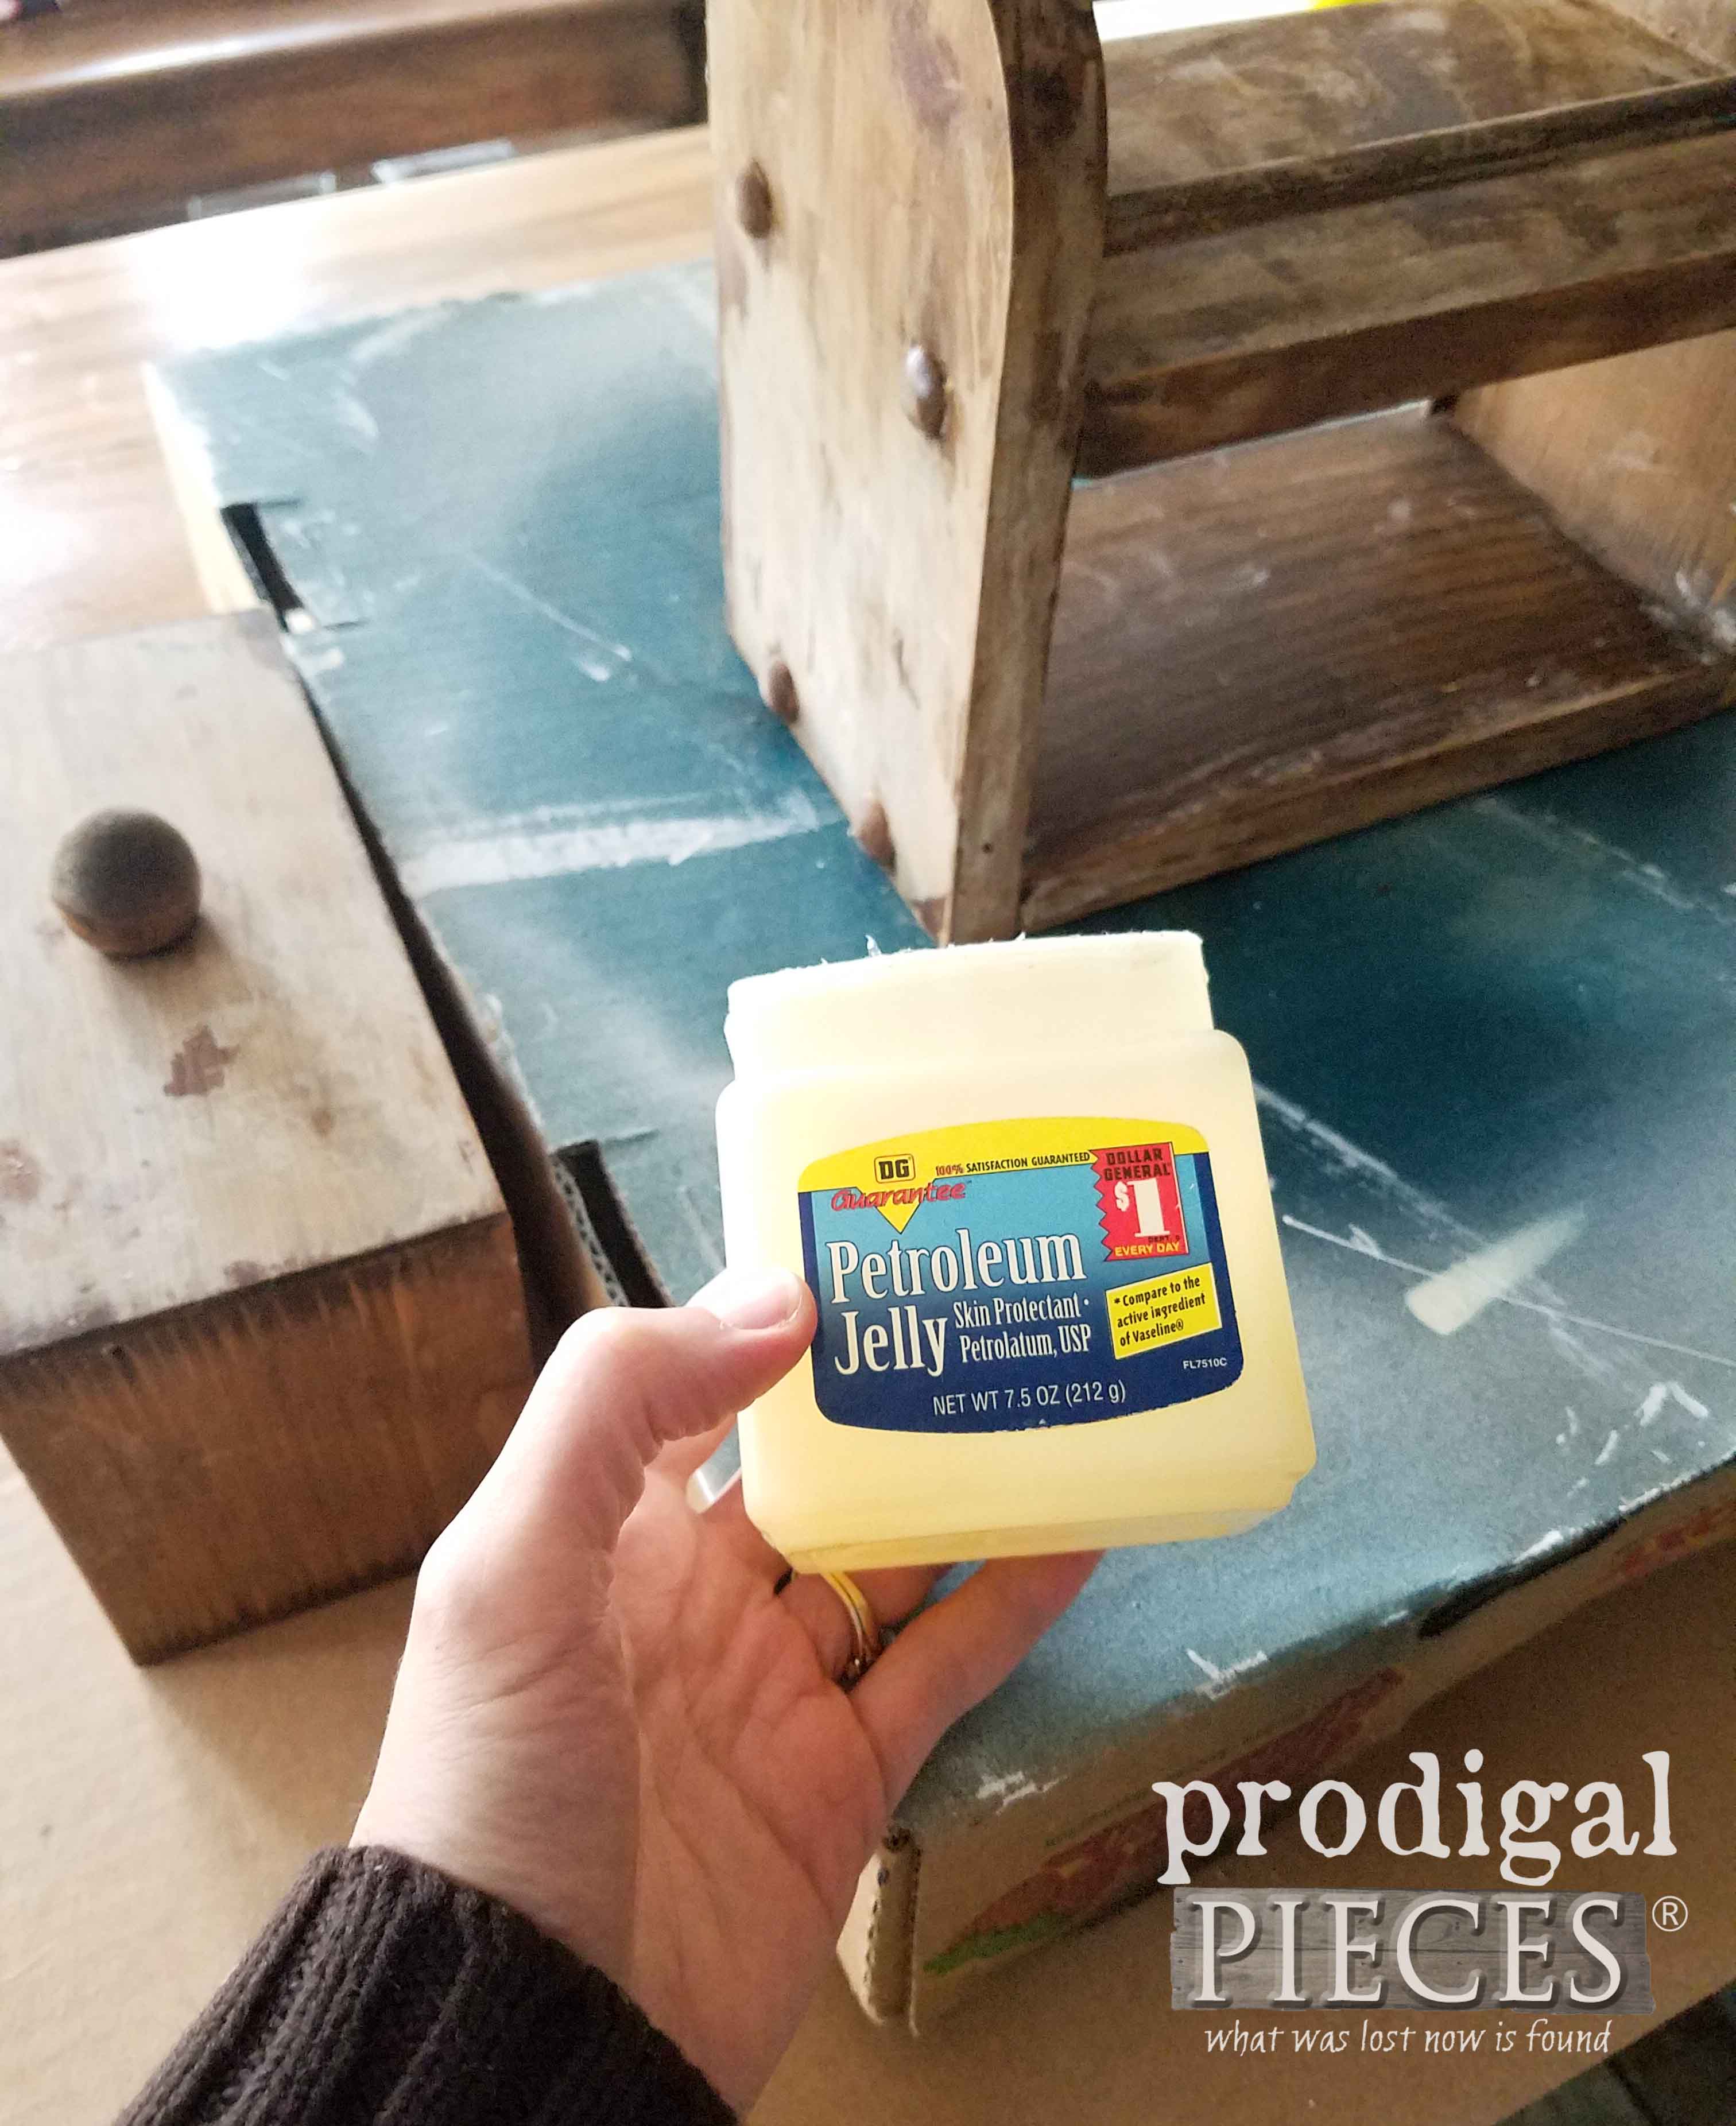
In reality I could have skipped the stripping, but in order to get the look I was after I wanted to remove that slick finish. The next step was to use petroleum jelly to create spots I wanted to resist paint. In addition, you can see how I’ve used it in past posts on furniture and the like HERE.
Just wipe it on the places you want the raw wood to show through, but keep it to a minimum and where natural wear would occur.
PAINT TIME
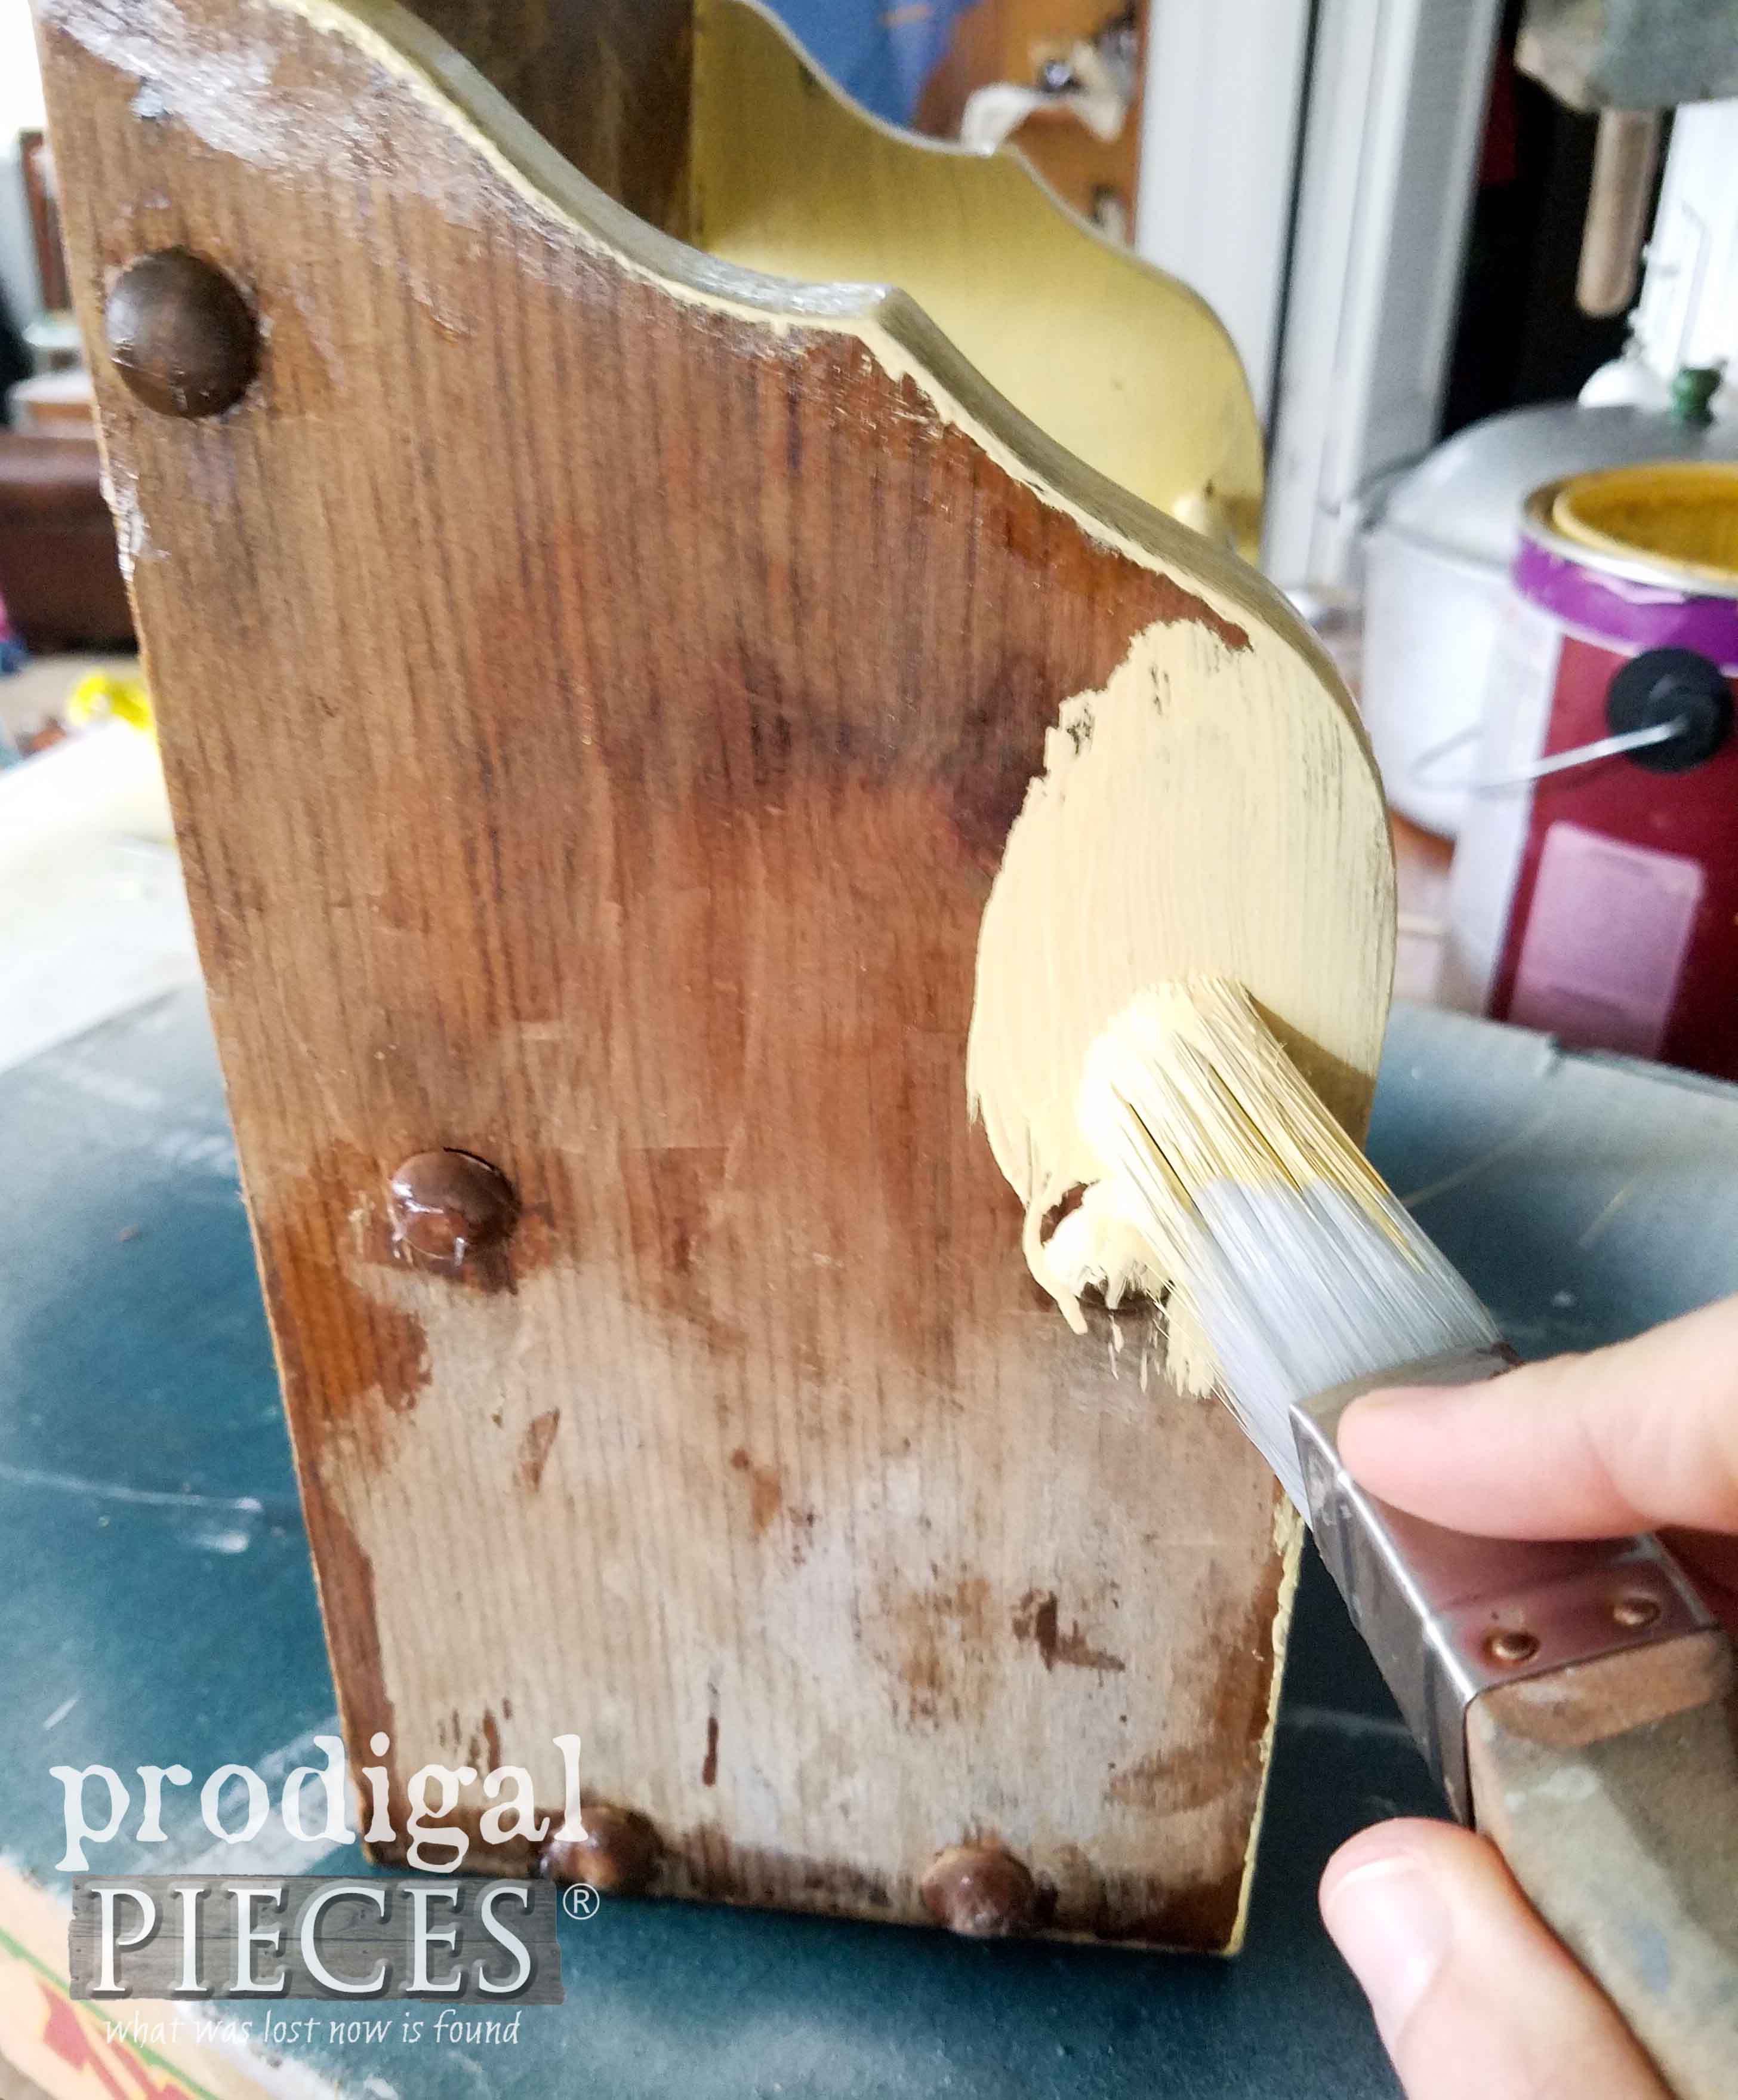
Time to paint! I wanted a fun color that gave a vintage vibe, so I used this Jack Fruit like I did on my chest of drawers to give it some yellowy goodness. While painting, you will see the petroleum jelly resisting the paint. Just keep going and even give it a second coat when dry.
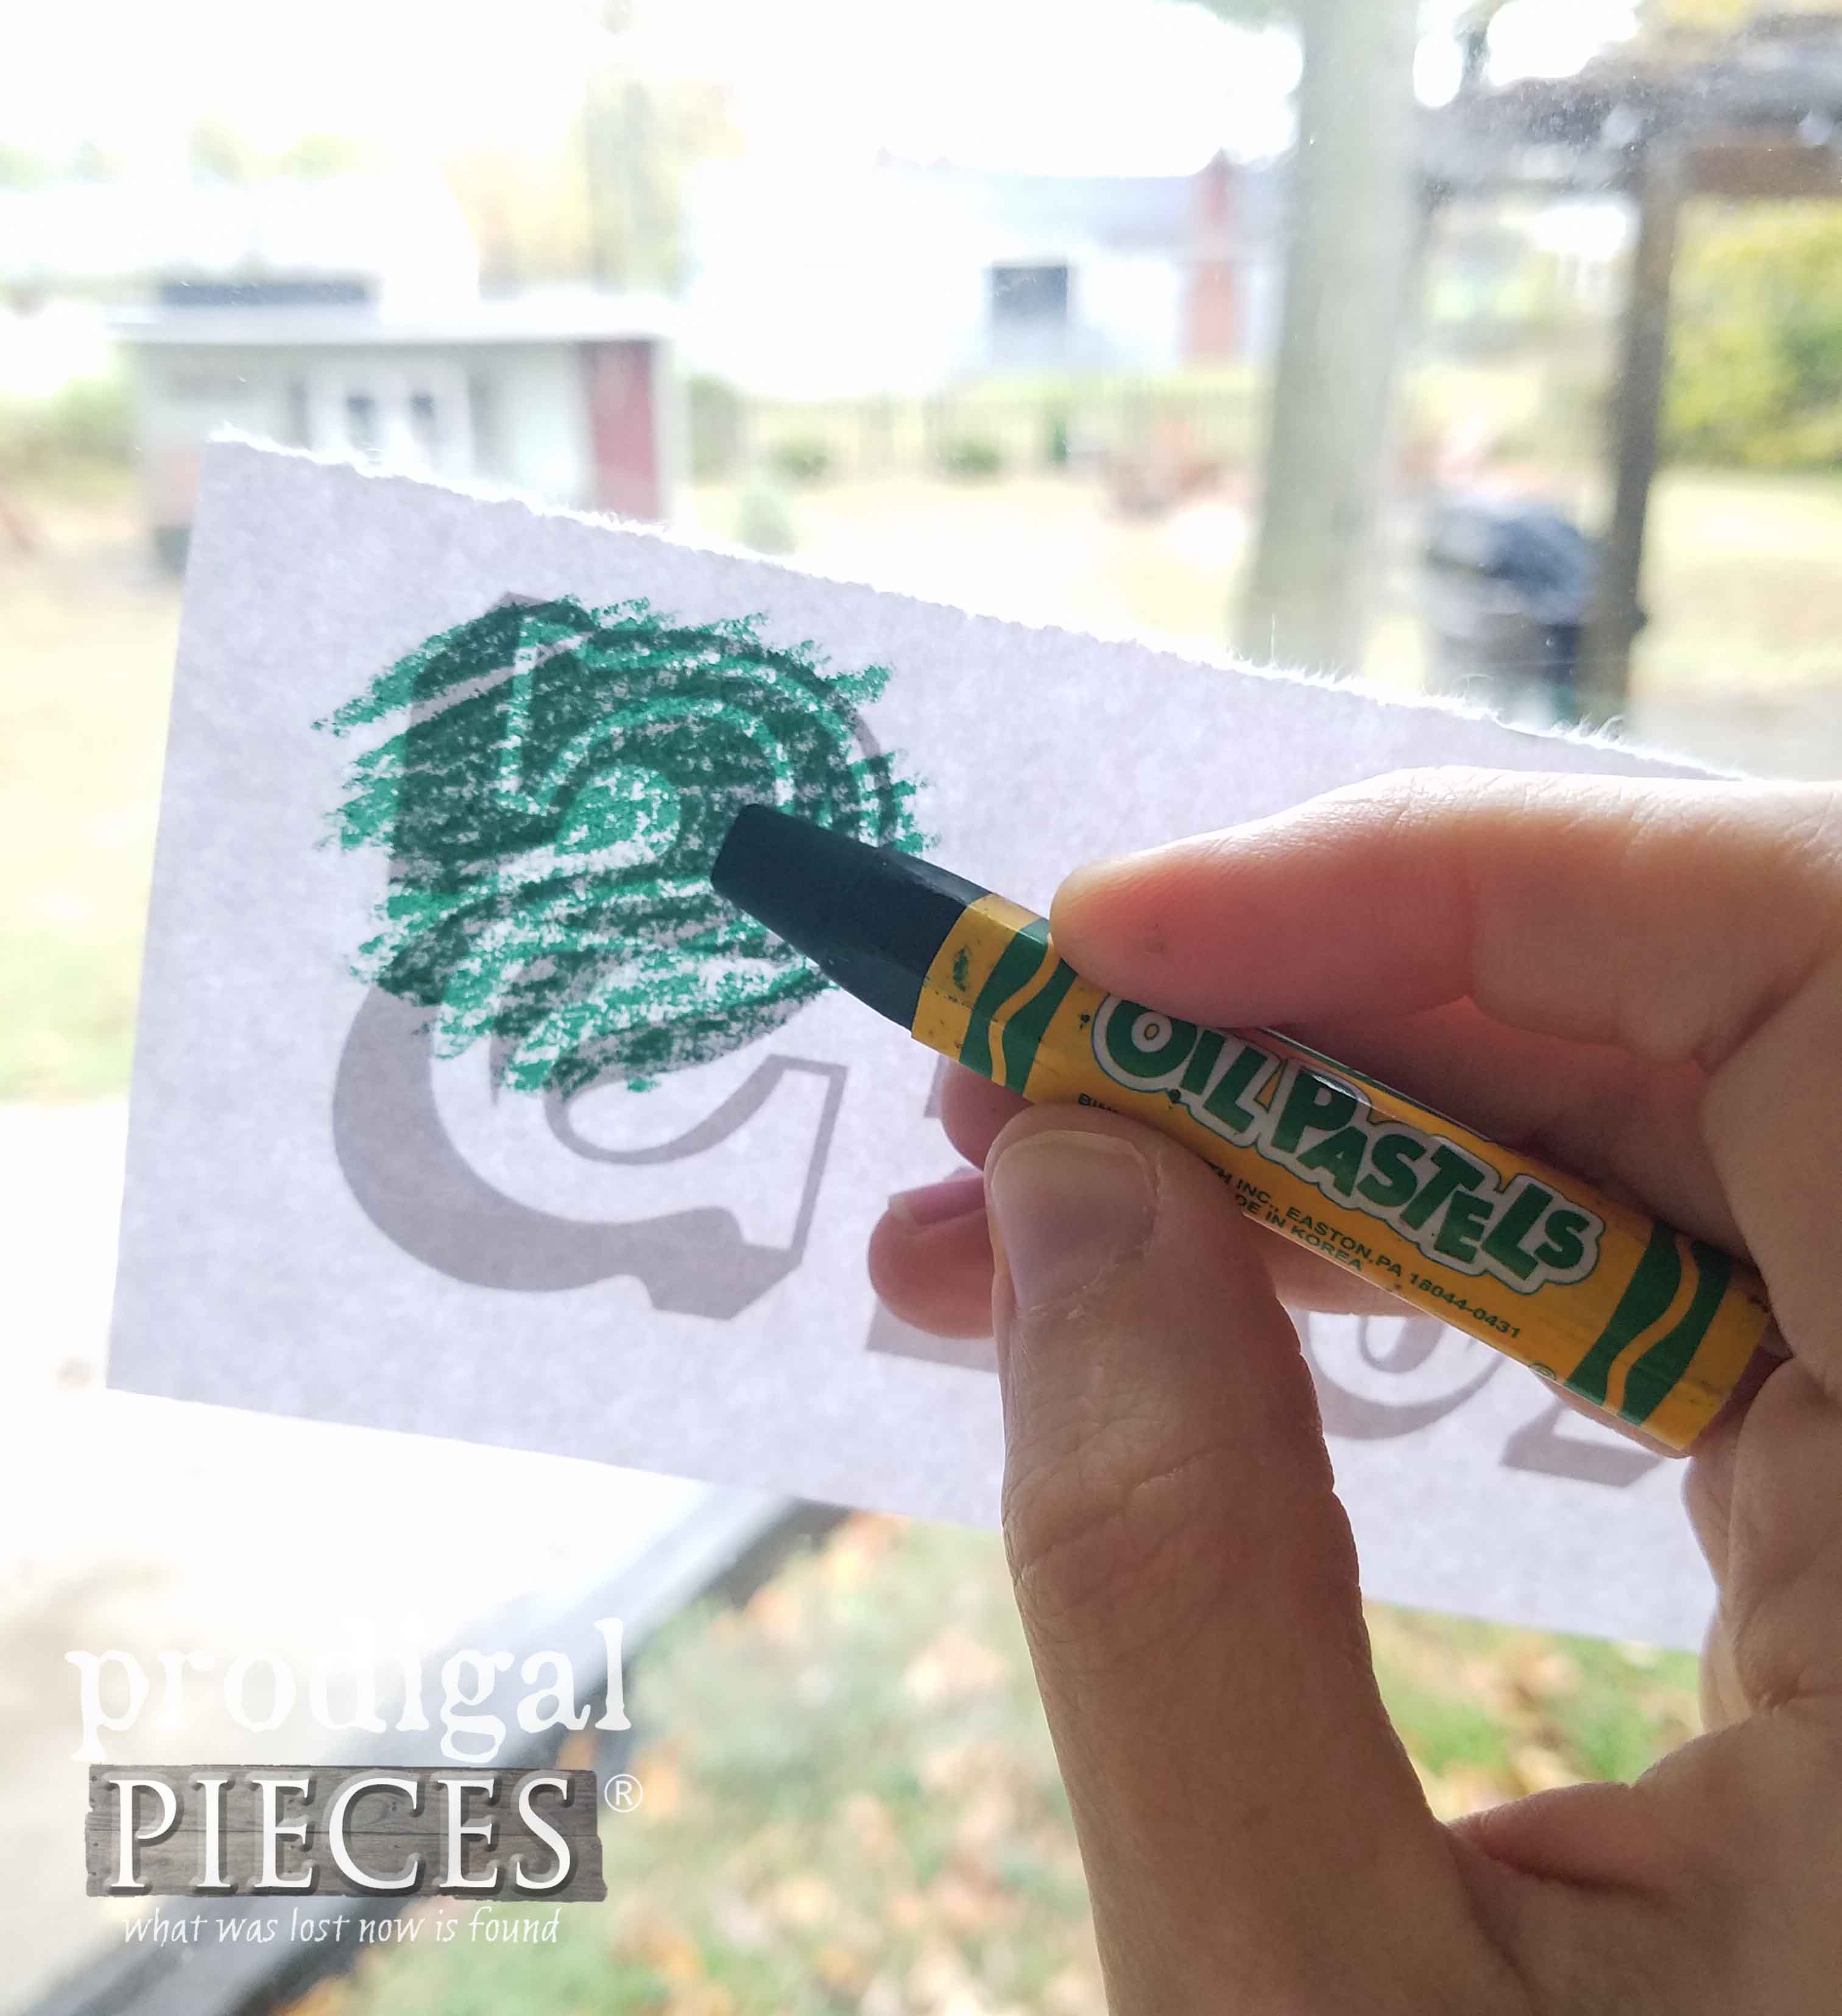
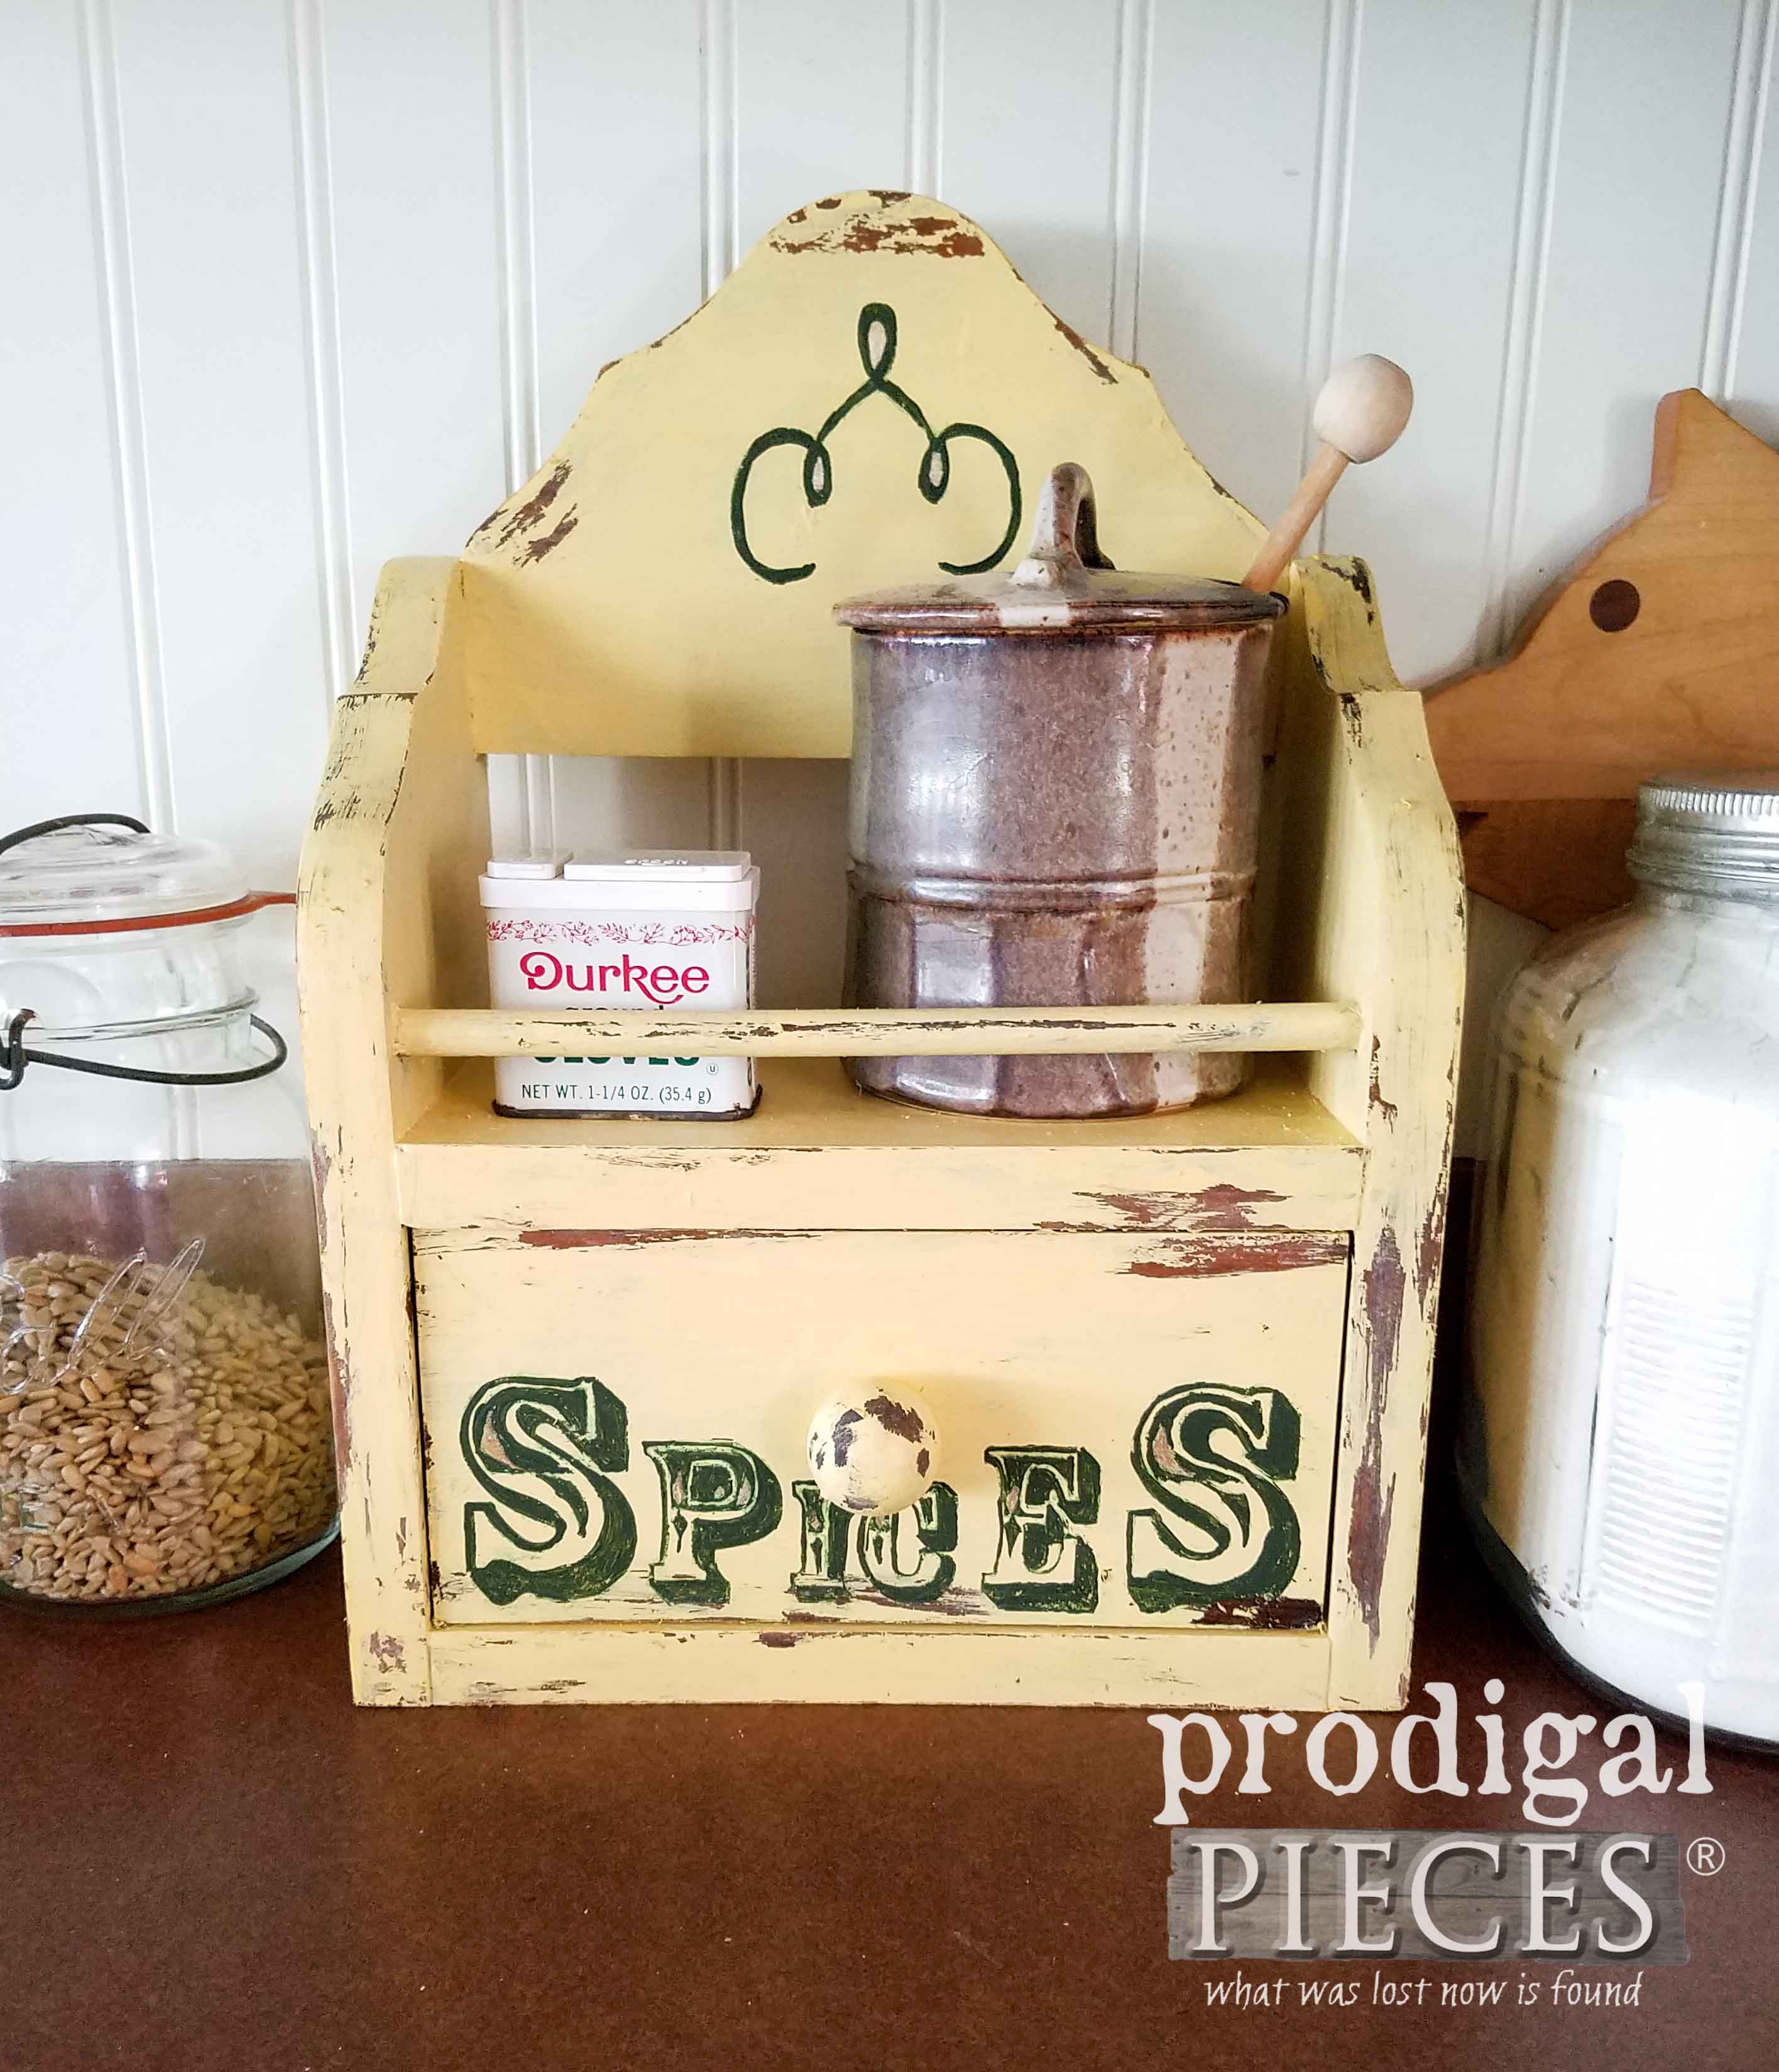
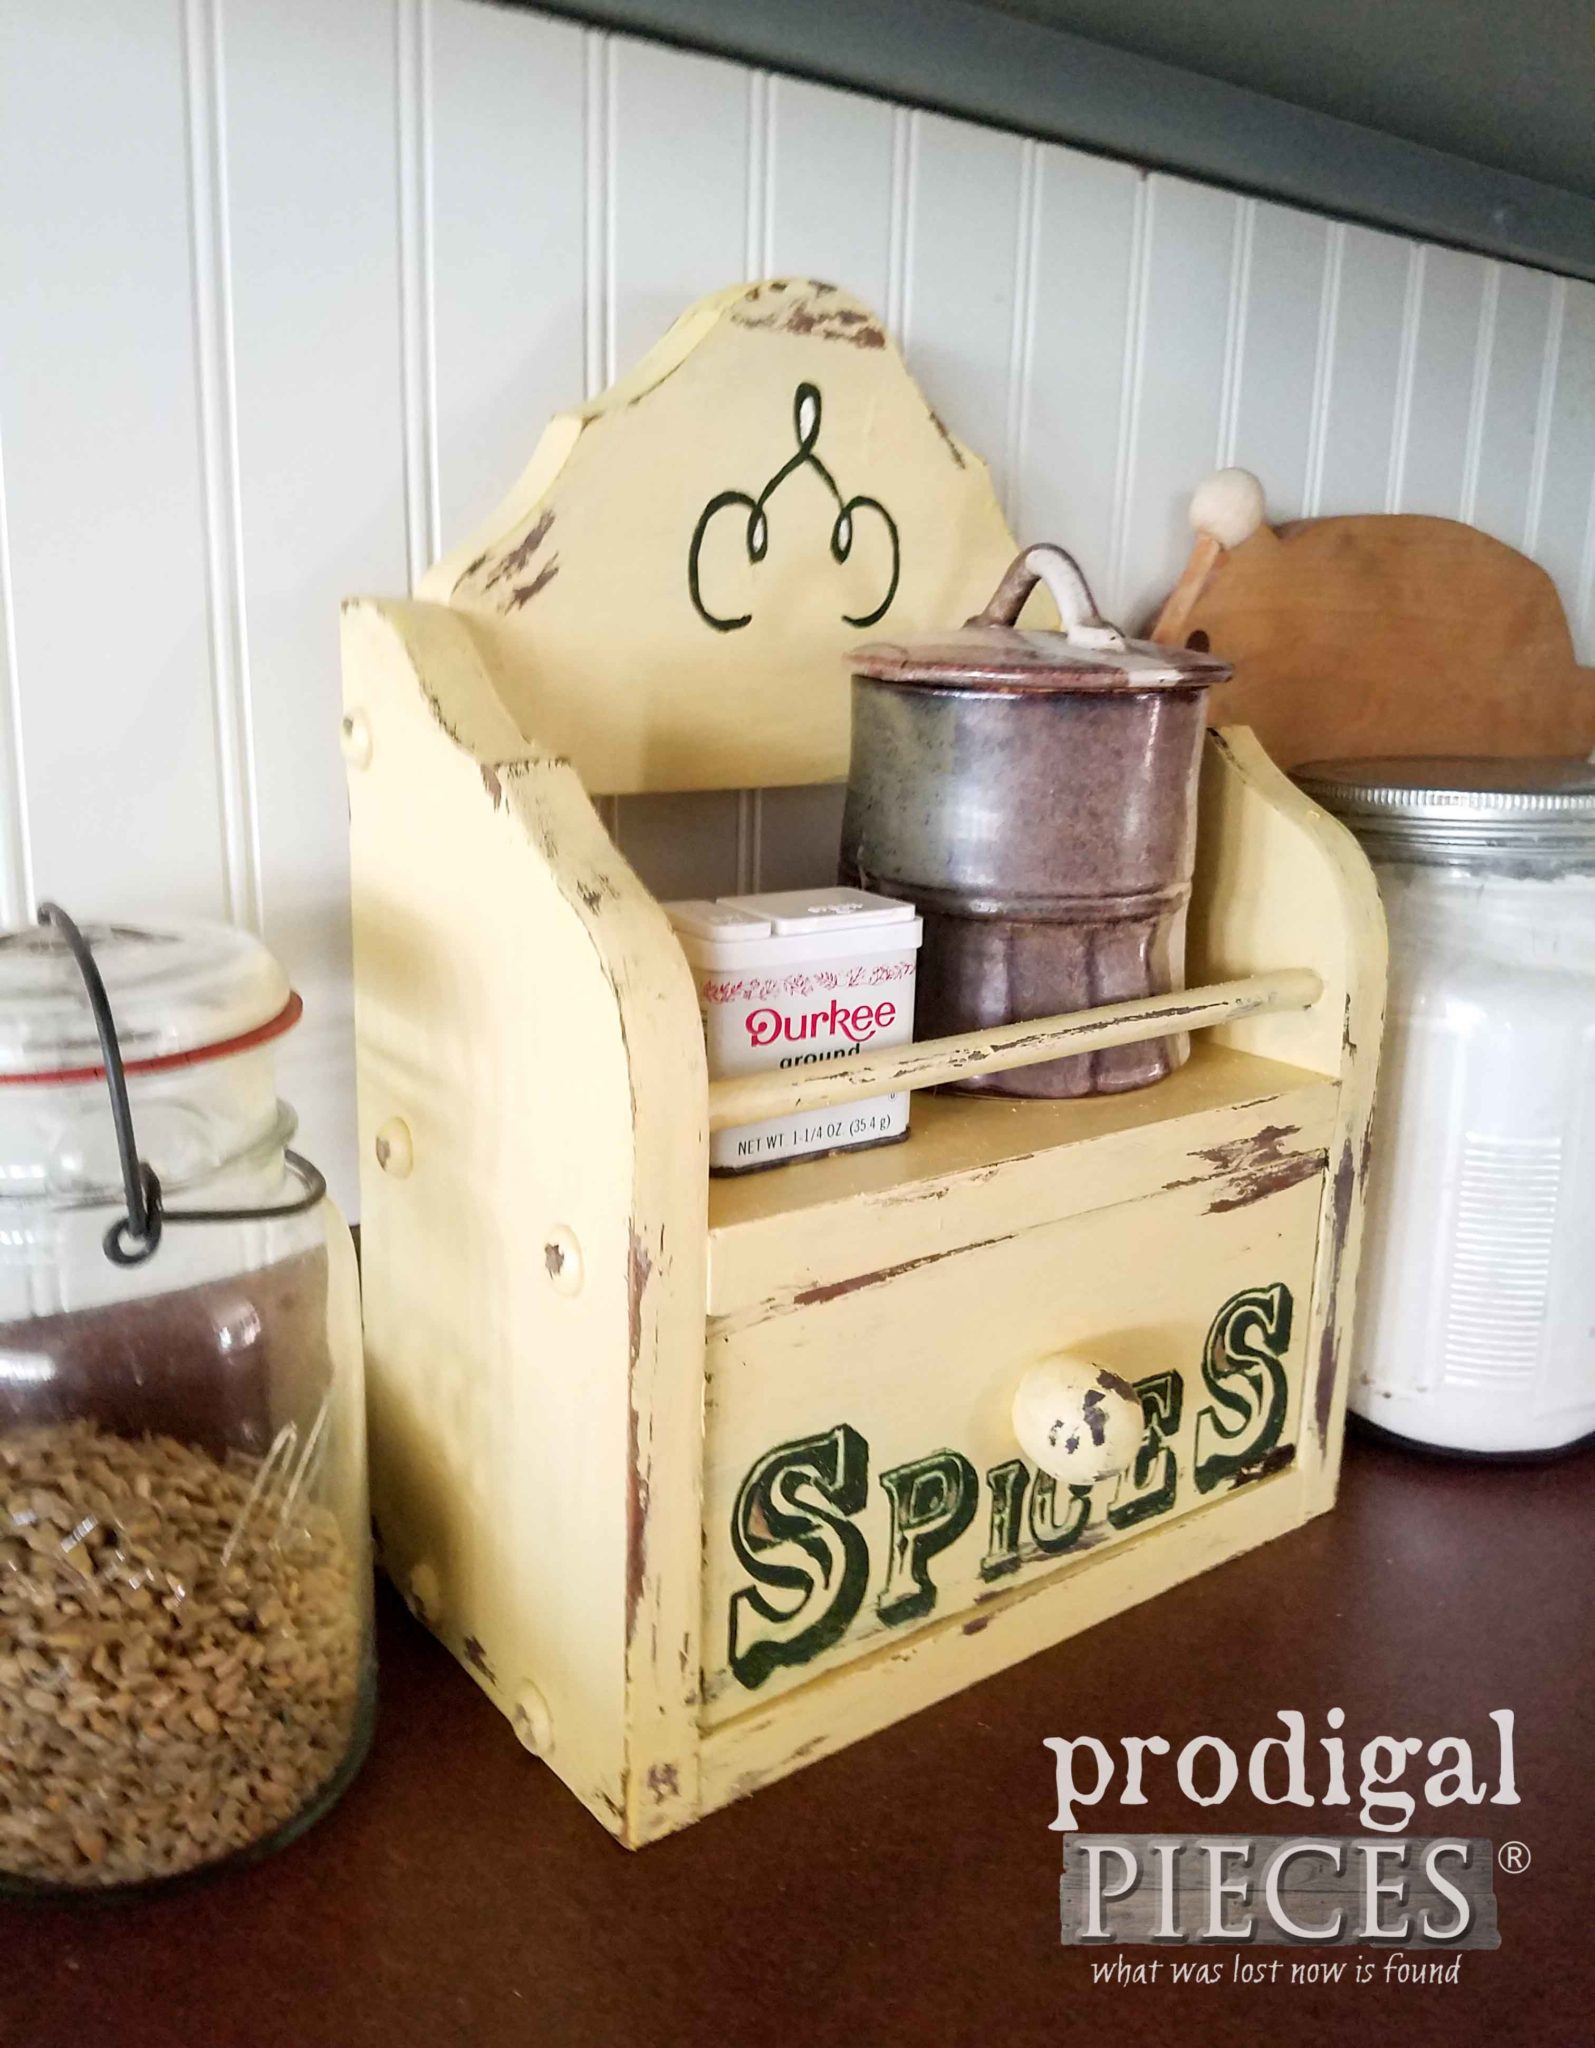
For a bit of whimsy, I wanted to add some typography. If you know me, I am slightly addicted to typography and will add it whenever possible. You can see all my projects using it in this collection. This truly is easy. Just create your design in a software program like Word or Photoshop or use a ready made one. Then apply using my transfer method, and paint it on.
THE REVEAL
Once all is dry, use a bit of sandpaper to distress those parts you used petroleum jelly on and you’re done!
I just love it! It has that 50’s vibe I was after and the best part is how it can be used. Obviously, you can most certainly use it for most anything, but check this out.
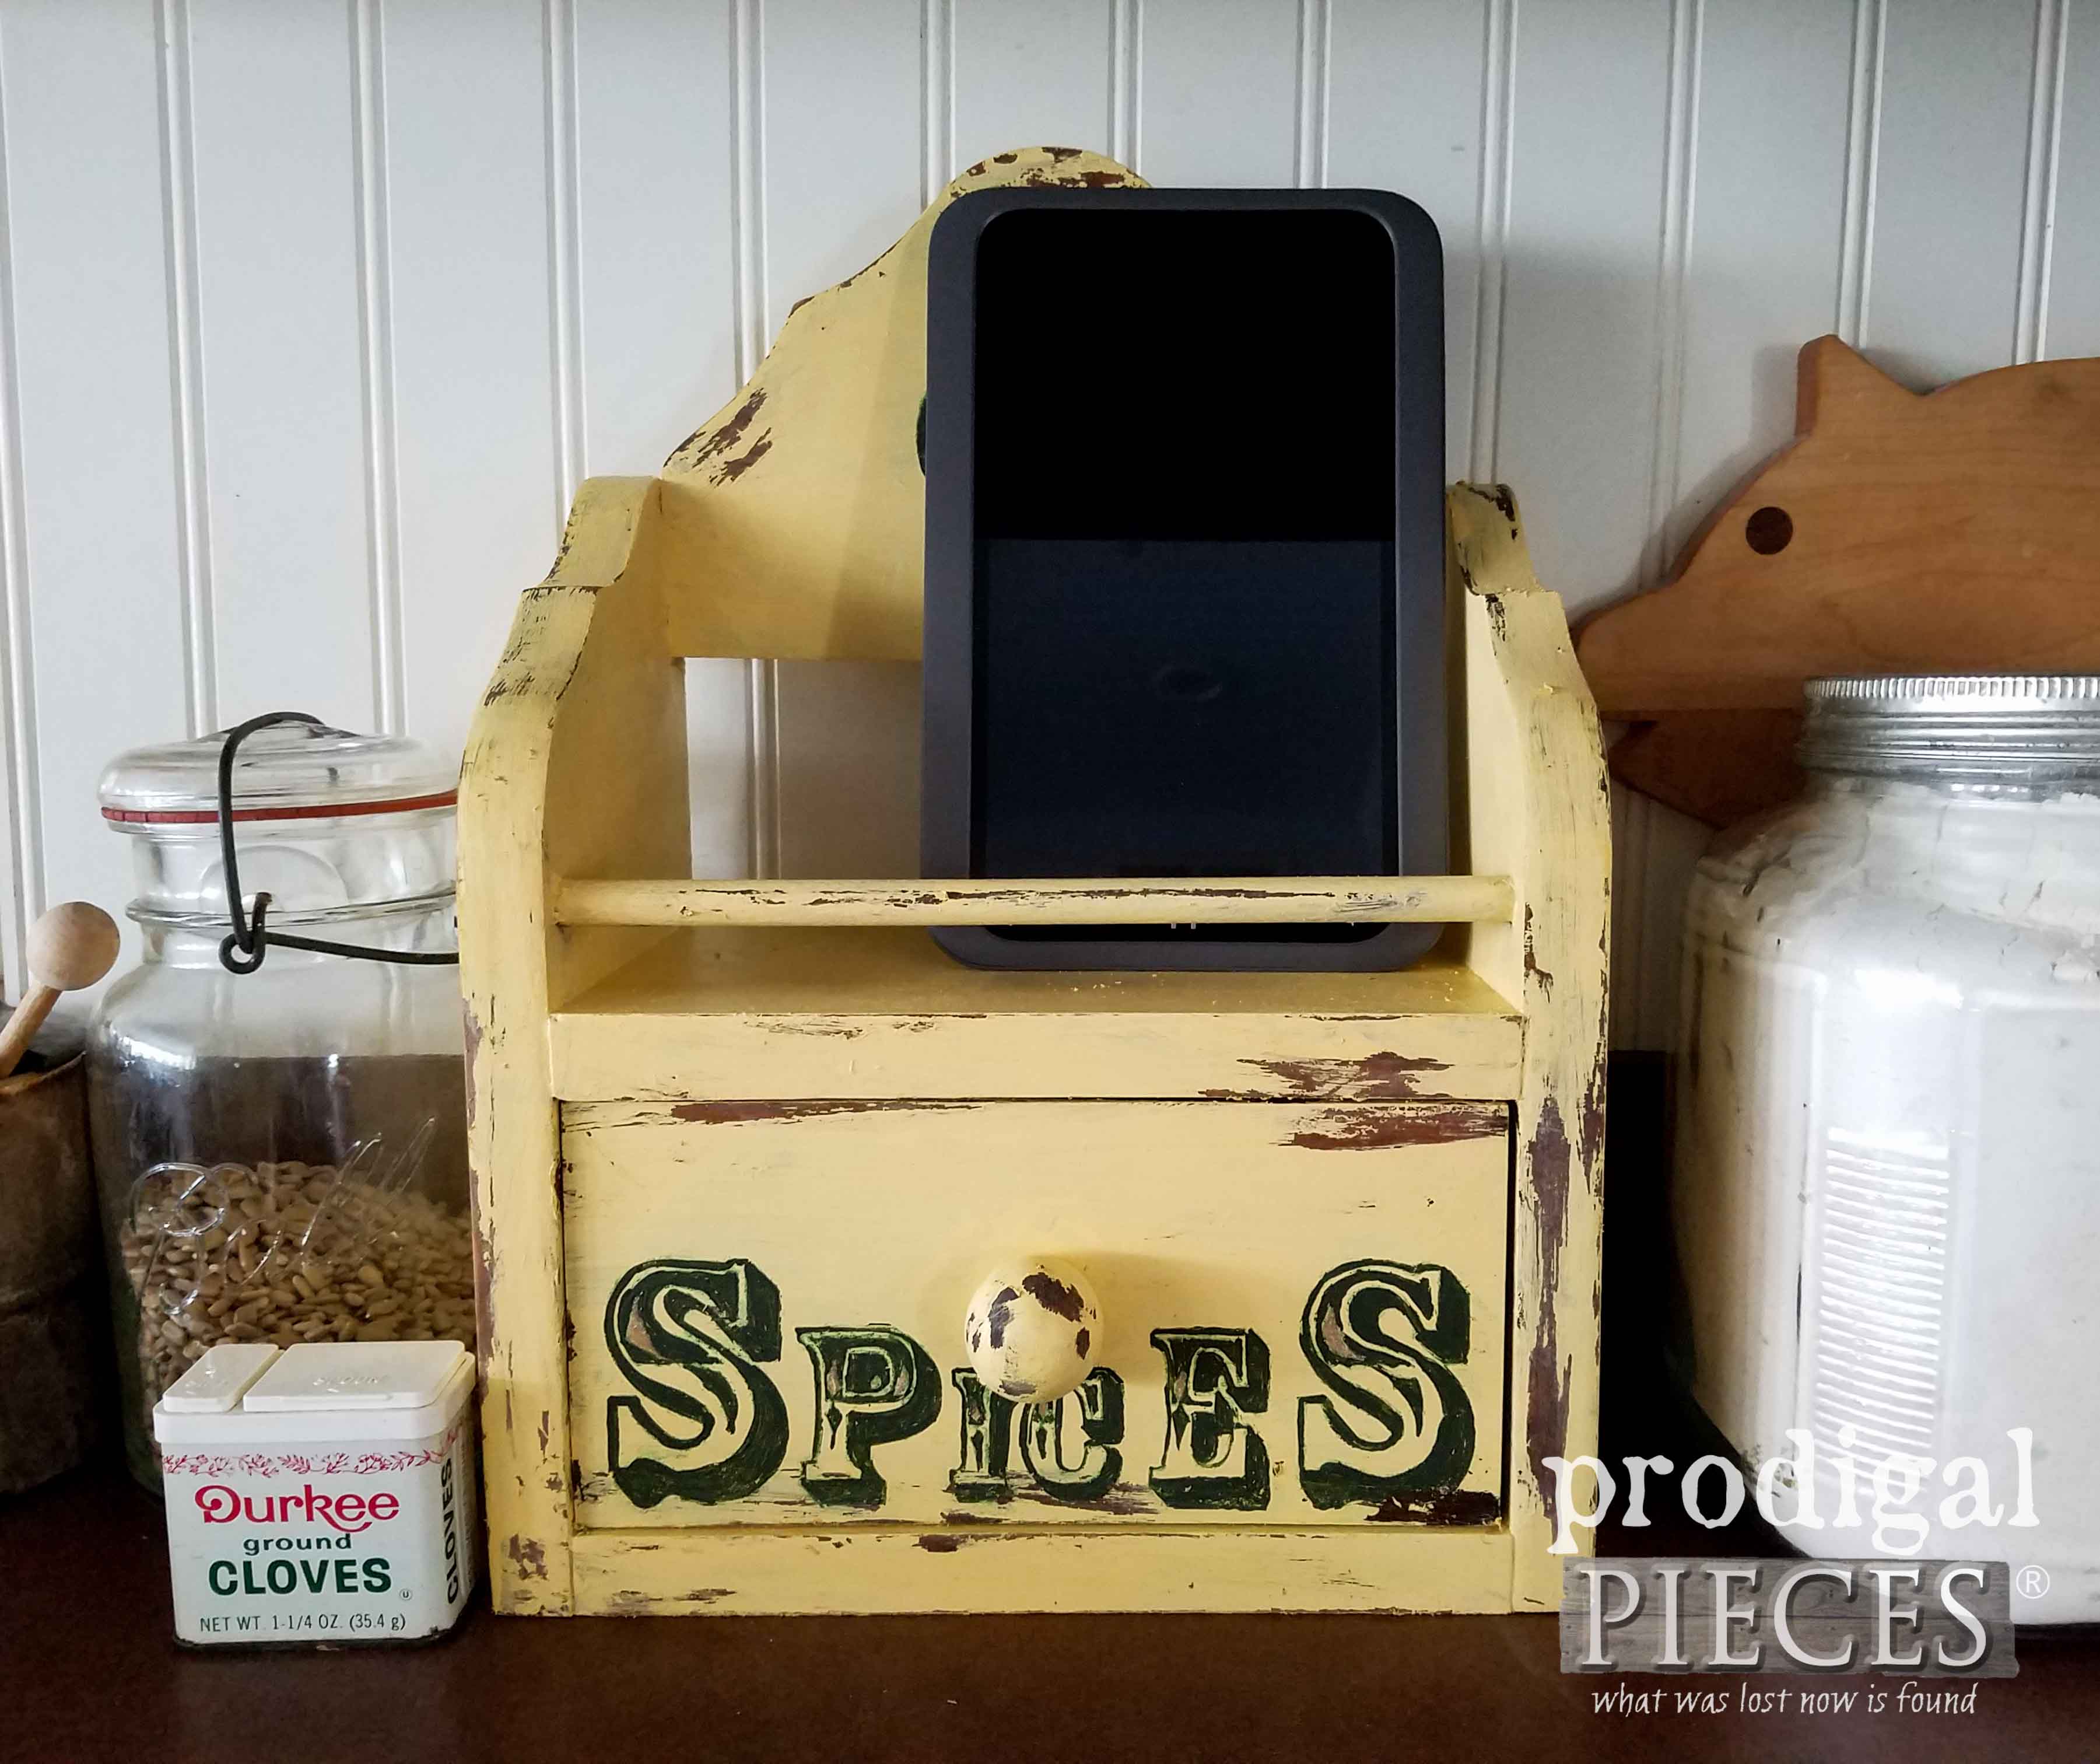
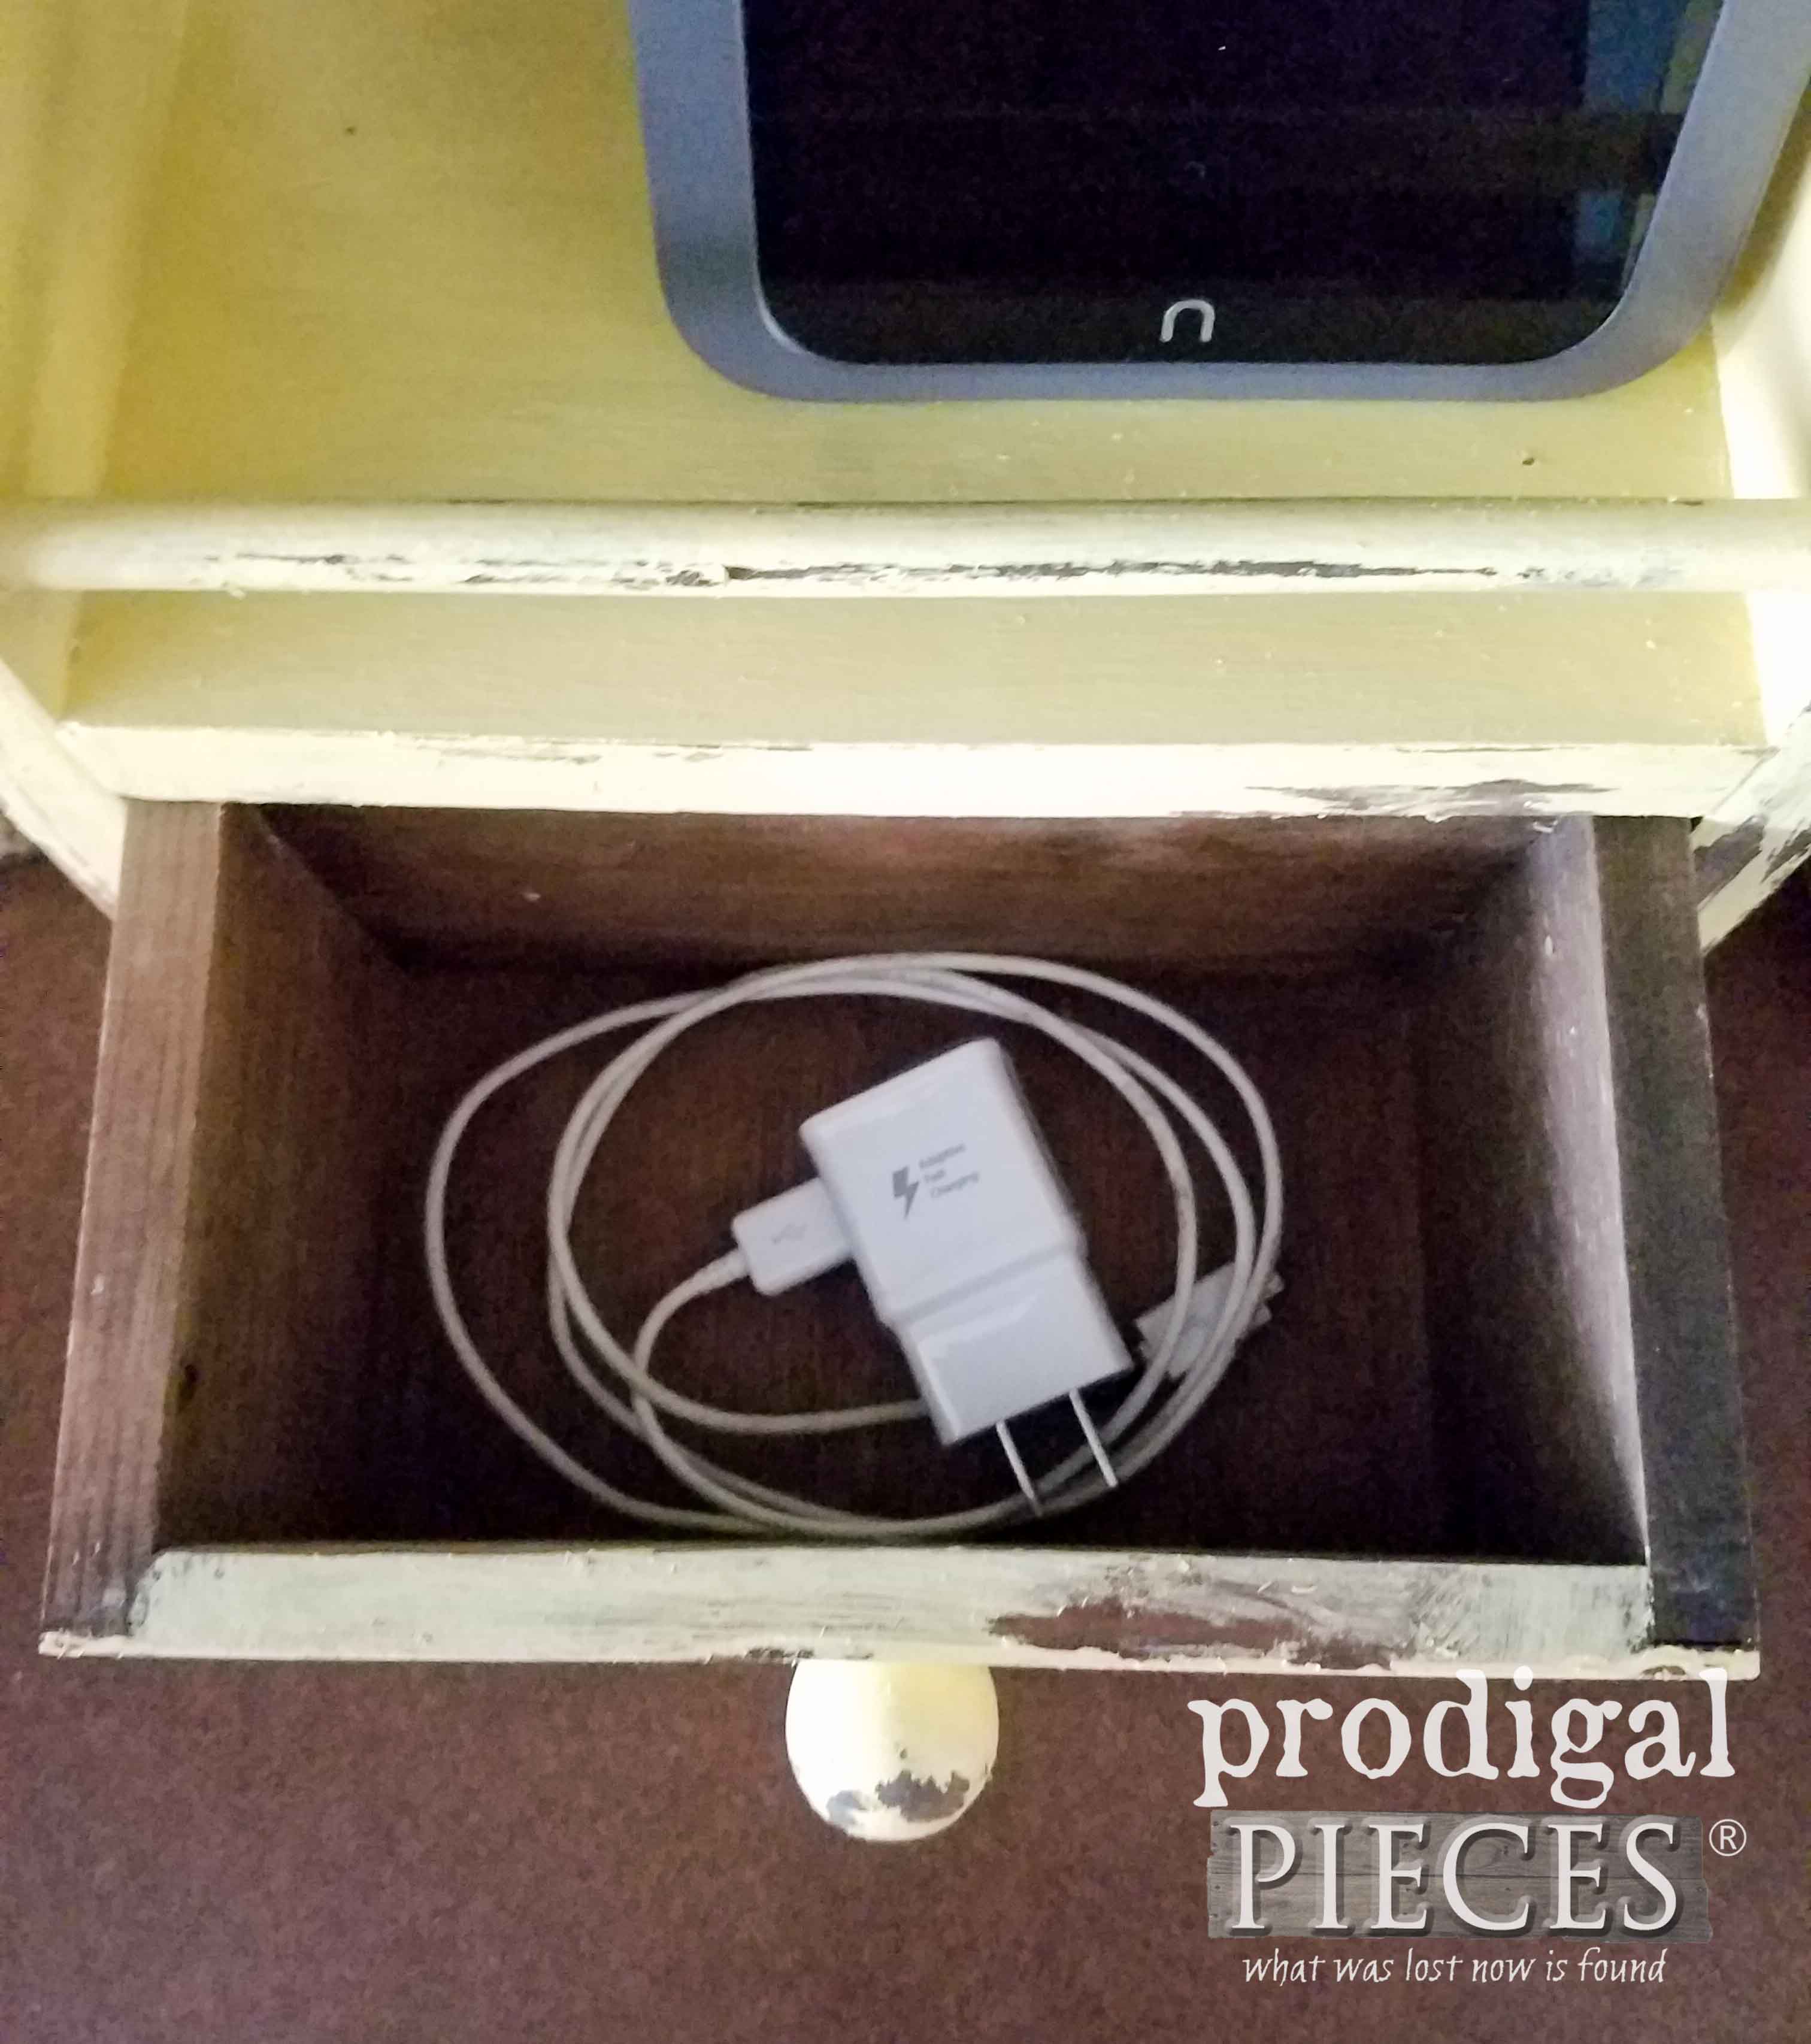
It’s a DIY charging station! The top can hold perfect for a tablet and a few phones. Also, the open back makes it easy for cords to be connected. If no open back, just drill a hole. Even the drawer can be used to hide the cords. Isn’t that fun?
No one would ever know you have devices and you can have your vintage farmhouse kitchen too. Win-win!
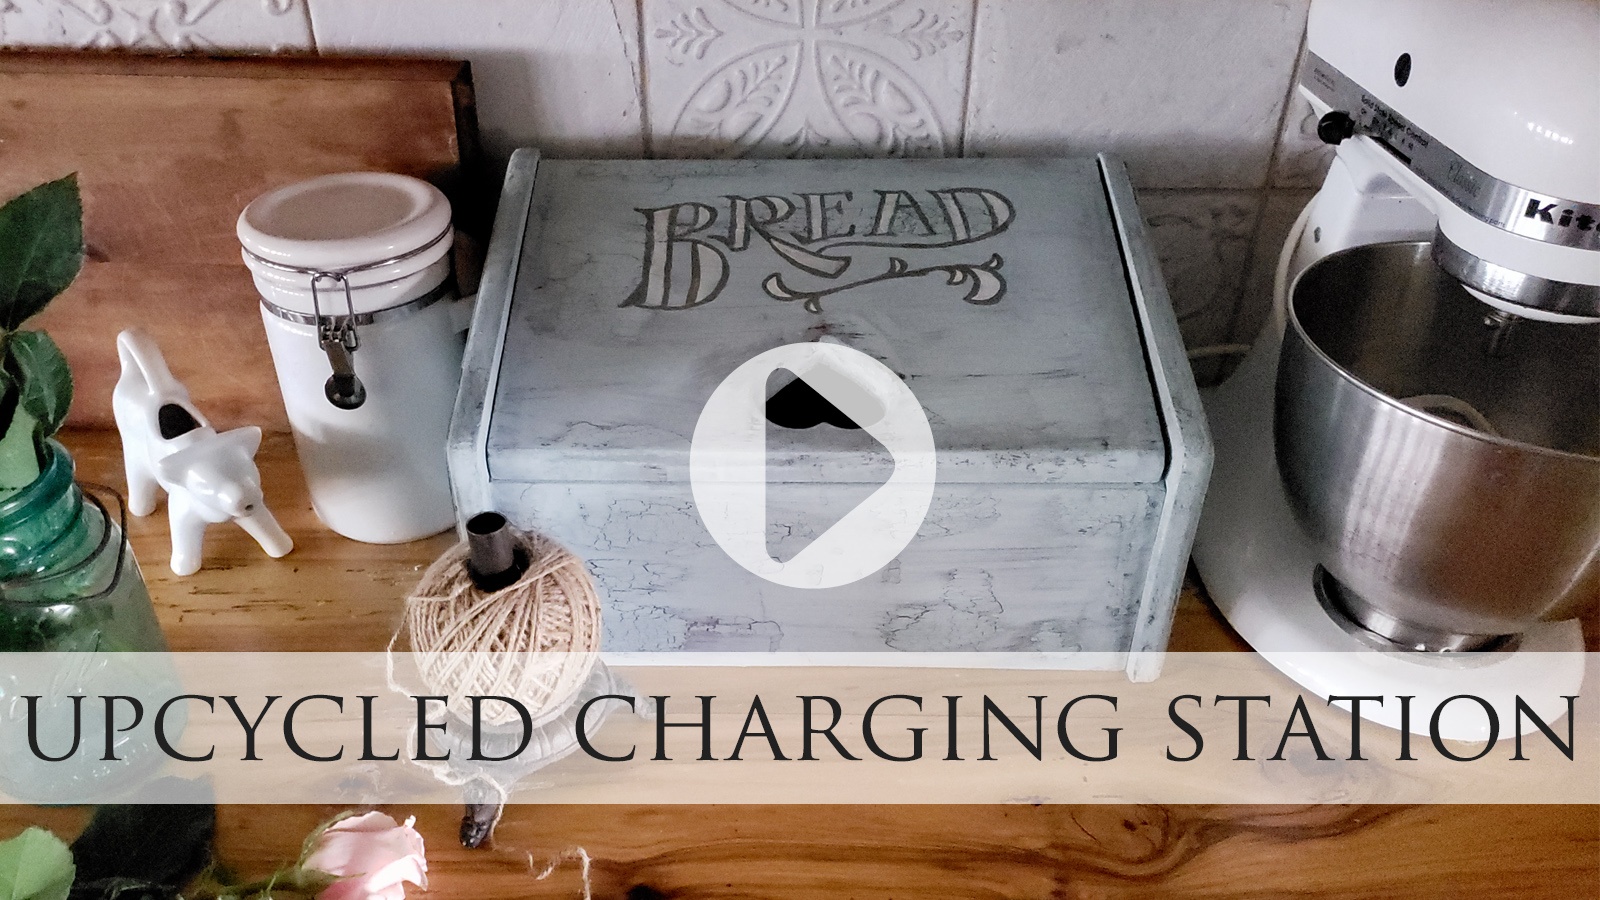
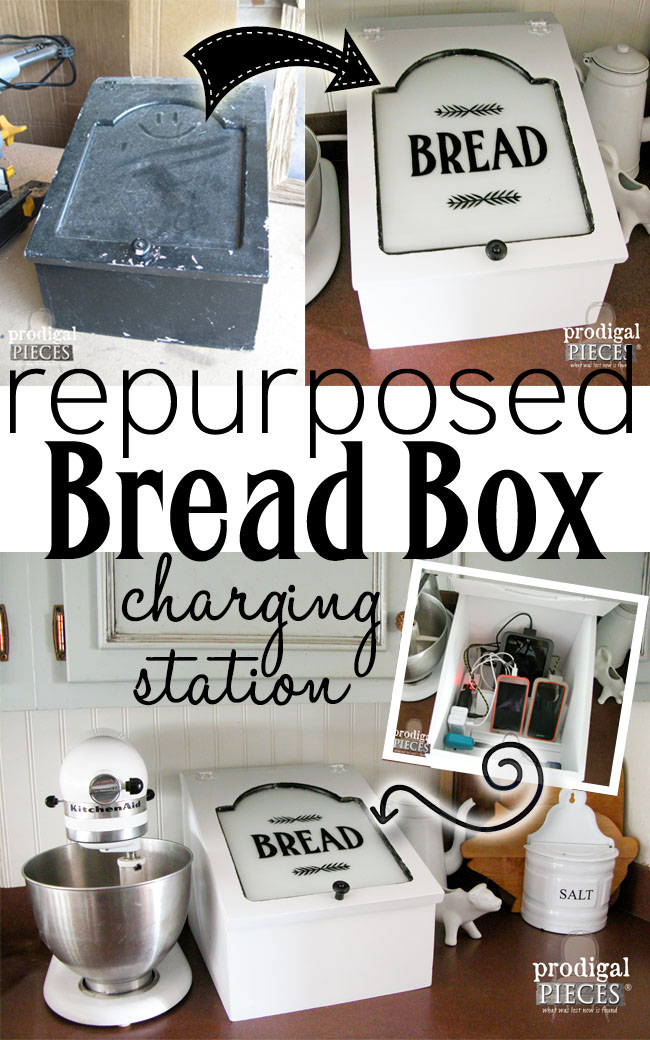
I’ve made several of these over the years for my shop and they never last long. You can see my repurposed bread box one in this past post. Absolutely fun to do and use.
If you’re loving this newest creation, you can purchase it from my online shop.
SHARE
Additionally, pin and share this fun tutorial how to make your own DIY charging station. It really is my goal to inspire others to make their house their home and give DIY a try. Thanks!
Likewise, to get these DIY tips & tricks in your inbox, be sure to sign up for my newsletter. PLUS, you will get your FREE Furniture Buying Checklist and special discount to my shop. Until next time!

