Get Started With FastAPI (original) (raw)
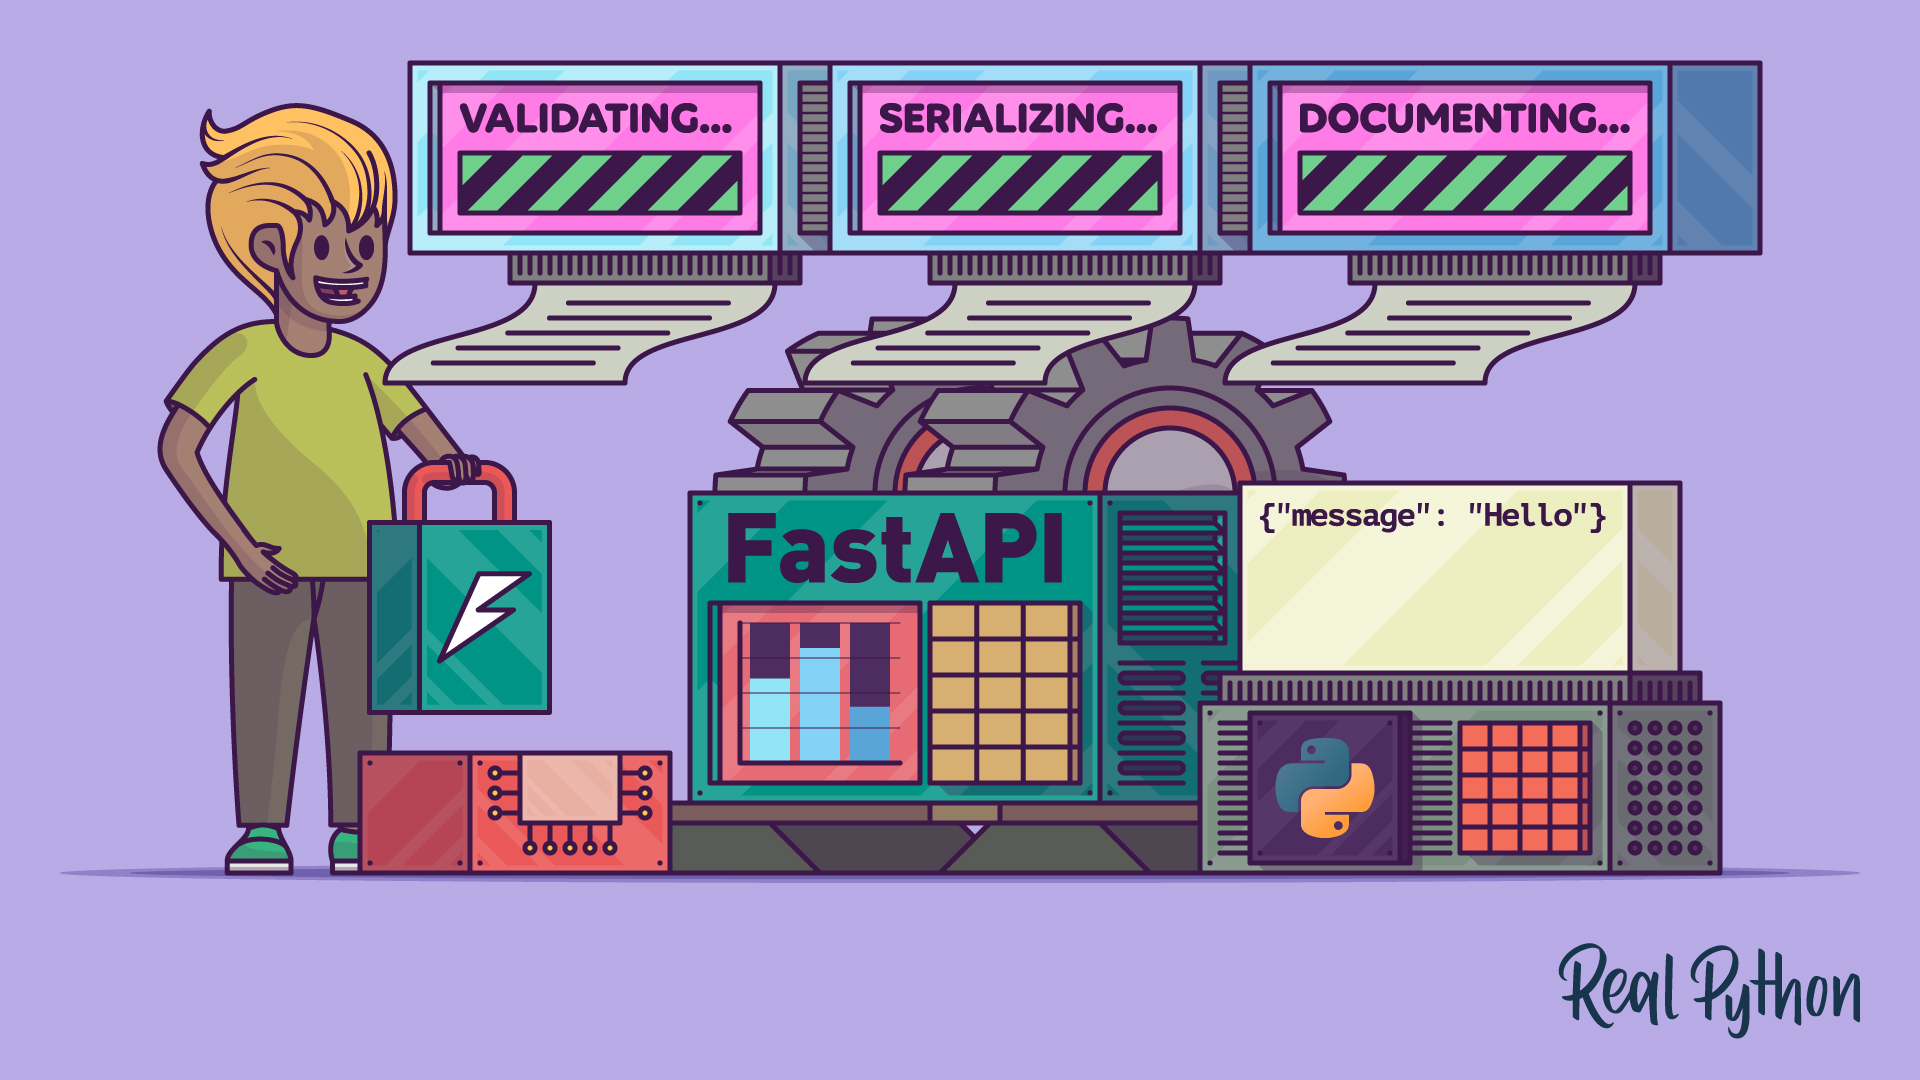
FastAPI is a web framework for building APIs with Python. It leverages standard Python type hints to provide automatic validation, serialization, and interactive documentation. When you’re deciding between Python web frameworks, FastAPI stands out for its speed, developer experience, and built-in features that reduce boilerplate code for API development:
| Use Case | Pick FastAPI | Pick Flask or Django |
|---|---|---|
| You want to build an API-driven web app | ✅ | — |
| You need a full-stack web framework | — | ✅ |
| You value automatic API documentation | ✅ | — |
Whether you’re building a minimal REST API or a complex backend service, understanding core features of FastAPI will help you make an informed decision about adopting it for your projects. To get the most from this tutorial, you’ll benefit from having basic knowledge of Python functions, HTTP concepts, and JSON handling.
Take the Quiz: Test your knowledge with our interactive “Get Started With FastAPI” quiz. You’ll receive a score upon completion to help you track your learning progress:
Interactive Quiz
This hands-on quiz will test your knowledge of FastAPI basics, from installation and endpoints to automatic JSON responses and Swagger UI.
Install FastAPI the Right Way
Installing FastAPI correctly sets the foundation for a smooth development experience. Unlike many Python packages that you can install with just pip install <package>, FastAPI’s installation approach has evolved to provide better out-of-the-box functionality. Understanding these installation options will save you time and prevent common configuration issues.
The recommended way to install FastAPI is with the [standard] extra dependencies. This ensures you get all the tools you need for developing an API without having to hunt down additional packages later:
The quotes around "fastapi[standard]" ensure the command works correctly across different terminals and operating systems. With the command above, you install several useful packages, including the FastAPI CLI and uvicorn, an ASGI server for running your application.
If you prefer a minimal installation without these extras, then you can install just the core framework. However, you’ll likely need to install uvicorn separately to run your application:
For this tutorial, you’ll use the [standard] installation to take advantage of all FastAPI’s built-in capabilities. You can verify your installation by checking the FastAPI version in the Python REPL:
With FastAPI properly installed, you’re ready to create your first web API application. The next step is to build a minimal example that demonstrates FastAPI’s core capabilities.
Create the Most Minimal FastAPI App
Creating a basic FastAPI application requires just a few lines of code. You’ll start with a basic “Hello, World!” example that demonstrates the framework’s approach to building APIs.
You can name your FastAPI main file however you like. Common names are app.py, api.py, or main.py. To follow along, create a file called main.py:
This minimal application showcases FastAPI’s core concepts. You import the FastAPI class, create an application instance named app, and define a single endpoint that responds to HTTP GET requests at the root path by decorating the home() function.
FastAPI functions can be either synchronous or asynchronous. The framework automatically handles both types, which gives you flexibility in how you write your application logic.
When someone visits your API’s root endpoint, FastAPI will execute the home() function. Here, the home() function returns a dictionary. If you return a dictionary with FastAPI, then it’ll automatically convert to JSON.
To run your application, use the fastapi command that the FastAPI CLI provides:
Adding dev to the fastapi command starts your application in development mode, causing your app to automatically reload whenever you edit its source code.
If you name your main FastAPI app file app.py, api.py, or main.py, then you don’t even need to provide a file path when calling fastapi dev. But it also doesn’t hurt to be explicit, as the Zen of Python states, so you know exactly which file to run.
You can add the --host or --port flags to define the host and port on which you want to serve the FastAPI app. By default, your application starts on http://127.0.0.1:8000. When you visit this URL in your browser, you’ll see the JSON response:

When developing APIs, it can be a good idea to add a JSON formatter extension like JSONLint’s extension to your browser. If you want even more control, then you may consider API exploration tools like Postman or Bruno to interact with your endpoints.
Later in this tutorial, you’ll use FastAPI’s automatically created documentation to explore the API. Before doing so, it’s time to enhance your API with a few more endpoints.
Power Your Backend With FastAPI
Real-world APIs need to handle more than friendly greetings. You’ll often need endpoints that accept data, process it, and return meaningful results—for example, when you create a JavaScript Frontend for an API.
FastAPI makes it straightforward to create these common API patterns using path parameters, query parameters, and request bodies.
To try this out, replace the code in main.py with an example that demonstrates three typical API endpoints you might build for a book catalog system:
That’s a lot of new code you’ve added to your FastAPI app! Time to look at each of the functions you’ve added separately.
The function definition in line 16 for the /books endpoint accepts an optional query parameter called limit to control how many books to return. It’s up to the user of your API if they want to limit the response, or receive all books you have in stock:
In line 23, you define an endpoint with a {book_id} path parameter. This parameter must be provided by the user to identify a specific book by its ID. If the book exists, then you return the book data. Otherwise, you send an error message:
So far, you’ve defined endpoints that listen to GET requests. In line 31, you decorate the create_book() function with @app.post(). Note how the endpoint is the same /books path as before. However, now you equip the /books endpoint to also accept POST requests with a JSON request body containing book data:
FastAPI automatically validates the incoming book data using the Book model you defined in line 11, which inherits from Pydantic’s BaseModel:
This means if someone sends invalid data like a string for the pages field, FastAPI will return a helpful error message before your code even runs.
When running fastapi in dev mode, your development server should restart itself each time you make code changes. If you stopped your server, then you can start it either with the fastapi dev command or by specifying your API file explicitly:
With the code you’ve added, you’ve created a versatile API. You can test it by visiting multiple endpoints in your browser, for example:
http://127.0.0.1:8000/bookshttp://127.0.0.1:8000/books?limit=1http://127.0.0.1:8000/books/2
Right now, you can only retrieve the predefined content in main.py by sending GET requests from your browser. To start adding data to your books list, read on to learn about FastAPI’s interactive documentation.
Leverage the Automatic Documentation FastAPI Provides
One of FastAPI’s standout features is its automatic API documentation. Without writing any additional code, FastAPI generates interactive documentation for your API based on your code structure and type hints.
With your server still running, open your browser and navigate to http://127.0.0.1:8000/docs. You’ll see an interactive Swagger UI interface:

The Swagger UI displays all your endpoints, their HTTP methods, and the expected request and response formats. Besides serving as documentation, it also lets you interact with your endpoints to test them directly in the browser.
The Swagger UI is especially useful when you want to try out POST requests, like adding a new book to your list. First, expand the Create Book endpoint, click the Try it out button, add your book data, and then click Execute to perform the API call:
If one documentation page isn’t enough for you, then you can visit http://127.0.0.1:8000/redoc for alternative documentation:

ReDoc presents the same information in a different format. Both Swagger and ReDoc provide auto-generated documentation for your API. When you add new endpoints or change existing ones, your API documentation updates immediately after restarting your server.
This automatic documentation generation provides several benefits:
- Developer Onboarding: New team members can understand your API without extensive explanation. The interactive docs serve as both a reference and a testing tool.
- Client Integration: Frontend developers and API consumers can explore endpoints and try different scenarios without writing code.
- Maintenance: Documentation stays synchronized with your code because it’s generated from the same source. You can’t forget to update docs when you change functionality.
The automatic documentation capability alone often justifies choosing FastAPI for projects. The time saved on documentation maintenance and the improved developer experience make it particularly attractive for teams building complex APIs and for developers new to API development.
Conclusion
You’ve just scratched the surface of what FastAPI can do and learned the essentials of creating a Python API, from installation to interactive documentation.
In this tutorial, you’ve learned how to:
- Install FastAPI with the recommended
standardextras for a complete development environment - Create minimal API endpoints that automatically handle JSON serialization
- Use automatic documentation to test and share your API specifications
FastAPI’s simplicity, performance, and built-in features make it an excellent choice for modern Python APIs. The automatic validation through Pydantic models saves you from writing boilerplate code, while the interactive documentation helps your API consumers understand and test endpoints without extra effort.
Frequently Asked Questions
Now that you’ve completed this tutorial about FastAPI, you can use the questions and answers below to check your understanding and recap what you’ve learned. Click Show/Hide beside each question to reveal the answer:
Installing fastapi alone gives you just the core framework. You’ll need to manually install an ASGI server like uvicorn to run your application. The "fastapi[standard]" installation includes uvicorn and other commonly needed dependencies like python-multipart for form handling and email validators. For most projects, "fastapi[standard]" is the recommended choice.
You don’t need async programming to use FastAPI. It works perfectly well with synchronous functions, as shown in this tutorial. You can add async support later when handling high-concurrency scenarios or integrating with async databases and services.
Yes, FastAPI is perfect for an API-driven web app with JavaScript as the frontend and Python as the backend. FastAPI provides the API and takes care of the interaction with the database, while your JavaScript application handles the frontend work.
Both are automatic documentation interfaces that FastAPI provides. Swagger UI (/docs) offers an interactive playground where you can test your API endpoints directly in the browser. ReDoc (/redoc) provides a more traditional design with similar functionality. Both are generated from the same OpenAPI schema, so they contain identical information.
Take the Quiz: Test your knowledge with our interactive “Get Started With FastAPI” quiz. You’ll receive a score upon completion to help you track your learning progress:
Interactive Quiz
This hands-on quiz will test your knowledge of FastAPI basics, from installation and endpoints to automatic JSON responses and Swagger UI.