Start a Development Cluster — SkyPilot documentation (original) (raw)
You are viewing the latest developer preview docs. Click here to view docs for the latest stable release.
SkyPilot makes interactive development easy on Kubernetes or cloud VMs. It helps you:
- Launch: Quickly get a cluster with GPUs or other resources with a single command.
- Autostop: Automatically stop the cluster after some idle time for cost savings.
- Connect: Easily connect to the cluster using the cluster name:
Launch#
To launch a cluster with a cheap GPU for development:
Launch a cluster with 1 NVIDIA GPU and sync the local working directory to the
cluster.
sky launch -c dev --gpus L4 --workdir .
This can be launched as a pod in your Kubernetes cluster or a VM on any cloud.
Kubernetes
Launch a cluster as a pod in Kubernetes#
Cloud
Launch a cluster as a VM on GCP#
Note
View the supported GPUs with the sky show-gpus command.
Autostop#
SkyPilot allows you to automatically stop the cluster after a period of idle time to save costs. You can set the autostop time with a single command:
Auto stop the cluster after 5 hours
sky autostop -i 300 dev
Or add an additional flag -i during the launch:
Launch a cluster with auto stop after 5 hours
sky launch -c dev --gpus L4 --workdir . -i 300
For more details of auto stopping, check out: Autostop and Autodown. This feature is designed to prevent idle clusters from incurring unnecessary costs, ensuring your cluster stops automatically, whether it’s overnight or throughout the weekend.
Connect#
A user can easily connect to the cluster using your method of choice:
SSH#
SkyPilot will automatically configure the SSH setting for a cluster, so that users can connect to the cluster with the cluster name:
VSCode#
A common use case for interactive development is to connect a local IDE to a remote cluster and directly edit code that lives on the cluster. This is supported by simply connecting VSCode to the cluster with the cluster name:
- Click on the top bar, type:
> remote-ssh, and selectRemote-SSH: Connect Current Window to Host... - Select the cluster name (e.g.,
dev) from the list of hosts. - Open folder:
sky_workdirand find your code.
For more details, please refer to the VSCode documentation.

Jupyter notebooks#
Jupyter notebooks are a useful tool for interactive development, debugging, and visualization.
Connect to the machine and forward the port used by jupyter notebook:
ssh -L 8888:localhost:8888 dev
Inside the cluster, you can run the following commands to start a Jupyter session:
pip install jupyter jupyter notebook
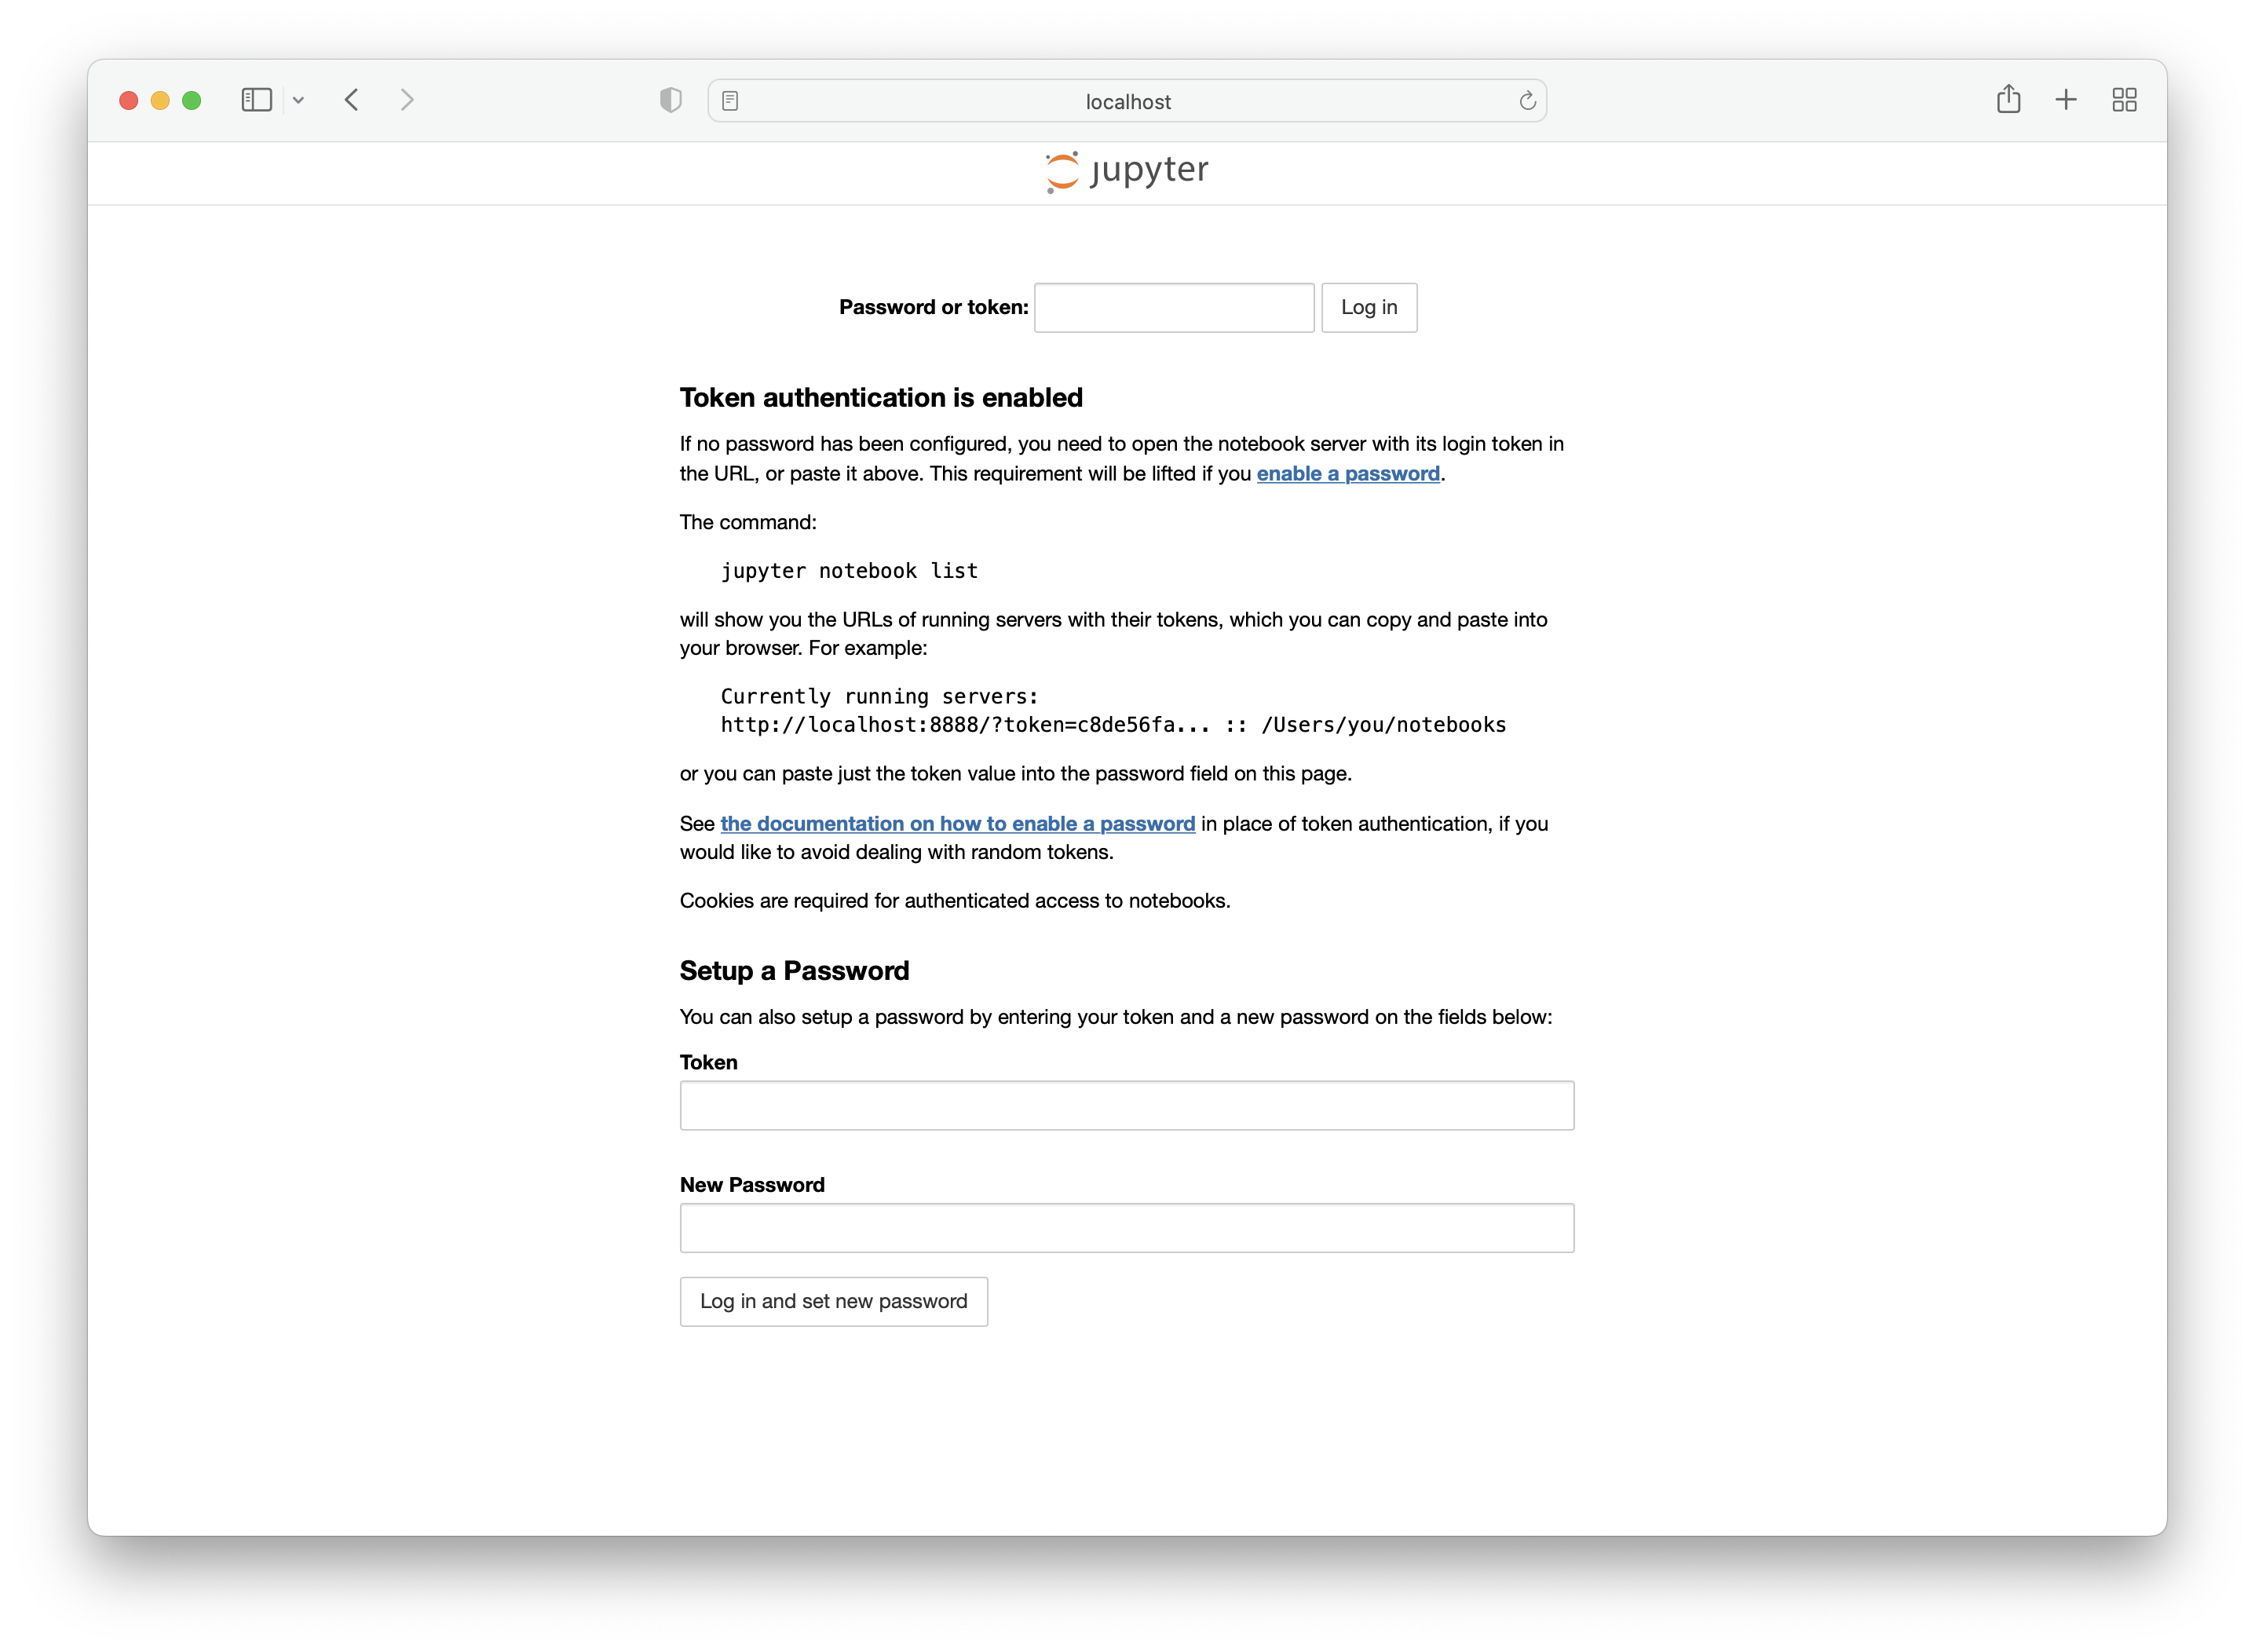
In your local browser, you should now be able to access localhost:8888 and see the following screen:
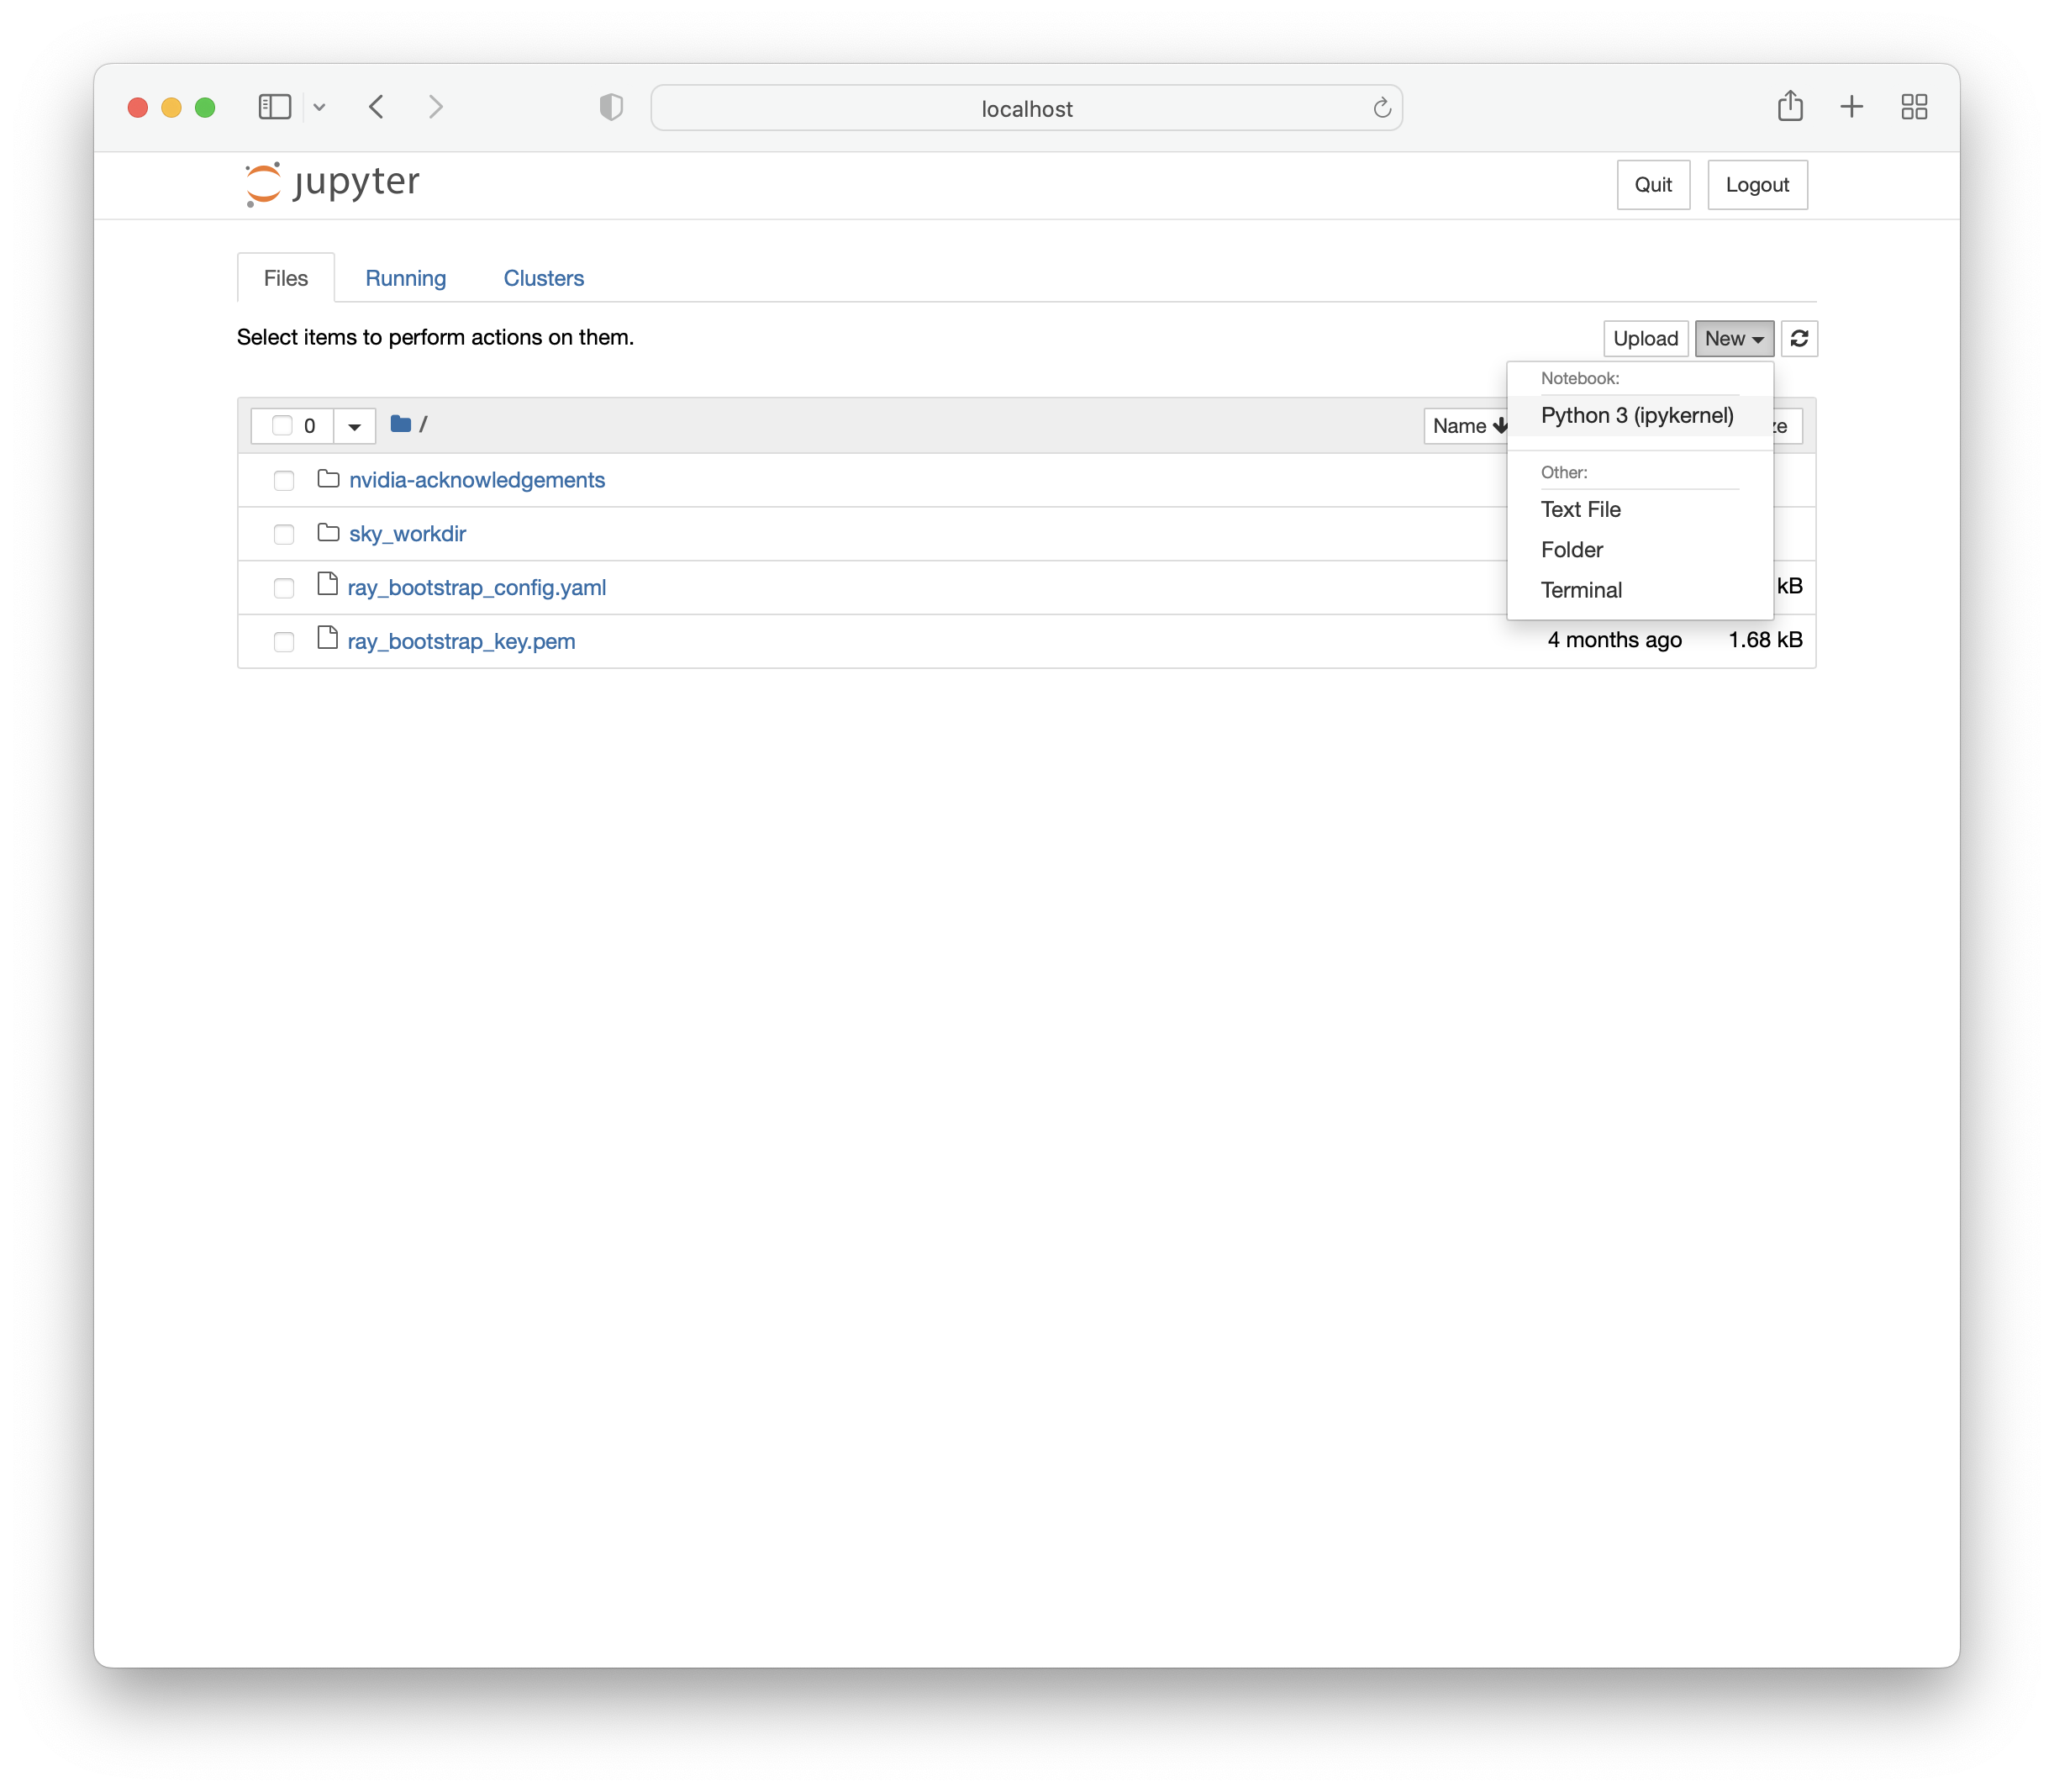
Enter the password or token and you will be directed to a page where you can create a new notebook.
You can verify that this notebook is running on the GPU-backed instance using nvidia-smi.
The GPU node is a normal SkyPilot cluster, so you can use the usual CLI commands on it. For example, run sky down/stop to terminate or stop it, and sky exec to execute a task.
Notebooks in SkyPilot tasks#
Jupyter notebooks can also be used in SkyPilot tasks, allowing access to the full range of SkyPilot’s features including mounted storage andautostop.
The following jupyter.yaml is an example of a task specification that can launch notebooks with SkyPilot.
jupyter.yaml
name: jupyter
resources: accelerators: L4:1
file_mounts: /covid: source: s3://fah-public-data-covid19-cryptic-pockets mode: MOUNT
setup: | pip install --upgrade pip conda init bash conda create -n jupyter python=3.9 -y conda activate jupyter pip install jupyter
run: | cd ~/sky_workdir conda activate jupyter jupyter notebook --port 8888 &
Launch the GPU-backed Jupyter notebook:
sky launch -c jupyter jupyter.yaml
To access the notebook locally, use SSH port forwarding.
ssh -L 8888:localhost:8888 jupyter
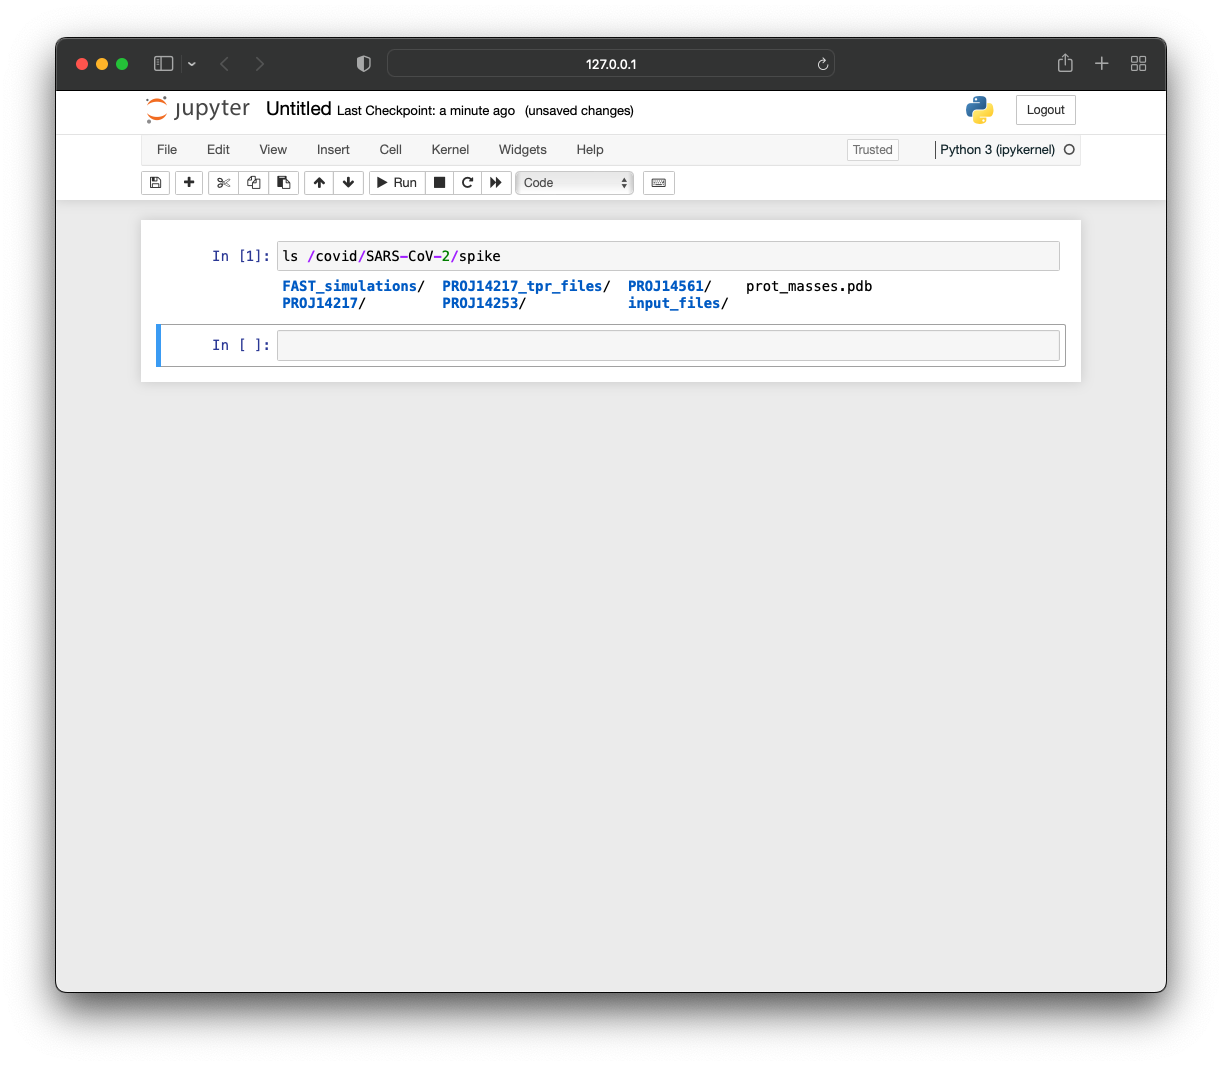
You can verify that this notebook has access to the mounted storage bucket.
Working with clusters#
To see a typical workflow of working with clusters, you can refer to Quickstart.


