Sand Art DIY Sugar Scrub - Sugar & Cloth DIY (original) (raw)
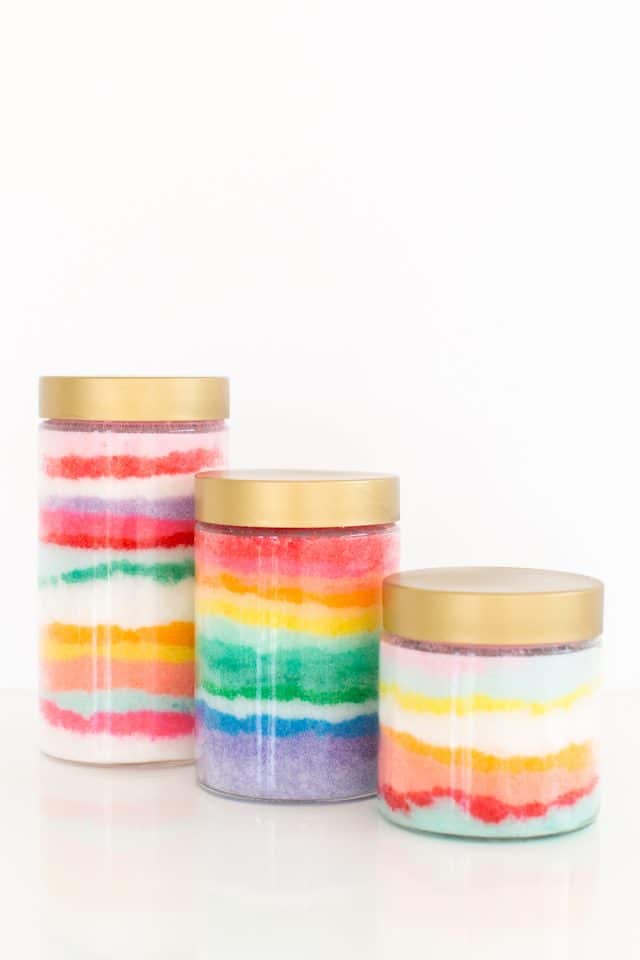
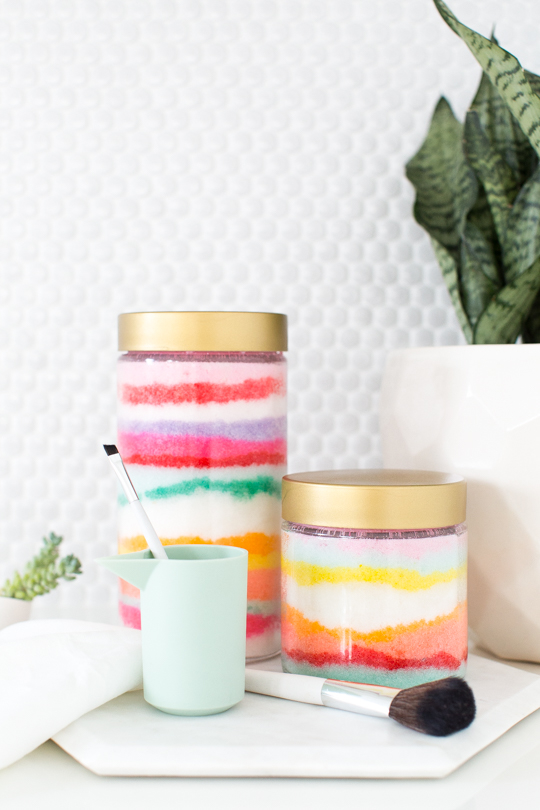
Keep your skin smooth and your bathroom counters cute with this Sand Art DIY Sugar Scrub! One for you and one for your friend, everyone will smell delicious!

We are definitely no stranger to whipping up our own sugar scrub recipes. They’re our favorite homemade shower must-haves (along with our citrus sugar scrub and coffee sugar scrub).
Not to toot our own horn or anything, but we may be just a teeny tiny bit obsessed with this Sand Art DIY Sugar Scrub! We never thought our inner eight year old self would be shining through all of these years later with a whole new love for sand art. But never say never!
Don’t get us wrong, we probably won’t be adapting any sand art themes into our home decor or anything. But it’s fun in small colorful doses (especially tucked away in the shower), don’t you think?! Plus, they make for pretty gifts.
- What is a Sugar Scrub?
- Ingredients and Materials Needed to Make Homemade Body Scrub
- Best Essential Oils for Sugar Scrubs
- How to Make Your Own Homemade Sugar Scrub
- Coloring Your Scrub to Make it Look Like Sand Art
- How to Use Sugar Scrubs in Your Beauty Routine
- How to Store Homemade Sugar Scrub
- More Easy Beauty DIY’s
- Sand Art DIY Sugar Scrub
What is a Sugar Scrub?
Sugar scrubs are a natural way of exfoliating and moisturizing your skin. It’s a less harsh treatment compared to a sea salt scrub. The main components of sugar scrubs are sugar, an oil (typically coconut oil or olive oil) and aromatic hydrating essential oils.
Sugar scrubs are beneficial to your beauty routine since by exfoliating your skin it is removing all your dead skin. Because this treatment is so gentle, it’s especially ideal for sensitive skin. Plus, you can use sugar scrubs for your face and body.
Goodbye dry skin! Sugar scrubs leave your skin feeling silky, smooth, glowing (and not to mention smelling wonderful).
Ingredients and Materials Needed to Make Homemade Body Scrub
- Granulated white sugar
- Coconut oil
- Gel food colors
- Optional — Your choice of essential oils for scenting
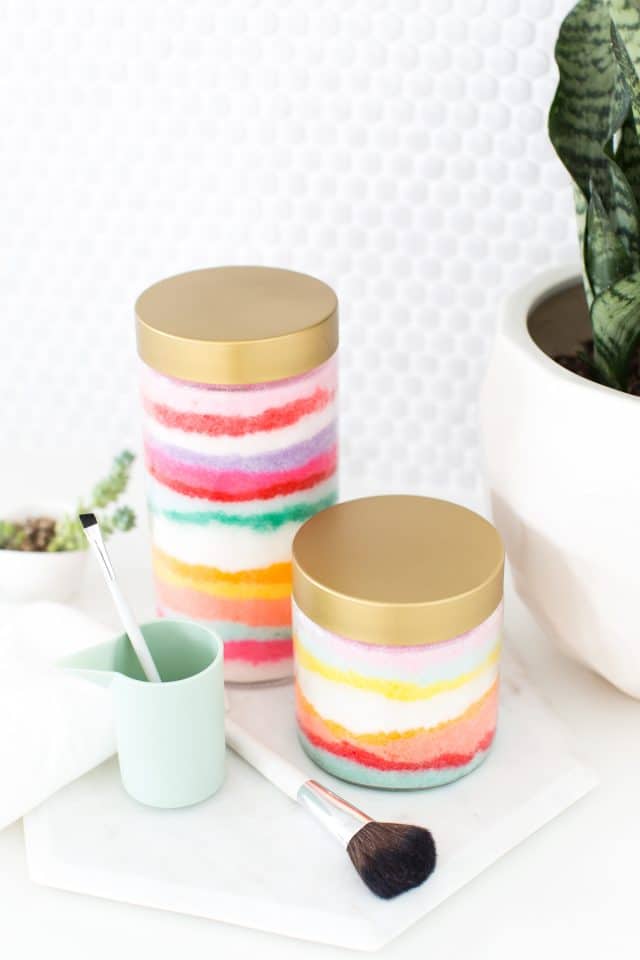
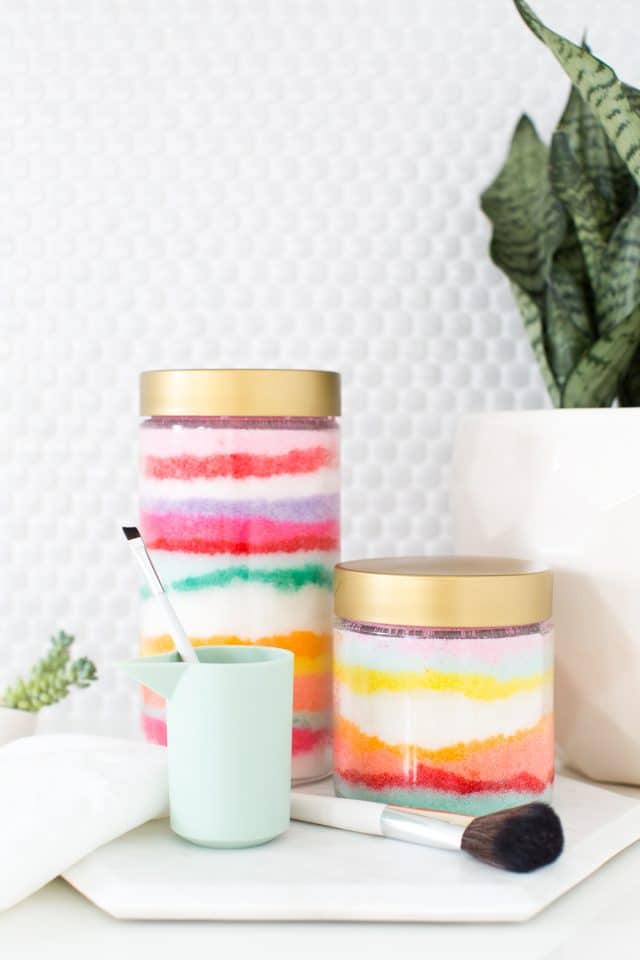
- Airtight container for storing — We purchased these glass jars locally and spray painted the lids gold. You can even use mason jars or food storage canisters.
Best Essential Oils for Sugar Scrubs
There are so many essential oils to choose from when making your homemade sugar scrub. But these are some of our favorites due to its skin benefits —
- Chamomile oil – Perfect for reducing redness in your skin. The sweet aroma also relieves stress.
- Coconut mint — Mint contains a cooling effect which is beneficial for irritated skin.
- Lavender oil — Its healing and calming properties soothes and relaxes your skin.
- Peppermint orange –– Used for energy boosting.
- Tea tree oil — Great for acne prone skin since it is natural astringent. Use tea tree sparingly as the scent is strong.
How to Make Your Own Homemade Sugar Scrub
Making sugar scrub is really simple. And you can’t really go wrong with a recipe for it.
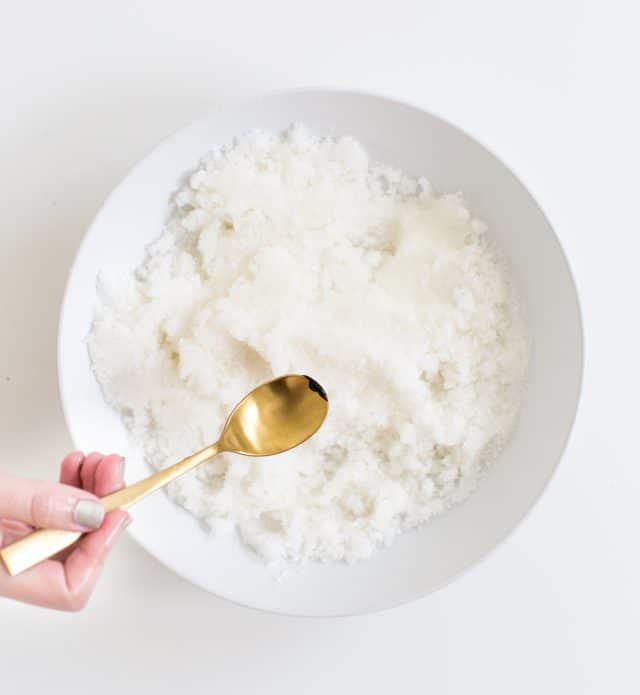
We used 3 parts cup of sugar to 1 part coconut oil (with a few drops of essentials oil) as a general rule of thumb.
If you like your scrub to be a bit creamier, just mix in extra coconut oil.
We left our scrub unscented since we wanted to use it more as an exfoliator in addition to our usual soaps. But some of my favorite essential oil combinations are peppermint orange and coconut mint!
You can add as much of as little essential oils as you’d like for scenting the scrub. It won’t hinder the outcome of the consistency.
Coloring Your Scrub to Make it Look Like Sand Art
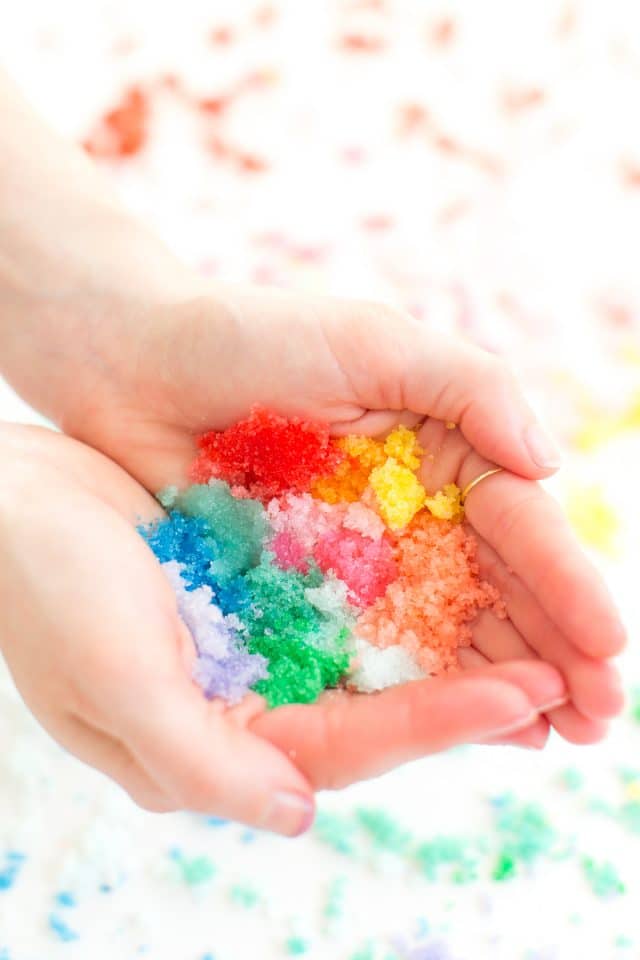
Once you’ve made the base scrub, you can start coloring the scrub. Spoon in gel food coloring and mix in the color with your hands.
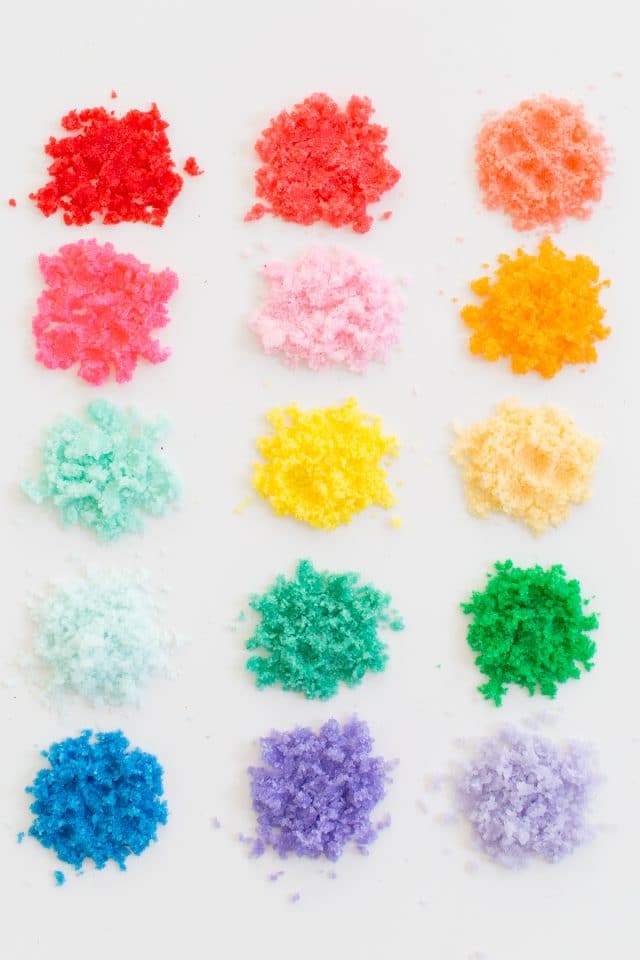
We created LOTS of different colors to have a little bit more room to play with when it comes to the sand art formations. However, you can make as little or as much as you want!
For the light colors, we just used a very modest amount of a color. And for the more vibrant ones, we used a generous amount of food color. You can also mix and match colors to get a certain shade you’re looking for, etc.
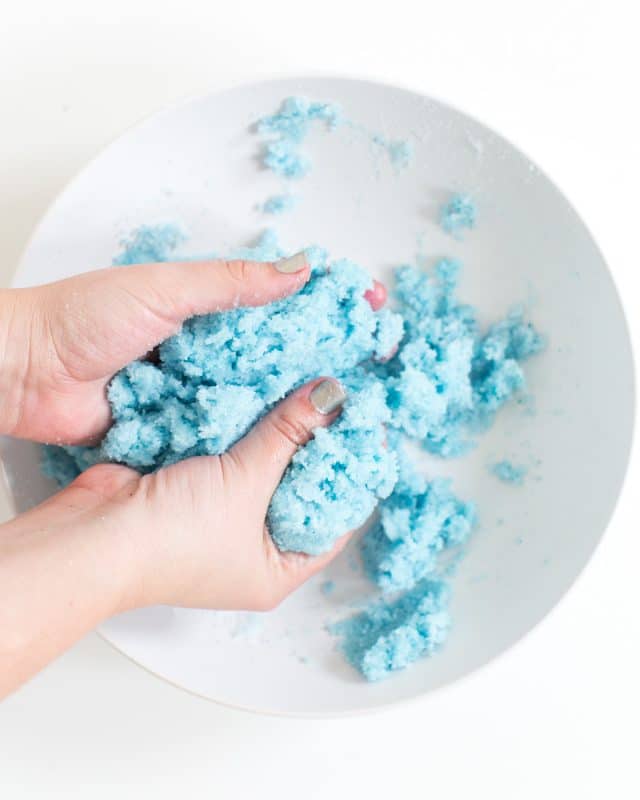
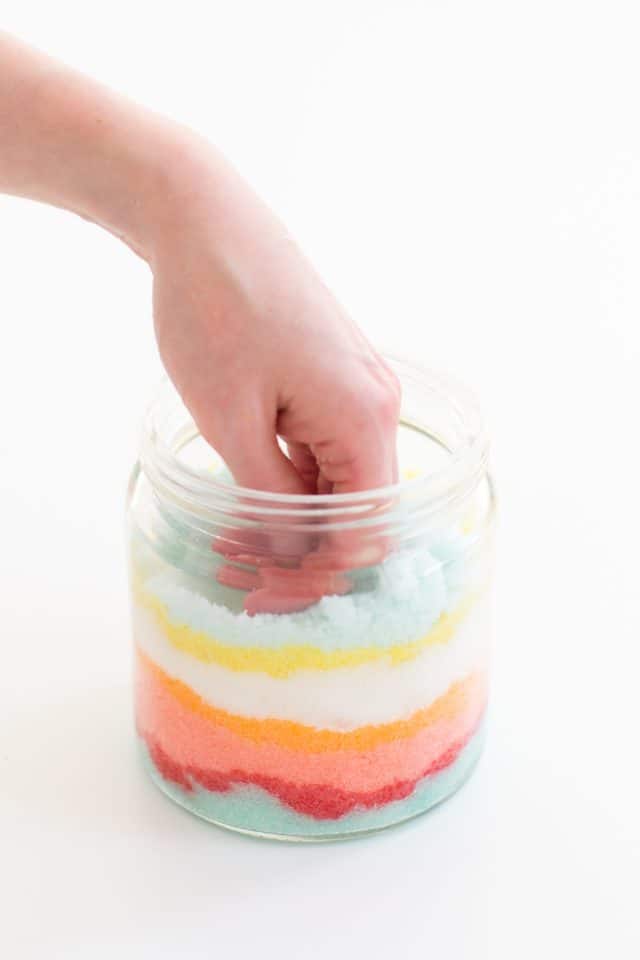
Once you’ve made all my my colors, spoon each color into a glass container. Firmly press the sugar for each color into place before moving onto the next one.
I left mine sort of messy and uneven like sand art would usually be. And we love the way it turned out!
As you can see, we started to get a little addicted to making different color schemes and patterns. You could make these all day!
Especially after seeing how intricate some sand art forms are!
How to Use Sugar Scrubs in Your Beauty Routine
Use sugar scrubs as you would with any exfoliator. It’s that easy!
When using on your face, apply a small amount of sugar scrub to clean dry skin. Wet your finger and gently massage your face in a circular motion. Then, rinse with lukewarm water and pat dry.
For an allover body treatment, scoop out some sugar scrub on clean wet skin. Gently rub your skin in a circular motion.
Next, rinse with lukewarm water. Finally, pat dry with a soft towel. There’s no need to use additional body soap or gel if your sugar scrub includes essential oils.
For extra hydration, let the scrub sit on your skin for a few minutes. Use one to three times a week, depending on the sensitivity of your skin.
How to Store Homemade Sugar Scrub
Store your sugar scrubs in an airtight container at room temperature for a longer shelf life. Over time, the sugar and oil may separate. This is completely normal! Simply remix the sugar scrub with your finger.
If you want to leave the scrub in the shower, choose a waterproof container also. We do recommend that you store sugar scrubs on the counter away from water. Because this all natural DIY sugar scrub does not contain any water, it requires no preservatives.
But any contact of water can cause your sugar scrub to eventually mold. And because sugar is involved, you want a sturdy container to also keep ants away!
This would also make a perfect mason jar gift if you’re looking for a bulk gift idea or party favors.
More Easy Beauty DIY’s
What do you think?! We’re seriously considering making these as DIY Christmas and birthday gifts for friends this year! Who would’ve ever thought our childhood sand art obsession would be making a come back this late in the game?!
Homemade sugar scrubs are so fun and affordable to make. For more easy beauty diy’s for yourself or to gift, check out at few of our favorites from the archives —
- DIY Bath Sachet Gift Set
- Leather Hexagon DIY Vanity Tray
- Concrete DIY Vanity Mirror
- Cinnamon Coffee Sugar Scrub
Keep your skin smooth and your bathroom counters cute with this Sand Art DIY Sugar Scrub!
Course DIY
Category Beauty
Large mixing bowl
Small mixing bowl
Spoon
3 cup white granulated sugar
1 cup coconut oil
Gel food colors any color of your choice
Essential oils optional for scenting
The amount of sugar and coconut oil you use depends on how many different colors you want your DIY Sand Art Sugar Scrub to have. If you want to use lots of colors, you may want to increase your measurements. The key is to use 3 parts sugar to 1 part coconut oil.
Store in an airtight container for up to a month.
To make the base of your sugar scrub, evenly combine the sugar, coconut oil and essential oils (optional). If you prefer a creamier texture, just mix in extra coconut oil.
To prep for the color mixing, seperate the sugar scrub base into small mixing bowls. (One for each color of your choice.)
Spoon in the gel food coloring and mix in the color with your hands. For the light colors, use a very modest amount of a color. For vibrant colors, use a generous amount of food coloring. You can also mix and match colors to get a certain shade you’re looking for.
Once you’ve made all the colors, spoon each color into a glass container. Firmly press the sugar for each color into place before moving onto the next one.
Cost: $20
KEYWORD: homemade sugar scrub

Please note that we may earn a commission for some of the above affiliate links. However, products featured are independently selected and personally well-loved by us!