Easy Peanut Butter Pie (No Bake!) (original) (raw)
This post contains affiliate links.
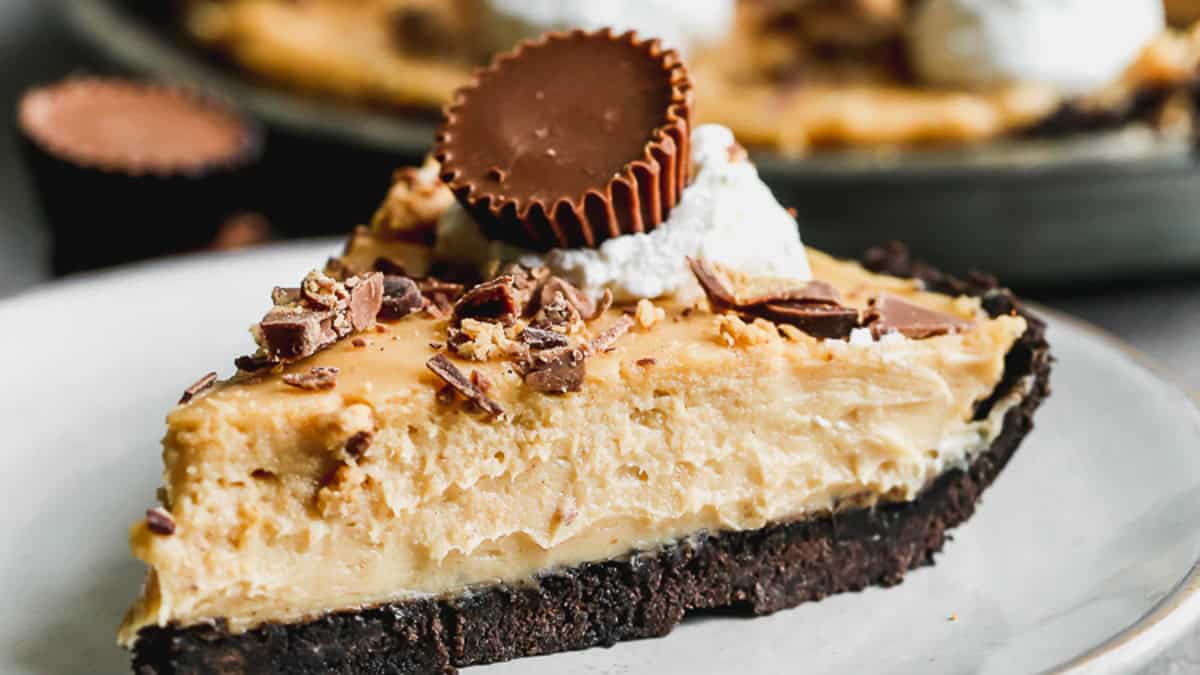
Our no-bake Peanut Butter Pie recipe is rich and creamy, made with just a few simple ingredients in 20 minutes (no baking required)! It’s the perfect make-ahead dessert for holidays, potlucks, or when you’re craving a quick and indulgent treat.
How to make Peanut Butter Pie:
Make Oreo Pie Crust: Pulse Oreos into crumbs in a food processor, then mix in melted butter. Press into a 9.5-inch pie dish, covering the bottom and sides. Chill in the fridge for 1 hour or freeze for 20–30 minutes.
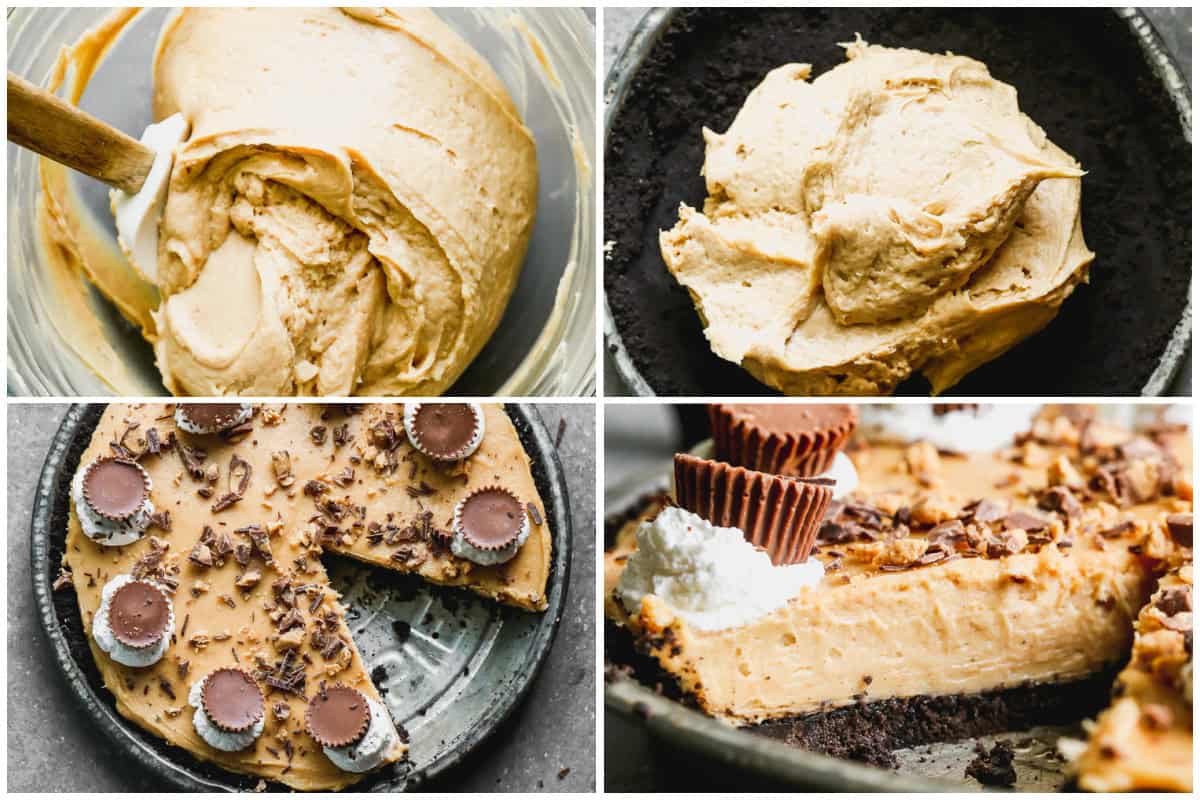
Make the Filling: Beat cream cheese and peanut butter until smooth. Mix in powdered sugar and vanilla for a few minutes until light and fluffy. In a separate bowl, beat heavy cream to stiff peaks, then gently fold into the peanut butter mixture.
Assemble: Spread filling into the chilled crust. Cover with plastic wrap gently and refrigerate for at least 4 hours or overnight.
Serve: Top with extra whipped cream and a sprinkle of crushed chocolate, chocolate curls, or peanut butter candy like Butterfingers or Reese’s, if desired. If you're looking for another no-bake pie, try my Millionaire Pie recipe.
▢ 12 ounces cream cheese, , softened
▢ 1 1/4 cups creamy peanut butter
▢ 1 1/4 cups powdered sugar
▢ 1 1/4 cups heavy whipping cream
▢ 1 1/2 teaspoons vanilla extract
▢ Topping Ideas: crushed candies, mini Reese’s peanut butter cups, chocolate and peanut butter chips
Oreo Crust: Place Oreo cookies in a food processor and pulse until small crumbs. Stir in the melted butter. Press the mixture into a deep dish* 9.5-inch pie plate, pressing firmly into the bottom and up the sides of the dish. Refrigerate crust for 1 hour (or freeze for 20-30 minutes) before adding filling.
30 Oreo cookies, 6 Tablespoons butterPeanut Butter Pie Filling: In a mixing bowl beat together the cream cheese and peanut butter until smooth. Add powdered sugar and vanilla and mix well, until smooth. Add heavy cream to a separate mixing bowl and beat with mixers until stiff peaks. Fold in the whipped cream to the peanut butter mixture until combined.
12 ounces cream cheese, 1 ¼ cups creamy peanut butter, 1 ¼ cups powdered sugar, 1 ½ teaspoons vanilla extract, 1 ¼ cups heavy whipping creamChill: Pour filling into cooled pie shell and cover gently with plastic wrap. Refrigerate for at least 4 hours, or overnight, before serving.
Serve: If desired, serve with additional whipped cream on top, sprinkled with crushed candy or candy bars.
Topping Ideas: crushed candies, mini Reese’s peanut butter cups, chocolate and peanut butter chips
Crust: Try using Nutter butter cookies for the crust, a regular graham cracker crust or chocolate graham cracker crust.
Vegan Peanut Butter Pie: Use vegan cream cheese in place of regular cream cheese, and make vegan whipping cream by blending ½ cup + 2 tablespoons of silken tofu with ½ cup + 2 tablespoons of soy milk in a blender until well combined. Mix in a teaspoon of vanilla and stir it into the peanut butter in step 2 of the filling.
Make Ahead Instructions: Peanut butter pie can be made 1-2 days in advance, stored in the refrigerator until ready to serve. Top with whipped cream just before serving.
Freezing Instructions: Make the pie in a freezer safe dish and wrap it well with plastic wrap, then aluminum foil. Freeze for 2-3 months. Thaw overnight in the refrigerator.
Calories: 532kcal, Carbohydrates: 42g, Protein: 10g, Fat: 38g, Saturated Fat: 16g, Polyunsaturated Fat: 5g, Monounsaturated Fat: 14g, Trans Fat: 0.2g, Cholesterol: 53mg, Sodium: 381mg, Potassium: 295mg, Fiber: 2g, Sugar: 29g, Vitamin A: 646IU, Vitamin C: 0.2mg, Calcium: 76mg, Iron: 4mg
Nutrition information is automatically calculated, so should only be used as an approximation.
Text me new recipe ideas!
Simple, tasty ideas sent once a week. No spam.
I originally shared this recipe August 2020. Updated July 2023 and November 2025.
Related Posts
Published November 2, 2025
Lauren Allen
Welcome! I’m Lauren, a mom of four and lover of good food. Here you’ll find easy recipes and weeknight meal ideas made with real ingredients, with step-by-step photos and videos.