Creating, Editing and Importing Galaxy Workflows (original) (raw)
Workflows are a powerful feature in Galaxy that allow you to link multiple steps of complex analysis. In this tutorial we will demonstrate how to use the Workflow Editor to construct multiple variants of a simple workflow. Note that these workflows are meant to illustrate different concepts. Not all workflows require using all of the features described below, but we hope this tutorial will inspire you to make your analysis tasks more efficient.
Read about extracting workflows from histories in this tutorial.
Agenda
In this tutorial, we will cover:
Workflow steps
Workflows logically connect a collection of steps. Possible step types are currently workflow inputs, tools, and workflows.
Creating a new workflow
Hands On: Create a new workflow
- Click on Workflow in the top panel of the Galaxy page
- On the top right you will see 2 buttons: Create and Import
- To create a new workflow click on Create
- Enter a Name and Annotation for your workflow and click Save
- The Workflow Editor will open with a new, empty workflow loaded
Figure 1: A new empty workflow
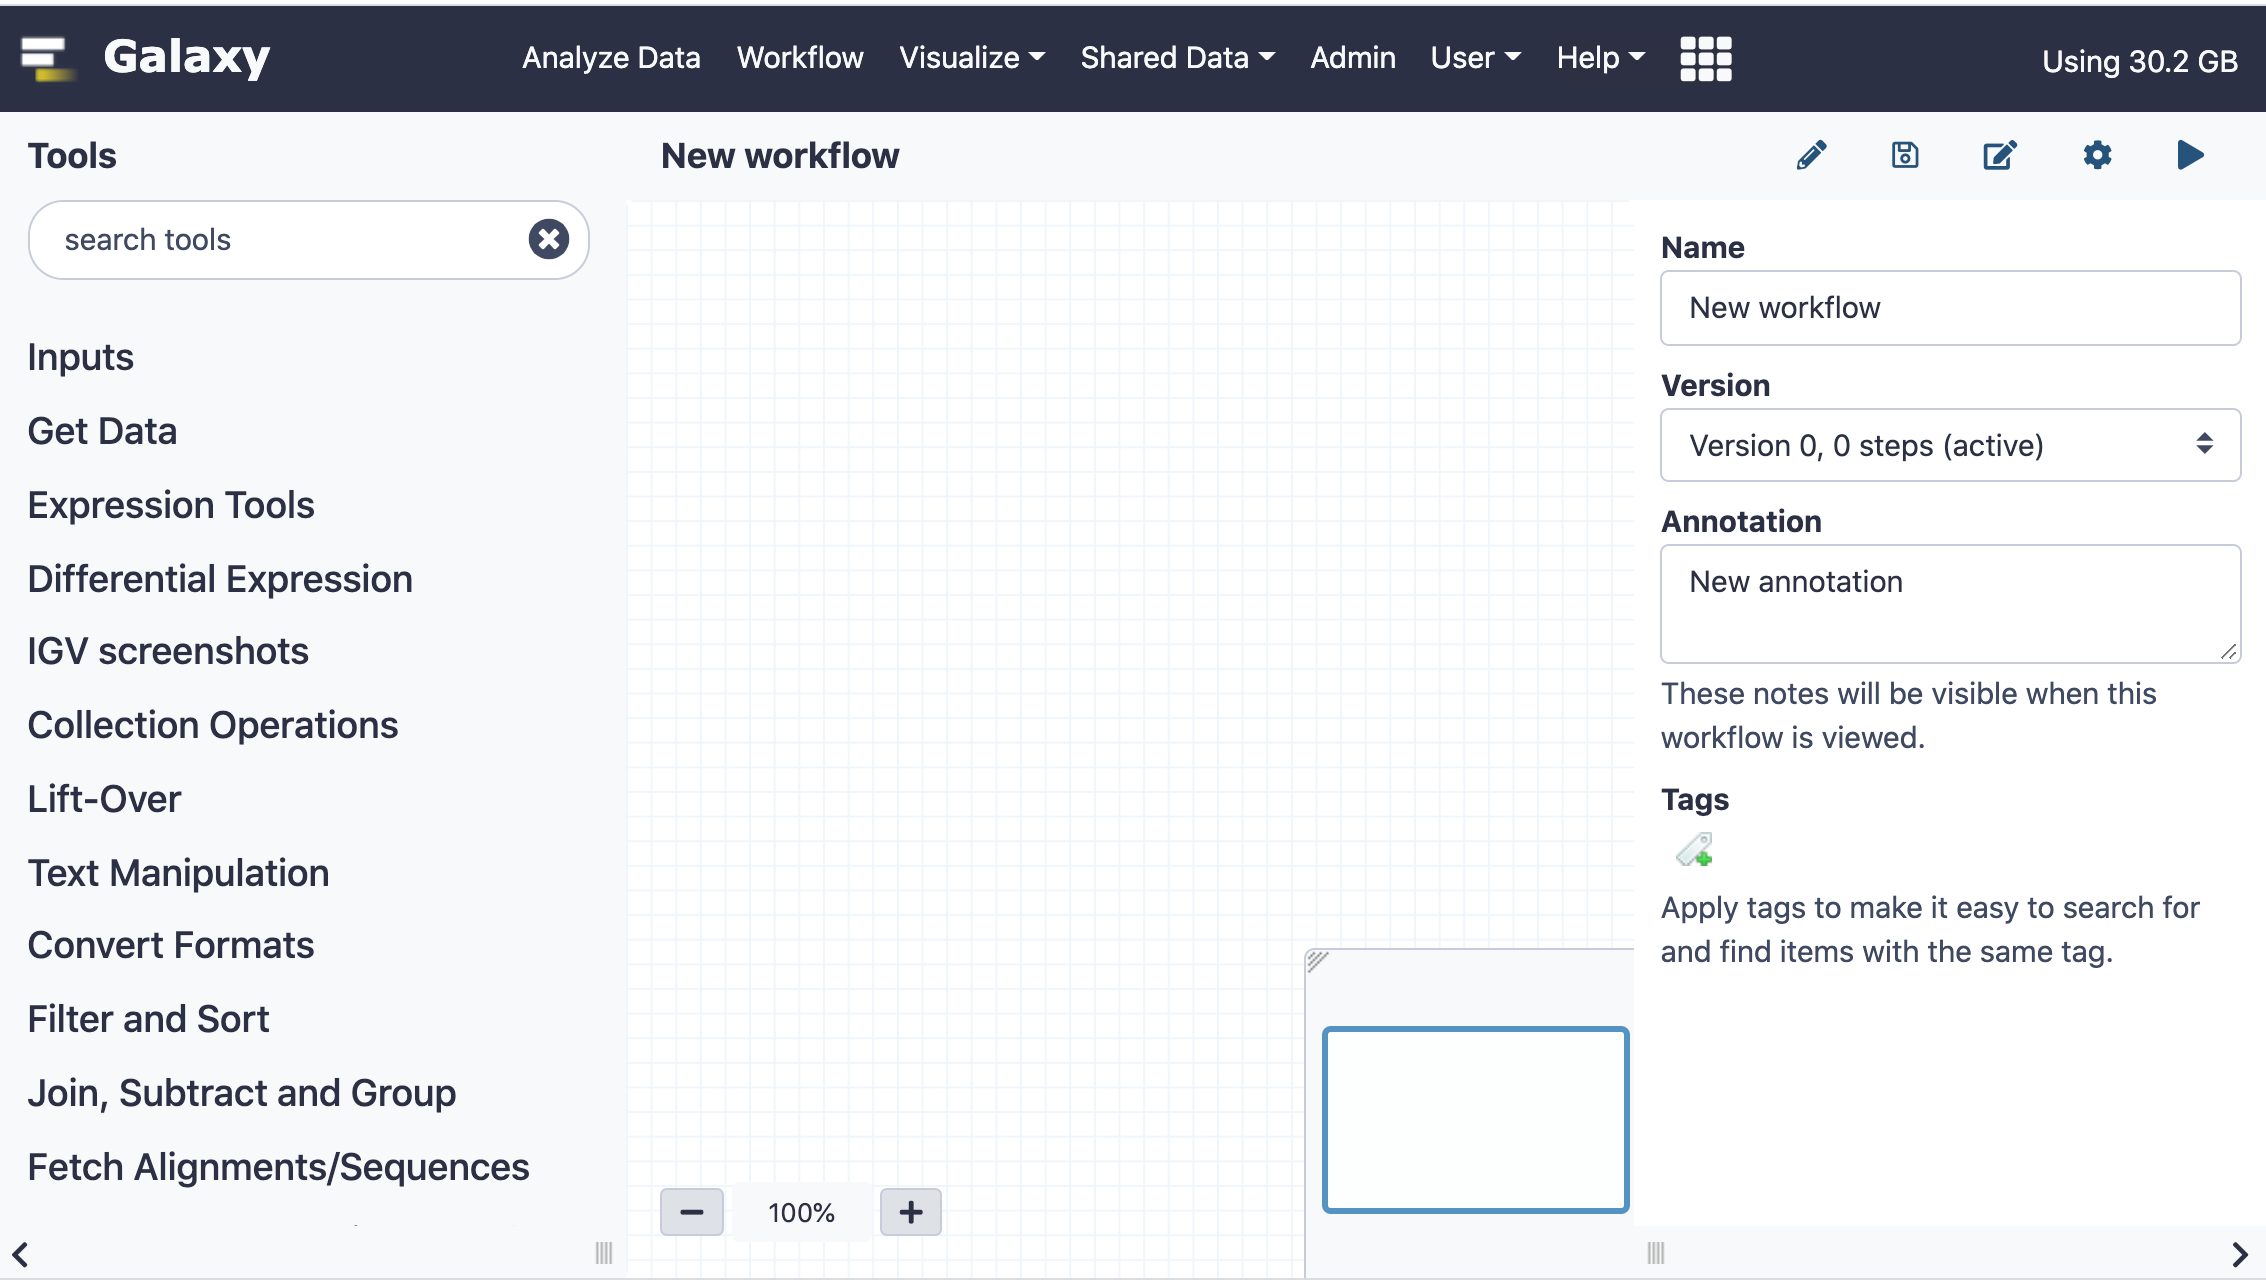
On the left hand side of the Editor you see the available tools in the tool panel. The center panel (or “canvas”) holds the workflow layout. Steps will appear in the center panel. On the right you see the attributes of the workflow, such as name, version, annotation and tags. Depending on the context the contents of the right panel will change, but you can always return to these attributes by clicking on the Edit Attributes button (the Pencil icon on the upper right). If there is no Pencil icon you can find the Edit Attributesbutton under the the Workflow options button (a wheel icon) on the top right of the editor.
We will start by creating a very simple workflow with just 2 tools, and then add more advanced features.
Hands On: Insert a dataset input
- Expand the “Inputs” section in the tool panel and click on “Input dataset” to create a new dataset input
- Click on the new input dataset in the center panel. Set the following parameter on the right side:
- Label:
A simple text input dataset
We’re now ready to add a first tool and connect it to our input dataset.
Hands On: Add tac reverse a file (reverse cat) to your workflow
- Find tac reverse a file (reverse cat) tool in the tool panel and click on it
- A new box labeled tac tool will appear in the center panel
- Click on tac in the center panel and see the tool parameters on the right side
- We will keep the default tool settings and only give the step a label
- Label:
Reverse dataset
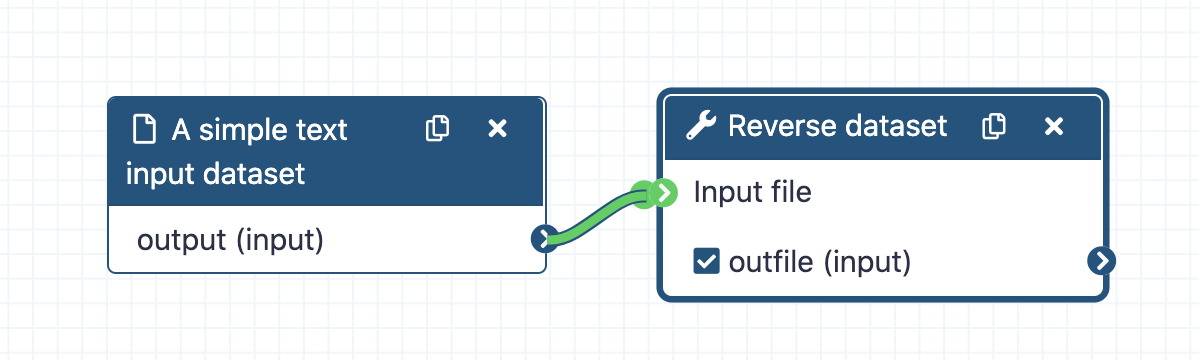
- Click on the round blue symbol of the input dataset and drag the connection to the highlighted round green tool input
Figure 2: Connecting outputs and inputs
This is great, but while a single tool in a workflow might be handy (for instance if there are many parameters to be set), let’s add another tool that works on the output of tac reverse a file (reverse cat) tool for an authentic workflow experience. From now on we’ll contract steps 1 to 4 and just mention the tool and parameters to insert, since the procedure is always the same.
Hands On: Add Select first lines from a dataset to your workflow
- Select first lines from a dataset tool
- Label:
Select first lines- Select first:
1
- Connect the output of the Reverse dataset step to the input
- Save galaxy-save your workflow using the save button on the top right
We now have a very simple workflow that will reverse the contents of a file and then output the first line of the resulting dataset. Now we’re ready to upload a test dataset and run our workflow.
Hands On: Running the workflow
- Return to the analysis page by clicking the Home button galaxy-home (or Analyze Data on older versions of Galaxy) on the top
- Upload a dataset using “Paste/Fetch data” with the contents
- Run your workflow
- Click on galaxy-workflows-activity Workflows in the Galaxy activity bar (on the left side of the screen, or in the top menu bar of older Galaxy instances). At the top of the resulting page you will have the option to switch between the My workflows, Workflows shared with me and Public workflows tabs. Select the tab you want to see all workflows in that category.
- Click on the workflow-run Run workflow button of the workflow you would like to use
- Configure the workflow as needed
- Click the Run Workflow button at the top-right of the screen
You may have to refresh your history to see the queued jobs
The outputs of the workflow will now appear in your history. In addition to our input file we will see 2 new datasets: 2: tac on data 1which contains the reversed dataset and 3: Select first on data 2 which just contains the line F.
This is fine, but if we want to process many datasets at once the naming of input datasets in the history will be difficult to follow. Luckily we can use dataset collections as inputs, which will maintain element identifiers across all steps of an analysis. We can also add colorful tags that can help us identify groups of datasets and we can label and rename outputs.
Editing our simple workflow
We will now add tags to step outputs and label one of the 2 output datasets.
Hands On: Editing our simple workflow
- Open our simple workflow in the Workflow Editor
- Remove the input dataset called
A simple text input datasetusing the white galaxy-cross icon- Add an input dataset collection and label it
- Label:
A text dataset collection
- Disconnect the exisiting connections and reconnect
- Select the
Reverse datasetstep and underConfigure Output: outfileset
- Add Tags:
name:reverse
- Select the
Select first linesstep and underConfigure Output: outfileset
- Add Tags:
name:first- Label:
Last lines- Rename dataset:
Renamed datasets
- Save galaxy-save your workflow using the save button on the top right
Hands On: Running the workflow
- Return to the analysis page by clicking the Home button galaxy-home (or Analyze Data on older versions of Galaxy) on the top
- Create a dataset collection from the first 2 files in your history
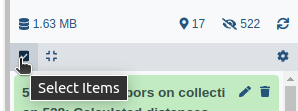
- Click on galaxy-selector Select Items at the top of the history panel
- Check all the datasets in your history you would like to include
- Click n of N selected and choose Build Dataset List
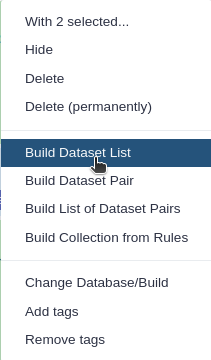
- Enter a name for your collection
- Click Create list to build your collection
- Click on the checkmark icon at the top of your history again
- Run your workflow using the newly created collection input
- Click on galaxy-workflows-activity Workflows in the Galaxy activity bar (on the left side of the screen, or in the top menu bar of older Galaxy instances). At the top of the resulting page you will have the option to switch between the My workflows, Workflows shared with me and Public workflows tabs. Select the tab you want to see all workflows in that category.
- Click on the workflow-run Run workflow button of the workflow you would like to use
- Configure the workflow as needed
- Click the Run Workflow button at the top-right of the screen
You may have to refresh your history to see the queued jobs
You will now see only 1 new dataset collection, Renamed datasets, in your history. This is because we have labeled only the last step in the workflow. This collection has 2 name tags, reverse and first. The other output collection is hidden in the history but can be seen by clicking on hidden in your history.
We will now use this workflow and embed it in a new workflow.
Embedding a workflow within a workflow
Another step type is the subworkflow. We can use this to include a section of a workflow that is repeated within a workflow or a workflow that contains steps that are useful in more than one workflow, so that we don’t have to maintain and update closely related workflows.
Here we will include our workflow twice within a new workflow and then paste the contents of each workflow together.
Hands On: Embedding a workflow
- Create a new, empty workflow
- Insert a dataset collection input
- On the left side scroll down until you see the
Workflowssection- Insert the previously created workflow by clicking on the workflow name
- Label the new workflow step:
- Label:
First workflow
- Repeat steps 4 and 5, but change the Label
- Label:
Second workflow
- Insert Paste two files side by side tool
- Connect the 2 workflow outputs to the Paste two files side by side tool input
- Save galaxy-save your workflow using the save button on the top right
- Click on galaxy-workflows-activity Workflows in the Galaxy activity bar (on the left side of the screen, or in the top menu bar of older Galaxy instances). At the top of the resulting page you will have the option to switch between the My workflows, Workflows shared with me and Public workflows tabs. Select the tab you want to see all workflows in that category.
- Click on the workflow-run Run workflow button of the workflow you would like to use
- Configure the workflow as needed
- Click the Run Workflow button at the top-right of the screen
You may have to refresh your history to see the queued jobs
This is a very contrived example, but this technique can be used to separate re-useable steps in real world scenarios.
Conclusion
You now know the ins and outs of Workflows in Galaxy and should be able to make your analyses more efficient and less manual!