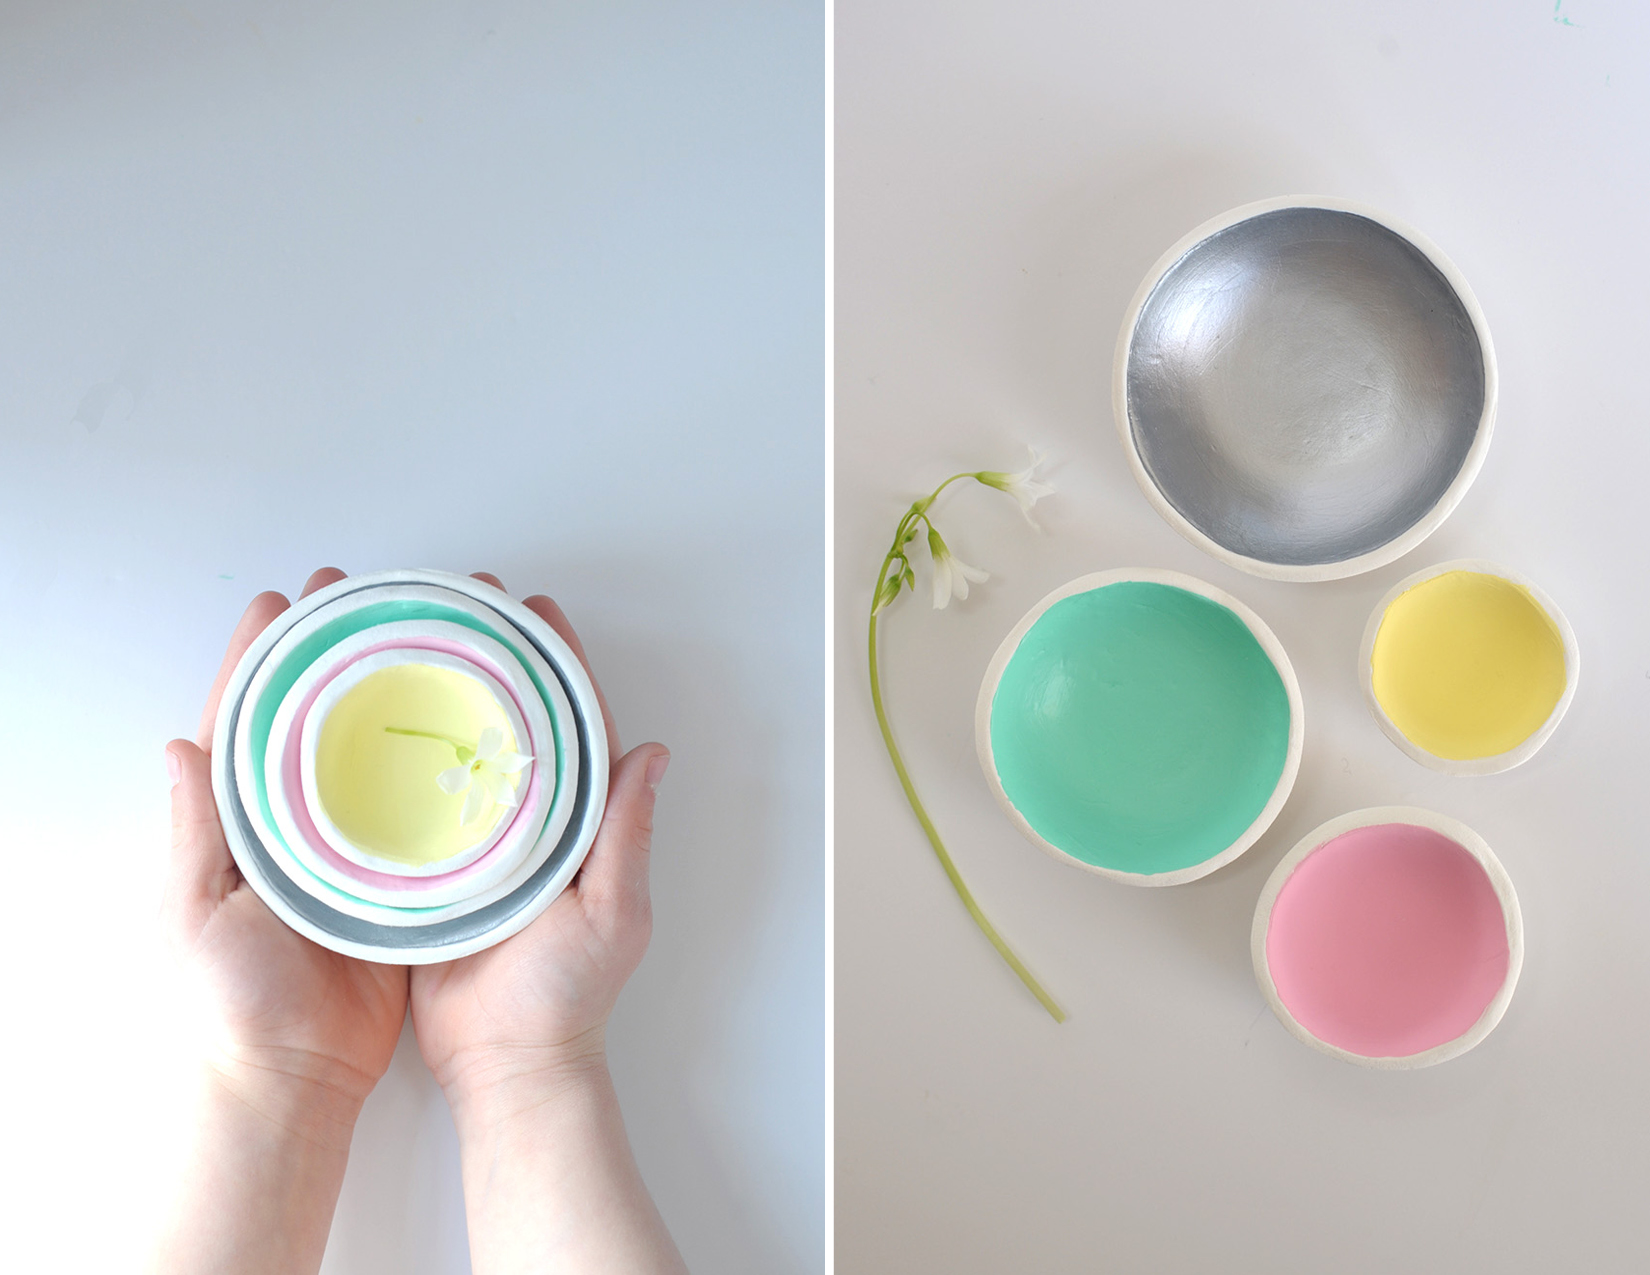
DIY Air Dry Clay Jewelry Bowls (original) (raw)
 We just moved Calla into a new room and I realized she needed some little bowls for jewelry, hair ties and all that little stuff that four-year-old girls like to collect. I’ve always wanted to work with air dry clay and this seemed like the perfect project to give it a try.
Before having the girls, one of my hobbies was pottery, so I’ve been looking for easy ways to get back into it. What is so nice about air dry clay is that it doesn’t make a mess and it doesn’t involve a kiln, or even an oven.
*Since we originally published this post, we have done so many more craft projects with air dry clay. You can find them here. Like rainbows, clay platters and bunny bowls.
Read more to find out how I made these simple, sweet DIY Air Dry Clay Jewelry Bowls.
Supplies
rolling pin
glass bowls
paintbrush
fine sandpaper
How to make DIY Air Dry Clay Jewelry Bowls
1. Roll out air dry clay on smooth surface. Roll to thickness of 1/4 inch.
2. Place bowl top side down on to clay. Cut around the edge of the bowl with a knife. Lift off clay gently and place inside the bowl. To make the nesting bowl set, I simply used my glass nesting mixing bowls from my kitchen. I used the smallest four.
3. Push clay into bowl until it touches the bottom and side. Smooth edges with your finger. Let clay dry overnight, up to a day until dry.
4. Pop out the dried clay from the glass bowls and sand the edges with the sandpaper.
5. Paint the bowls however you’d like with acrylic craft paint.
This clay was so easy to work with. I’m already dreaming up my next projects that I want to try. I found it can be helpful to slightly wet your hands with water while first working with the clay. I had a wet paper towel on hand while working on the bowls.
 Can’t wait to see what you create!
–Melissa
facebook // instagram // twitter // pinterest
All photos by Melissa Fenlon for alice & lois design studios. All rights reserved.
