How to Make a Clay Pendant Lamp (original) (raw)
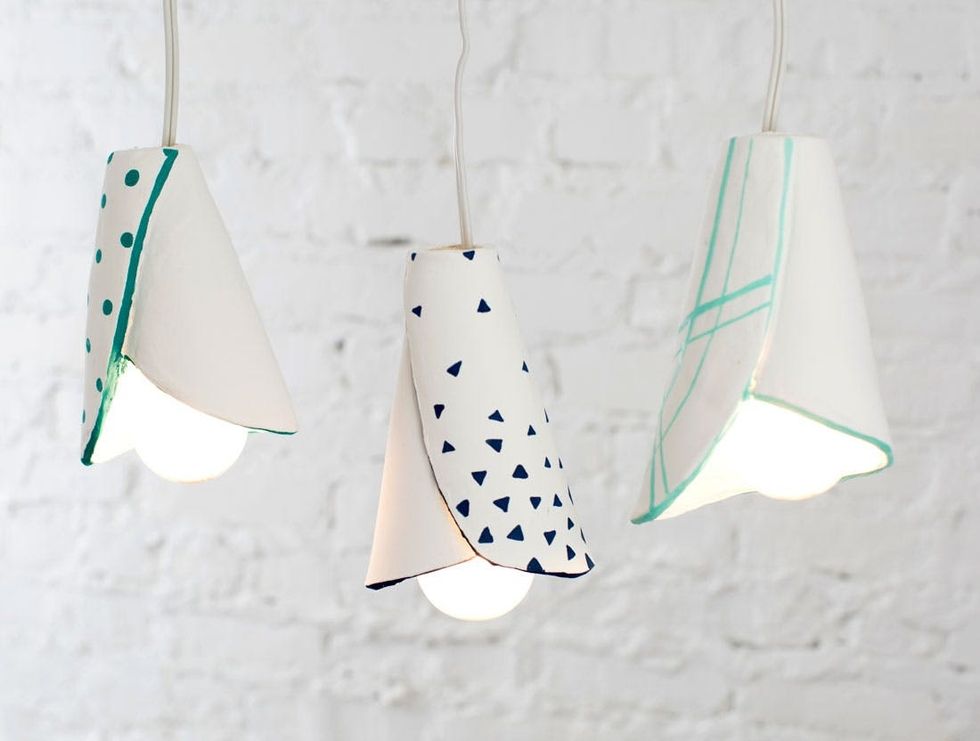
Listen up DIYers, because we are about to bring the weirdest two materials together to make an awesome DIY! Air dry clay + mini orange cones = pendant lamp shades! For this #31DaysofDIY, we decided to take a stab at air dry clay. We love pottery and ceramics but it’s not the easiest medium to play around with since you need access to a kiln. This air dry clay is a great alternative and does not disappoint. We’re used to seeing clay pieces on our dressers or counters, but hanging from the ceiling?! That’s something new that we had to try!
No idea what #31DaysofDIY is? It’s a brand new tradition here at Brit + Co that’s all about kicking off 2015 right. We’ve challenged ourselves to make or learn something new every single day for the month of January, and we’re inviting all of you along for the ride. From DIY basics like Sewing 101 to learning to design and laser cut our own stencils, we hope this month of making inspires you to make all year long.
Materials:
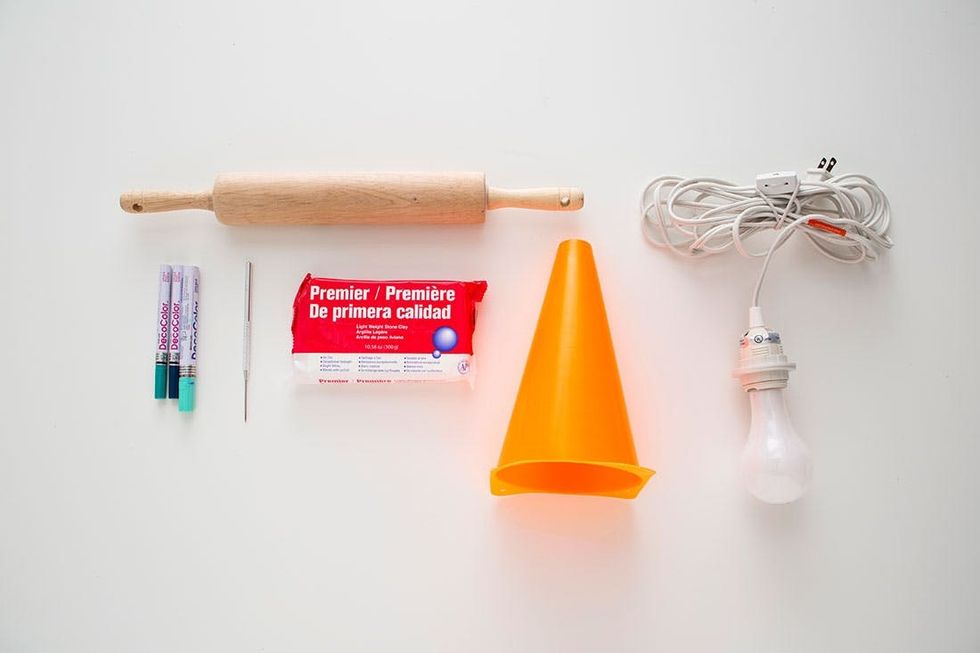
– air dry clay – paint pens
– hanging light cord + bulb
**Tools:**– plastic cones – needle tool from pottery tool kit – rolling pin
Instructions:
1. Get your hands messy! Using the rolling pin, roll out your air dry to make an oval shape.
2. Wrap the clay around the cone.
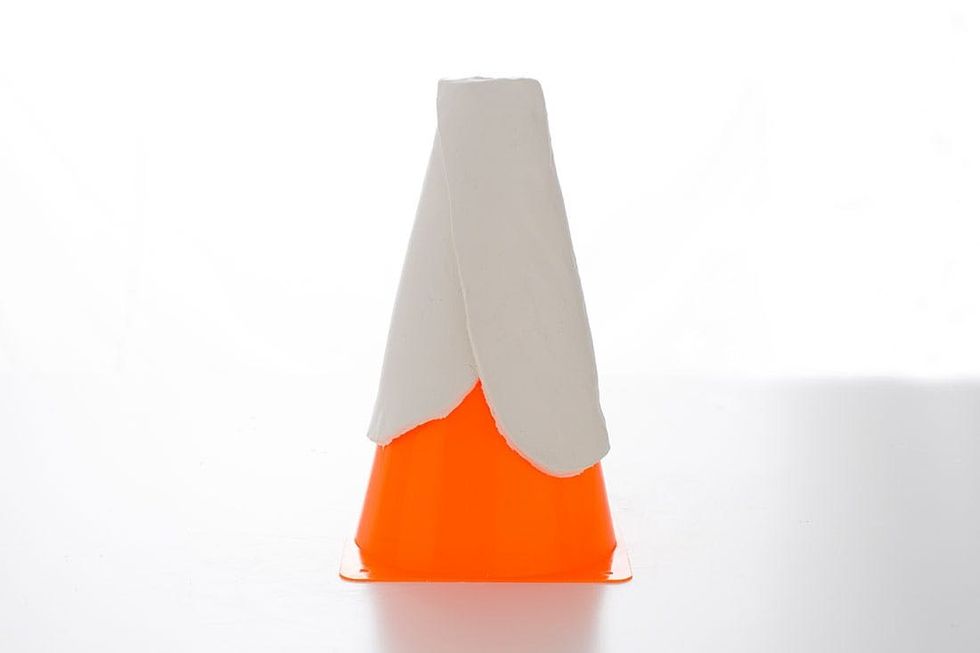
3. Using your needle tool flatten out the top of the clay cone to be even with the top of the plastic cone, and then shape the bottom. We rounded out the edges to make it look like it was two sheets of paper overlapping each other.
4. Wait for it to dry! We suggest waiting 10 hrs, removing it from the cone, and then letting it dry overnight for a total of 24 hours.
6. Once it is dry, decorate with paint pens. We created fun patterns like lines, dots, and triangles.
Just look at that bright shiny orange cone — it’s just waiting to be the mold for a lamp.
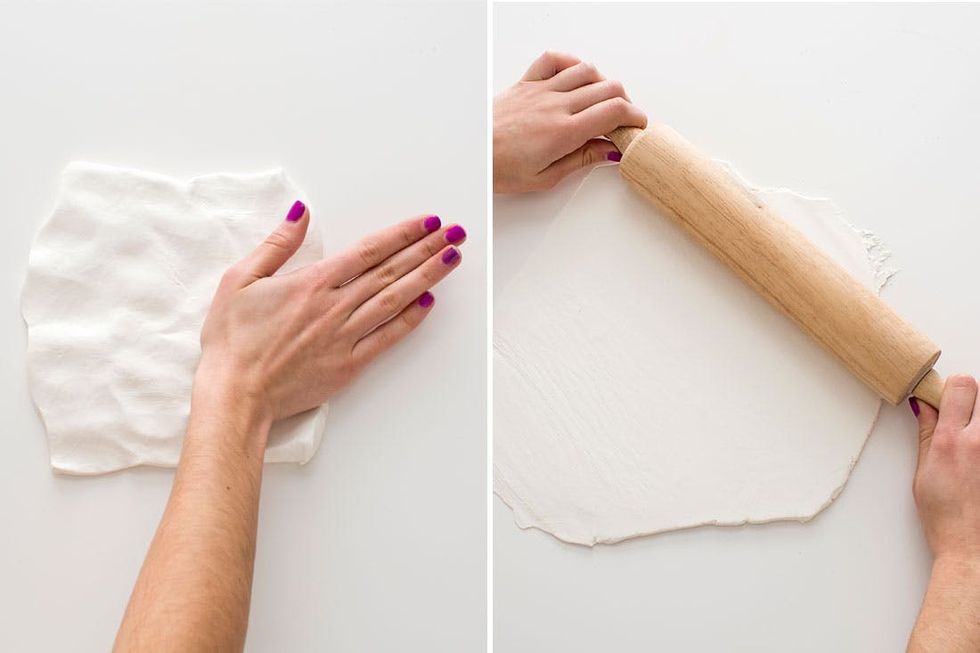
Unwrap your clay and roll it out into an oval shape. We suggest pounding it out with your hand first, it will make it a lot easier to roll and you can get out some frustration.
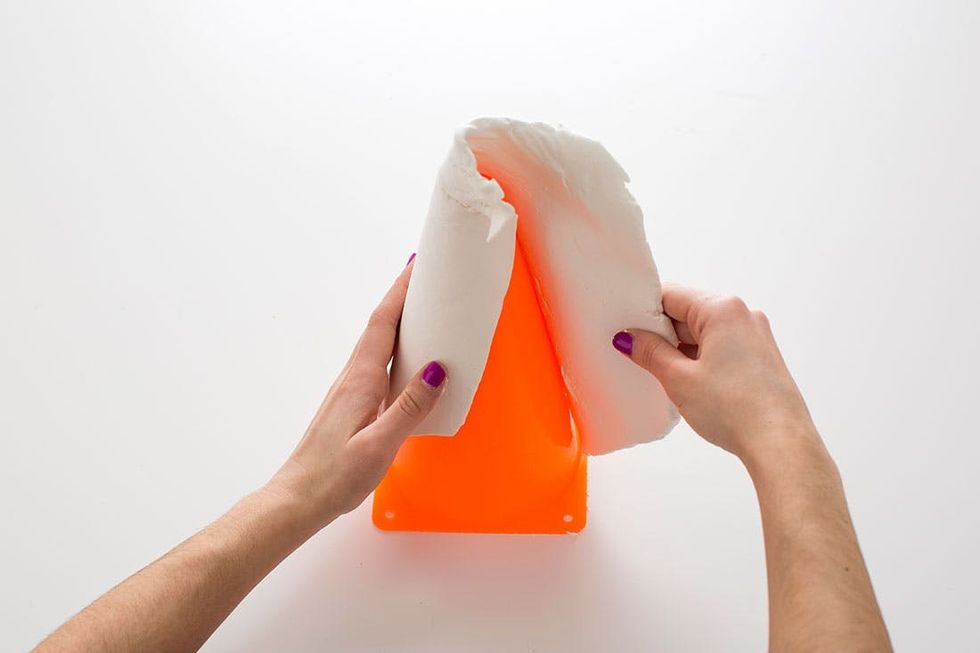
Time to dig through your garage to find those random orange cones! Once it is found and cleaned, wrap the clay around the cone.
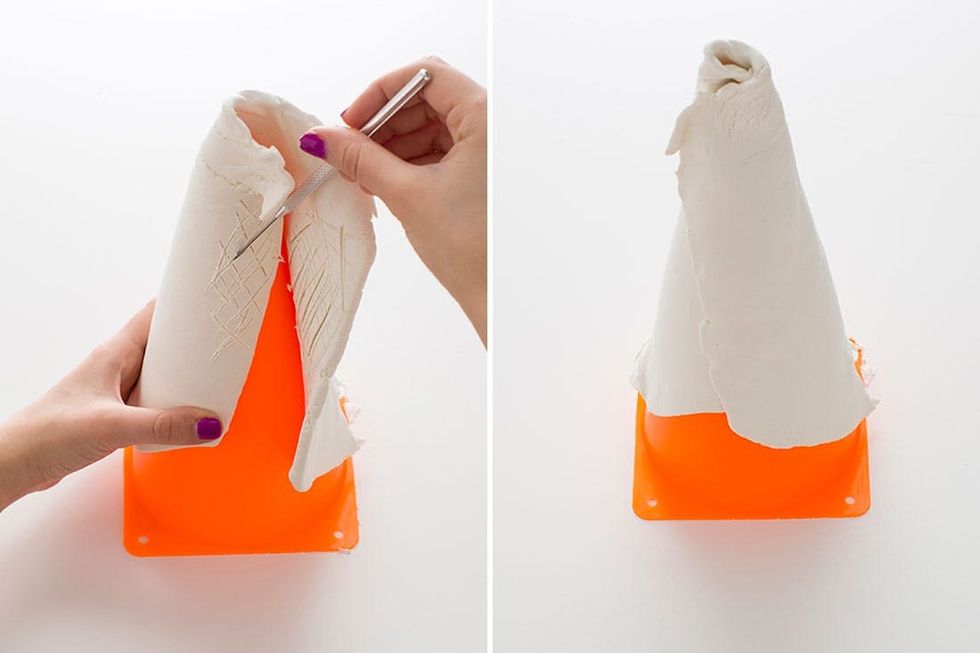
Using your needle tool create cross hatching marks on the faces where the clay will meet. This will help the clay stick together when drying.
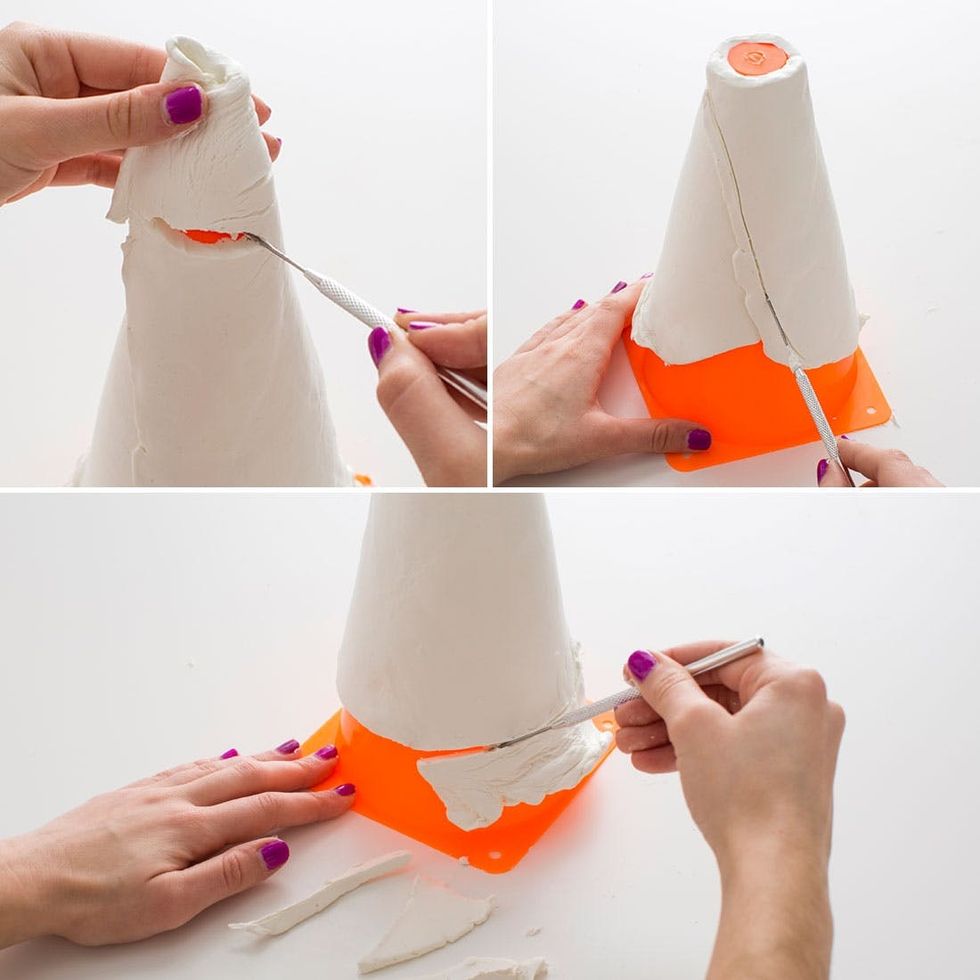
Time to clean this bad boy up and make it look like a real lamp shade. First even off the top of your clay cone using the needle tool. Next, trim the seam and along the back edge. You will want it to be a smooth diagonal line down the front and flow into a clean rounded curve along the back.

Use your fingertips to apply pressure to smooth out bumps in the clay.
Alright, time for the boring part. You’ll need to let this dry for about 24 hours. We recommend letting it dry for about 10 hours and then taking it off the mold and allowing it to dry for another 10 more.
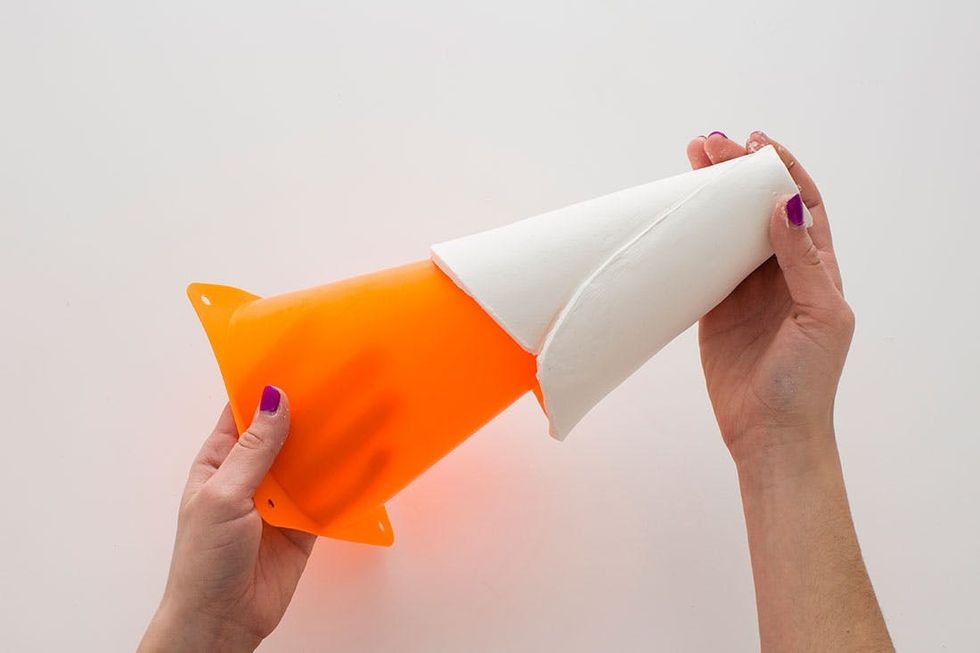
Taking the clay cone off the traffic cone can be tricky. Some of ours slid right off and some we needed to cut the cone out with scissors. Do your best to squeeze and pull the plastic cone away from the clay without damaging the structure.
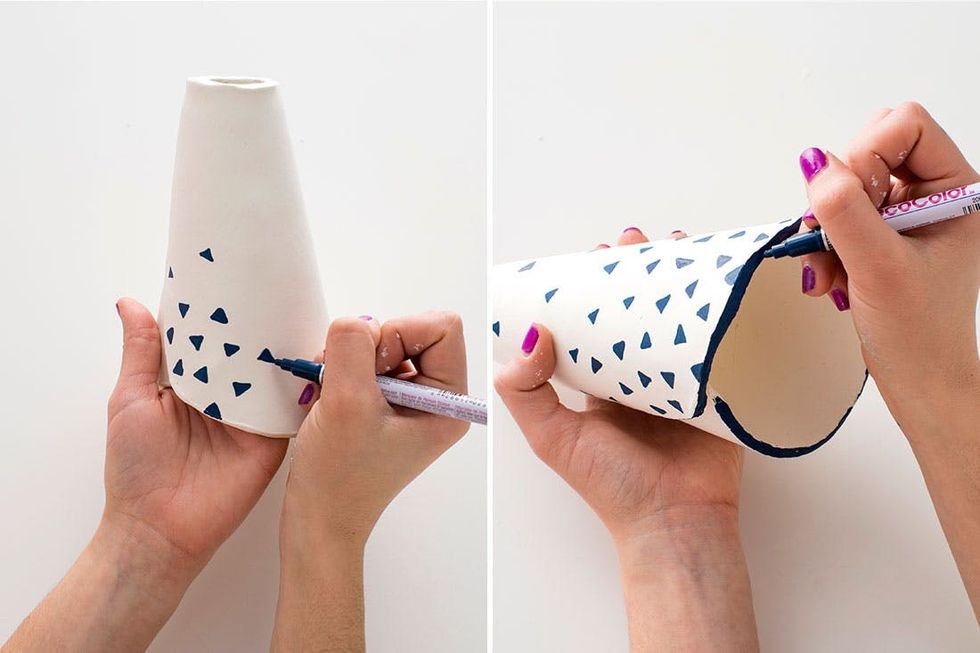
Dry and get ready to paint (with paint pens of course)! We decorated using a simple triangle pattern. We created a confetti effect by drawing more triangles at the bottom and fewer at the top.
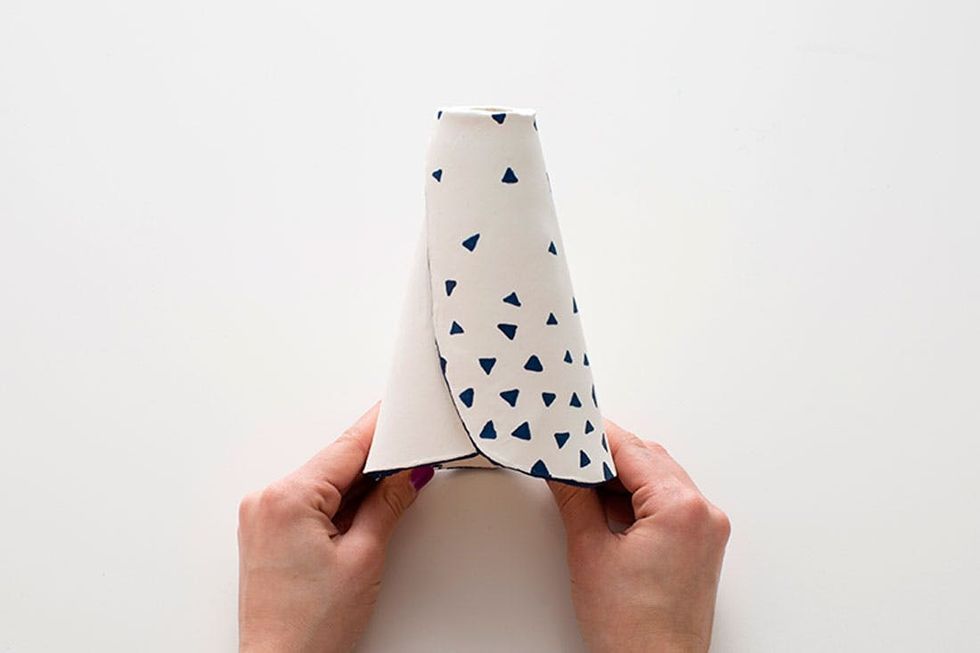
Très chic!
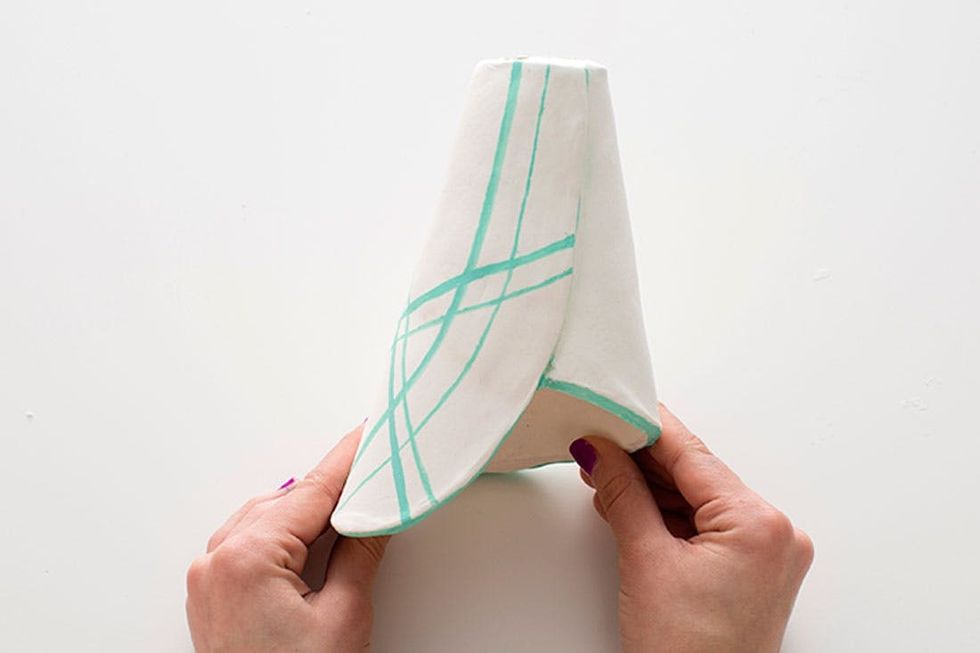
If triangles aren’t your thing, try interesting lines. We created lines that mimicked the curves of the lamp shade. Lines with different weights give the pattern more pizzazz and dimension.

Oh polka dots. You never fail us. If you’re concerned about making the dots all the same size then ditch paint pen and grab acrylic paint and a Q-tip!
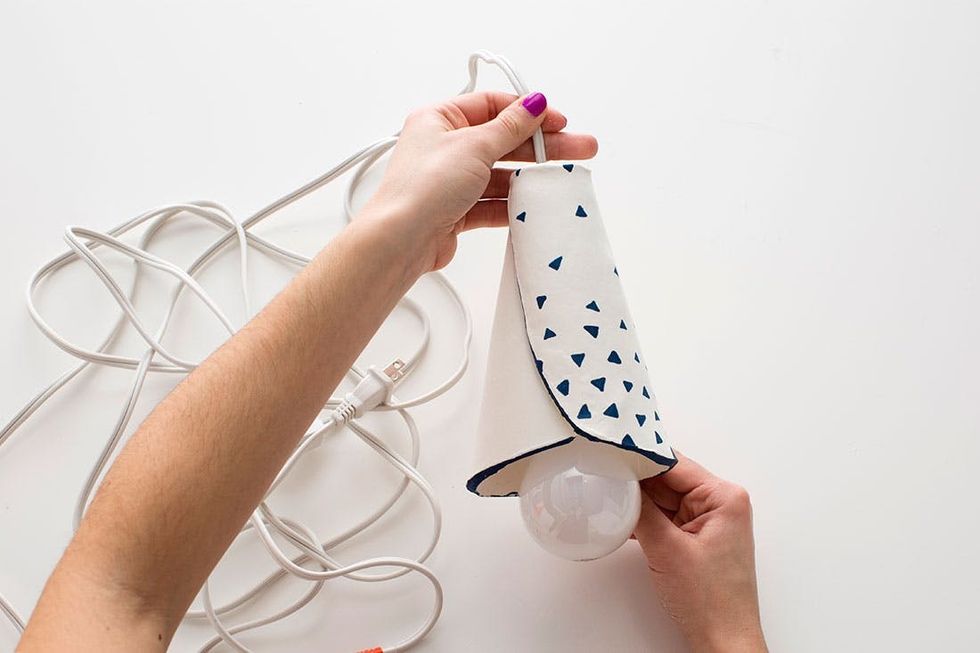
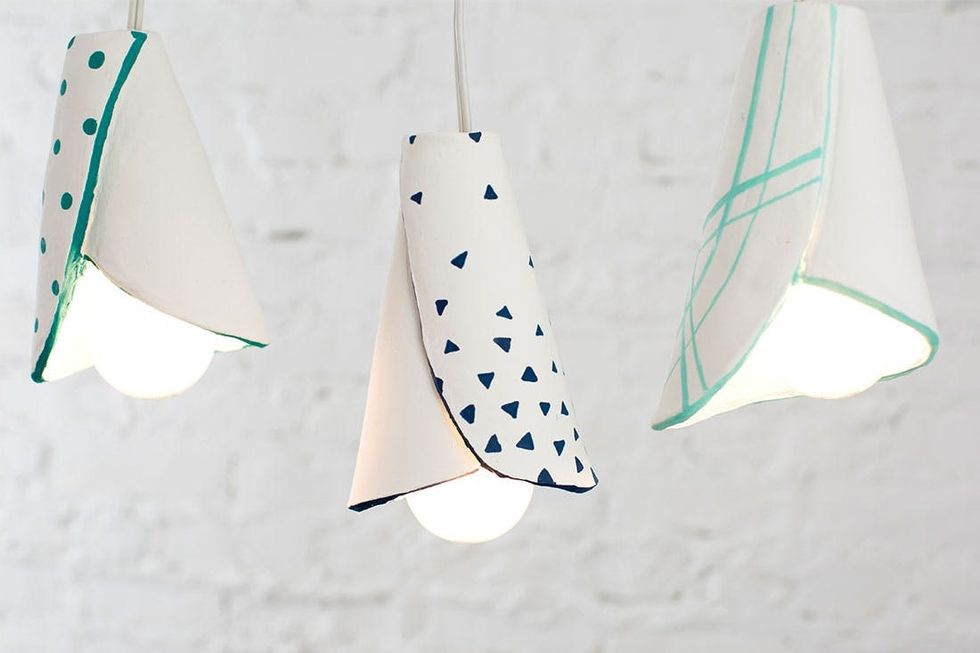
Grab a hanging light cord from your local hardware store and get that lampshade set up to shine!
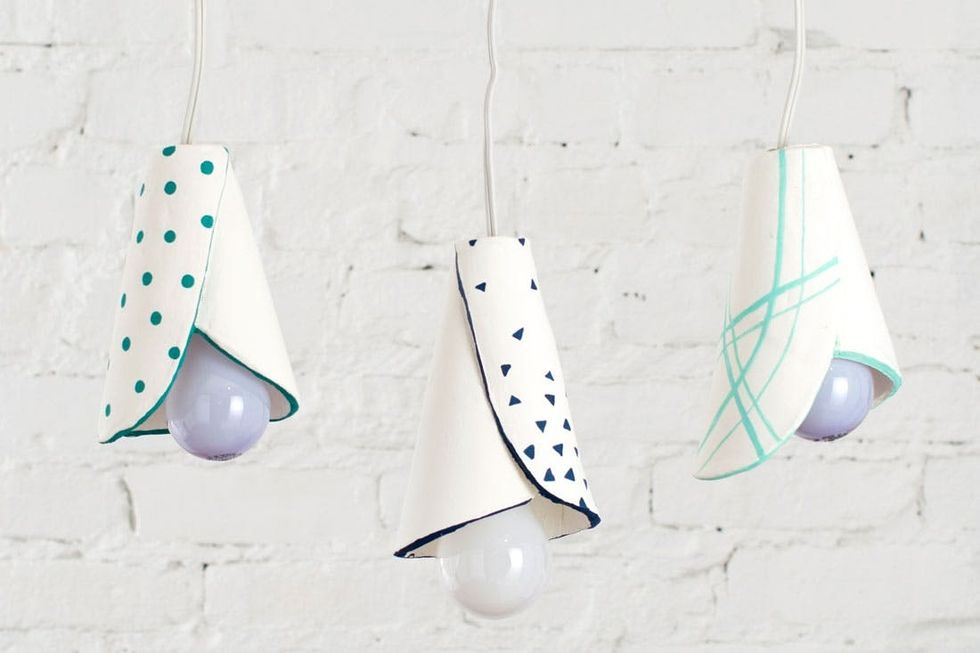
These pendant shades are great pieces to add a unique touch into any room. We went for a more minimal look by allowing the patterns to play into the curves of the clay. However, feel free to make it crazy with bright colors and bolder patterns.
Making three at once is not hard at all! What ties this trio together is the use of various shade of teal – which we love!
Kelly Bryden, an east coast native, is stoked to be a part of the Brit + Co team. Design, DIY, and fashion are her passions. If she isn't crafting you can catch her on the dance floor or wrapped up in aerial silks.