Clothespin Mermaid Craft for Kids (original) (raw)
Jump to Printable Instructions
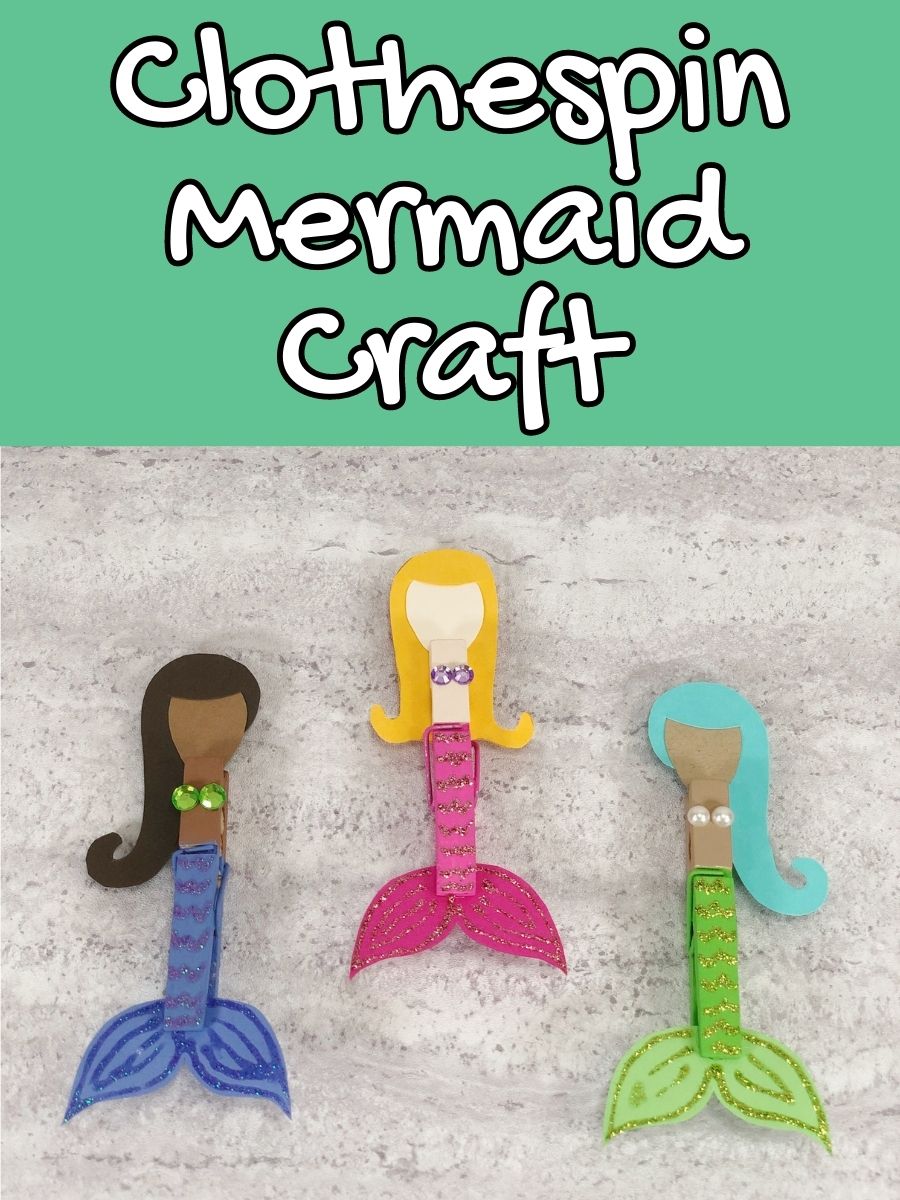
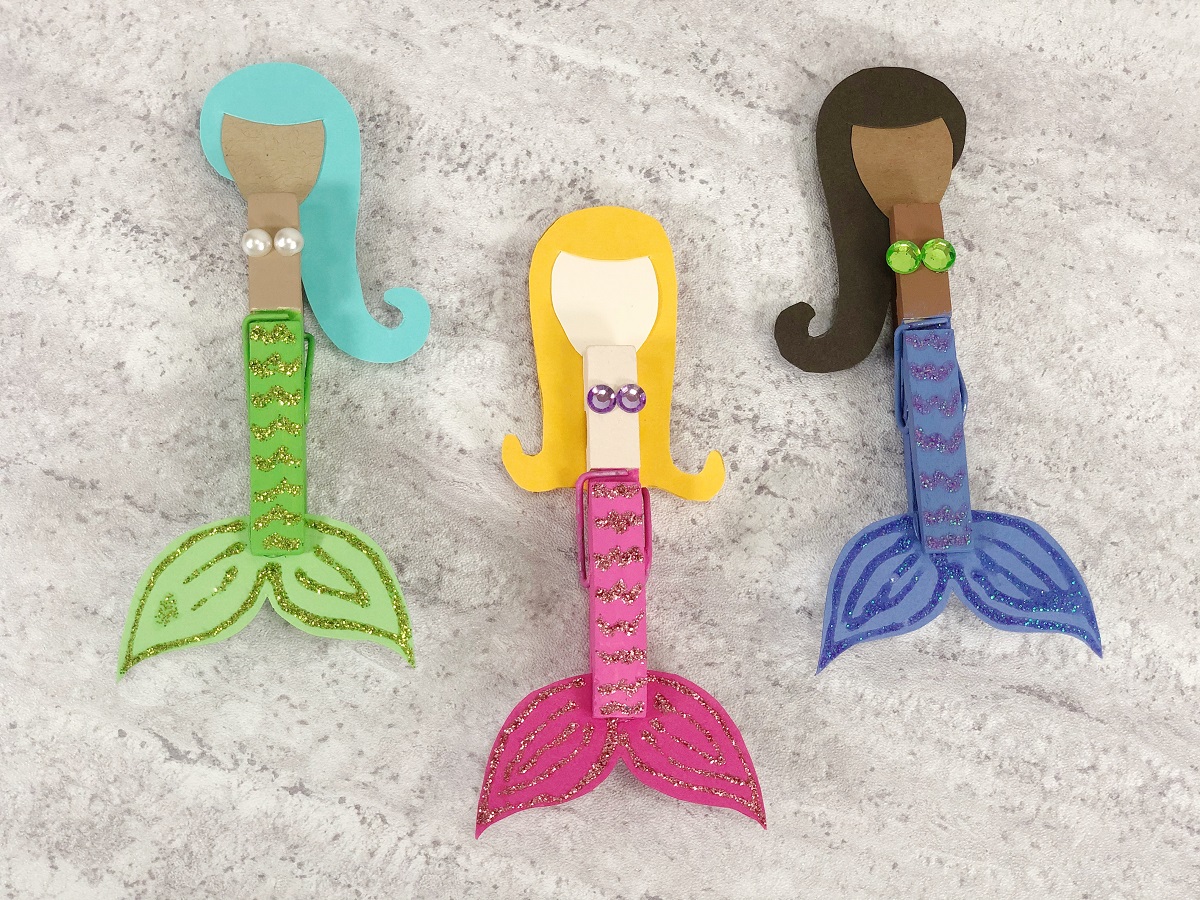
Looking for fun summer craft ideas for kids? This clothespin mermaid craft is perfect. They’ll have a blast transforming clothespins into little mermaid friends!
You can easily create your own set of mermaids as a family activity at home. It also works as a small group activity in a classroom.
They don’t take very long to make and use materials you may already have. I also have a few suggestions for alternate materials if you don’t have everything on hand.
Be sure to download the free printable craft template available at the end of this post.
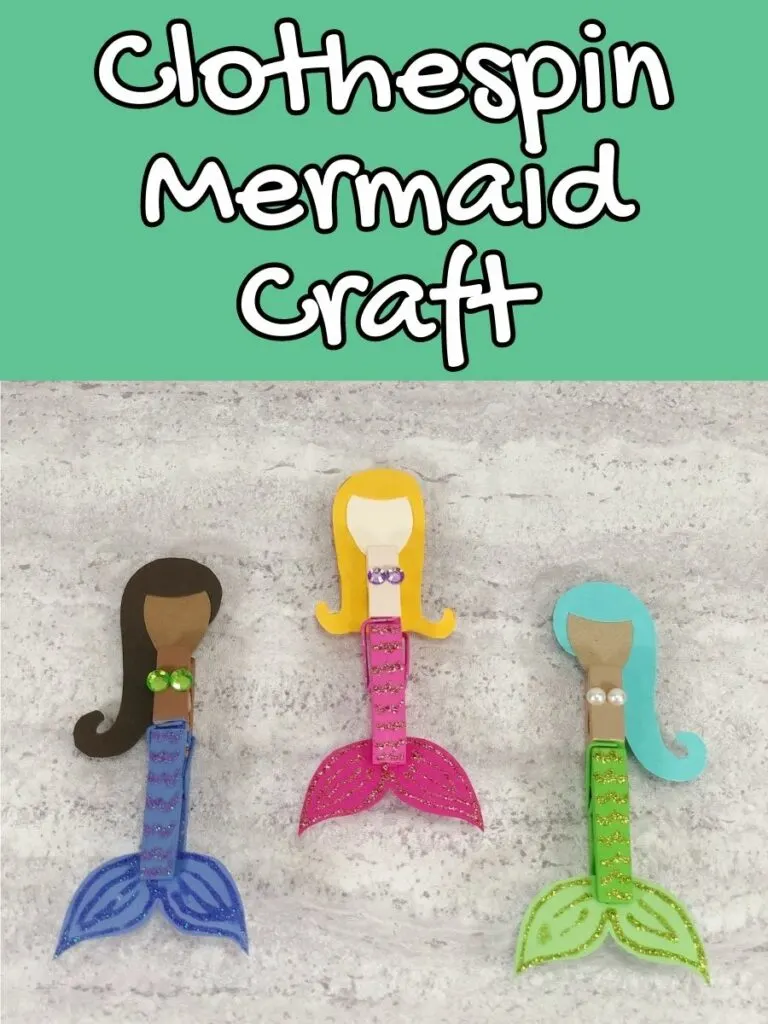
Making these would be perfect during an ocean theme week of summer camp at home or to include in an ocean or beach themed art center.
Another idea is to use them to decorate a gift bag or give out as cute favors for guests at a mermaid themed birthday party.
- What Age Is This Mermaid Clothespin Craft For?
- Benefits of Making Clothespin Mermaids
- More Mermaid Crafts and Activities for Kids
- Clothespin Mermaid Craft Supplies
- How to Make Clothespin Mermaids
- More Clothespin Crafts for Kids
- Mermaid Clothespin Craft Template
What Age Is This Mermaid Clothespin Craft For?
This craft is ideal for preschool, kindergarten, and elementary school age children.
Younger children may need a little assistance to complete this project; however, older children should be able to work on this independently.
Depending on their scissor skills, you may need to help cut the slit in the mermaid’s hair or prep that part ahead of time.
Benefits of Making Clothespin Mermaids
Kids will benefit from making mermaids out of clothespins and paper. First of all, it is a fun activity! I mean, who doesn’t love mermaids?
Getting crafty is a fantastic outlet and offers children a positive way to relieve stress.
It also encourages their creativity and imagination. Once they are done creating mermaids, they can use them for pretend play.
The various steps to complete this project involves fine motor activities too. Children get to practice tracing, cutting, gluing, and painting which are important to strengthen their hands.

This post contains affiliate links. As an Amazon Associate and a participant in other affiliate programs, we earn a commission on qualifying purchases.
More Mermaid Crafts and Activities for Kids
- Coffee Filter Mermaid Tail Suncatcher – Make a vibrant mermaid tail suncatcher to hang in a sunny window.
- Mermaid Island Board Game – This is a cooperative board game for kids five and older from Peaceable Kingdom that is actually fun to play with your children.
- Coffee Filter Mermaid Bookmark – Keep kids reading all summer long with a colorful mermaid tail bookmark they can use.
- Mermaid Headband Craft – An easy activity for a preschool party from Simple Everyday Mom.
This project uses simple craft supplies you may already have around the house and can be completed in about 30 minutes. You can shop my Amazon shelf for craft supplies too.
Protect your work space by using a craft mat or laying down newspapers and help protect your kids’ clothes with an art smock.
A craft knife (like my X-Acto knife) isn’t required, but it works nicely for cutting the line in the mermaid’s hair. This creates bangs when the head is slid into place.
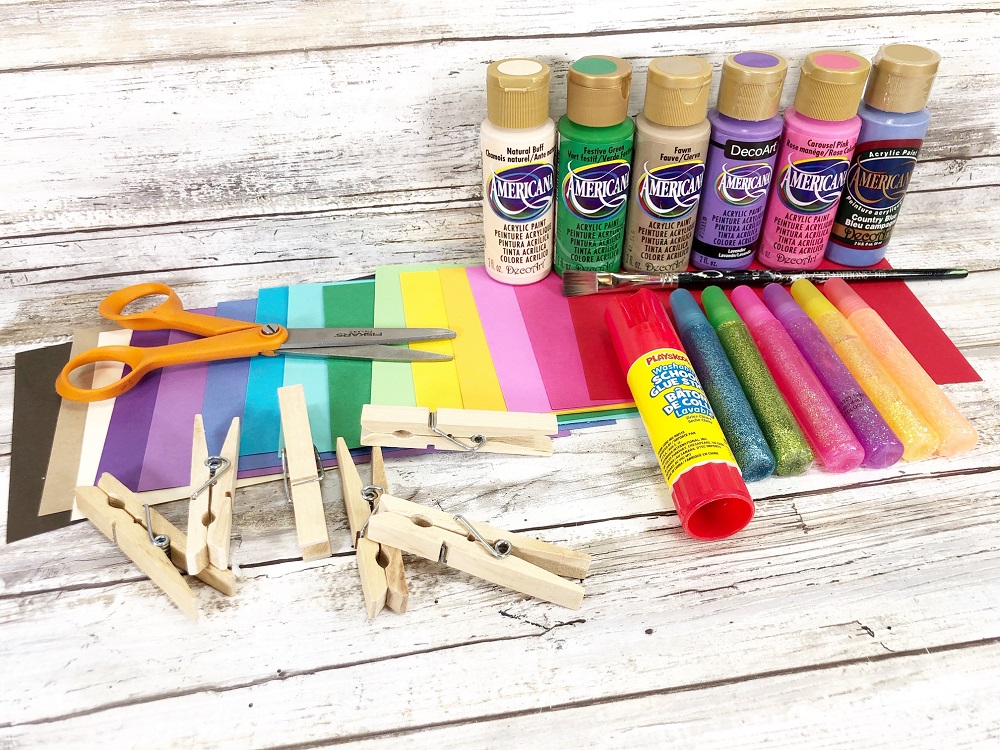
You will also need the following items:
- Mermaid Clothespin Craft Printable Template (enter your email into the form at the bottom of this post to have it sent to you)
- Wooden Clothespins (with spring)
- Craft Paints
- Craft Paper
- Glitter Glue
- Self-Adhesive Gems
- Glue Stick
- Low Temp Glue Gun and Glue Sticks
- Scissors
- Pencil
- Paintbrush
For paint, you’ll want various shades of flesh tones as well as colors to use for the mermaid tails.
Kids can use whatever colors they want, but here are a few color suggestions for the tails if you need them: green, pink, purple, blue, lime, and aqua.
The tail fins, heads, and hair are made out of paper. You can use colored cardstock or construction paper – whatever you have on hand.
You’ll want paper to match the flesh tone paints as well as the tail paint colors. You will also need paper to cut out the mermaid’s hair. These can be yellow, light blue, red, brown, black, purple – so many options!
Can I Use Craft Sticks Instead of Clothespins?
Yes, you could use popsicle craft sticks instead of clothespins for this craft. You would need to glue both the head and tail fin onto either end of the popsicle stick, but overall this substitution would work.
If you have craft foam sheets, you could use those in place of paper too.
Do I Need to Use a Hot Glue Gun?
I recommend using a hot glue gun because it makes the craft more durable, especially if used for pretend play. Plus, it dries quicker.
This low temp glue gun is a good choice for kids and was designed with children in mind.
However, if you are making these with younger children, you may want an alternative to hot gluing the tail fin onto the clothespin.
Instead of hot glue, you may use tacky craft glue (that’s my favorite one to use), but it will need additional drying time.
How to Make Clothespin Mermaids
Once you gather all of your supplies, start by painting the top one-third of the wooden spring-style clothespin (the clippy end) with flesh tone colored paint of your choice.
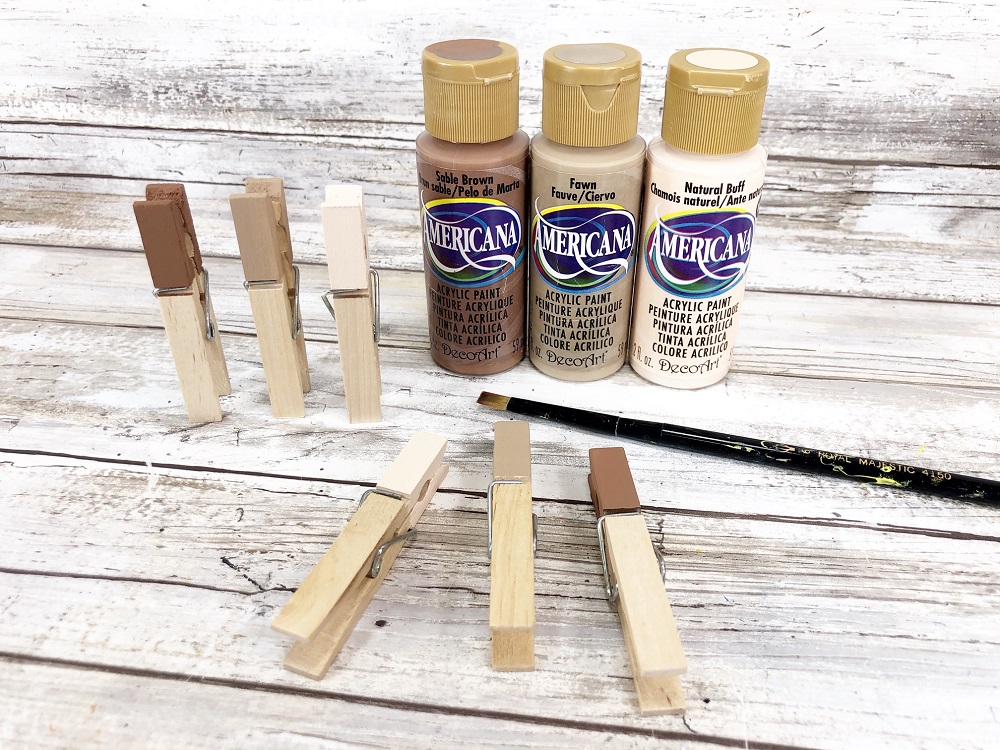
This will be the upper body of your mermaid. Set aside to dry.
Next, paint the bottom two-thirds of the clothespin (the end you pinch with your fingers) with a variety of colorful craft paints. This end is the mermaid tail. Set aside to dry.
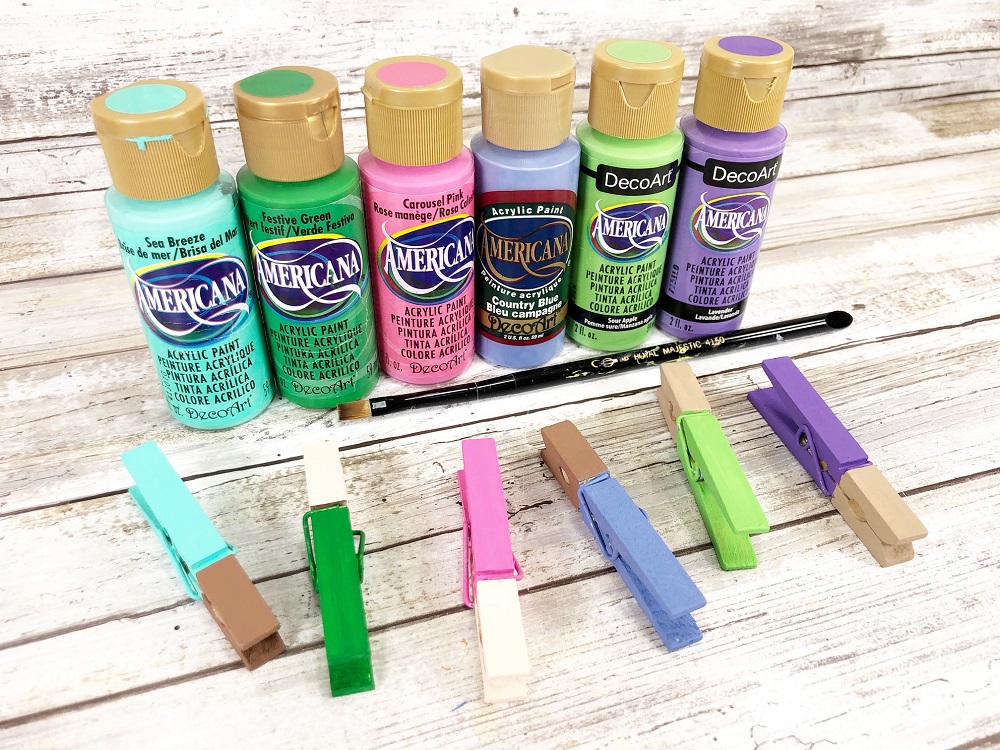
While the paint drys, you can work on the other parts of the mermaid.
Download and print out the Mermaid Clothespin Craft Printable Template (enter your email into the form at the bottom of this post) or hand draw your own mermaid head shapes, hair styles, and tail fins. Cut the templates out with scissors.
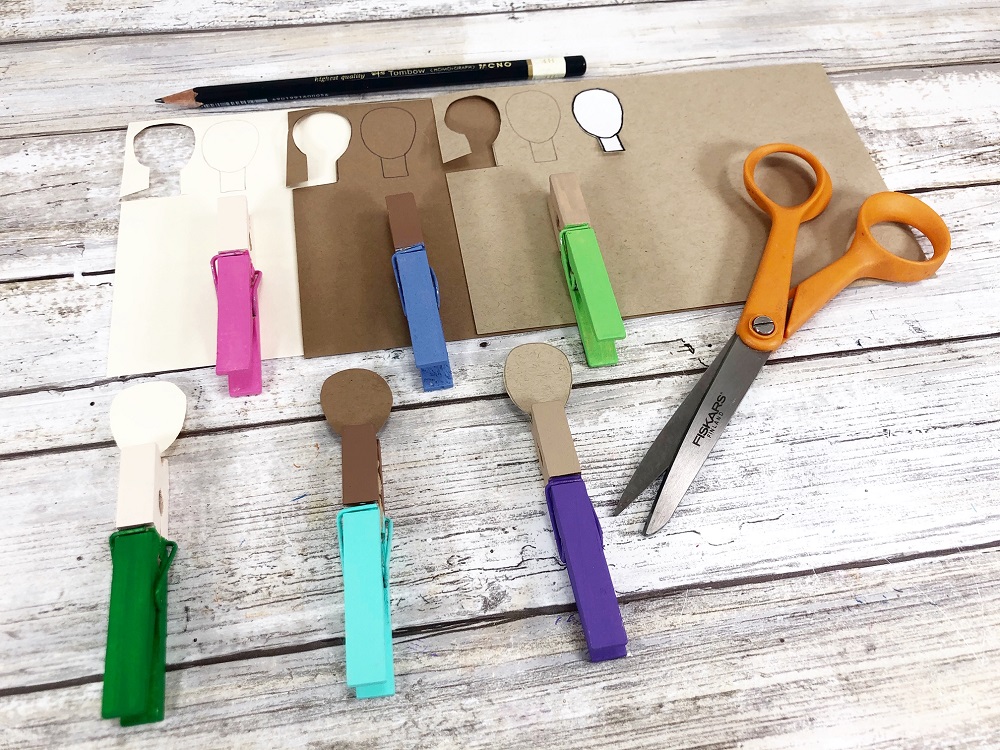
Trace the mermaid head templates onto a variety of flesh tone papers.
Trace the hair and tail fin templates onto a variety of colored paper. Ideally the papers match closely with the paints used.
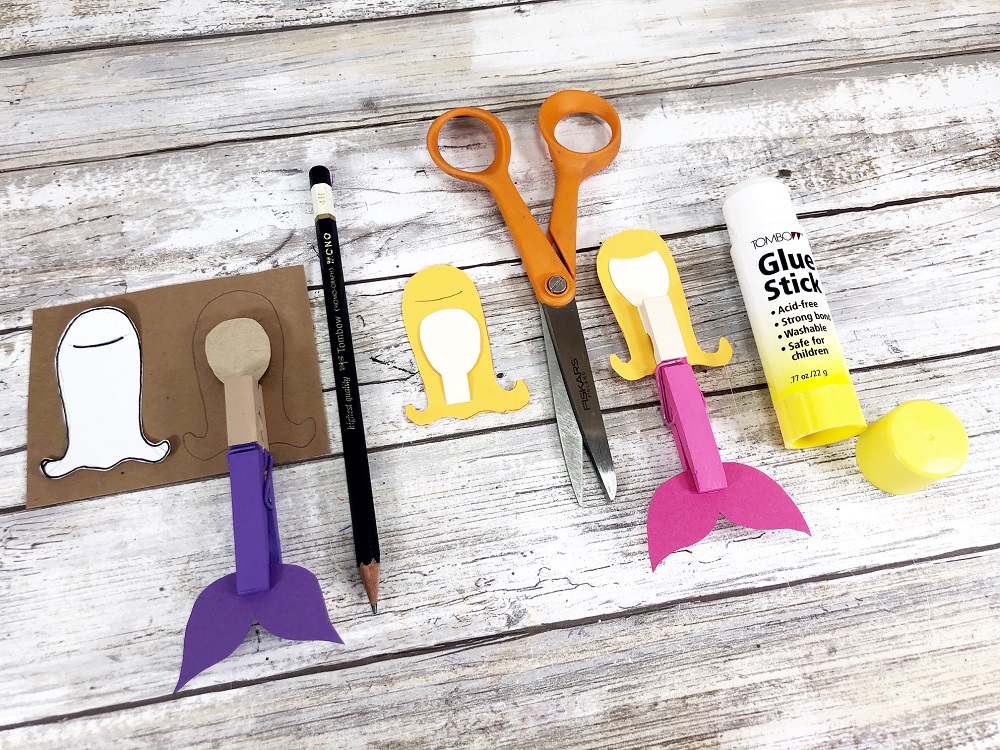
Cut all of the patterns with scissors. Carefully make a slit in the hair to slide the top of the head under. (This is optional. Your mermaids will still look adorable without bangs.)
Then use a glue stick to glue the head to the hair.
Use a glue gun or tacky craft glue to attach the tail fins to the base of the clothespins.
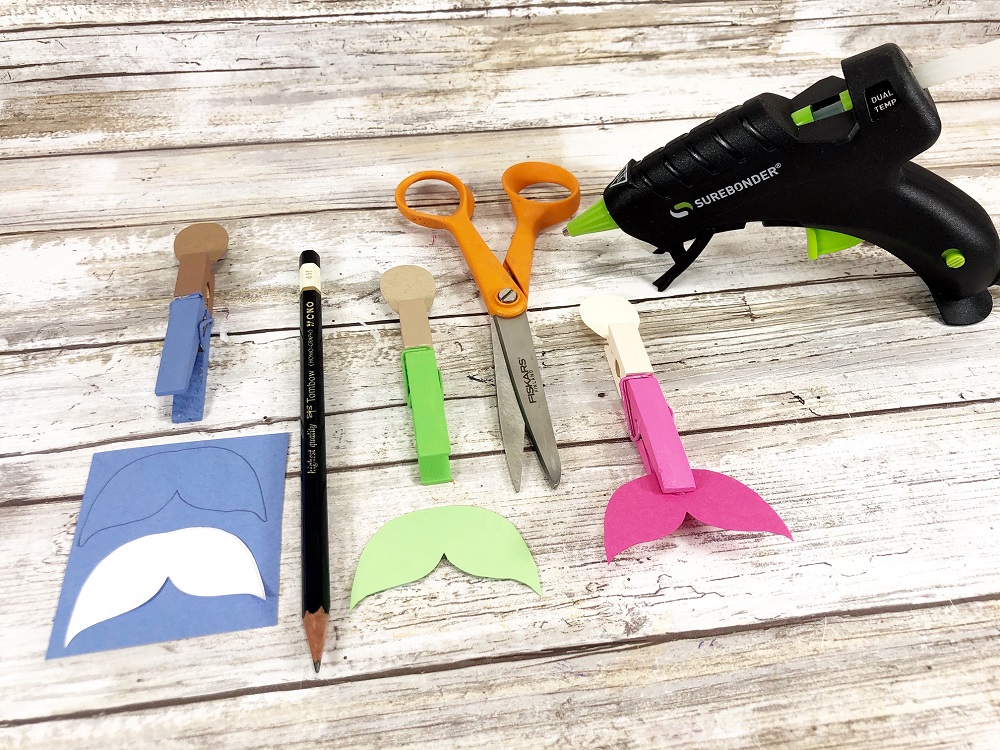
If using craft glue instead of a hot glue gun, set aside to dry completely.
You can then clip the mermaid heads and hair into the clothespins and mix and match the heads and bodies.

Or, you can glue the heads inside the clip end of the clothespin if you want.
Select pairs of self-adhesive half rhinestones or pearls and attach to the upper body section on the clothespin for the bathing suit top.
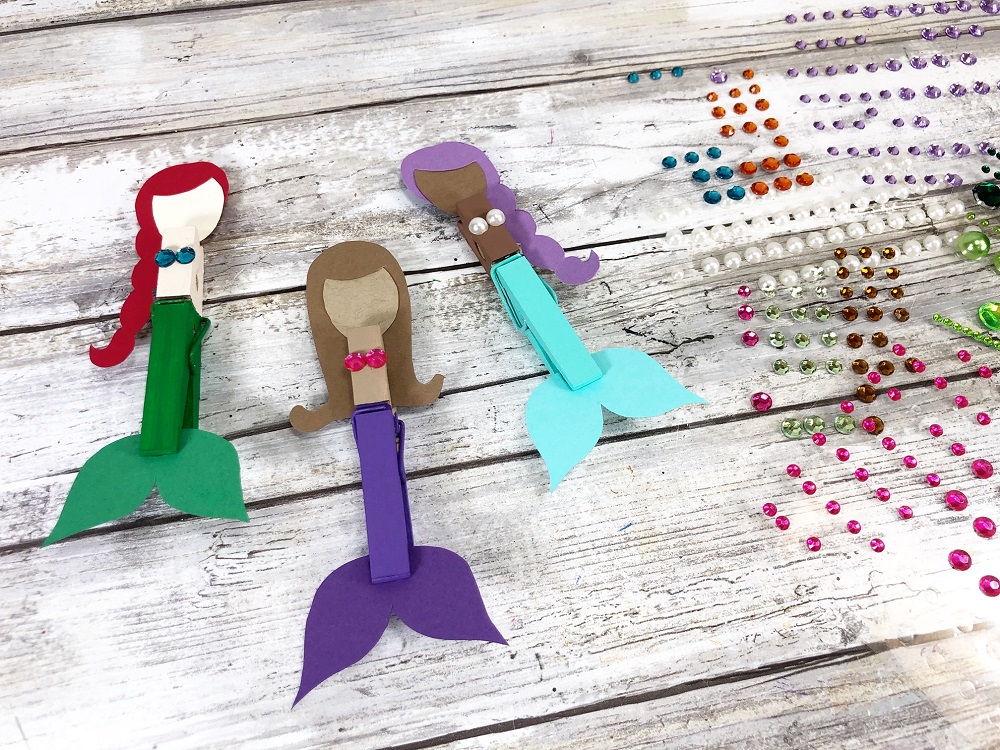
You could also use markers or paint that area. Another option is to leave them off if choosing to make a merman.

Lastly, use glitter glue to accent each mermaid tail, then set aside to completely dry before using as a cute decoration or for pretend play.
More Clothespin Crafts for Kids
These craft projects use clothespins as one of the main materials. If you are looking for an easy diy clothespin game for kids, check out our clothespin color match fine motor activity.
- Coffee Filter Clothespin Bats
- Coffee Filter Clothespin Turkeys
- Coffee Filter Clothespin Santa
- Clothespin Puppets from Moms and Crafters
Materials
- Mermaid Clothespin Craft Printable Template (enter your email into the form at the bottom of this post to have it sent to you)
- Wooden Spring Clothespins
- Craft Paint in various colors of flesh tones and colors to use for mermaid tails
- Craft Paper in various colors to match paints and to use for hair
- Glitter Glue in various colors similar to paper and paint used
- Self-adhesive Rhinestones and/or Pearls
Tools
- Glue Stick
- Low Temp Glue Gun or tacky craft glue
- Scissors
- Pencil
- Paintbrush
- Craft Knife (optional)
Instructions
- Once you gather all of your supplies, start by painting the top one-third of the wooden spring-style clothespin (the clippy end) with flesh tone colored paint of your choice. This will be the upper body of your mermaid. Set aside to dry.
- Next, paint the bottom two-thirds of the clothespin (the end you pinch with your fingers) with a variety of colorful craft paints. This end is the mermaid tail. Set aside to dry.
- While the paint dries, you can work on the other parts of the mermaid.
- Download and print out the Mermaid Clothespin Craft Printable Template or hand draw your own mermaid head shapes, hair styles, and tail fins. Cut the templates out with scissors.
- Trace the mermaid head templates onto a variety of flesh tone papers. Trace the hair and tail fin templates onto a variety of colored paper. Ideally the papers match closely with the paints used.
- Cut all of the patterns with scissors. Carefully make a slit in the hair to slide the top of the head under. (This is optional. Your mermaids will still look adorable without bangs.)
- Then use a glue stick to glue the head to the hair.
- Use a glue gun or tacky craft glue to attach the tail fins to the base of the clothespins. If using craft glue instead of a hot glue gun, set aside to dry completely.
- You can then clip the mermaid heads and hair into the clothespins and mix and match the heads and bodies. Or, you can glue the heads inside the clip end of the clothespin if you want.
- Select pairs of self-adhesive half rhinestones or pearls and attach to the upper body section on the clothespin for the bathing suit top. You could also use markers or paint that area. Another option is to leave them off if choosing to make a merman.
- Lastly, use glitter glue to accent each mermaid tail, then set aside to completely dry before using as a cute decoration or for pretend play.
Notes
- Drying times may vary.
- I recommend using a hot glue gun because it makes the craft more durable, especially if used for pretend play, and it dries quicker. However, you may use tacky craft glue instead, but it will need additional drying time.
- You could use popsicle craft sticks instead of clothespins for this craft.
- Kids can use whatever colors they want, but here are a few color suggestions for the tails if you need them: green, pink, purple, blue, lime, and aqua.
- A craft knife isn’t required, but it works nicely for cutting the line in the mermaid’s hair. This creates bangs when the head is slid into place.
Mermaid Clothespin Craft Template

Darcy is the founder of “Life With Darcy and Brian,” where she combines her love for education, board games, and crafting to create engaging learning experiences for kids. Her creative projects and writing have been featured in outlets like The Toy Insider, CafeMom, Mom.com, Parents.com, Country Living, and The Pioneer Woman.