How to Emboss Paper by Hand and Machine (original) (raw)
Crafting has always been my escape, my refuge after a long day. One of my favorite techniques I've picked up is embossing paper, which adds a touch of elegance to any handmade project. If you're looking to learn both hand and machine embossing methods, allow me to guide you through my personal journey, filled with helpful tips and insights. From simple materials to step-by-step methods, you'll discover how to emboss paper like a pro.
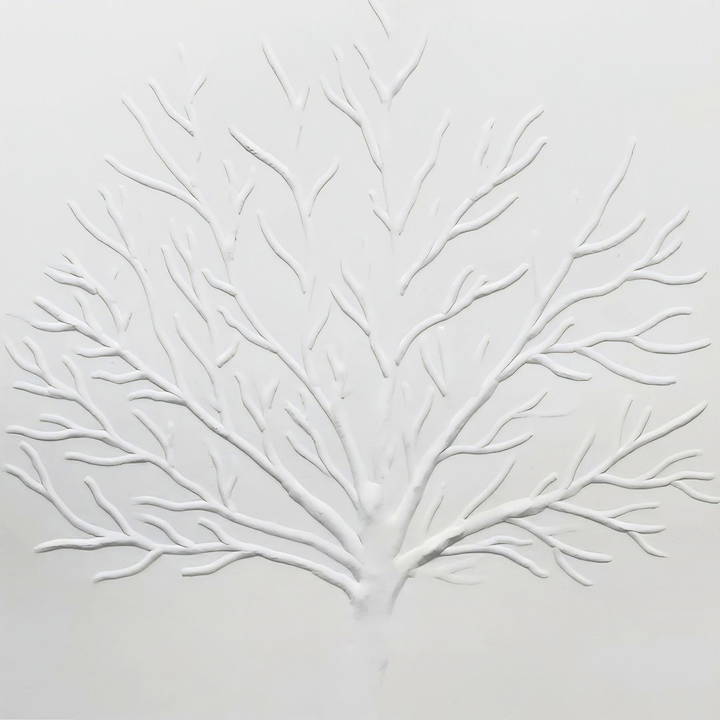
The Joy of Paper Embossing
There's something magical about watching a flat piece of paper transform into something textured and beautiful. Whether it's for greeting cards, invitations, or art pieces, embossing adds a unique, tactile dimension. It all begins with the right materials and a bit of patience.
Gathering Essential Materials
Before diving into the embossing process, let's talk about materials. Good materials are critical for achieving the best results. Here's what you'll need for both hand and machine embossing.
Materials for Hand Embossing
- Thick Paper (220 GSM or higher): Thicker paper holds an emboss much better than thin paper. It ensures the design doesn't tear or warp easily.
- Embossing Stylus: This tool, similar to a pen without ink, helps press the paper into the embossing template or stencil.
- Rubber Mat or Soft Surface: Provides a cushioned surface to help press the paper uniformly without tearing.
- Template or Stencil: Offers a guide for where to press, making a raised design on the paper.
Materials for Machine Embossing
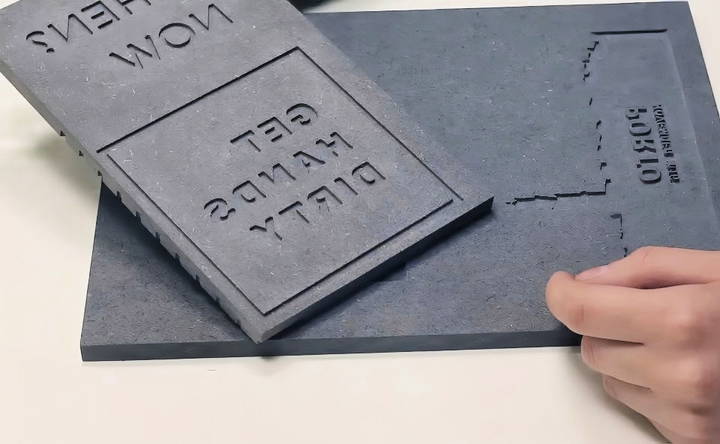
- Embossing Machine (like a CNC milling machine or X-carve): Makes quick work of precise designs that are difficult to achieve by hand.
- Metal Milling Bits: Used to engrave the designs meticulously onto a surface.
- Brass Rod/Embossing Tool: Allows for finer details as you follow the machine's etched template.
Step by Step Instructions
Learn how to emboss paper step by step with our comprehensive guide. Follow our detailed hand and machine embossing techniques for perfect results.
Hand Embossing Technique
Learn the hand embossing technique with our step-by-step guide: prepare your workspace, set up your template, start embossing, and perfect the details.
Step 1: Prepare Your Workspace
Clear a flat, clean area and ensure you have good lighting. Organize your tools and materials so everything you need is within reach.
Step 2: Setting Up Your Template
Choose or make your template. For example, use a piece of tracing paper if your design needs to be mirrored. Simply draw your image or text, flip the tracing paper, and press it onto your embossing surface to transfer the design.
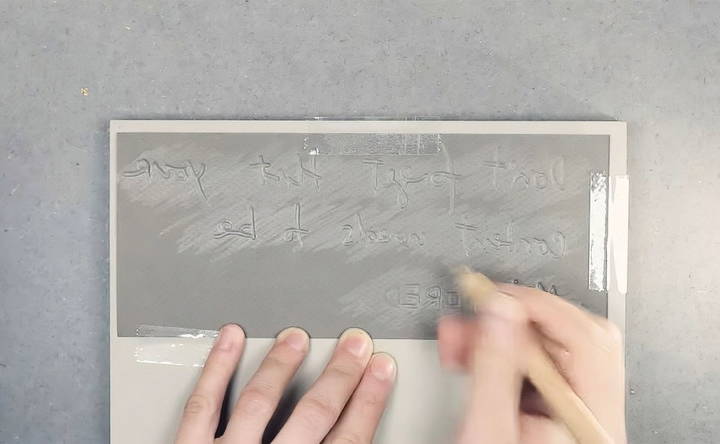
Step 3: Begin Embossing
Place your thick paper over the template and gently use an embossing stylus. I like to start with the larger tip to outline the design broadly, then switch to a sharper tip for intricate details. Remember, the embossing usually mirrors the design from the back.
Step 4: Detailing
This is where patience pays off. Tilt your paper slightly to ensure you are embossing every detail, especially with complex designs that have tight corners.
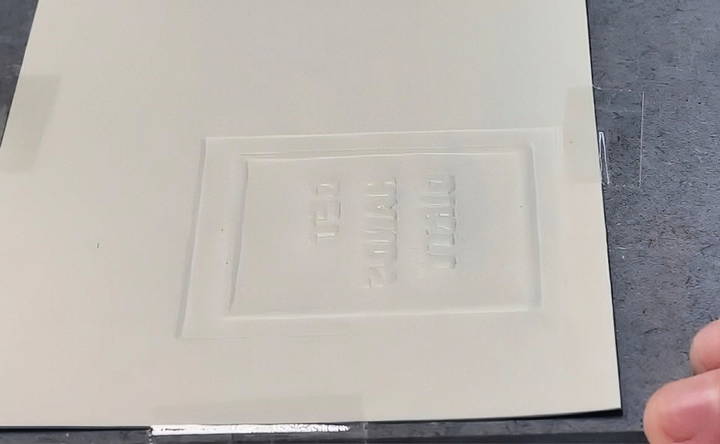
Step 5: Finish and Inspect
Once satisfied with your design, gently remove the paper from your template. Take a moment to inspect the design for areas that might need touch-up.
Machine Embossing Technique
Master the machine embossing technique with steps on material prep, design engraving, manual touch-up, machine embossing, and final inspection.
Step 1: Material Preparation
Attach your chosen milling bit to the CNC machine, suitable for the level of detail in your design.
Step 2: Engraving the Design
Program your CNC machine with the design. I found the X-carve particularly effective as it engraves the area for embossing, providing a template to follow with manual tools if needed. The key is ensuring that the engraver touches just the surface.
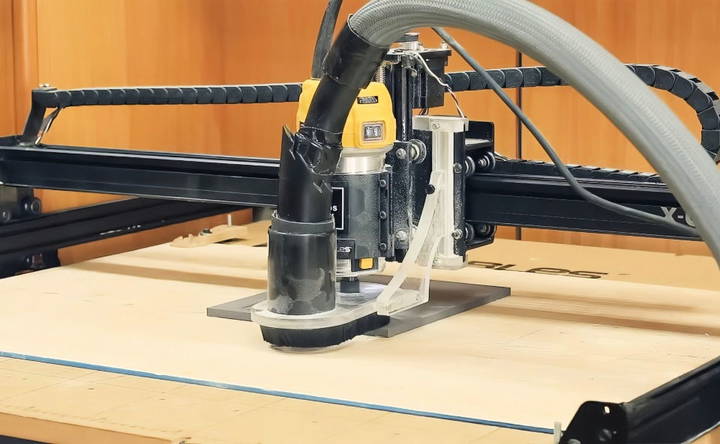
Step 3: Manual Touch-Up
Once the machine has engraved the template, use a brass rod tool for finer touches. Smooth out the edges by polishing the tip of your embossing tool before proceeding.
Step 4: Emboss with the Machine
Place your paper over the engraved template and clamp it down securely. Run the machine gently to imprint the design onto the paper.
Step 5: Inspect and Perfect
After the machine completes the embossing, check the paper. Make necessary adjustments manually to add depth if needed.
Exploring Other Options
Embossing doesn't have to require expensive tools or machines. Another option I've found helpful revolves around using linoleum blocks—a softer, more versatile alternative.
Using Linoleum Blocks
- Carving the Design: Draw your design directly onto linoleum and take time carving it out. The softer material is easier to work with compared to wood, making it suitable for fine art designs.
- Transposing and Tracing: Use tracing paper to ensure your design is mirrored before carving, especially for text.
- Embossing: Similar to above, place a sheet of paper on the carved block and use a stylus or roller to press your design into the paper.
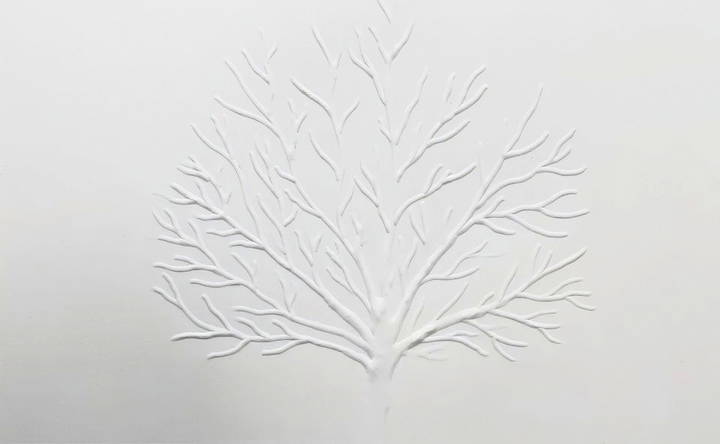
The beauty of this method is the tactile satisfaction of working directly with your hands. Carving becomes a meditative activity, one that rewards patience with beautiful imprints on paper.
Tips and Troubleshooting
As with any craft, not everything goes according to plan. Here are a few lessons I've learned along the way:
- Always Test First: Before embossing your final piece, practice on scrap paper to ensure pressure and technique.
- Smooth Surfaces Make a Difference: Ensure your press tips or tools are smooth to avoid tearing.
- Mirroring is Key: Double-check any text or symmetrical designs, as embossing will make a mirrored version.
- Vary Paper Types: Experiment with different paper textures to find the ones that produce the best results.
Level Up Your Embossing Skills
Want to take your embossing to the next level? Here are a few techniques that'll add that extra wow factor to your projects:
Dry Embossing with Stencils
- What it is: Dry embossing uses stencils and a stylus to make raised designs without any ink or color. It's a subtle but beautiful way to add texture.
- How to do it: Place your stencil over your paper, then use a stylus to trace the design, applying firm pressure. The paper beneath the stencil will be raised, making your embossed design.
Embossing with Dies and a Die-cutting Machine
- What it is: This method uses metal dies and a die-cutting machine to cut and emboss paper at the same time. It's perfect for making quick, intricate designs.
- How to do it: Place your paper and die inside the machine, then crank the handle or press the button. The machine will apply pressure, cutting and embossing your design simultaneously.
Making 3D Embossed Embellishments
- What it is: This technique involves making raised elements that pop off the page, adding a whole new dimension to your projects.
- How to do it: You'll need special 3D embossing folders or dies for this. Run your paper through your die-cutting machine with the 3D folder or die, and watch your design come to life!
Practice makes perfect! Don't be afraid to experiment with these techniques and see what amazing creations you can come up with.
FAQs about How to Emboss Paper
Learn how to emboss paper with our comprehensive FAQs. Discover techniques, tools, and tips for perfect results every time.
1. Can I emboss without a machine?
Absolutely! You can achieve beautiful embossing effects without a machine using techniques like dry embossing with a stylus and stencil or even heat embossing with stamps and embossing powder. These methods offer a more hands-on approach and are great for smaller projects or beginners.
2. What types of paper are best for embossing?
Thicker papers like cardstock or watercolor paper work best for embossing as they can withstand the pressure and hold the embossed design well. However, you can experiment with other paper types like vellum or textured paper for unique effects. Just remember that thinner papers may require less pressure to avoid tearing.
3. How do I clean my embossing folders and plates?
Regular cleaning is important to maintain the quality of your embossing tools. You can clean embossing folders and plates with a soft cloth or baby wipe to remove any residue or ink. Avoid using harsh chemicals or abrasive cleaners that can damage the surface.
4. What if my embossing powder isn't sticking evenly?
Uneven powder coverage can be caused by several factors, like static electricity, moisture, or insufficient ink. Try using an anti-static powder tool to remove static and ensure your paper and ink are dry before applying the powder. You can also try using a different type of embossing ink or heat the powder for a longer duration.
5. Can I layer different embossing designs?
Yes, you can make beautiful layered effects by combining different embossing designs. Just make sure to plan your design carefully and consider the depth and size of each embossing element to avoid overcrowding or overlapping. Experiment with different techniques and textures to achieve unique and stunning results.
Conclusion
Embossing paper, whether by hand or machine, is a rewarding hobby that adds dimension to art and crafts. The tactile experience not only brings satisfaction to the creator but also to those who receive or view the finished piece. Armed with these tools and techniques, you're well on your way to making beautifully embossed designs that are both personal and professional.