Elden Ring Auriza Side Tomb walkthrough (original) (raw)
Here's how to get through this dungeon and defeat the boss at the end.
Image credit: Eurogamer/FromSoftware
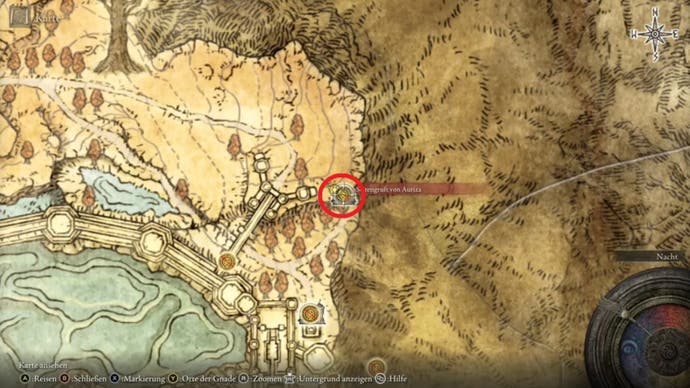
The Auriza Side Tomb in Elden Ring is a location on the Altus Plateau.
The Side Tomb teleports you back and forth frequently, with plenty of Elden Ring enemies lurking in the dark to bring your adventure to a swift end.
Without further ado, here's our Elden Ring Auriza Tomb walkthrough.
On this page:
To see this content please enable targeting cookies.
Elden Ring Auriza Side Tomb walkthrough
It is located northeast of the Royal Capital Leyndell if you follow the path from the Site of Grace 'Outer Wall - Battleground' to the east. Auriza Hero's Grave is also located nearby.
Image credit: Eurogamer/FromSoftware
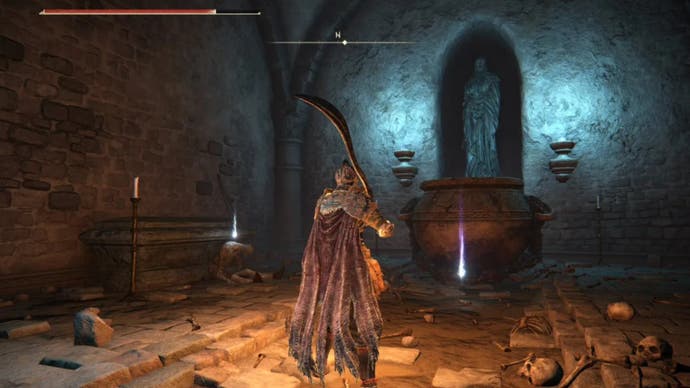
Activate the Site of Grace 'Auriza Side Tomb' in the first room and off you go.
The side crypt has the feel of a gimmick dungeon, sending you back and forth between various transporter traps and changing the layout of its rooms.
Cross the first corridor, turn right before the boss door and kill the small living vessels. Collect 1x Grave Glovewort (6) and you now have two paths from here:
- Follow the passage to the northeast to the first transporter trap, which will take you to the 'starting room' of area A.
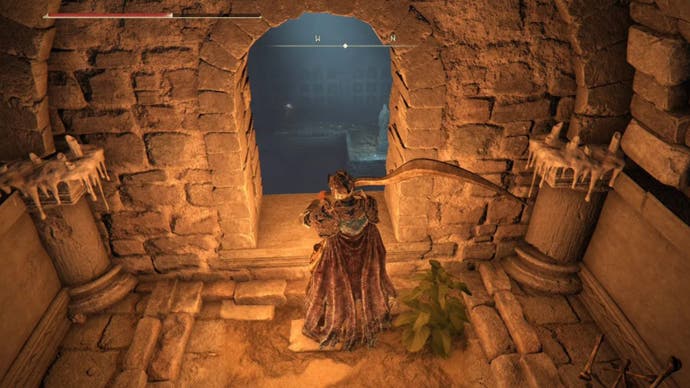
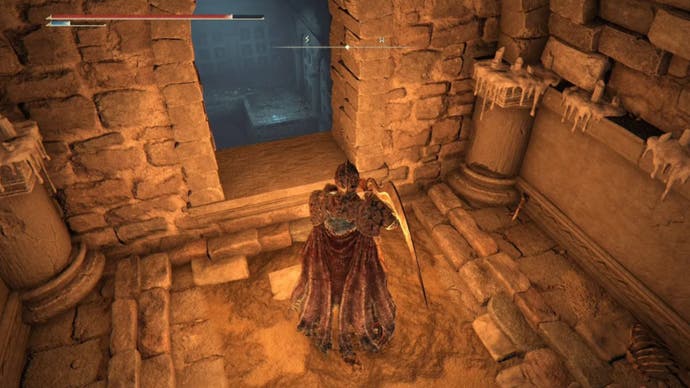
- Jump northwest through the window and you will land in the same area.
You can jump through the window here. | Image credit: Eurogamer/FromSoftware
Take the stairs to the north-west and look around under the stairs, where there is 1x Grave Glovewort (6), but also an enemy who has decided to protect the plant with his life.
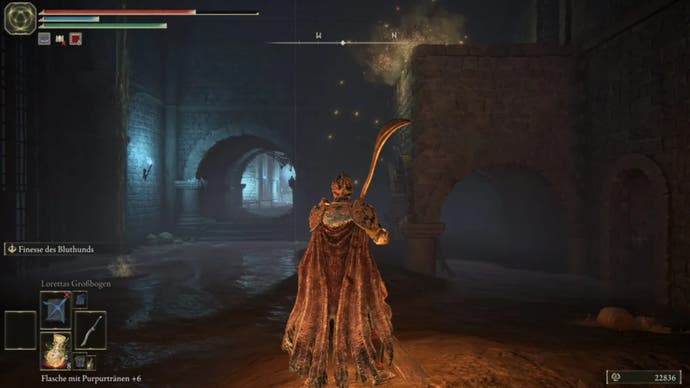
Follow the path to the south-west, pick 1x Grave Glovewort (5) next to the exit and you will reach a flooded area behind it.
Image credit: Eurogamer/FromSoftware
Be careful that the enemy from the upper platform cannot hit you with his flash bombs. Continue into the adjoining small chapel.
There are two ways to continue here:
- The teleporter trap at the end of the room.
- Behind the Illusory Wall in the alcove on the left side of the room.
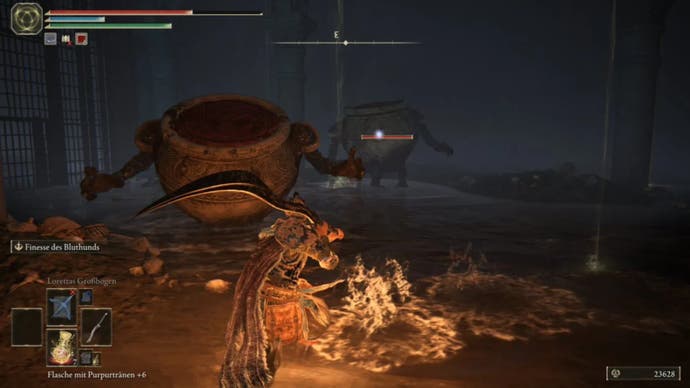
First take the crate at the end of the chapel and you will end up in a room behind bars with two large living vessels. Here you will find the Perfumer's Cookbook 3 and 2x Cracked Pot.
Image credit: Eurogamer/FromSoftware
The only way back is via the crate that brought you here. In the small chapel, hit the wall in the alcove to make it disappear.
Follow the passage that appears, but be very careful, as two exploding vessels will come towards you. Pick 1x Grave Glovewort (5) and use the teleport crate.
You will land on a ledge. Knock the goblin down, take 1x Golden Rune (7) from the corpse and follow the stairs up towards the northwest.
You will end up in the seemingly familiar room, but it has changed a little (the lever is missing). Drop down and run back north/northeast, up the stairs.
Image credit: Eurogamer/FromSoftware
You will end up in a room with a large seated vessel guarding 1x Ritual Pot, next to which there are 2x Root Resin. Caution: A small enemy lurks behind the corner on the right and blows itself up.
Then run back through the flooded area and into the chapel, where you once again follow the left passage behind the apparent wall. Use the chest once more and you will end up on the ledge with the two enemies.
Image credit: Eurogamer/FromSoftware
This time, however, you will reach a ladder at the end of the corridor that leads to another crate. Use it and follow the only corridor into a room with a large vessel behind the corner on the right.
Kill it and you will find another ritual pot; there is 1x Smithing Stone (5) by the corpse. Go back into the previous room and jump out of the window on the left.
Image credit: Eurogamer/FromSoftware
After landing, return to the chapel and use the teleporter crate at the end of the room (which led to the barred area with two large vessels earlier).
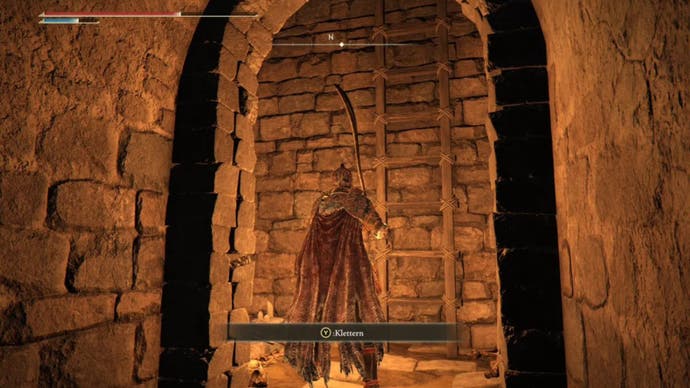
It does so again, but this time they are small jars and you will find a ladder up here. Take 1x Ghost Glovewort (6) and 2x Cracked Pot and climb up the ladder.
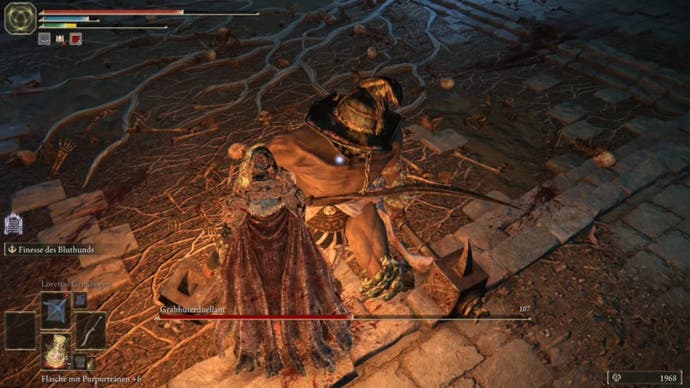
How to beat the Auriza Side Tomb Grave Warden Duelist in Elden Ring
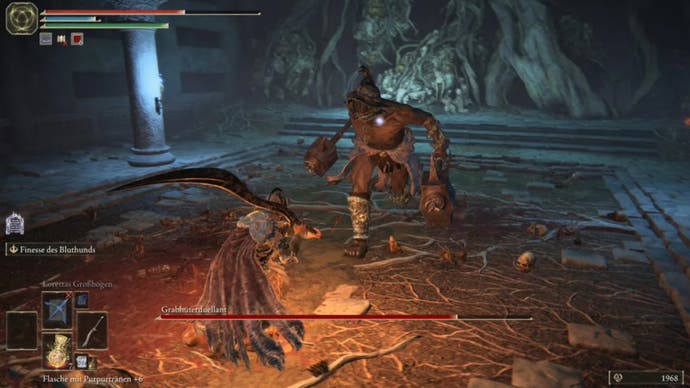
If you like, you can first eliminate the small vessels that stand at the side of the gravekeeper duelist, but they shouldn't be particularly dangerous.
An all too familiar face. | Image credit: Eurogamer/FromSoftware
Then we face an opponent we have already met many times and who should no longer be a major obstacle.
Image credit: Eurogamer/FromSoftware
We know this guy as a boss from the Murkwater Catacombs in Limgrave among others.
This one has nothing new to offer and shouldn't present us with any major problems.
Your rewards for defeating this boss are 15,000 Runes and the Soldjars of Fortune Ashes.
Need more help? Jump back to our list of Elden Ring bosses or our Elden Ring walkthrough.

