Elden Ring Giant's Mountaintop Catacombs walkthrough (original) (raw)
This dungeon is quite convoluted and full of hidden passages.
Image credit: Eurogamer/FromSoftware
The Giant's Mountaintop Catacombs in Elden Ring are a place on the Mountaintops of the Giants.
There's plenty of valuable loot to be had in these Elden Ring Catacombs, but at the end a fierce Ulcerated Tree Spirit is waiting for you.
Here's our Elden Ring Giant's Mountaintop Catacombs walkthrough.
On this page:
- Giant's Mountaintop Catacombs walkthrough
- How to beat the Giant's Mountaintop Catacombs Ulcerated Tree Spirit
To see this content please enable targeting cookies.
Elden Ring Giant's Mountaintop Catacombs walkthrough
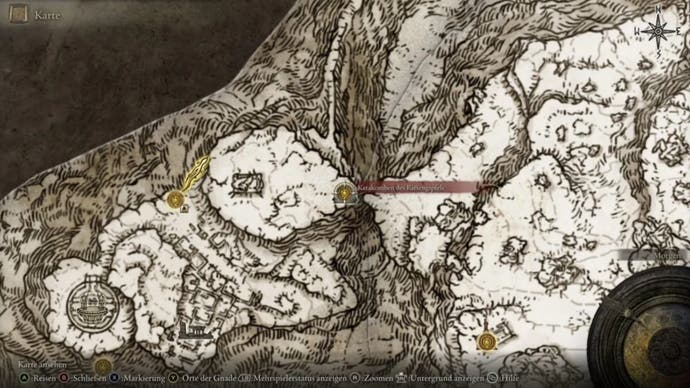
On the way to the Forge of the Giants, you will pass the location. Just before the long wall that acts as a bridge, you can follow a secluded path to the entrance on the right.
Here is the location on the map:
Image credit: Eurogamer/FromSoftware
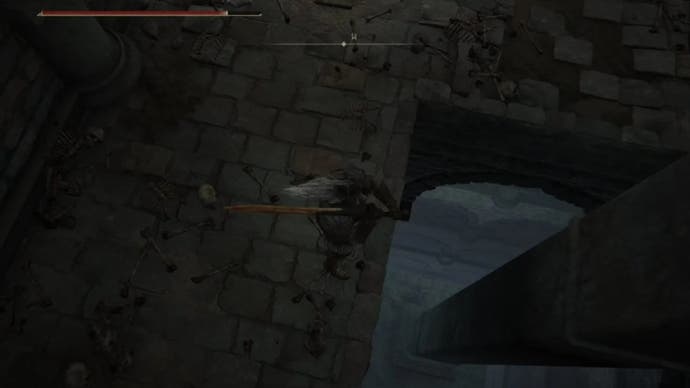
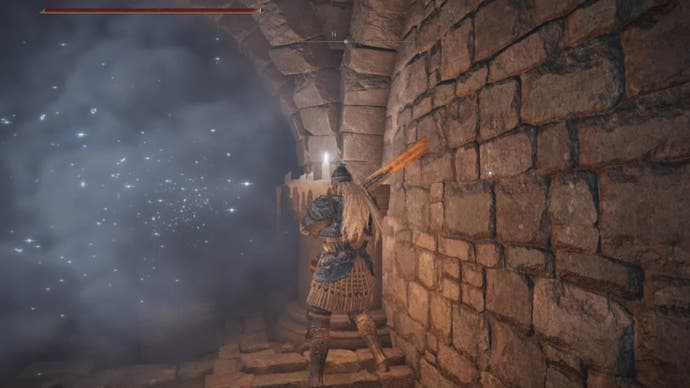
Behind the Site of Grace 'Giant's Mountaintop Catacombs', go down the steps and kill the runt that comes towards you. Two more of his kind are hiding in the room he came from. Beat these guys to a pulp and you'll find 1x Grace Glovewort (7).
Back up again and into the left passage heading north. More enemies will attack you here, so be on your guard and take them out quickly. Follow the passage behind, which will lead you to an elevator. Take the elevator down.
Image credit: Eurogamer/FromSoftware
If you want to take an optional detour, let it go up again and wait until a second elevator platform appears from below.
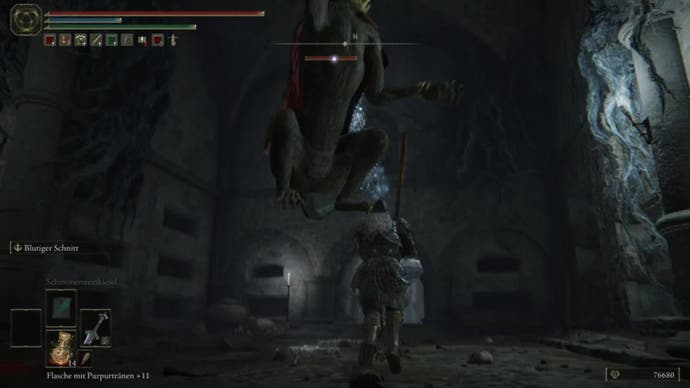
Use it to go down to a hidden area. Take care of the enemy and then the Erdtree Burial Watchdog, who is here as a normal enemy (in the frosty magic variant).
Image credit: Eurogamer/FromSoftware
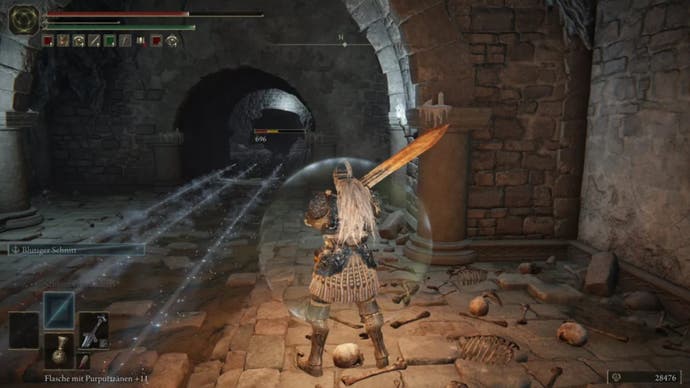
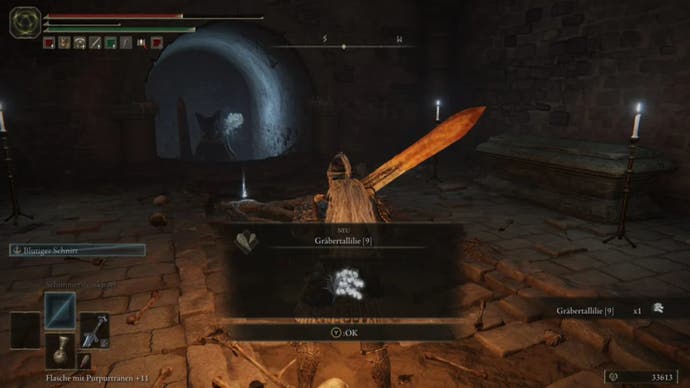
Below the stairs, you will then find 1x Grave Glovewort (8). Enter the passage to the north, but be extremely careful, as the statue opposite sprays frost.
Wait until the icy fog has cleared and run into the passage on the left (don't step on the floor panel). In the room at the end there are two enemies and 1x Grave Glovewort (8).
Image credit: Eurogamer/FromSoftware
Then run to the ice-spitting pillar and hit it once to silence the ice breath. Follow the passage behind it to the north, but again be very careful, as a second ice-spitting pillar awaits you.
This time you have to take cover behind a pillar near the wall on the right-hand side to disarm the trap after a sprint hit the wall to make it disappear and reveal 1x Ghost Glovewort (7) next to a goblin.
Image credit: Eurogamer/FromSoftware
Another guard dog is lurking down the corridor, this time in the melee variant. You can lure him to the spot you came from and hit the pillar again to use the ice breath as support.
A tricky spot, but at least the pillars remain lowered. Behind the guard dog you will find a treasure chest with the Fire Monk Ashes. This concludes the detour down here. Take the elevator back up to the floor where you can continue.
Image credit: Eurogamer/FromSoftware
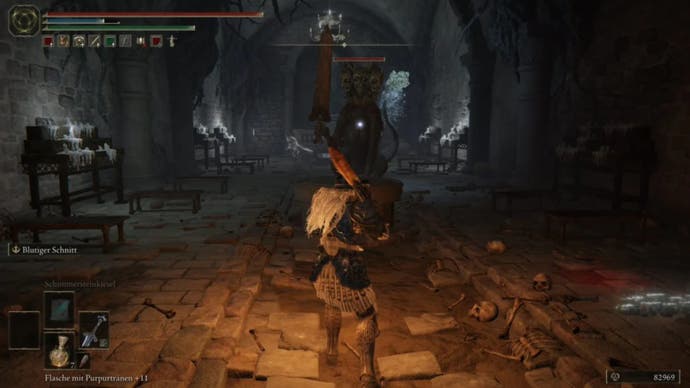
Cross the western corridor and turn left before the still closed boss door. Three enemies await you in the next room, two of them with nasty projectiles.
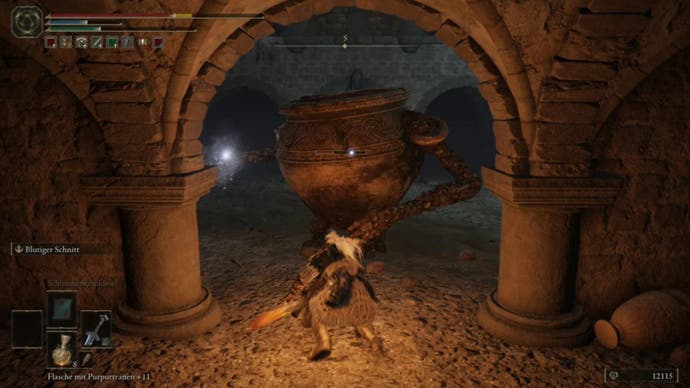
Behind them we reach another elevator. At the bottom, smash the Living Jars and the big one in the room with the statue.
Image credit: Eurogamer/FromSoftware
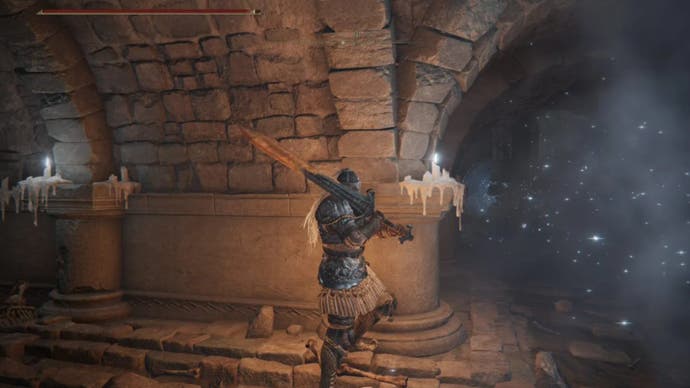
Walk up the stairs on the right and avoid the floor slab to avoid triggering the ice arrows. You will end up in a room full of falling arrows. Carefully feel your way forward and be careful with the living vessels, which not only stand up but also blow themselves up.
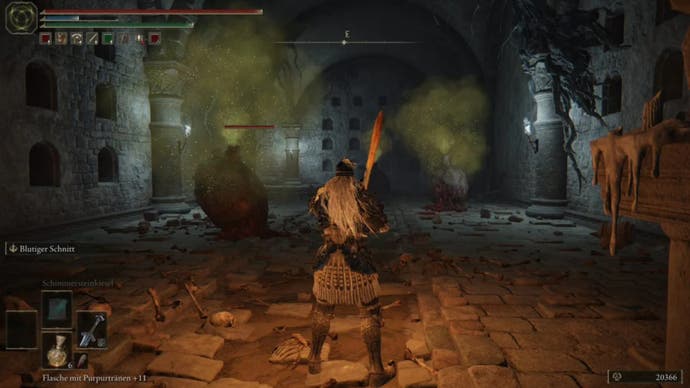
Turn left in the following corridor and follow the stairs eastwards until you reach the room with poison-spraying land slimes. Take them out quickly if you're after the runes, or simply run past them.
In the next room there are again living vessels and one of the larger kind at the end of the corridor, where we pick up 1x Ritual Pot. Now go back to this spot:
Image credit: Eurogamer/FromSoftware
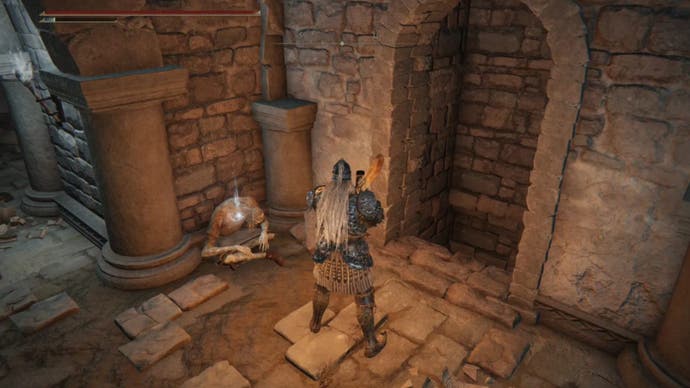
We find 1x Stimulating Boluses by the corpse and can drop next to it. We land in the familiar-looking room with a statue and take the opportunity to pick up 1x Nascent Butterfly.
Drop down and take the passage to the right of the statue's line of sight. Cross the rooms with the drop axes and the land slimes behind them before you take out a giant vessel with the floor trap.
Image credit: Eurogamer/FromSoftware
In the alcove, drop down, passing several ledges this time. In the room with the statue, head in the direction the statue is facing.
At the elevator, you can take an optional detour upwards, kill a few gnomes and the guard dog and find 1x Grave Glovewort (9) and 5x Root Resin next to it.
Image credit: Eurogamer/FromSoftware
Otherwise, let the elevator go up and then drop down. If you like, switch off the large container, but the most important thing is the lever for the boss door in the next room. Once you have activated it, you will find 1x Golden Rune (10) next to it.
Jump down and run north in the direction of the statue. After a final elevator ride, you can face the boss.
How to beat the Giant's Mountaintop Catacombs Ulcerated Tree Spirit in Elden Ring
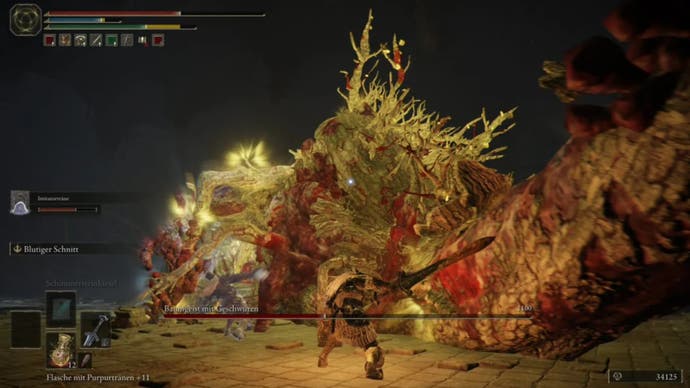
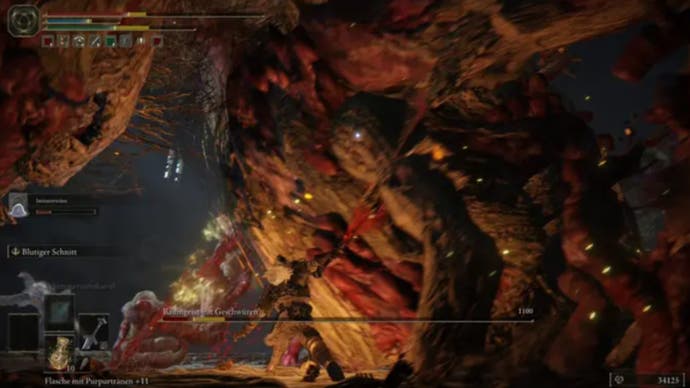
Another tree spirit. We've seen enough of this type of enemy by now, for example from the grave of a Fringefolk Hero's Grave or the War-Dead Catacombs.
Image credit: Eurogamer/FromSoftware
This one doesn't behave any differently, it's just stronger, but otherwise exactly what you'd expect. Uses summons if necessary. It takes a moment for the tree spirit to emerge from the ground.
Image credit: Eurogamer/FromSoftware
Your rewards for beating this Ulcerated Tree Spirit are 48,000 runes, a Golden Seed, Glovewort Picker's Bell Bearing 2, Deathroot.
Need more help? Jump back to our list of Elden Ring bosses or our Elden Ring walkthrough.

