Android Studio Setup for Flutter Development (original) (raw)
Last Updated : 13 Mar, 2025
This article will show how to set up **Android Studio to run **Flutter Applications. Android Studio is one of the popular IDE( integrated development environment ) developed by Google itself to create cross-platform Android applications. First, you have to install Android Studio version 3.0 or later, as it offers an integrated IDE experience for Flutter. You can refer to this for details: **Android Studio.
Install the Flutter and Dart plugins:
After successfully installing Android Studio, you must install Flutter and Dart plugins. To do so, follow the steps mentioned below:
- **Start Android Studio.
- Open plugin preferences ****(Configure > Plugins as of v3.6.3.0 or later)**.
- Select the **Flutter plugin and click Install.
- Click Yes when prompted to install the **Dart plugin.
- Click **Restart when prompted.
**Open plugin preferences:
- For macOS: Preferences > Plugins on macOS,
- For Linux and Windows: File > Settings > Plugins
Now, Select Marketplace, select the Flutter plugin and click Install.
Creating the application
After installing Dart and Flutter plugins create a flutter app to check if it is working properly or not. To do so, follow the steps mentioned below:
**Step 1: Open the **IDE and select Start a **new Flutter project
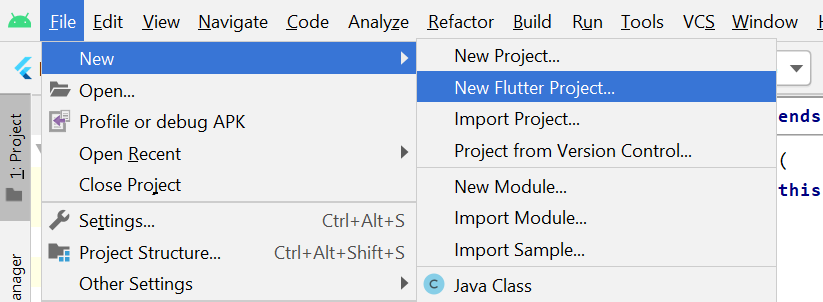
Select New Flutter Project from the file menu
**Step 2: Select **Flutter Application as the project type. Then click **Next
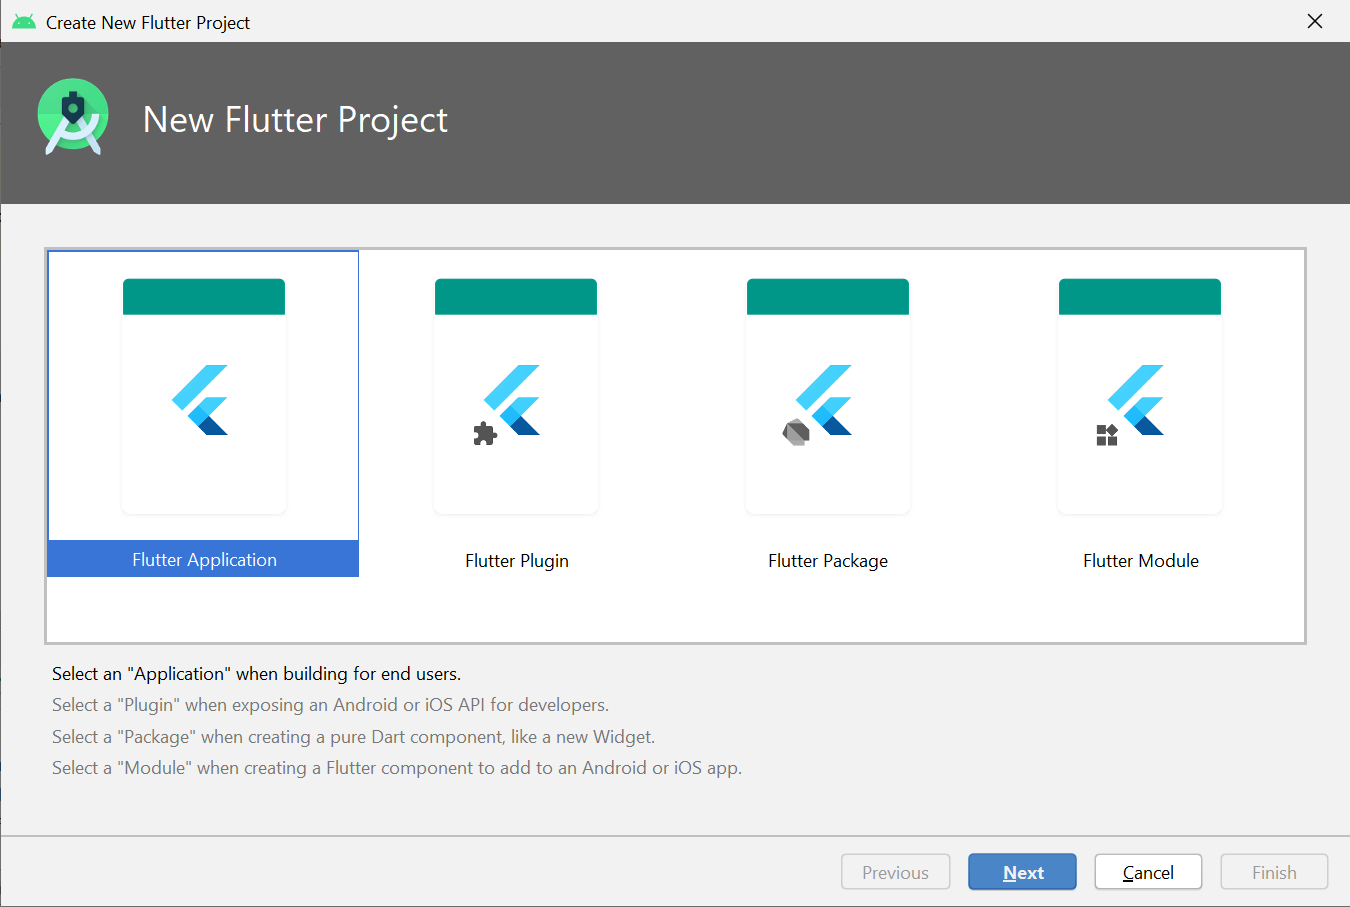
Select the type of flutter application
**Step 3: Verify the Flutter SDK path specifies the SDK’s location ****(select Install SDK… if the text field is blank)**.
**Step 4: Enter a project name (for example, _myapp). Then click **Next.
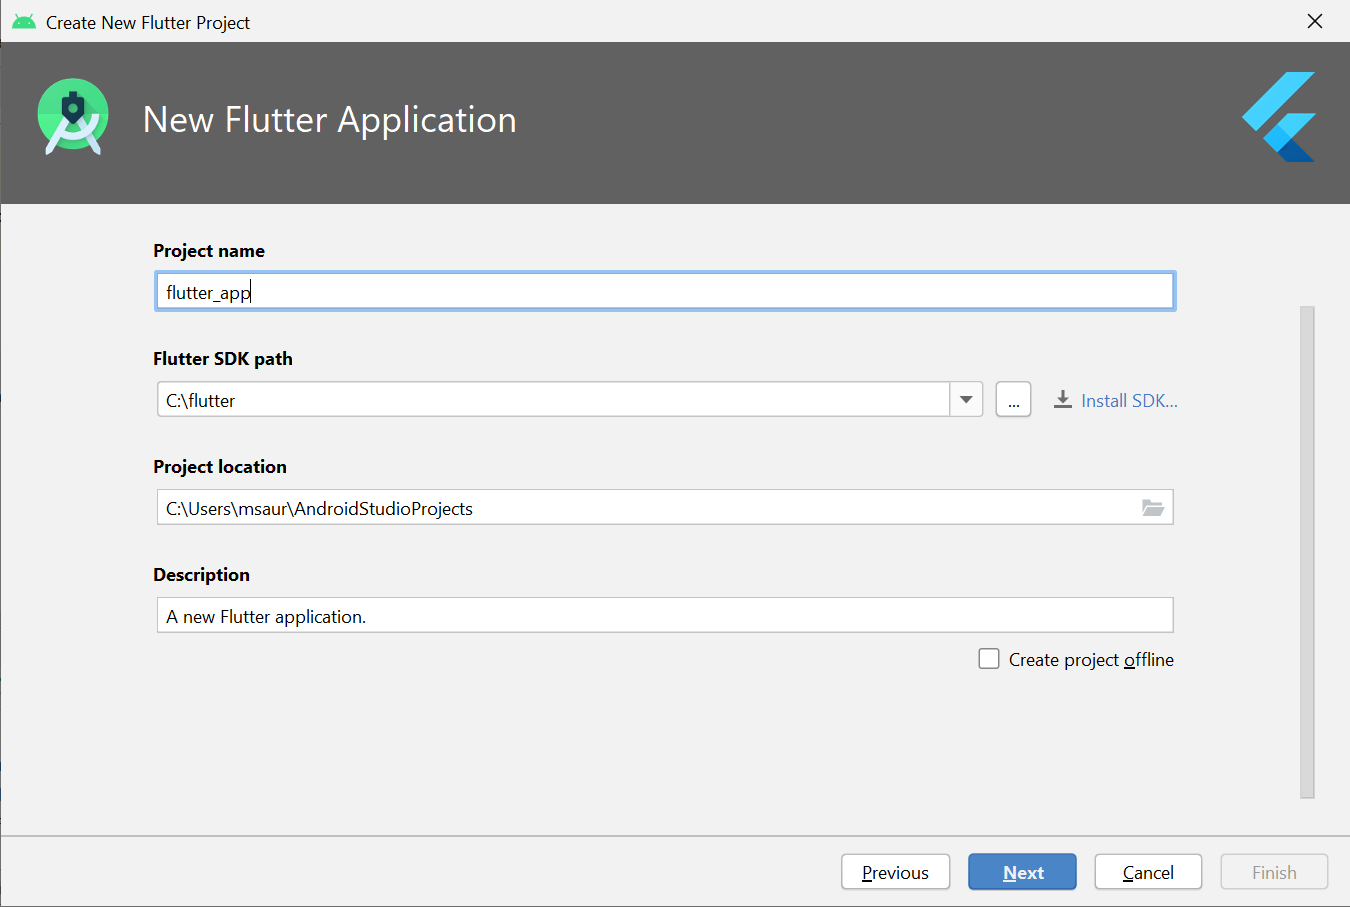
Enter the name of the project and also its description. Also, add the path of the Flutter SDK in the Flutter SDK path or click on install SDK.
**Step 5: Click Finish
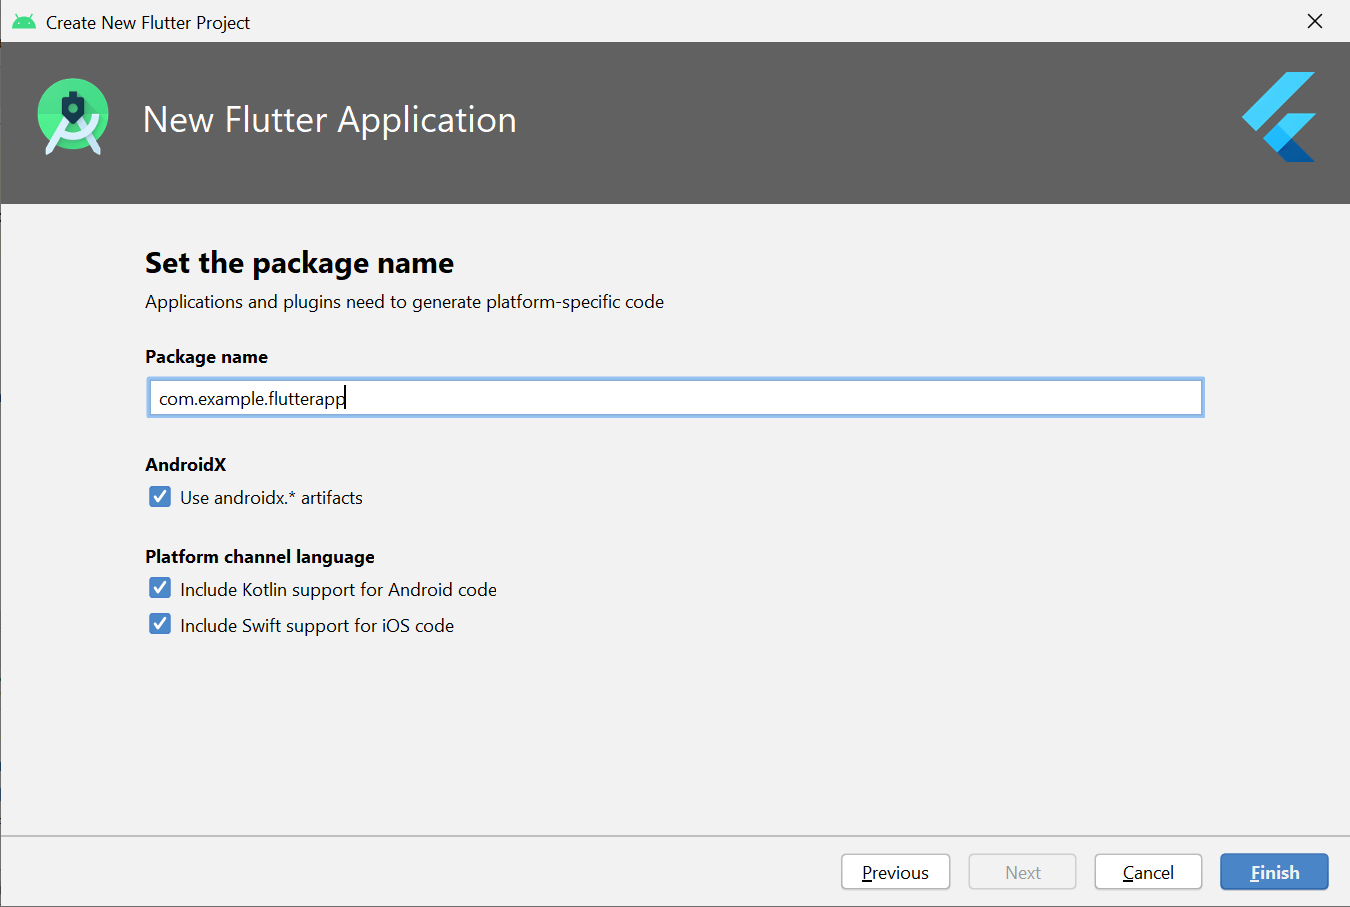
Hit the Finish Button and wait till the project is created by the IDE.
**Step 6: Wait for Android Studio to install the SDK and create the project.
**Note: When creating a new Flutter app, some Flutter IDE plugins ask for a company domain name in reverse order, something like com.example. The company domain name and project name are used together as the package name for Android (the Bundle ID for iOS) when the app is released. If you think that the app might be released, it’s better to specify the package name now. The package name can’t be changed once the app is released, so make the name unique.
The above steps create a Flutter project directory called _flutter_app that contains a simple demo app that uses Material Components.
Running the application
Follow the below steps to run the flutter application that was structured above:
**Step 1: Locate the main Android Studio toolbar.

**Step 2: In the **target selector, select an Android device for running the app. If none are listed as available, select **Tools> Android > AVD Manager and create one there. For details, see **Managing AVDs.
**Step 3: Click the run icon in the toolbar or invoke the menu item **Run > Run.
After the app build is complete, you’ll see the starter app on your device.
