How to Install and Set up Android Studio on Windows | Step by Step Guide (original) (raw)
Last Updated : 11 Jul, 2025
If you are starting your Android learning journey, Andriod Studio is the first thing you will install to write code on your system. This article will guide you on how to install and set up Android Studio on Windows 10, and 11 and what the actual Android Studio system requirements are.
Quick Brief of Android Studio
Android Studio is the official IDE (Integrated Development Environment) for Android app development and it is based on JetBrains’ IntelliJ IDEA software. Android Studio provides many excellent features that enhance productivity when building Android apps, such as:
- A blended environment where one can develop for all Android devices
- Apply Changes to push code and resource changes to the running app without restarting the app
- A flexible Gradle-based build system
- A fast and feature-rich emulator
- GitHub and Code template integration to assist you in developing common app features and importing sample code
- Extensive testing tools and frameworks
- C++ and NDK support
- Built-in support for Google Cloud Platform, making it easy to integrate Google Cloud Messaging and App Engine, and many more.
- Provides GUI tools that simplify the less interesting parts of app development.
- Easy integration with real-time database ' firebase '.
Android Studio System Requirements for Windows
- Microsoft Windows 7/8/10 (32-bit or 64-bit)
- 4 GB RAM minimum, 8 GB RAM recommended (plus 1 GB for the Android Emulator)
- 2 GB of available disk space minimum, 4 GB recommended (500 MB for IDE plus 1.5 GB for Android SDK and emulator system image)
- 1280 x 800 minimum screen resolution
Steps to Install Android Studio on Windows
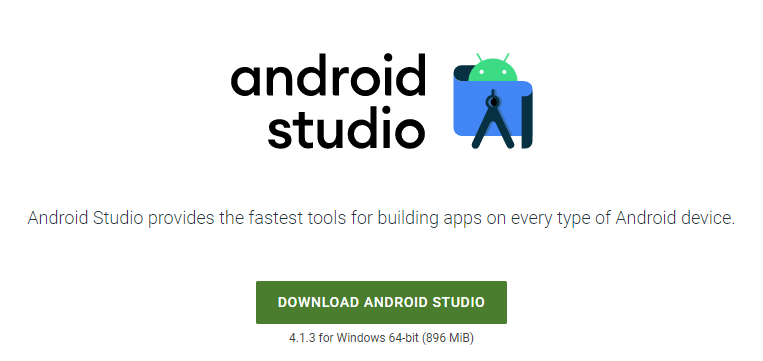
Step 1: Head over to this link to get the Android Studio executable or zip file.
Step 2: Click on the Download Android Studio Button.
Click on the "I have read and agree with the above terms and conditions" checkbox followed by the download button.
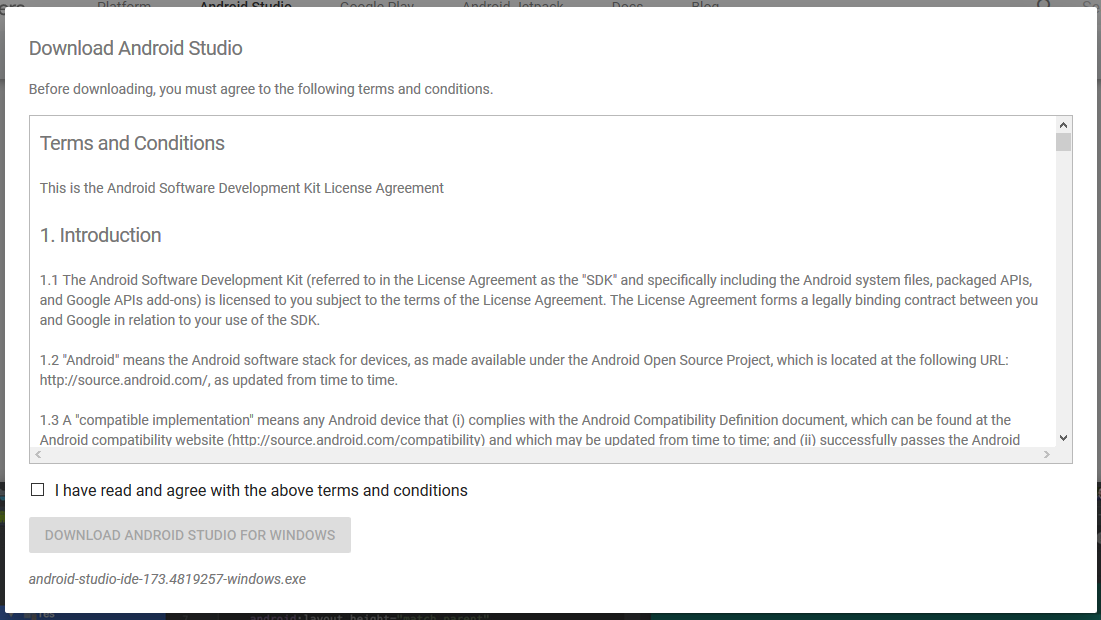
Click on the Save file button in the appeared prompt box and the file will start downloading.
Step 3: After the downloading has finished, open the file from downloads and run it. It will prompt the following dialog box.
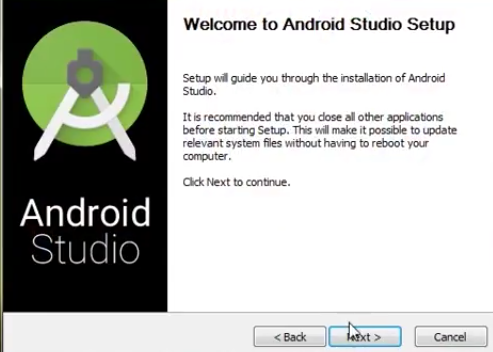
Click on next. In the next prompt, it'll ask for a path for installation. Choose a path and hit next.
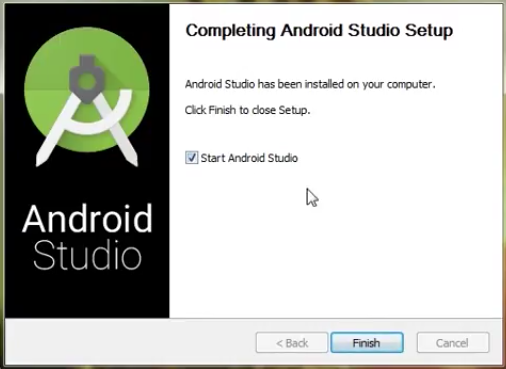
Step 4: It will start the installation, and once it is completed, it will be like the image shown below.
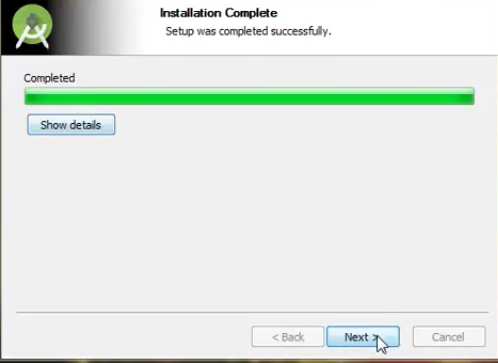
Click on next.
Step 5: Once " Finish " is clicked, it will ask whether the previous settings need to be imported [if the android studio had been installed earlier], or not. It is better to choose the 'Don't import Settings option'.
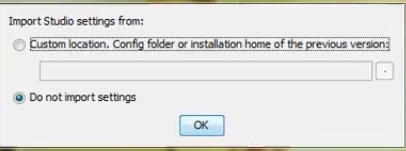
Click the OK button.
Step 6: This will start the Android Studio.

Meanwhile, it will be finding the available SDK components.

Step 7: After it has found the SDK components, it will redirect to the Welcome dialog box.
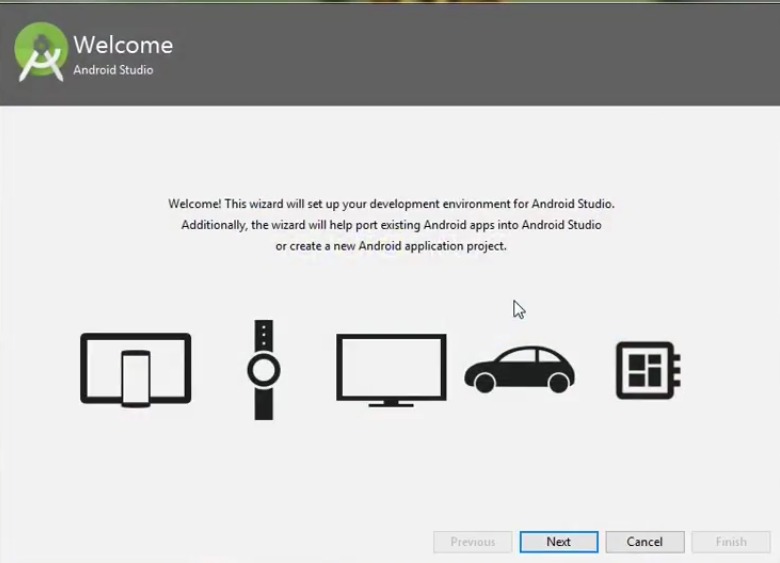
Click on Next .
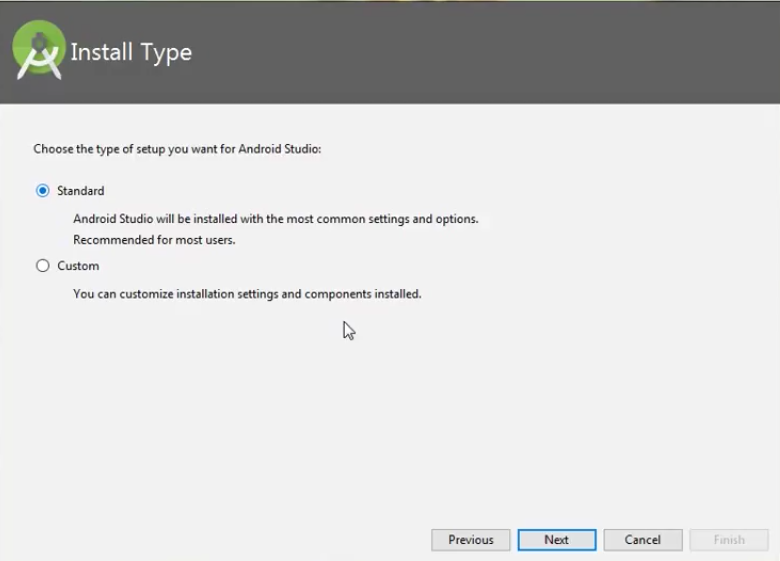
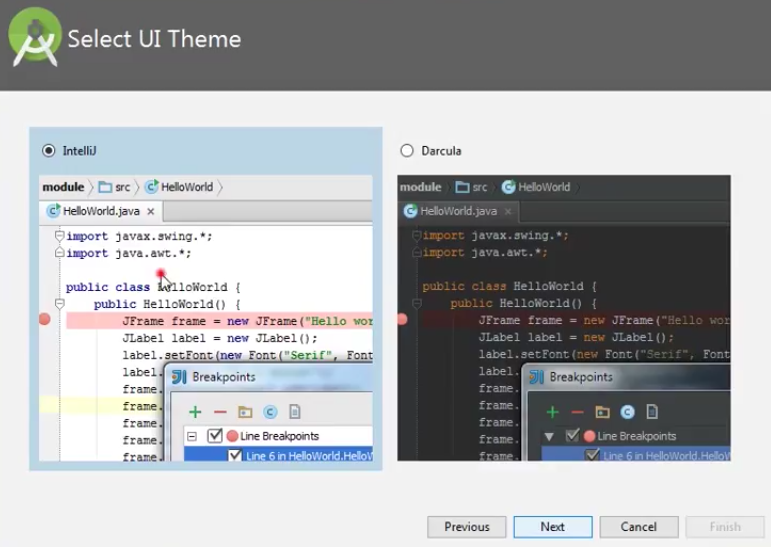
Choose Standard and click on Next. Now choose the theme, whether the Light theme or the Dark one. The light one is called the IntelliJ theme whereas the dark theme is called Dracula . Choose as required.
Click on the Next button.
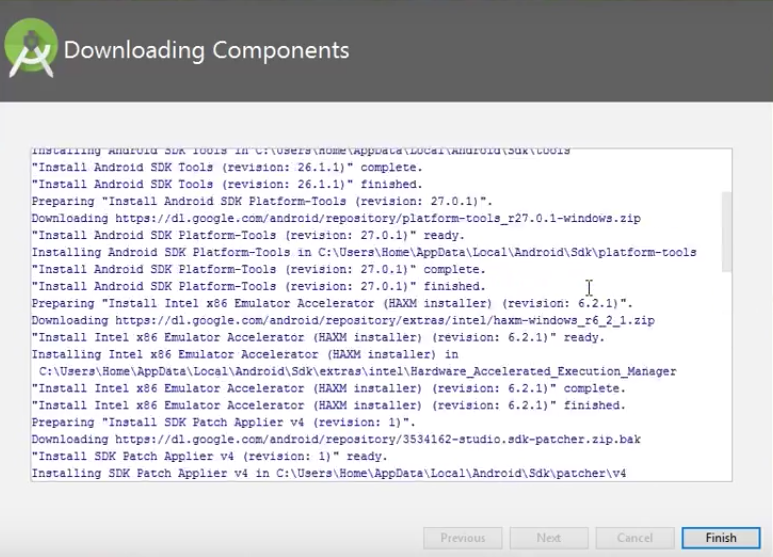
Step 8: Now it is time to download the SDK components.

Click on Finish. Components begin to download let it complete.
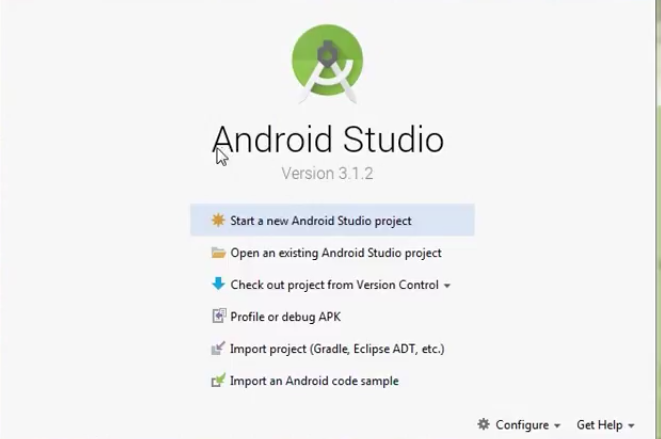
The Android Studio has been successfully configured. Now it's time to launch and build apps. Click on the Finish button to launch it.
Step 9: Click on Start a new Android Studio project to build a new app.
To run your first android app in Android Studio you may refer to Running your first Android app.
Conclusion:
Android Studio is a powerful IDE for Android app development, offering features like Gradle-based build system, fast emulator, testing tools, and integration with Google Cloud Platform and Firebase. Installing it on Windows is easy and straightforward. So this was all about How to Install and Set up Android Studio on Windows.