ImageView in Android with Example (original) (raw)
Last Updated : 15 Jul, 2025
**ImageView class is used to display any kind of image resource in the android application either it can be **android.graphics.Bitmap or **android.graphics.drawable.Drawable (It is a general abstraction for anything that can be drawn in Android). ImageView class or **android.widget.ImageView inherits the **android.view.View class which is the subclass of Kotlin. **AnyClass.Application of ImageView is also in applying tints to an image in order to reuse a drawable resource and create overlays on background images. Moreover, ImageView is also used to control the size and movement of an image.
Adding an ImageView to an Activity
Whenever ImageView is added to an activity, it means there is a requirement for an image resource. Thus it is oblivious to provide an Image file to that ImageView class. It can be done by adding an image file that is present in the Android Studio itself or we can add our own image file. Android Studio owns a wide range of drawable resources which are very common in the android application layout. The following are the steps to add a drawable resource to the ImageView class.
**Note: The steps are performed on Android Studio Koala 2024.
Open the **activity_main.xml File in which the Image is to be Added
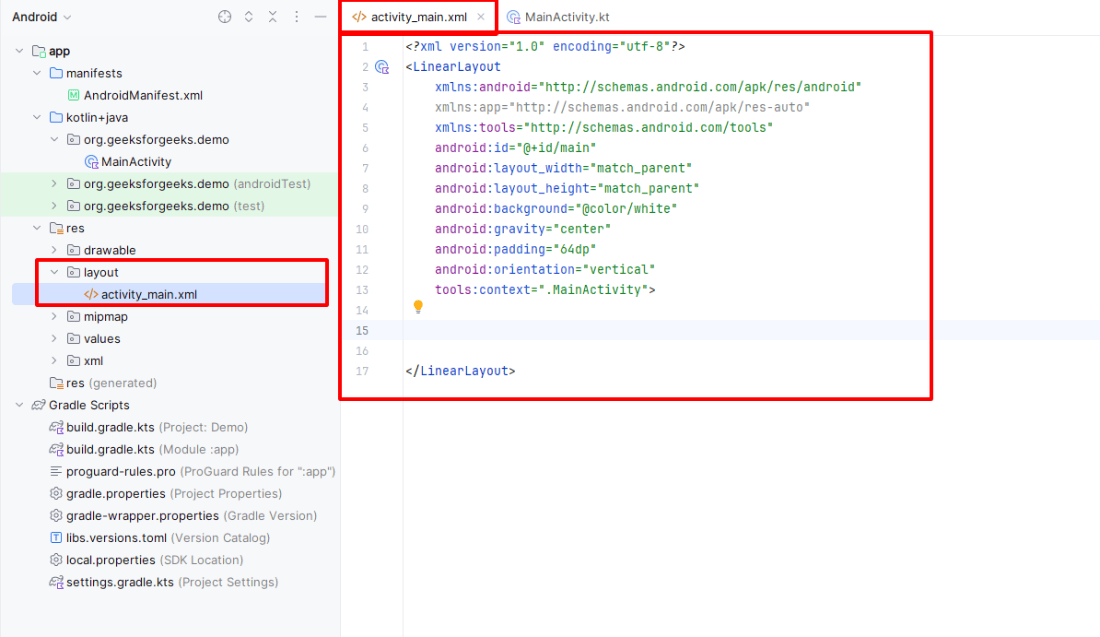
Switch from the Code View to the Design View of the activity_main.xml File

**For adding an image from Android Studio:
Drag the ImageView widget to the activity area of the application, a pop-up dialogue box will open choose from the wide range of drawable resources and click "**OK".

**For Adding an Image File other than Android Studio Drawable Resources:
Click on the "**Resource Manager" tab on the leftmost panel and select the "**Import Drawables" option.
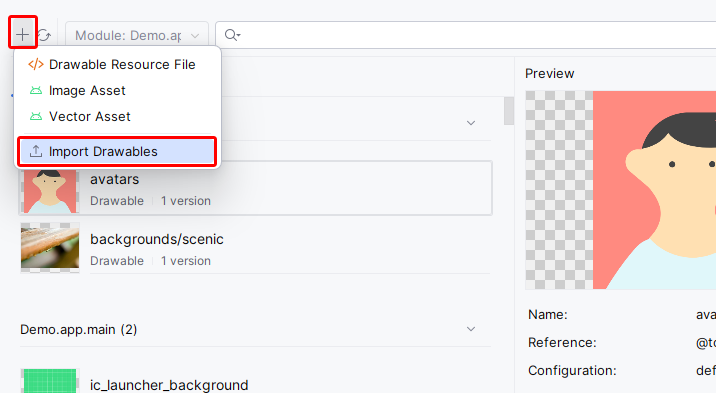
Select the path of the image file on your computer and click "**OK". After that set, the "**Qualifier type" and "**value" of the image file according to your need and click "**Next" then "**Import".
![]()
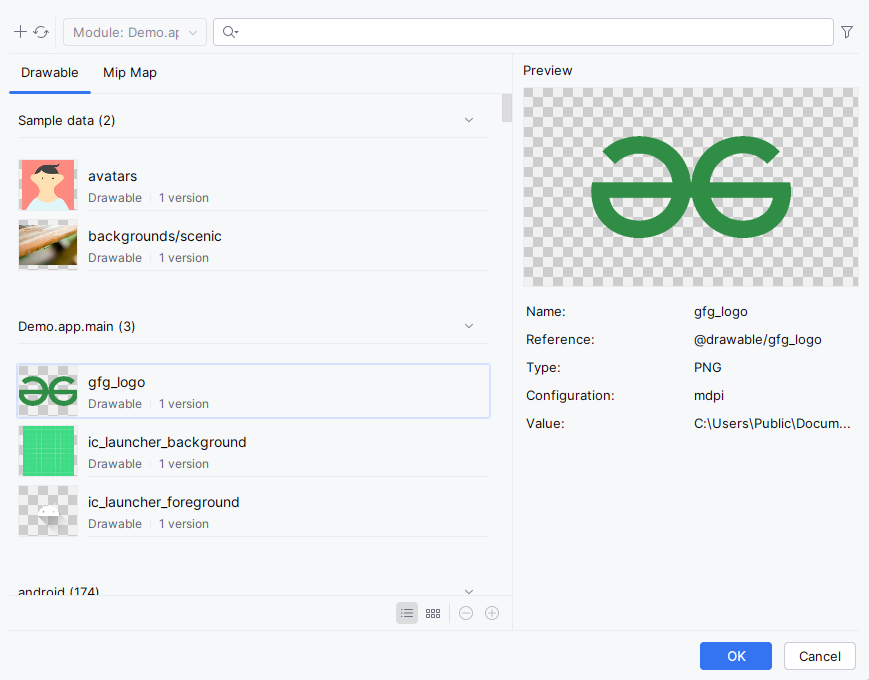
Drag the ImageView class in the activity area, a pop-up dialogue box will appear which contains your imported image file. Choose your image file and click "**OK", your image will be added to the activity.
**Note: After adding an image set its constraints layout both vertically and horizontally otherwise it will show an error.
XML Attributes of ImageView
| XML Attribute | Description |
|---|---|
| android:id | To uniquely identify an image view |
| android:src (**or) app:srcCompat | To add the file path of the inserted image |
| android:background | To provide a background color to the inserted image |
| android:layout_width | To set the width of the image |
| android:layout_height | To set the height of the image |
| android:padding | To add padding to the image from the left, right, top, or bottom of the view |
| android:scaleType | To re-size the image or to move it in order to fix its size |
**Step by Step Implementation of ImageView
**Step 1: Create a New Project
To create a new project in Android Studio please refer to How to Create/Start a New Project in Android Studio.
The code has been given in both Java and Kotlin Programming Language for Android.
**Step 2: Working with the activity_main.xml File
Go to the **activity_main.xml File and refer to the following code. Navigate to the **app > res > layout > activity_main.xml and add the below code to that file.
activity_main.xml:
XML `
<androidx.constraintlayout.widget.ConstraintLayout xmlns:android="http://schemas.android.com/apk/res/android" xmlns:app="http://schemas.android.com/apk/res-auto" xmlns:tools="http://schemas.android.com/tools" android:id="@+id/main" android:layout_width="match_parent" android:layout_height="match_parent" android:background="@color/white" tools:context=".MainActivity">
<ImageView
    android:id="@+id/imageView"
    android:layout_width="200dp"
    android:layout_height="200dp"
    app:layout_constraintBottom_toBottomOf="parent"
    app:layout_constraintEnd_toEndOf="parent"
    app:layout_constraintStart_toStartOf="parent"
    app:layout_constraintTop_toTopOf="parent"
    app:srcCompat="@drawable/gfg_logo" />
</androidx.constraintlayout.widget.ConstraintLayout>
`
**Note: All the attributes of the ImageView which are starting with app:layout_constraint are the vertical and horizontal constraints to fix the image position in the activity. This is very necessary to add the constraint to the ImageView otherwise, all the images will take the position (0, 0) of the activity layout.
**Step 4: Working with the **MainActivity File
Go to the **MainActivity file and refer to the following code. Below is the code for the **MainActivity file. Since in the activity, only one image have been added and nothing else is being done like touching a button, etc. So, the **MainActivity file will simply look like the below code i.e. no change.
MainActivity File:
Java `
import androidx.appcompat.app.AppCompatActivity; import android.os.Bundle;
public class MainActivity extends AppCompatActivity {
@Override
protected void onCreate(Bundle savedInstanceState) {
    super.onCreate(savedInstanceState);
    setContentView(R.layout.activity_main);
}
}
Kotlin
import androidx.appcompat.app.AppCompatActivity import android.os.Bundle
class MainActivity : AppCompatActivity() {
override fun onCreate(savedInstanceState: Bundle?) {
    super.onCreate(savedInstanceState)
    setContentView(R.layout.activity_main)
}
}
`
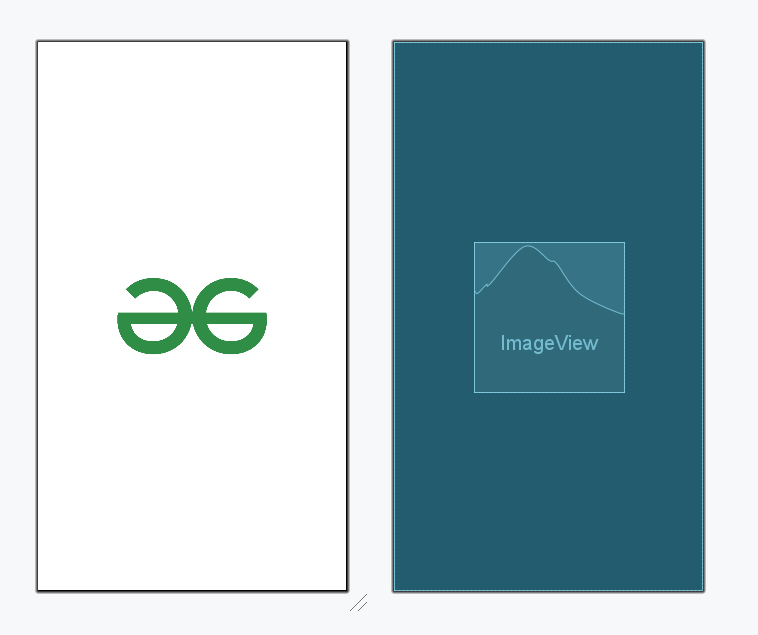
Output: