Docker Publishing Images to Docker Hub (original) (raw)
Last Updated : 1 Sep, 2025
Docker is a container platform that facilitates creating and managing containers. Here, we will see how docker stores the docker images in some popular registries like Dockerhub and how to publish the Docker images to Docker Hub. By publishing the images to the docker hub and making it public it gives users more flexibility in creating earlier versions of Docker images.
Create a Repository on Docker Hub
**Step 1: Now we have our docker file so let's create a repository within the docker hub before we push our image into an online repository. So first login/sign up to docker hub and register an account.
**Step 2: After signing up click on the repositories tab in the navbar as shown below:

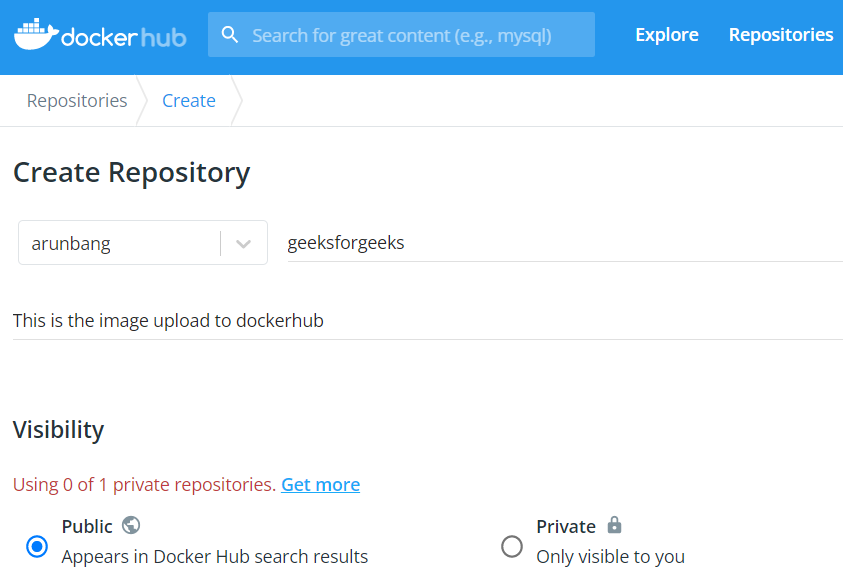
**Step 3: Create a repository called _geeksforgeeks as an example that we will be used as shown below.
**Step 4: Now let us create an image from docker and push it to _geeksforgeeks repository.
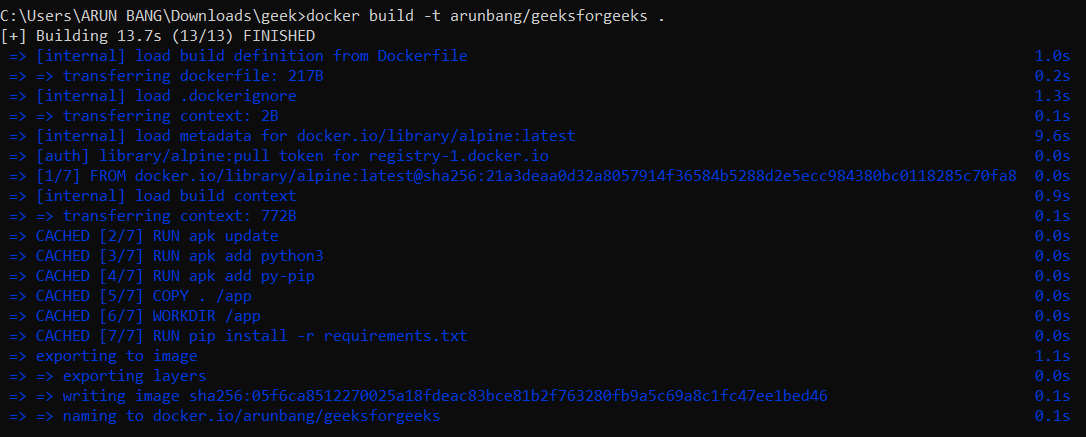
- To build an image the syntax is shown below:
docker build -t username/repository_name .
- The username is the docker hub name and the repository_name is _geeksforgeeks that we created above.
**Command:
docker build -t arunbang/geeksforgeeks .
Pushing Docker Image to a Registry
**Step 5: Pushing docker image to docker hub
- So before we push our image we need to log in to the Docker hub using the command given below:
docker login

- Once we are logged in we can push our container to the Docker hub. To push our container to the Docker hub, we use the following command:
docker push arunbang/geeksforgeeks
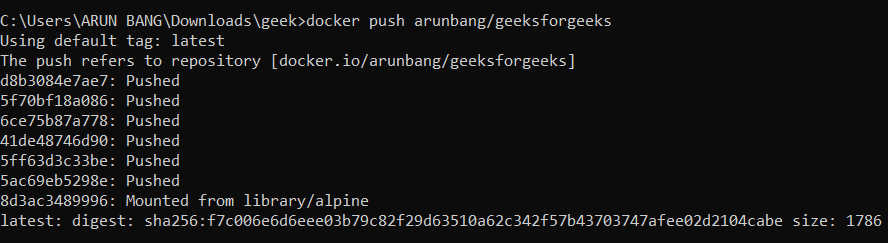
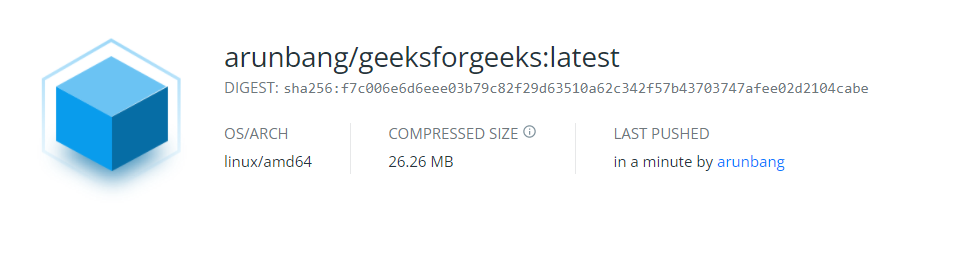
- Now our Docker image is now available in Docker Hub. You can see it by visiting your repository.
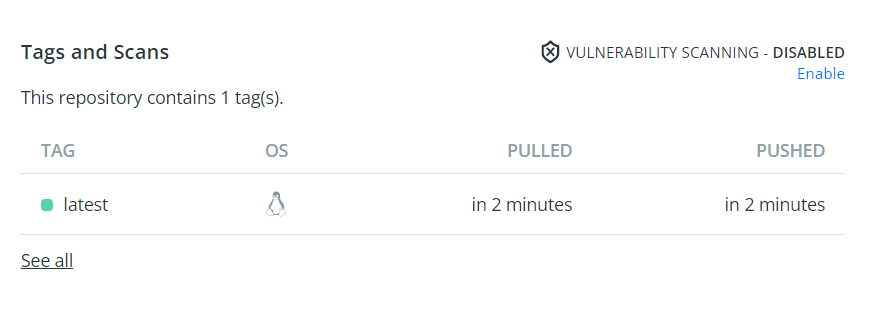
- The following screenshot illustrates the success push of docker image and its availability in the dockerhub.
- So, these were 5 simple steps for publishing images to Docker Hub.
Run the Docker Image On a Docker Container
**Step 6: Creating a Run Container
- On using the docker run command with specifying the docker image we can create and run the container. Here we are creating a running container with the ubuntu image with latest version that is available in dockerhub publically.
docker run -dit --name mycontainer ubuntu:latest
Step 7: Verify the Container Status
On running the following command we can list the status of the container. The following command is used to known the status of the container.
docker ps -a
How to push Docker image to Dockerhub Private Registry? A Step-By-Step Guide
The following are the steps that help you to push the docker image to the Dockerhub private Registry:
Step 1: Create a Private Repository on Dockerhub
- Firstly login in to Docker Hub with your credentials and then navigate to account settings and select the Repositories.
- Click on "Create Repository" and Provide the Name for the Repository and ensure to set its to Private.
Step 2: Tag your Docker Image
Now, Come back to the console where docker server is running. Use the docker tag command to tag your local docker image with the repository name that you created in dockerhub.
Use the docker tag command and provide Dockerhub Username, the Repository Name and the Desired Tag. The command looks as follows:
docker tag /:
**Example
docker tag bnvschaitanya/my-private-img:v1
Step 3: Login to Dockerhub
- Login in to your Dockerhub from the console with docker login command specifying your credentials:
docker login -u -p
Step 4: Push Your Image to Dockerhub
- After once, successfully login in to your dockerhub use the following command to push the image to the Dockerhub:
docker push bnvschaitanya/my-private-img:v1
Step 5: Verify the Upload
- Once, you pushed the image to the dockerhub, verify whether it is successfully pushed or not by going into the dockerhub and check in the created private rpository.
How to Use Docker Full Tag Name and Push the Docker Image to Docker Hub?
In the above implementation, we have already done this part, for better understanding this section effectively here. The following are the steps for used for assigning full tag name and push the docker image to the docker hub.
Step 1: Full Tag Name to Your Docker Image
- On using the docker tag, we can rename the container image name. With this we can make changes such as changing the docker registry name, docker repository name and version tags.
- The following is the docker command use for provide full tag name to the docker image.
docker tag : /:
Step 2: Login In to Dockerhub
- Authenticate yourself with the docker hub using the docker login command:
docker login
- If you want to specify the user name and password along with docker login command only, use the following command:
docker login -u -p
Step 3: Push Your Image to Dockerhub
- Now, execute the following command to push the docker image from the local registry to your docker hub registry.
docker push /:
Docker Push Image Example
Here, we are the building your custom docker image into the dockerhub, while practising make sure to you use your credentials and push to your docker hub registry.
Step 1: List the Docker Image
- Firstly list the docker images that are available in the docker locally.
- Choose an image you wish to push it the docker hub.
Step 2: Login in to Dockerhub from Console
- Login in to your dockerhub account with the docker login command, the command looks as follows:
docker login
- After executing it will prompting by asking the username and password.
Step 3: Push the Docker Image
- After once successfully login into your dockerhub account.
- Push it to the dockerhub account with the following command:
docker push /:
Generally we use tag version to the same image when we doing some changes to the image we building with different version, so that if error raise we can revert to the previous image with the version. The following are the steps to guide you how to push all the tags of an image into the dockerhub.
Step 1: Tag Your Docker Image
- Tag your docker images with multiple tags with using the **docker tag command with following image_name or Id and <dockerhub_registry>/:. The commands looks as follows:
docker tag /:
docker tag /:
Step 2: Log in to Dockerhub
- After assign the full name to the images having same name with different tags. Login in to your Dockerhub registry with your credentials using the docker login command:
docker login
Step 3: Push all tags of the Image
- Once successfully login into your dockerhub, push the images with same name having different tags using the following docker push command:
docker push -a /
- Here, the -a option in the above command, will makes you push the docker images from local to the dockerhub of all the images having full image name even having different tags also.