Adding GIT Credentials in Jenkins (original) (raw)
Last Updated : 8 Apr, 2026
Adding Git credentials to Jenkins securely stores authentication details so Jenkins can access Git repositories. It allows Jenkins to clone, pull, or push code during automated build and deployment processes.
- Stores credentials like username/password or SSH keys securely in Jenkins
- Enables Jenkins to connect with private Git repositories
- Used in pipelines and jobs for automated code fetching
- Improves security by avoiding hardcoding credentials in scripts
**Configuring Jenkins Credentials For Git
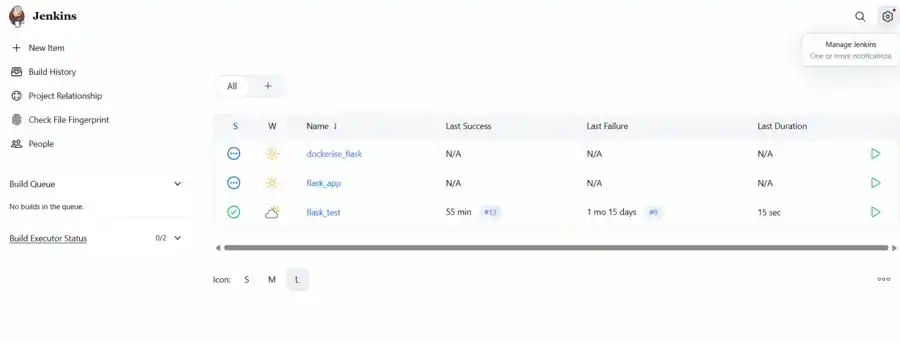
Step 1: Open Jenkins Dashboard
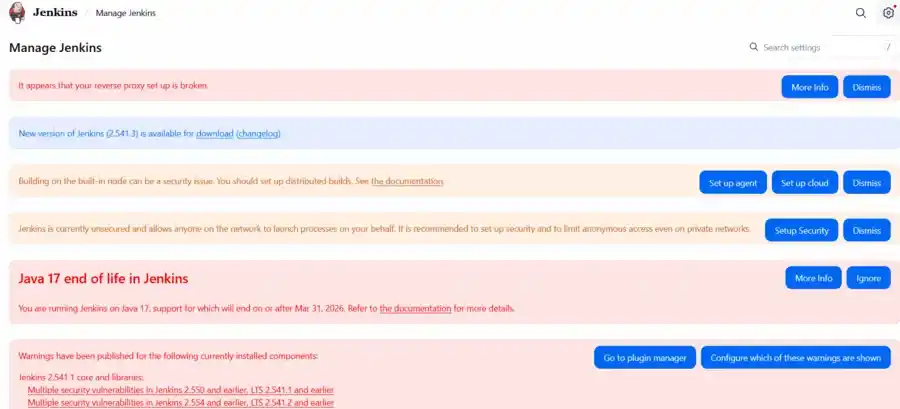
Open the Jenkins Dashboard. On the left-hand side of the screen, click on the Manage Jenkins option.
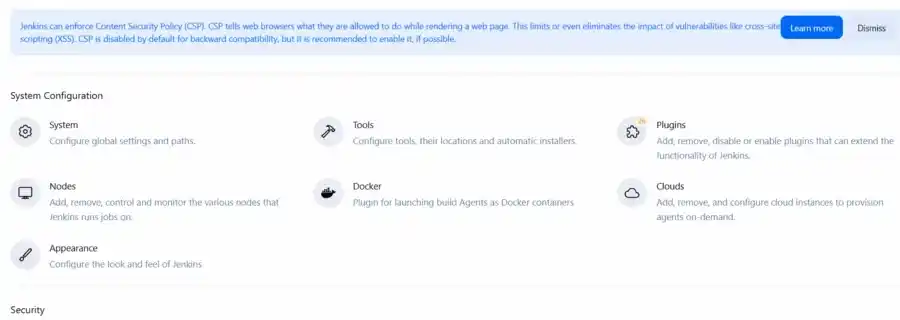
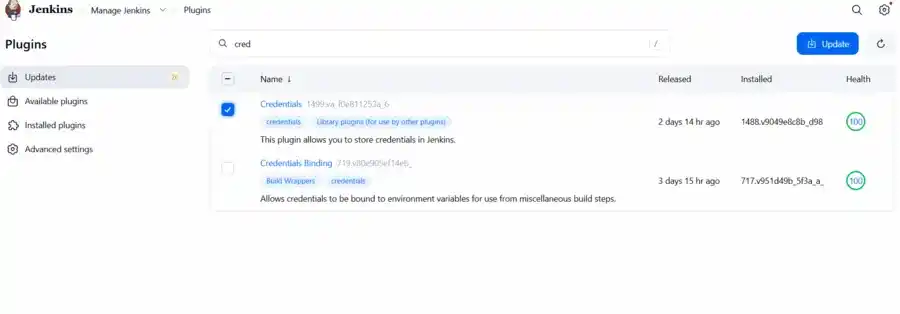
Step 2: Access Plugin Manager
Click on Manage Plugins (or Plugins in newer versions) to manage installed plugins.
**Step 3: Search for Credentials Plugin
Go to the Available tab and search for Credentials in the search bar.
Step 4: Install Credentials Plugin
Select and install the Credentials Plugin (usually pre-installed in modern Jenkins).
Step 5: Open Credentials Section
Return to the Jenkins Dashboard and click on Manage Jenkins again. Scroll down to the Security section and click on Credentials (or Manage Credentials).
Step 6: Select Global Domain
In the Credentials screen, look for the Stores scoped to Jenkins section. Click on the (global) domain link located next to the Jenkins store.
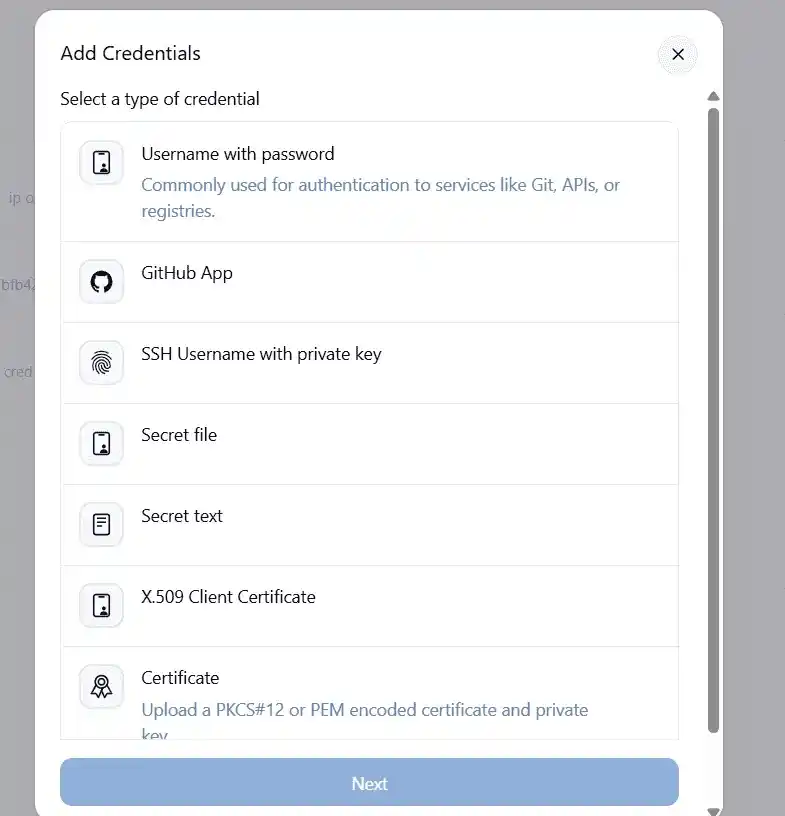
Step 7: Add New Credentials
On the Global Credentials page, look at the left-hand menu and click on Add Credentials.

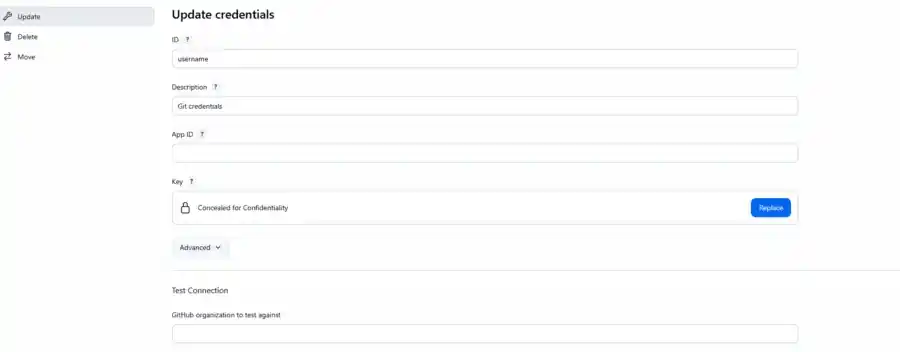
Step 8: Fill Credential Details
Select Username with password, set scope to Global, and enter Git username, password/PAT, ID (optional), and description.
- **Kind: Select Username with password. This is the standard and most reliable method for basic repository authentication.
- **Scope: Select Global. This ensures that the credentials can be accessed by any Jenkins job or pipeline. (Selecting a restricted scope might cause permission errors during your builds).
- **Username: Enter the username associated with your Git hosting account (e.g., your GitHub username).
- **Password: Enter your account password or your Personal Access Token (PAT).
- **ID: You can leave this blank. Jenkins will automatically generate a unique ID string for these credentials. Alternatively, you can type a custom name (like
github-creds) to easily identify it in your pipelines. - **Description: Enter a clear description, such as "GitHub Login Credentials," so you know exactly what this account is used for.
Step 9: Save Credentials
Click the OK or Create button at the bottom of the screen to save the details.
Step 10: Verify Credentials
You will be redirected back to the Global Credentials page. You will now see your newly added Git credentials listed in the table.