Add a Linux Firewall ( ufw or iptables) (original) (raw)
Last Updated : 14 May, 2026
Here’s a hands-on lab you can follow to add a host firewall on Linux using either **UFW (easier) or **iptables (granular). Do one path at a time. All commands are safe to run on a test VM.
UFW (Uncomplicated Firewall)
UFW (Uncomplicated Firewall) simplifies complex iptables commands into easy-to-use syntax. It is ideal for quickly securing a system while keeping essential ports open.
Step 1: Install and check status
**Syntax:
sudo apt update
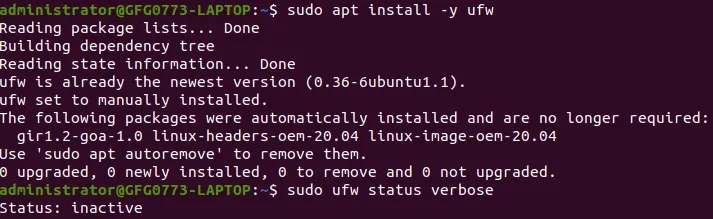
sudo apt install -y ufw
sudo ufw status verbose
**Output:
Output
Step 2: Allow SSH and web traffic before enabling the firewall
**Syntax:
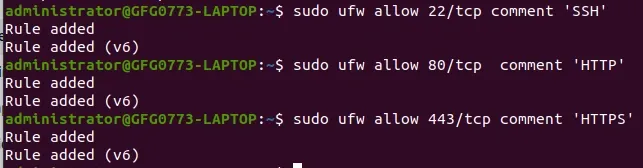
sudo ufw allow 22/tcp comment 'SSH'
sudo ufw allow 80/tcp comment 'HTTP'
sudo ufw allow 443/tcp comment 'HTTPS'
**Output:
Output
Step 3: Enable UFW
**Syntax:
sudo ufw enable
**Output:
Firewall is active and enabled on system startup
Step 4: Add a useful examples
Allow a port range (e.g., passive FTP 40000–50000)
**Syntax:
sudo ufw allow 40000:50000/tcp comment 'Passive-FTP'
**Output:

Output
This command tells the UFW firewall to allow TCP traffic on ports **40000 to 50000, which are commonly used for **passive FTP data transfers. It adds a descriptive comment "Passive-FTP" so you can easily identify the rule later. The message confirms that the rule was successfully applied for both IPv4 and IPv6 traffic.
Step 5: Enable logging
**Syntax:
sudo ufw logging medium
**Output:
logging Enabled
Step 6: Verify Rules
**Syntax:
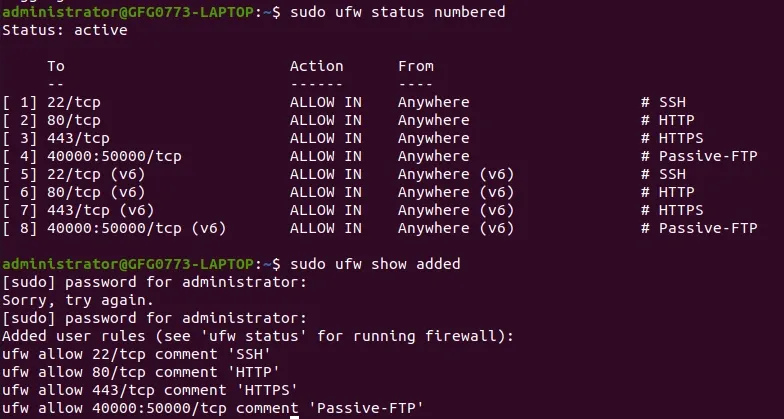
sudo ufw status numbered
sudo ufw show added
**Output:
Output
Step 7: Rollback / reset
**Syntax:
sudo ufw disable
or
sudo ufw reset
**Output:
Firewall stopped and disabled on system startup
iptables
"iptables" is a command-line utility in Linux used to configure the kernel built-in firewall. It works by defining rules that control how network traffic is handled—whether it’s allowed, blocked, or modified—based on criteria like IP address, port, or protocol.
Step 1: Set default policies (deny inbound & forward, allow outbound)
**Syntax:
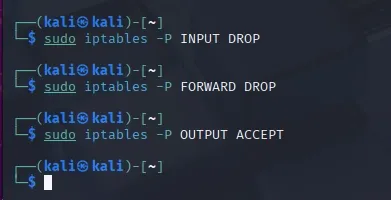
sudo iptables -P INPUT DROP
sudo iptables -P FORWARD DROP
sudo iptables -P OUTPUT ACCEPT
**Output:
Output
Step 2: Allow loopback and established traffic
**Syntax:
sudo iptables -A INPUT -i lo -j ACCEPT
sudo iptables -A INPUT -m conntrack --ctstate ESTABLISHED,RELATED -j ACCEPT
**Output:

Output
Step 3: Allow SSH **before you lock yourself out
**Syntax:
sudo iptables -A INPUT -p tcp --dport 22 -m conntrack --ctstate NEW -j ACCEPT
**Output:

Output
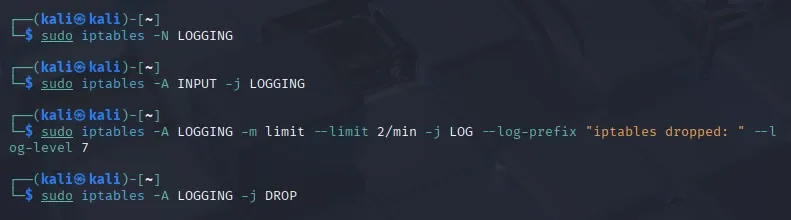
Step 4: Add a logging-and-drop tail rule
**Syntax:
sudo iptables -N LOGGING
sudo iptables -A INPUT -j LOGGING
sudo iptables -A LOGGING -m limit --limit 2/min -j LOG --log-prefix "iptables dropped: " --log-level 7
sudo iptables -A LOGGING -j DROP
**Output:
Output
Step 5: Verify current rules
**Syntax:
sudo iptables -L -n -v --line-numbers
**Output:
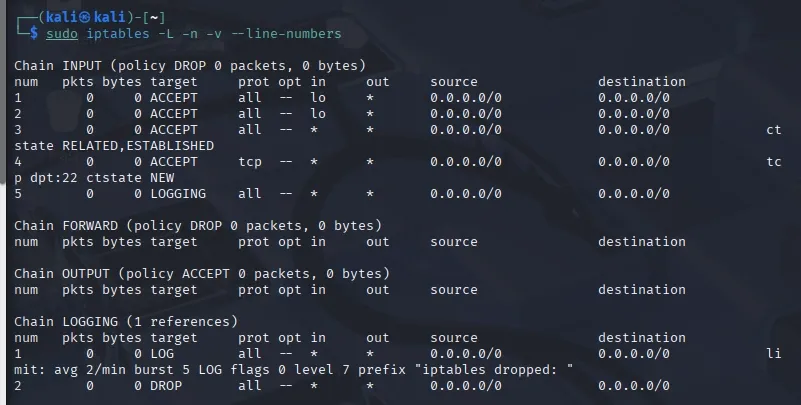
Output
Step 6: Make it persistent across reboots
**Syntax:
sudo apt install -y iptables-persistent
**Output:
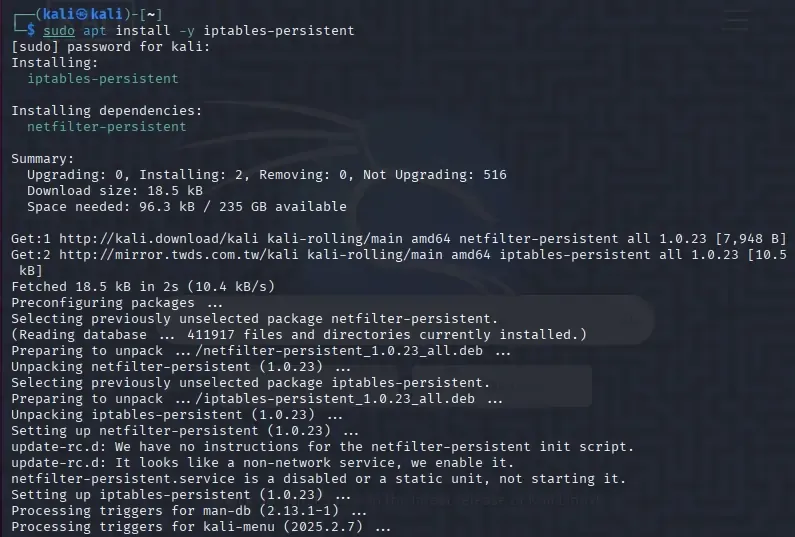
Output
**Syntax:
sudo netfilter-persistent save
sudo systemctl enable netfilter-persistent
**Output:
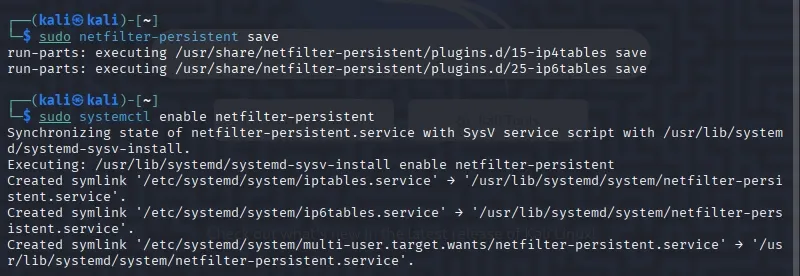
Output
Step 7: Test Connectivity
**Syntax:
curl -I http://127.0.0.1
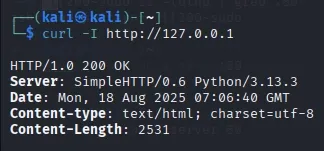
Output
nc -vz 127.0.0.1 22
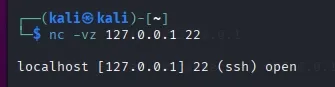
Output
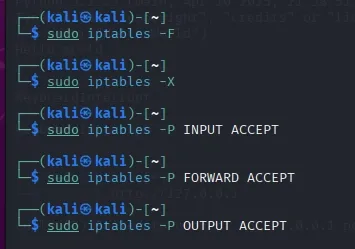
Step 8: Rollback
**Syntax:
sudo iptables -F
sudo iptables -X
sudo iptables -P INPUT ACCEPT
sudo iptables -P FORWARD ACCEPT
sudo iptables -P OUTPUT ACCEPT
**Output:
How the Firewall Works
- **Traffic Filtering: Inspects incoming and outgoing data packets based on established security rules.
- **Access Control: Blocks unauthorized external access while allowing safe, approved internal communications.
- **Threat Prevention: Identifies and stops malicious software or hackers from entering your network.