Flutter Horizontal List (original) (raw)
Last Updated : 03 Mar, 2025
In Flutter there can be Two types of lists, namely, horizontal list and vertical list. Both these lists are created using the _ListView constructor and assigning the **scrollDirection parameter. By default, the scroll direction parameter is vertical for a vertical list but it can be overridden by passing a horizontal parameter to it.
**Constructor of ListView :
ListView ListView({
Key? key,
Axis scrollDirection = Axis.vertical,
bool reverse = false,
ScrollController? controller,
bool? primary,
ScrollPhysics? physics,
bool shrinkWrap = false,
EdgeInsetsGeometry? padding,
double? itemExtent,
double? Function(int, SliverLayoutDimensions)? itemExtentBuilder,
Widget? prototypeItem,
bool addAutomaticKeepAlives = true,
bool addRepaintBoundaries = true,
bool addSemanticIndexes = true,
double? cacheExtent,
List children = const [],
int? semanticChildCount,
DragStartBehavior dragStartBehavior = DragStartBehavior.start,
ScrollViewKeyboardDismissBehavior keyboardDismissBehavior = ScrollViewKeyboardDismissBehavior.manual,
String? restorationId,
Clip clipBehavior = Clip.hardEdge,
HitTestBehavior hitTestBehavior = HitTestBehavior.opaque,
})
**Key Properties Of ListView Widget:
| Property | Description |
|---|---|
| childrenDelegate | This property takes in _SliverChildDelegate class as the object. It provides a children delegate for the _Listview |
| itemExtent | The _itemExtent property takes in a _double value as the object to set the extent of the scrollable area for the _ListView |
| scrollDirection | Creates a scrollable, linear array of widgets from an explicit List. by default it sets to _Axis.vertical (vertical list) and we can change that to Axis.horizontal (horizontal list). |
In this article, we will look into the process of creating a horizontal list. For the same purpose, we will design a simple app that shows a list of images of superheroes in a horizontal direction.
Steps to Implement Horizontal list in Flutter Application
Step 1 : Creating a statelessWidget
To create a stateless widget that provides a base structure to the application using the below code:
Dart `
class MyApp extends StatelessWidget { @override Widget build(BuildContext context) { final title = 'GeeksForGeeks';
return MaterialApp()
.....
`
Step 2 : Adding the scaffold widget
To add a scaffold widget inside the statelessWidget use the below technique:
Dart `
class MyApp extends StatelessWidget { @override Widget build(BuildContext context) { final title = 'GeeksForGeeks';
return MaterialApp(
  title: title,
  home: Scaffold(
    appBar: AppBar(
      title: Text(title),
    )
    .....
`
Step 3 : Creating ListView with containers
A simple ListView with containers can be created as follows:
Dart `
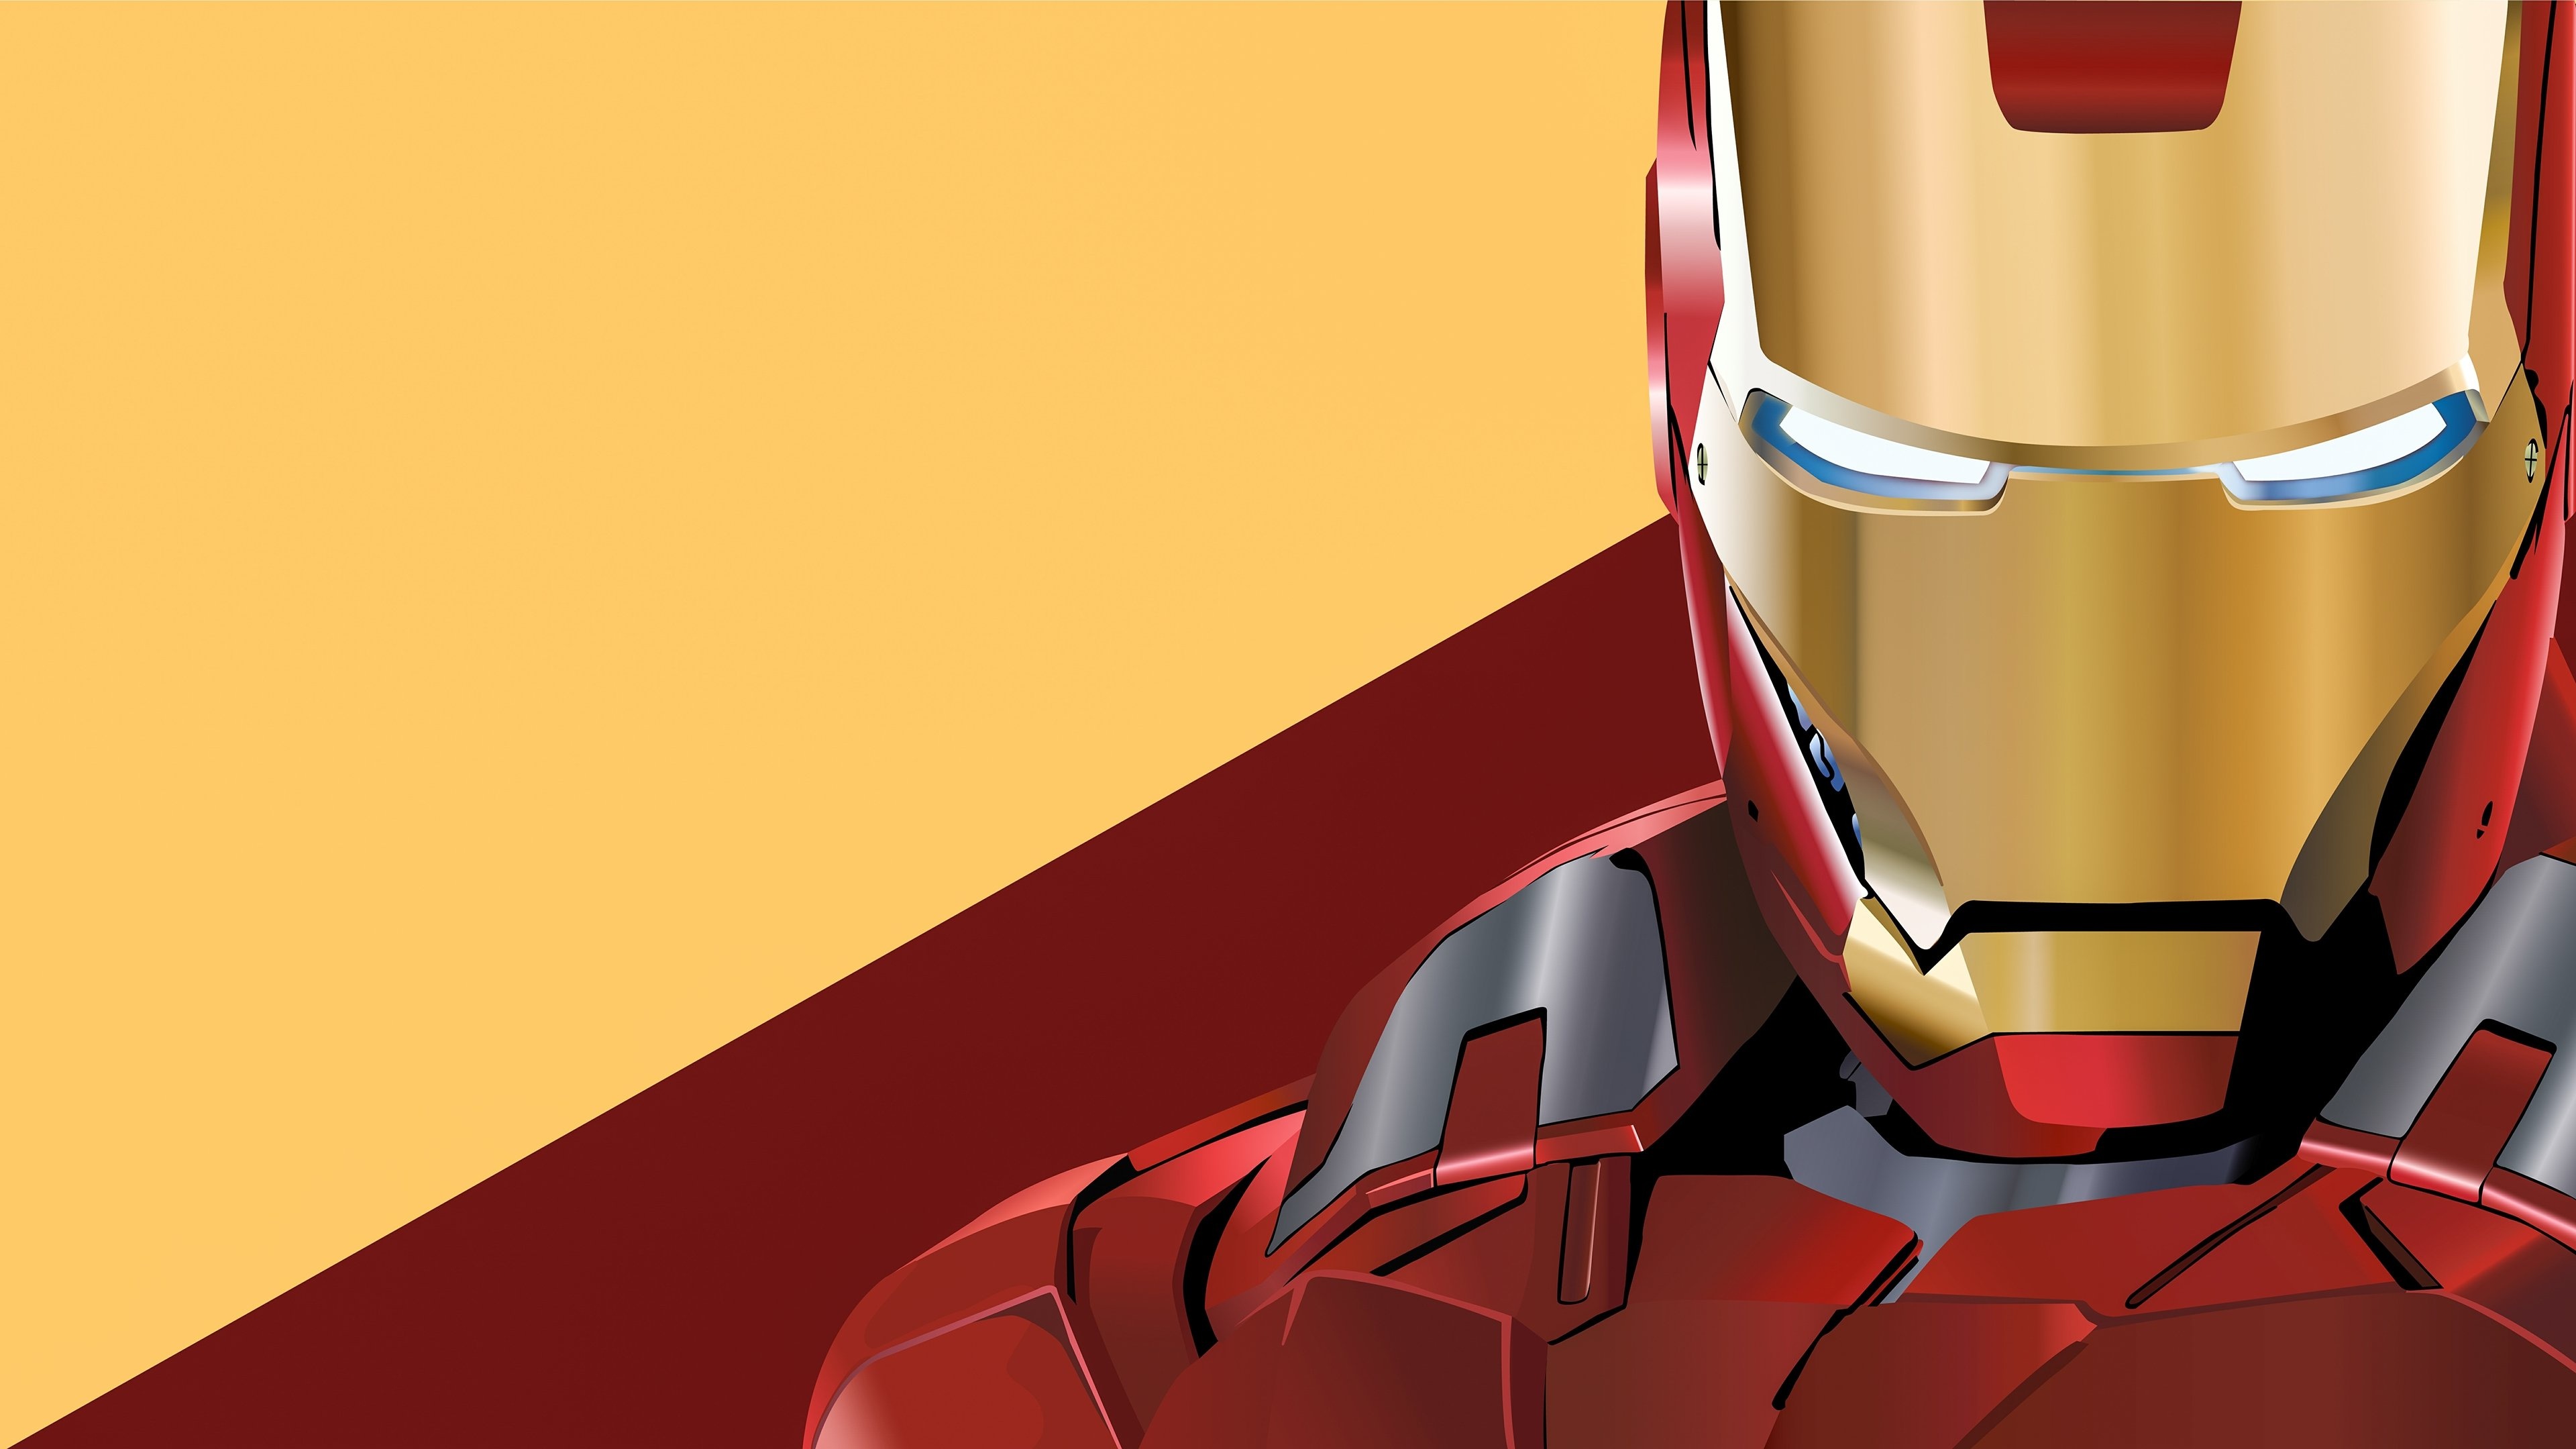
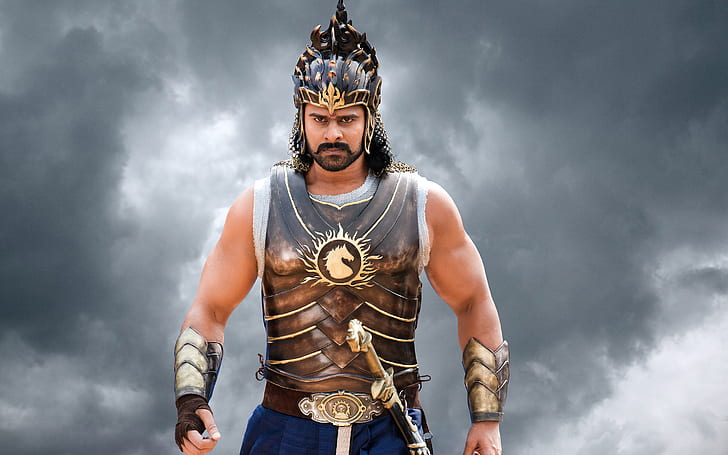
ListView( scrollDirection: Axis.horizontal, children: [ Container( height: 480.0, width: 240.0, decoration: BoxDecoration( image: DecorationImage( image: NetworkImage( 'https://4kwallpapers.com/images/walls/thumbs_2t/13495.jpg'), fit: BoxFit.fill, ), shape: BoxShape.rectangle, ), ), Container( height: 480.0, width: 240.0, decoration: BoxDecoration( image: DecorationImage( image: NetworkImage( 'https://wallpapercat.com/w/full/0/a/8/319915-3840x2160-desktop-4k-iron-man-background.jpg'), fit: BoxFit.fill, ), shape: BoxShape.rectangle, ), ), Container( height: 240.0, width: 240.0, decoration: BoxDecoration( image: DecorationImage( image: NetworkImage( 'https://c4.wallpaperflare.com/wallpaper/1022/408/961/tv-show-ben-10-ben-tennyson-wallpaper-preview.jpg'), fit: BoxFit.fill, ), shape: BoxShape.rectangle, ), ), Container( height: 480.0, width: 240.0, decoration: BoxDecoration( image: DecorationImage( image: NetworkImage( 'https://c4.wallpaperflare.com/wallpaper/724/879/773/prabhas-bahubali-part-2-wallpaper-preview.jpg'), fit: BoxFit.fill, ), shape: BoxShape.rectangle, ), ), ], ),
`
Now that we have designed all the essential components of the app, it's time to integrate them into one complete app as follows:
**Complete Source Code (main.dart) :
Dart `
import 'package:flutter/material.dart';
void main() => runApp(MyApp());
class MyApp extends StatelessWidget { @override Widget build(BuildContext context) { final title = 'GeeksForGeeks';
return MaterialApp(
  debugShowCheckedModeBanner: false,
  title: title,
  home: Scaffold(
    appBar: AppBar(
      title: Text(title),
      backgroundColor: Colors.green,
    ),
    body: Container(
      margin: EdgeInsets.symmetric(vertical: 20.0),
      height: 550.0,
      child: ListView(
        scrollDirection: Axis.horizontal,
        children: <Widget>[
          Container(
            height: 480.0,
            width: 240.0,
            decoration: BoxDecoration(
              image: DecorationImage(
                image: NetworkImage(
                    'https://4kwallpapers.com/images/walls/thumbs_2t/13495.jpg'),
                fit: BoxFit.fill,
              ),
              shape: BoxShape.rectangle,
            ),
          ),
          Container(
            height: 480.0,
            width: 240.0,
            decoration: BoxDecoration(
              image: DecorationImage(
                image: NetworkImage(
                    'https://wallpapercat.com/w/full/0/a/8/319915-3840x2160-desktop-4k-iron-man-background.jpg'),
                fit: BoxFit.fill,
              ),
              shape: BoxShape.rectangle,
            ),
          ),
          Container(
            height: 240.0,
            width: 240.0,
            decoration: BoxDecoration(
              image: DecorationImage(
                image: NetworkImage(
                    'https://c4.wallpaperflare.com/wallpaper/1022/408/961/tv-show-ben-10-ben-tennyson-wallpaper-preview.jpg'),
                fit: BoxFit.fill,
              ),
              shape: BoxShape.rectangle,
            ),
          ),
          Container(
            height: 480.0,
            width: 240.0,
            decoration: BoxDecoration(
              image: DecorationImage(
                image: NetworkImage(
                    'https://c4.wallpaperflare.com/wallpaper/724/879/773/prabhas-bahubali-part-2-wallpaper-preview.jpg'),
                fit: BoxFit.fill,
              ),
              shape: BoxShape.rectangle,
            ),
          ),
        ],
      ),
    ),
  ),
);
} }
`
**Output: