Installation of Sourcetree for GIT in Windows (original) (raw)
Last Updated : 19 Jan, 2026
A free Git GUI that simplifies repository management through a visual and user-friendly interface.
- Reduces reliance on command-line Git operations.
- Simplifies staging, discarding, and committing files.
- Visualizes branches and workflows clearly.
- Supports Git repositories on Windows and macOS.
- Provides an easy step-by-step installation process for Windows.
Installing Sourcetree for Git
Sourcetree can be easily downloaded from the official website sourcetreeapp.com. Here are the steps to install it.
**Step 1: Click on the download on the right side of the website.

Download Sourcetree
**Step 2: Click on the Agreement box and then click on the Download Option.
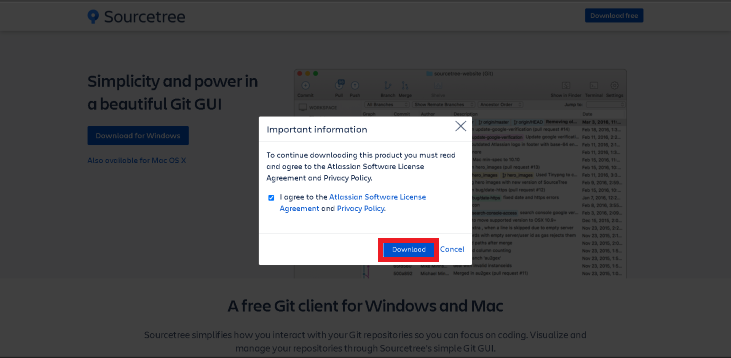
Complete User Aggrement
**Step 3: Once the Setup is being downloaded. Click on the setup to install, If you want you can make Bitbucket Account but you can skip it by clicking on the skip button.
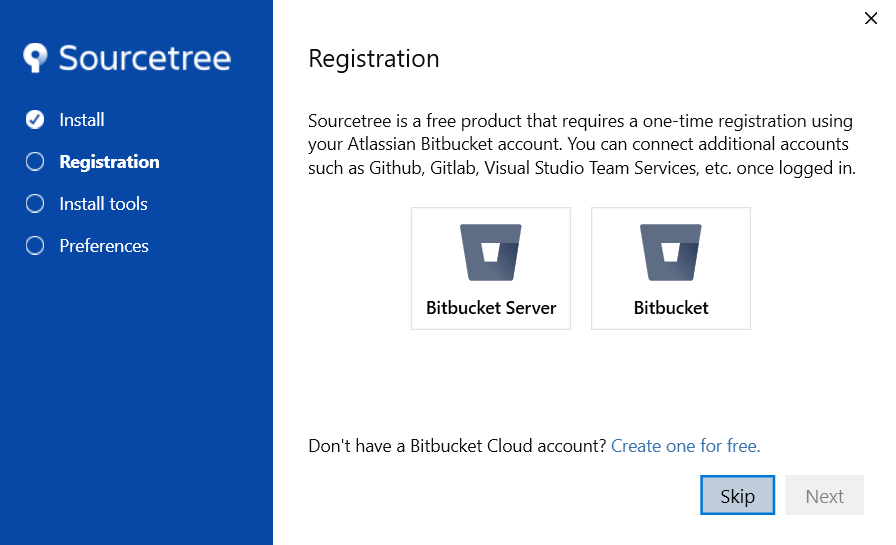
Set Up SourceTree
**Step 5: Once the download and Installation are Complete, Click on the Next button to continue.
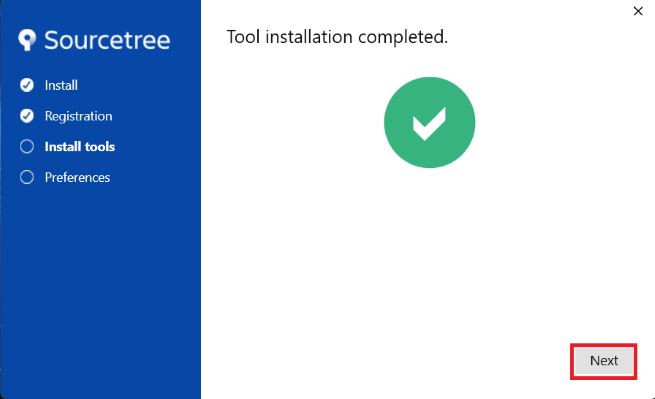
Continue to Sourcetree application
**Step 6: Here you can Enter your name and email id as your preferences. Once you enter your Preferences, Click on the Next Option to Complete the Setup.
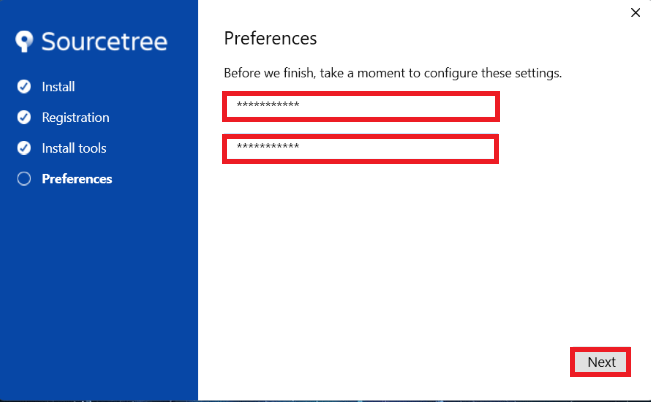
SetUp Sourcetree Account
**Step 7: After Completing the installation Sourcetree will open automatically.

Now Sourcetree is ready to use with Git and makes your workflow fast and efficient.
**Note: If a Mercurial (Hg) option is visible during installation, it applies to legacy components only. Modern Sourcetree versions function as Git-only clients, and the option can be safely skipped.