Installation of Git on Windows (original) (raw)
Last Updated : 26 Feb, 2026
Git is a powerful version control system used by developers worldwide. If you're looking to set up Git on your Windows machine, you have several options.
Prerequisites
Before you begin, make sure your system meets the following requirements:
- A Windows PC (Windows 7 or newer).
- An internet connection to download the Git installer.
Methods to Install Git
Below are the steps for the installation process, along with helpful tips to get you started with Git on Windows.
Method 1: Install Git using the Official Git for Windows Installer
The easiest and most recommended way to install Git on Windows is through the official Git for Windows installer. This method provides the most up-to-date version and ensures that Git runs smoothly on your system.
Step 1: Download the Installer
Go to the official Git website: https://git-scm.com/download/win.

GIT
The download will start automatically for the latest version of Git for Windows. After the download is complete, run the .exe file.
Step 2: Select Editor & Adjust Path
Follow the prompts in the setup wizard. Most default settings will be fine for general use, but here are some key steps:
- Firstly, the installer will ask which text editor to use for Git. You can choose from options like Vim, Notepad++, or Visual Studio Code.
- Make sure you choose the option that adds Git to your system PATH (recommended for ease of use in the command line).
- Select the default option (OpenSSL) to allow Git to communicate securely over HTTPS.
- The default choice, “Checkout Windows-style, commit Unix-style line endings,” is ideal for most developers working in Windows environments.
Step 3: Complete the Installation
After configuring the setup, click "Install" and allow the installation to complete.
Once done, you can launch Git Bash (installed with Git) or use Git from the Command Prompt (cmd) by typing the following command.
git --version

Verify
Method 2: Install Git Using Chocolatey Package Manager
Chocolatey is a package manager for Windows that makes it easy to install software using simple commands. You can install Git using Chocolatey if you prefer using command-line tools to manage your software.
Step 1: Install Chocolatey (if not already installed)
Open PowerShell as Administrator.
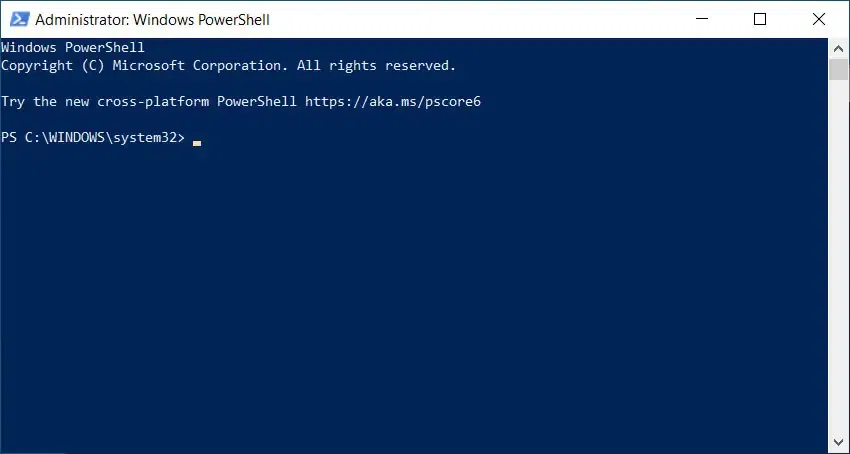
Admin
Run the following command to install Chocolatey:
Set-ExecutionPolicy Bypass -Scope Process -Force;
[System.Net.ServicePointManager]::SecurityProtocol =
[System.Net.SecurityProtocolType]::Tls12;
iex (
(New-Object System.Net.WebClient)
.DownloadString('https://community.chocolatey.org/install.ps1')
)
Step 2: Install Git
After installing Chocolatey, use the following command to install Git:
choco install git

Choco
Chocolatey will download and install the latest version of Git on your system.
Step 3: Verify Installation
Open Command Prompt or PowerShell and type the following command to confirm the installation.
git --version
GIT Version
Method 3: Install Git Using Windows Subsystem for Linux (WSL)
Windows Subsystem for Linux (WSL) allows you to run a Linux distribution alongside your Windows environment. If you're using WSL, you can install Git as you would on a native Linux system.
Step 1: Install WSL
Open PowerShell as Administrator and run the following command to install WSL:
wsl --install
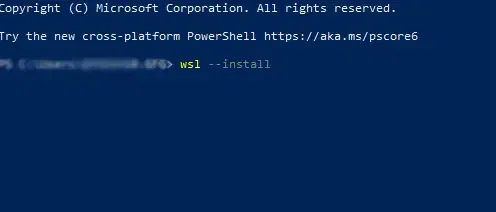
WSL
Restart your PC when prompted.
Step 2: Install Git within WSL
Once WSL is set up, open the WSL terminal (Ubuntu or your preferred Linux distribution).
Use the following command to install Git:
sudo apt update sudo apt install git
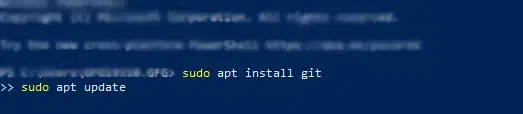
sudo apt
Step 3: Verify Installation
In your WSL terminal, type the following command to verify the installation.
git --version
Method 4: Install Git via GitHub Desktop
GitHub Desktop provides a graphical interface for managing your Git repositories, which is great for beginners or those who prefer not to work with the command line. You can install Git through GitHub Desktop, which includes Git along with additional features for managing GitHub repositories.
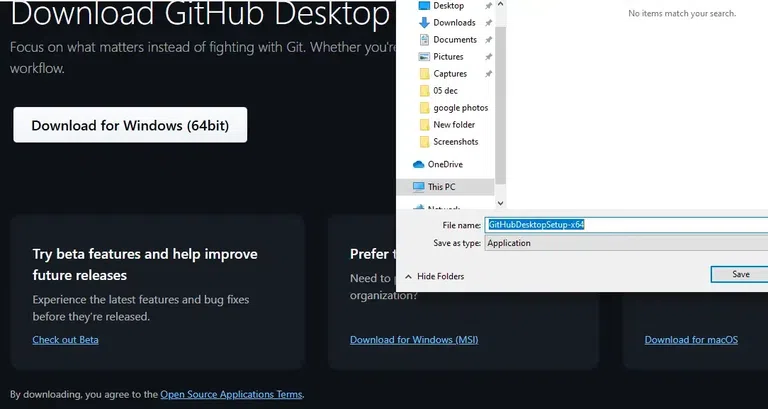
Step 1: Download GitHub Desktop
Visit the GitHub Desktop website and download the installer for Windows.

Official Website
Step 2: Run the Installer
Open the installer and follow the on-screen instructions to complete the installation.
Installation
Step 3: Verify Git Installation
After installation, you can verify Git by opening the GitHub Desktop application, or you can open Git Bash or Command Prompt and type
git --version
Verify