How to Install Selenium in Python? (original) (raw)
Last Updated : 20 Sep, 2024
Selenium Scripts are built to do some tedious tasks that can be automated using **headless web browsers. For example, Searching for some Questions on Different Search engines and storing results in a file by visiting each link. This task can take a long for a normal human being but with the help of selenium scripts, one can easily do it.
Now, some of you may be wondering what is **headless web browsers. It’s nothing but a browser that can be controlled using these selenium scripts for automation(web tasks). Selenium Scripts can be programmed using various languages such as JavaScript, Java, Python, etc.
**How to Use Selenium with Python and Linux Environment
Python should already be installed. It can be 2.* or 3.* version.
Steps:
Table of Content
Prerequisites: Python Installation
Before diving into Selenium, ensure that Python is installed on your system. **Python 2.x or 3.x versions are both supported, although **Python 3.x is recommended for new projects.
To check if Python is installed on your Linux system, use the following command:
python --version
If Python is not installed, you can easily install it using APT:
sudo apt install python3
Step 1: Installing Selenium in Python
Whatever Operating System You are Using Python command is Same for Installing Selenium Library.
**Method 1: Installing Selenium Using pip
The easiest way to install Selenium is through Python’s package manager **pip. Open your terminal and run the following command:
python -m pip install selenium
This will install the latest version of Selenium and all its dependencies.
**Method 2: Installing Selenium Manually
Alternatively, you can download the source distribution here, unarchive it, and run the command below:
python setup.py install
Step 2: Installing Web Drivers for Selenium
To use Selenium effectively, you need to install web drivers that allow your Python scripts to control browsers. Selenium supports several browsers such as **Firefox, Chrome, and Edge. Here, we’ll focus on setting up GeckoDriver for Firefox, although the steps are similar for other browsers like Chromium.
- for using Firefox you may need to install GeckoDriver
- for using Chrome you may need to install Chromium
Installing GeckoDriver for Firefox in Linux
**1. Download GeckoDriver: Go to the geckodriver releases page. Find the latest version of the driver for your platform and download it.
**For example:
wget https://github.com/mozilla/geckodriver/releases/download/v0.24.0/geckodriver-v0.24.0-linux64.tar.gz
**2. Extract the file: Once downloaded, extract the tar file using the following command
tar -xvzf geckodriver*
**3. Make it executable: Set the appropriate permissions to make it executable
chmod +x geckodriver
4. Move Files to usr/local/bin: Move the extracted geckodriver file to the ‘/usr/local/bin**/’ directory to make it globally accessible:
sudo mv geckodriver /usr/local/bin/
Installing GeckoDriver for Firefox in Windows
1. Same as Step 1 in Linux Download the GeckoDriver.
2. Extract it using WinRar or any application you may have.
3. Add it to Path using Command Prompt
setx path "%path%;GeckoDriver Path"
**For Example:
setx path "%path%;c:/user/eliote/Desktop/geckodriver-v0.26.0-win64/geckodriver.exe"
Step 3: Creating a Simple Selenium Script in Python
Now that Selenium and the web drivers are installed, let’s create a simple Python script to automate a basic web task, such as opening a website, searching for a query, and fetching the page title.
Python `
Python program to demonstrate
selenium
from selenium import webdriver
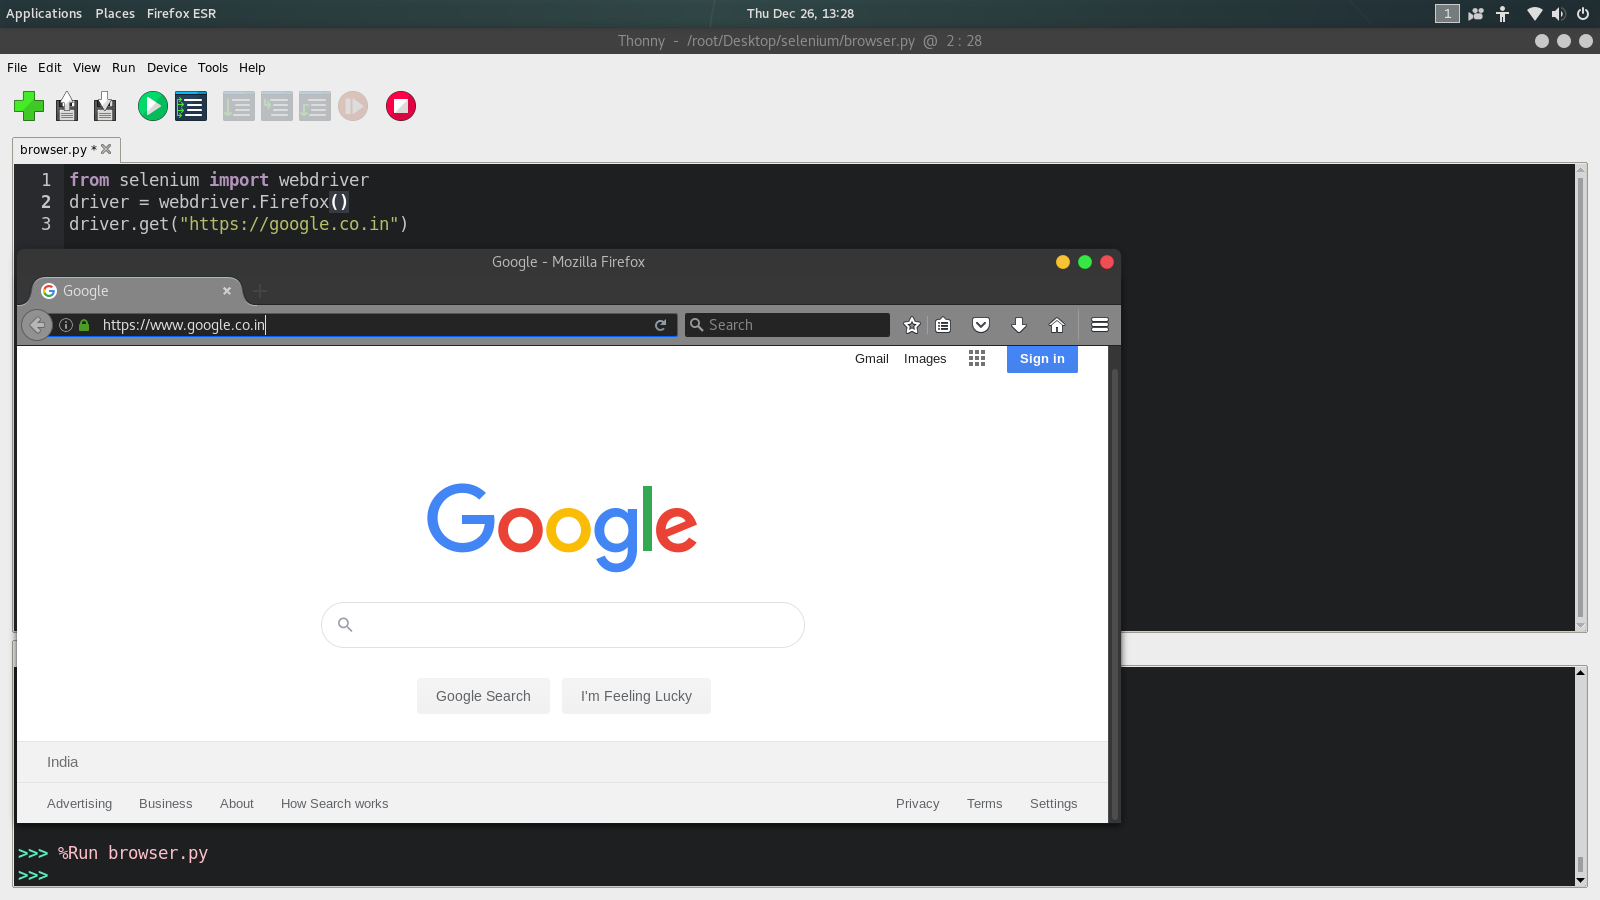
driver = webdriver.Firefox() driver.get("https://google.co.in")
`
**Output:
where,
- We start by importing the required modules from Selenium.
- The **webdriver.Firefox() initializes the Firefox browser.
- The script prints the title of the resulting page and then closes the browser.
Conclusion
Here, we’ve shown how to install Selenium, set up web drivers like GeckoDriver and ChromeDriver, and create a basic Selenium Python script on Linux. With Selenium’s powerful automation capabilities, you can streamline web-based tasks and testing processes, making your workflow faster and more efficient.