Install and Set Up kubectl on Linux (original) (raw)
Kubectl, short for Kubernetes Control, is a powerful command-line tool that facilitates interaction with Kubernetes clusters. As a fundamental component of the Kubernetes ecosystem, kubectl allows users to deploy, manage, and troubleshoot applications within containerized environments. Installing and setting up kubectl on a Linux system is crucial for administrators and developers looking to harness the full potential of Kubernetes orchestration. This process involves downloading the kubectl binary, configuring it for cluster access, and ensuring seamless communication with the Kubernetes API server. Once installed, kubectl empowers users to efficiently control and coordinate containerized applications within Kubernetes clusters, enhancing the scalability, resilience, and manageability of their distributed systems.
What is Kubernetes?
Kubernetes is an open-source platform that manages and clusters Docker containers. Kubernetes (also called Container Orchestration Tool) can be seen as a tool for Container Management that helps with automated deployment, load balancing, scaling, and descaling of containers because it offers healing by automatically restarting containers that fail and rescheduling them if their hosts die. This ability improves a particular application’s availability when deployed using Kubernetes.
What is Kubectl?
Kubectl is a command line utility that can run commands and perform different operations like creating and deleting resources and enlisting the resources inside a Kubernetes cluster. This tool is provided and maintained by Kubernetes itself. To start using Kubectl, we must first install it on our system.
How to install Kubectl on Linux?
We can install Kubectl on the Linux operating system using any of the following three methods:
Table of Content
- Method 1: Using the curl command
- Method 2: Using the apt package manager
- Method 3: Using Snap package manager
Open a terminal to install using one of the above methods.
Method 1: Using the curl command
Step 1: Finding the System's CPU architecture
Firstly, we need to use the lscpu command to find the CPU's architecture.
lscpu
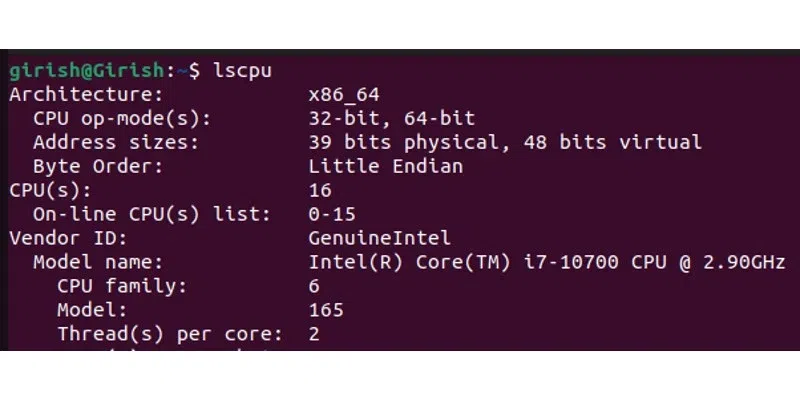
Running "lscpu" command
Step 2: Download the Kubectl Binary
Now, we will download the latest Kubectl binary using curl for a particular CPU architecture.
- **For ARM64-based systems:
curl -LO "https://dl.k8s.io/release/$(curl -L -s https://dl.k8s.io/release/stable.txt)/bin/linux/arm64/kubectl"
- **For x86-64 based systems:
curl -LO "https://dl.k8s.io/release/$(curl -L -s https://dl.k8s.io/release/stable.txt)/bin/linux/amd64/kubectl"

Download Kubectl Binary
Step 3: Validating the Downloaded Binary File
After downloading the Binary file, we can validate it using the commands below. Firstly, download the Checksum file using the below command.
- **For ARM64-based systems:
curl -LO "https://dl.k8s.io/release/$(curl -L -s https://dl.k8s.io/release/stable.txt)/bin/linux/arm64/kubectl.sha256"
- **For x86-64 based systems:
curl -LO "https://dl.k8s.io/release/$(curl -L -s https://dl.k8s.io/release/stable.txt)/bin/linux/amd64/kubectl.sha256"
.webp)
Download Checksum File
Once the checksum file is downloaded, we will perform validation of the kubectl binary using the downloaded checksum file
echo "$(cat kubectl.sha256) kubectl" | sha256sum --check

Validation using Checksum
If the above command outputs "**OK", then it means you installed the correct kubectl binary file.
Step 4: Making Binary File Executable
Now, we can make the file executable by using the chmod command as below.
chmod +x kubectl

Making Binary File Executable
Step 5: Installing Kubectl
Once the binary file is made executable, we can install the kubectl using sudo or root user.
sudo install -o root -g root -m 0755 kubectl /usr/local/bin/kubectl

Installing Kubectl
Step 6: Verifying Installation
After successfully installing Kubectl, we can verify that the Kubectl client is installed correctly by executing the command below.
kubectl version --client

Verifying Installation
Method 2: Using the apt package manager
Step 1: Updating System
The command "**sudo apt-get update" in Linux initiates the update process for package information, fetching the latest metadata from configured repositories. This ensures the system has the most recent package details before proceeding with software installations or upgrades.
sudo apt-get update
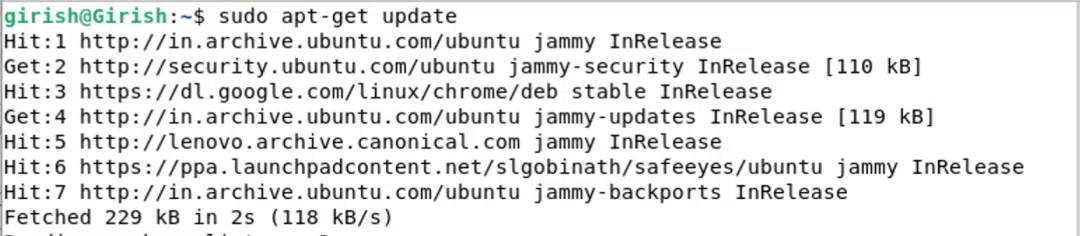
Update apt index
Step 2: Adding Kubernetes package repository's public signing key
Download the public signing key for the Kubernetes package repositories.
curl -fsSL https://pkgs.k8s.io/core:/stable:/v1.29/deb/Release.key | sudo gpg --dearmor -o /etc/apt/keyrings/kubernetes-apt-keyring.gpg

Downloading public signing key for Kubernetes repository
Step 3: Add the Kubernetes apt repository
The below command adds the Kubernetes apt repository to the system's package sources, enabling the installation of Kubernetes-related packages. The repository URL specifies the version (v1.29 in this case), and the GPG key is used for package verification.
echo 'deb [signed-by=/etc/apt/keyrings/kubernetes-apt-keyring.gpg] https://pkgs.k8s.io/core:/stable:/v1.29/deb/ /' | sudo tee /etc/apt/sources.list.d/kubernetes.list

Adding Kubernetes apt repository
Step 4: Updating System
After adding Kubernetes to the apt repository, we need to update the system repositories again using the apt manager.
sudo apt-get update
Updating System
Step 5: Installing kubectl
The below command installs the Kubernetes command-line tool, kubectl, with the "**-y" flag automatically confirming any prompts. This tool is essential for interacting with Kubernetes clusters and managing containerized applications.
sudo apt-get install -y kubectl

Installing kubectl
Step 6: Verifying Installation
Ensure that the Kubectl client is installed correctly.
kubectl version --client
Verifying Installation
Method 3: Using Snap package manager
Step 1: Updating System
Firstly, update the repositories using the apt manager. Execute the below command to update.
sudo apt update
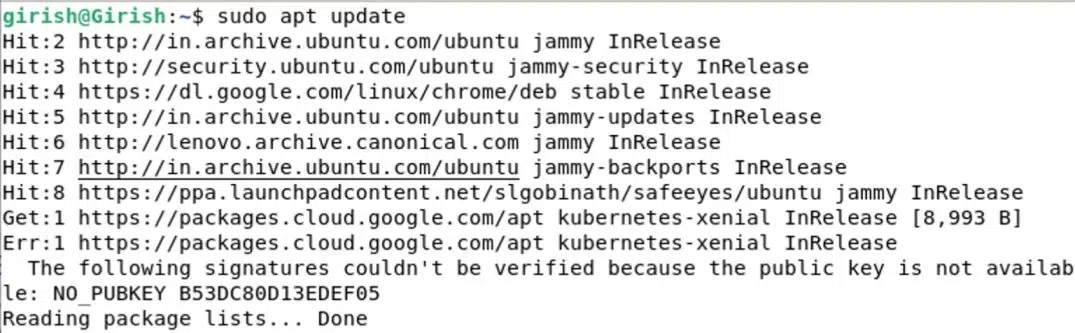
Updating System
Step 2: Install kubectl using snap
The below command installs kubectl, the Kubernetes command-line tool, using the Snap package manager with the "**--classic" flag, allowing for a confined but classic Snap package installation.
sudo snap install kubectl --classic

Install kubectl using snap.
Step 3: Verifying Installation
Ensure that the Kubectl client is installed correctly.
kubectl version --client
Verifying Installation
Now, once you have successfully installed the kubectl command line utility, you can start using the kubectl tool. You can try out the different Kubectl commands for creating and managing clusters here.
Conclusion
In conclusion, Kubernetes is an open-source platform that manages and clusters Docker containers. Kubectl is a command line utility that can run commands and perform different operations like creating and deleting resources and enlisting the resources inside a Kubernetes cluster. In this article, we have seen three different methods of installing Kubectl on Linux-based systems.