How to Install Selenium WebDriver on MacOS? (original) (raw)
Last Updated : 6 Dec, 2025
Selenium WebDriver is a web framework that permits you to execute cross-browser tests. This tool is used for automating web-based application testing to verify that it performs expectedly.
Installation Procedure:
Follow the below steps to install Selenium WebDriver on macOS:
**Step 1: Install the latest Python3 in MacOS
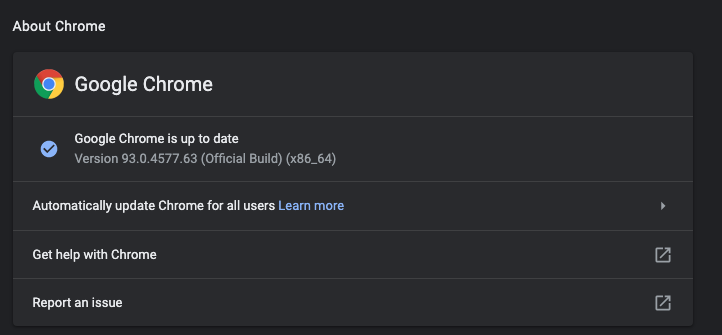
Step 2: Download and install the latest Chrome and check your Chrome version from "chrome://settings/help"
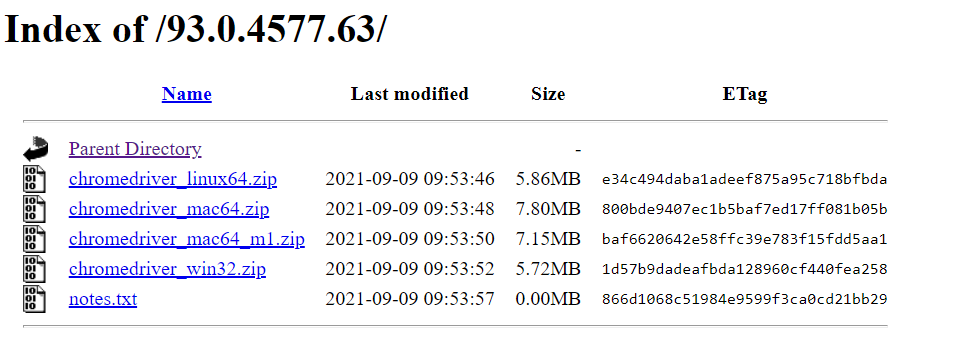
**Step 3: Download the Chrome WebDriver Zip File matching with your Chrome version and Apple Chip from here and extract the **chromedriver.
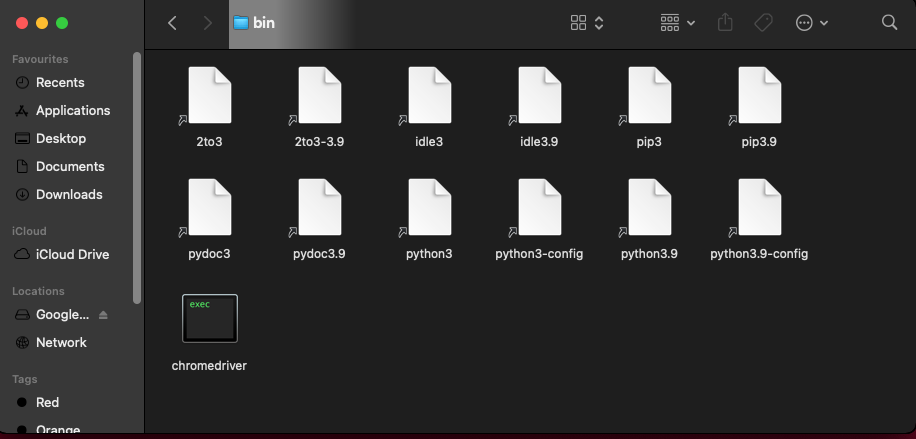
**Step 4: Copy the **chromedriver and paste it to ****"/usr/local/bin"** (If this folder doesn't exist then create one)
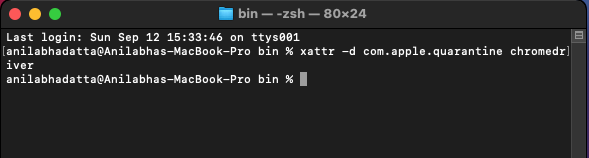
**Step 5: Open a terminal inside the **bin folder and run the following command so that MacOS can verify the app.
xattr -d com.apple.quarantine chromedriver
**Step 6: Upgrade your pip to avoid errors during installation.
pip3 install --upgrade pip

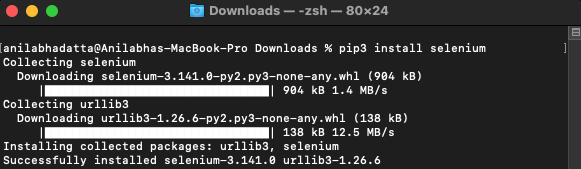
**Step 7: Install selenium library via pip.
**pip3 install selenium
Verifying the Installation:
Run the python code below in your system and it should open up "https://www.geeksforgeeks.org/" in your chrome browser automatically.
Python `
from selenium import webdriver from selenium.webdriver.chrome.service import Service import time
options = webdriver.ChromeOptions() options.add_argument("--start-maximized")
Path to chromedriver
service = Service("/usr/local/bin/chromedriver")
driver = webdriver.Chrome(service=service, options=options) driver.get("https://www.geeksforgeeks.org/") time.sleep(10) driver.quit()
print("Done")
`
**Browser Output:
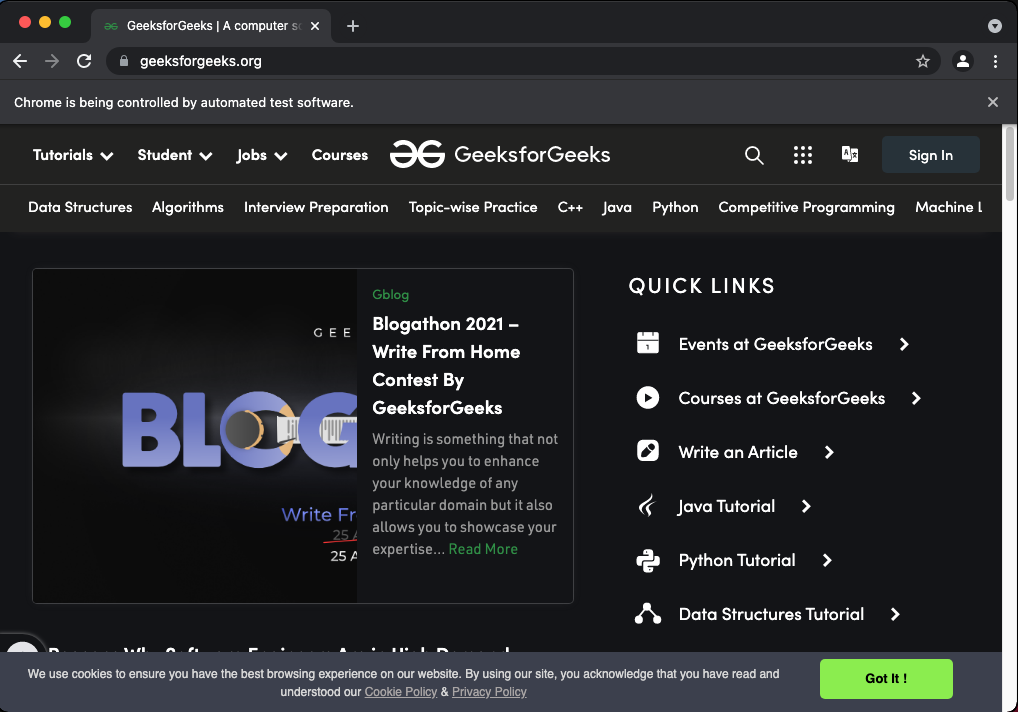
Chrome Browser
**Terminal Output:
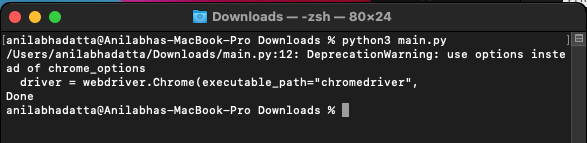
Terminal