Installation of Ubuntu on Windows using VMware (original) (raw)
Last Updated : 8 May, 2026
VMware is a virtualization software that allows multiple operating systems to run on a single machine using virtual machines. Ubuntu is a popular open-source Linux operating system known for its simplicity, stability and wide usage in development and servers.
- VMware enables you to create and manage virtual machines for running different OS environments
- Ubuntu is user-friendly and widely used for development, cloud and server applications
- VMware provides a safe environment to test Ubuntu without affecting the host system
- Ubuntu offers strong community support and regular updates for security and performance
**Installing VMware on Windows
**Step 1: Click on the link provided below. Now select the version you want to download and click on "Go to downloads".
https://www.vmware.com/products/desktop-hypervisor/workstation-and-fusion

**Step 2: Now, Click on download now. (Check which OS you are selecting).
.png)
**Step 3: Open the (.exe) file and install it.
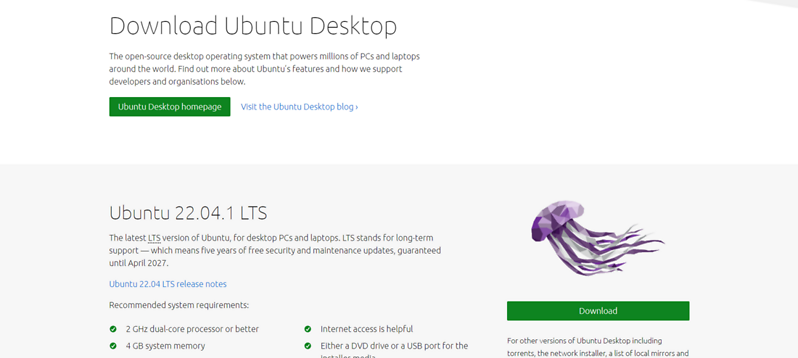
**Step 4: Open the link below and download the Ubuntu ISO file.
**Installing Ubuntu in VMWare
**Step 5: Open the installed VMware application.

**Step 6: Click on "Create new virtual machine". Browse the ISO file that has been downloaded and select it.

**Step 7: Enter all the details >> click on next. Personalization of Virtual Machine.

**Step 8: Enter Virtual machine name >> click on next.

**Step 9: Specify disk capacity >> click on next.

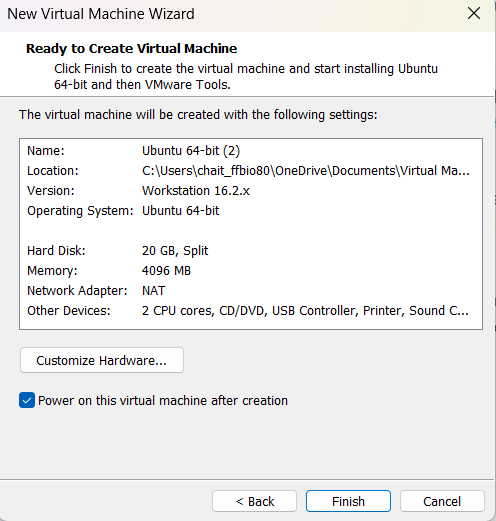
**Step 10: If required, customize the hardware settings, then click “Finish.”
**Step 11: Now open VMware and click on Ubuntu-64 bit which appears on the left panel. (If not directly opened). Select the language and click on next. Select the Normal or Minimal installation based on your requirements.

**Step 12: Select Installation type >> Erase disk and install Ubuntu (This will not delete your windows data) >> Click on install now.
