How to Create and Setup Spring Boot Project in Spring Tool Suite? (original) (raw)
Last Updated : 22 May, 2026
Spring Boot is a Java-based framework that simplifies the development of enterprise applications by reducing configuration and setup time. Spring Tool Suite (STS) is an Eclipse-based IDE specially designed for Spring application development with built-in support and developer tools.
- Spring Boot reduces boilerplate configuration using auto-configuration.
- Spring Tool Suite provides built-in support for Spring projects.
- Maven is used for dependency management and project building.
Prerequisites
- Java Development Kit (JDK 11 or later) installed
- Spring Tool Suite (STS) installed
- Basic knowledge of Java and Maven
- Active internet connection for downloading dependencies
Step-by-Step Implementation
Step 1: Install Spring Tool Suite
Download and install the latest version of Spring Tool Suite from the official website.
- STS is built on top of Eclipse IDE.
- It simplifies Spring Boot project creation and management.
**Note: Make sure the installation is completed successfully before proceeding.
Step 2: Create a New Spring Starter Project
Open Spring Tool Suite (STS). **Go to : File -> New -> Spring Starter Project
- Spring Starter Project automatically creates a Spring Boot project structure.
- It reduces manual configuration work.

This will open the Spring Starter Project configuration window.
Step 3: Enter Project Details
Fill the required project information.
- **Name: Project name
- **Type: Maven Project
- **Packaging: Jar or War
- **Java Version: 11 or higher
- **Language: Java
- **Group: Organization or company name
- **Artifact: Project identifier
- **Package: Base package name

After filling in the details, click Next.
Step 4: Choose Spring Boot Version and Dependencies
Select the required Spring Boot version (3.3.x). Select dependencies according to your project needs, such as:
- Spring Web
- Spring Data JPA
- MySQL Driver
- Spring Security
- Lombok
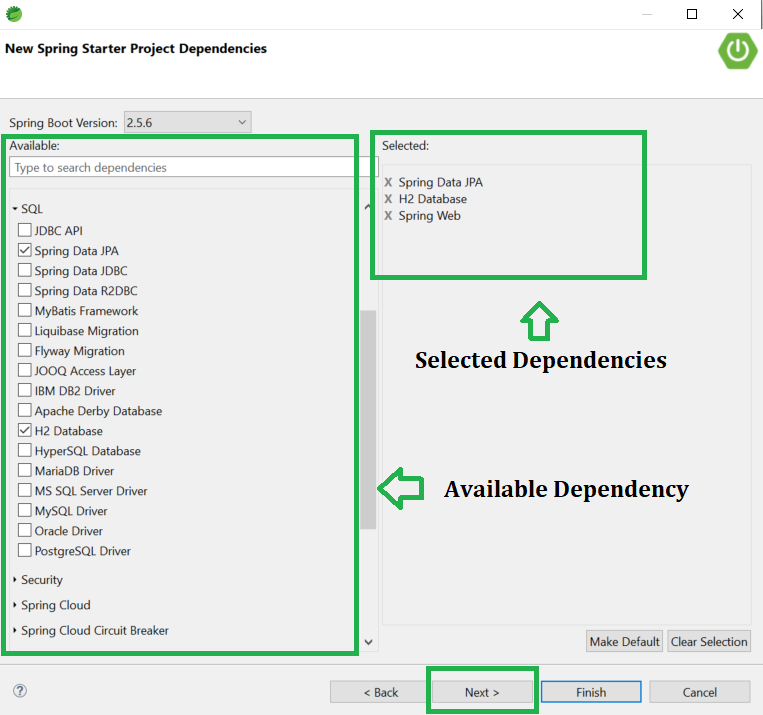
After selecting dependencies, click Next.
Step 5: Finish Project Creation
Click the Finish button.
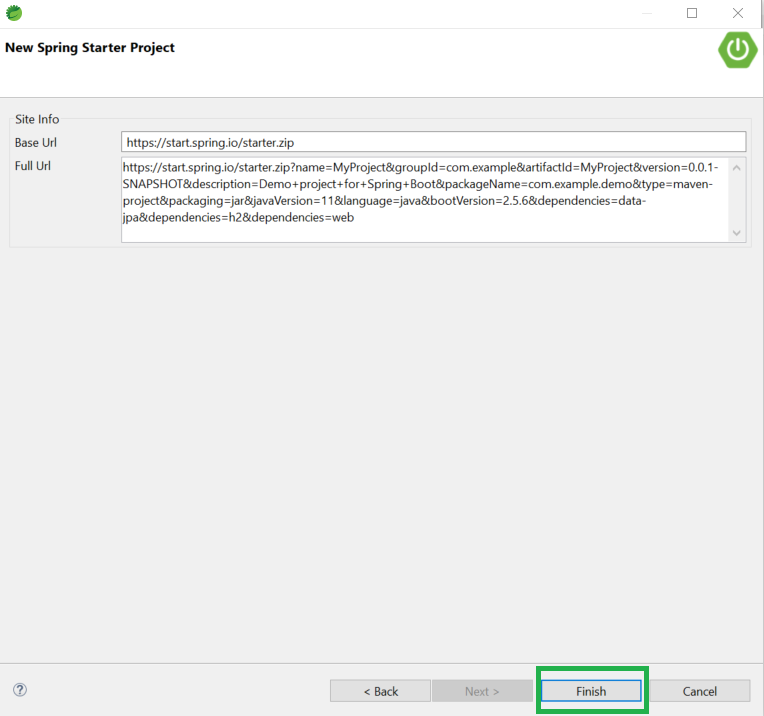
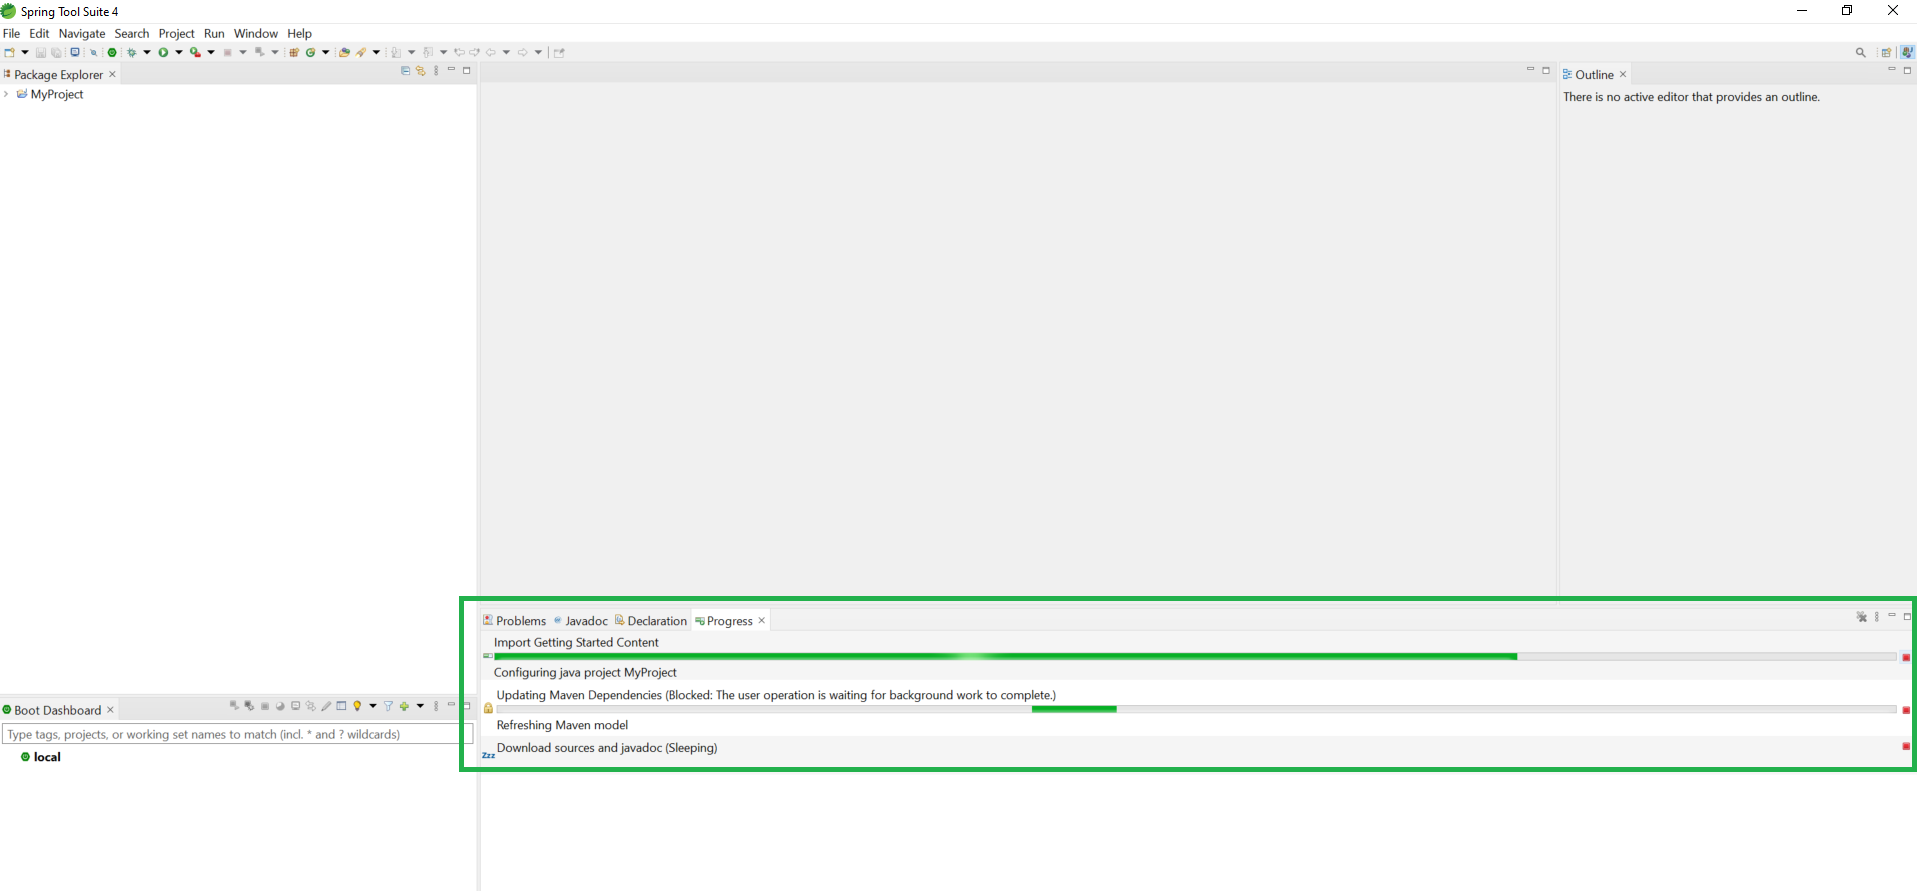
Now, wait for a few moments while STS downloads all required dependencies and sets up the project.
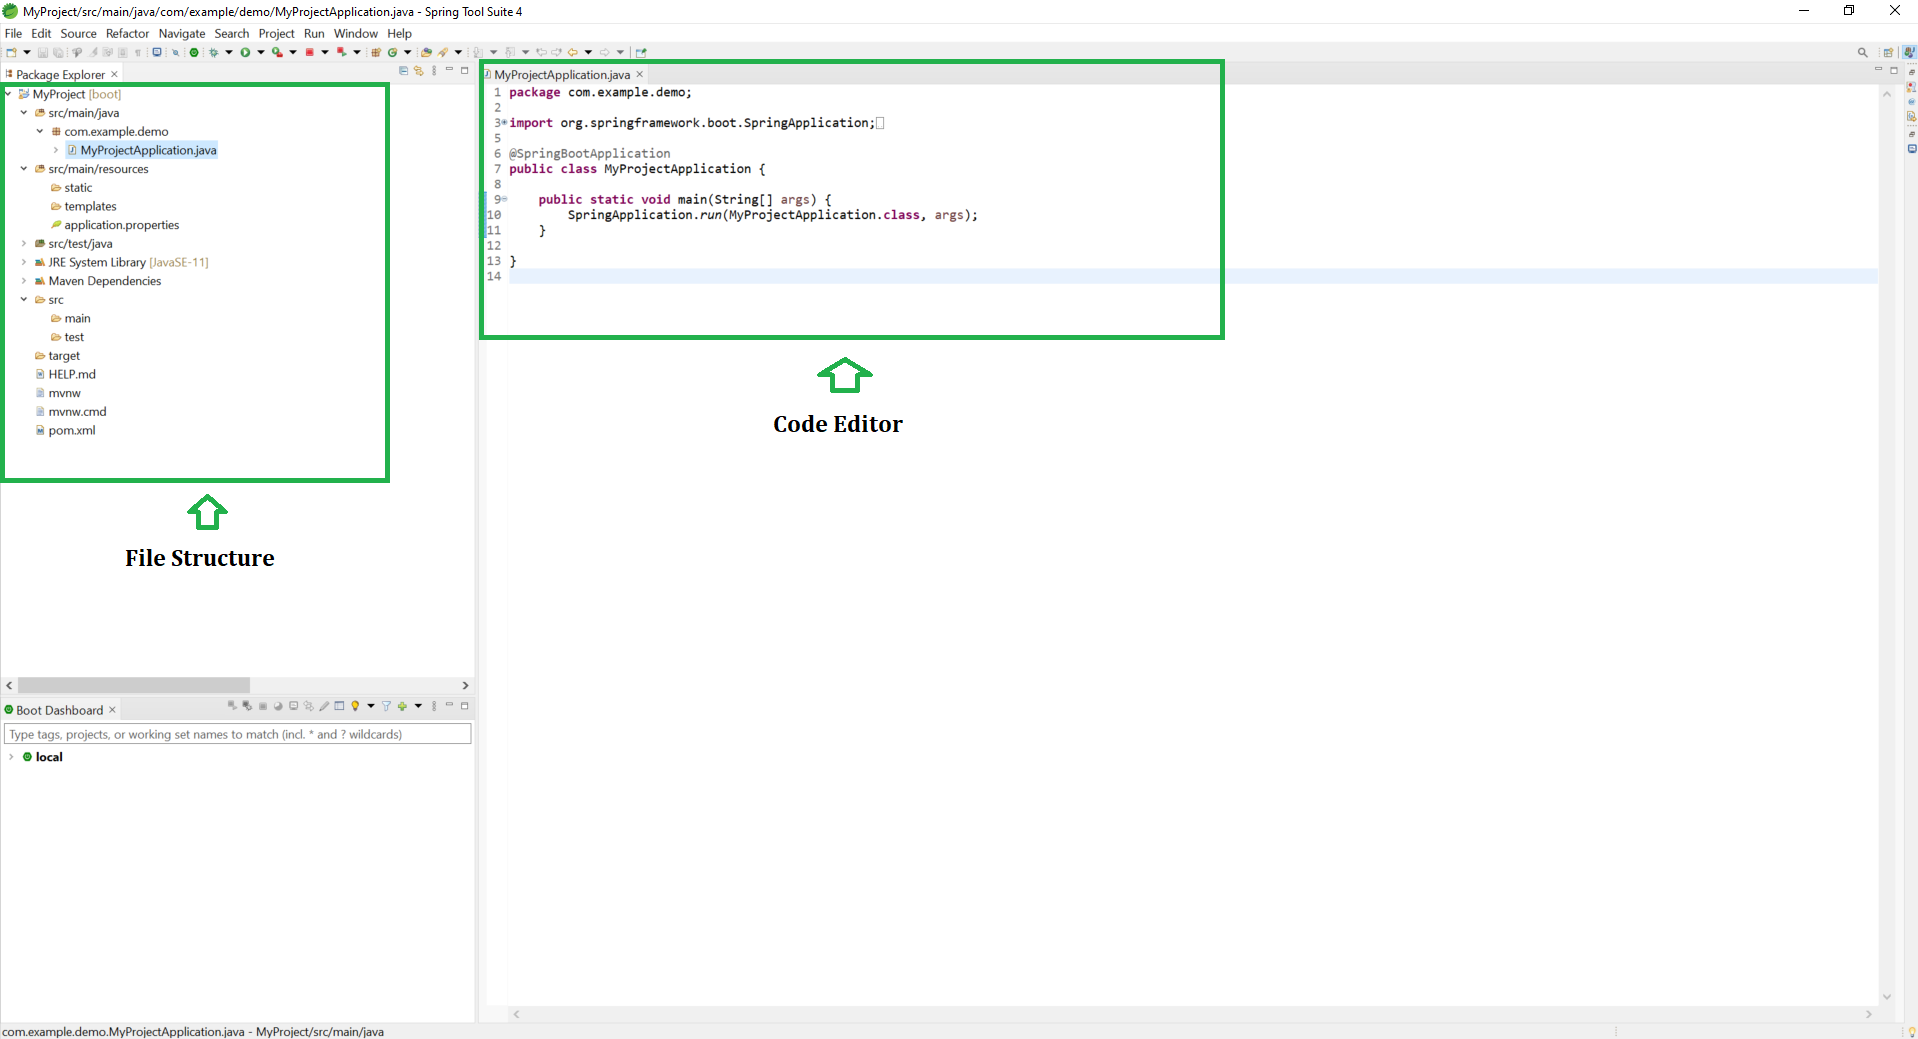
Step 6: Understand Project Structure
After successful setup, your project structure will look like this:
- **MainApplication.java -> Entry point of your Spring Boot application
- **application.properties -> stores configuration settings.
- **pom.xml -> manages dependencies and plugins.
Step 7: Run the Spring Boot Application
Right-click the project and select: Run As -> Spring Boot App.
- Open the browser and access: