List View Function based Views Django (original) (raw)
Last Updated : 15 May, 2025
A List View is a type of Django view used to display multiple instances of a model (i.e., rows from a database table). It is commonly used when you need to present a list of items on a page, for example, listing products on an eCommerce site. While Django provides built-in support for List Views using class-based views, this guide demonstrates how to implement it manually using function-based views.
Django List View - Function Based Views
Illustration of **How to create and use List view using an example, consider a project named "geeksforgeeks" having an app named "geeks".
Refer to the following articles to check how to create a project and an app in Django:
Step 1: Define a Model
Create a simple model in **geeks/models.py:
Python `
from django.db import models
class GeeksModel(models.Model): title = models.CharField(max_length=200) description = models.TextField()
def __str__(self):
    return self.title
`
Step 2: Apply Migrations
Run the following commands to create the corresponding database table
python manage.py makemigrations
python manage.py migrate
Step 3: Create Sample Data
Use Django's shell to create model instances:
python manage.py shell
**Enter following commands in shell :
from geeks.models import GeeksModel
GeeksModel.objects.create(title="title1", description="description1")
GeeksModel.objects.create(title="title2", description="description2")
GeeksModel.objects.create(title="title3", description="description3")

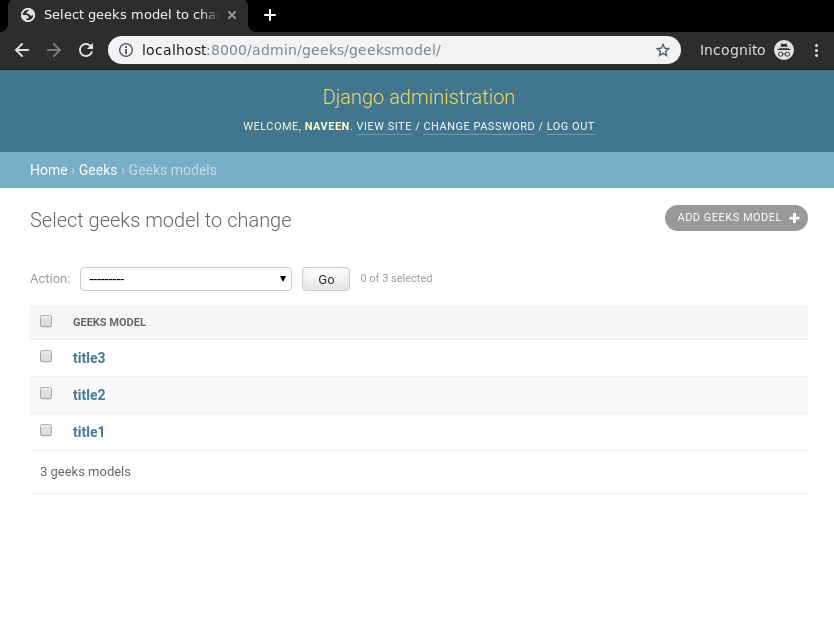
Snapshot of the Command in Shell
Now we have everything ready for back end.
To verify that instances have been created, exit the shell using **exit() command and run the development server using this command:
python manage.py runserver
After running the commad, visit the deelopment url- **http://127.0.0.1:8000/
Step 4: Create the List View
In **geeks/views.py, define a function-based view to fetch and render the model instances:
Python `
from django.shortcuts import render from .models import GeeksModel
def list_view(request): context = { "dataset": GeeksModel.objects.all() } return render(request, "list_view.html", context)
`
Step 5: Create the Template
In **templates/list_view.html, add the following HTML to display the data:
html `
{{ data.title }}
{{ data.description }}
{% endfor %}
`
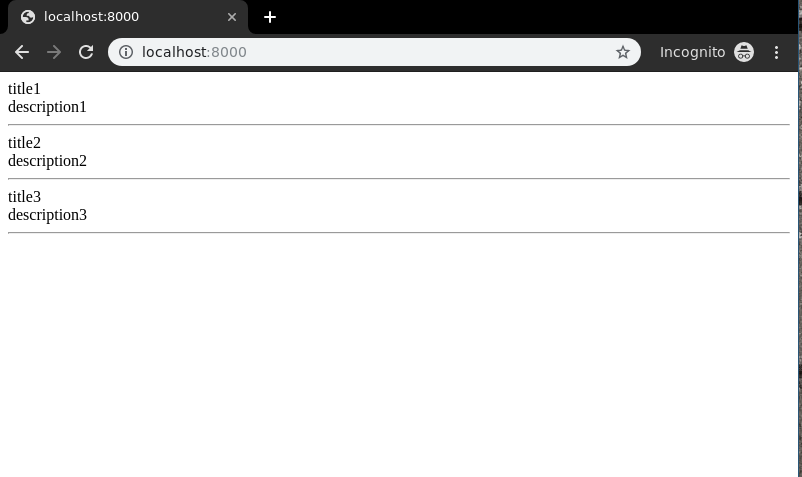
Run the development server and visit the URL **http://127.0.0.1:8000/ to see the list view in action.
**Output:
Sorting the List (Descending Order)
You can order the results in reverse (newest first) by modifying the view:
Python `
def list_view(request): context = { "dataset": GeeksModel.objects.all().order_by("-id") } return render(request, "list_view.html", context)
`
**order_by("-id"): sorts the items in **descending order of their **ID.
**Output:

Filtering the List
You can also filter the data shown in the list view. For example, let’s add a new entry:
Lunch the shell using the below command:
python manage.py shell
Enter the following commands in shell:
from geeks.models import GeeksModel
GeeksModel.objects.create(title = "Naveen", description = "GFG is Best").save()

To display only items with the word “**title” in their title, update the view:
Python `
def list_view(request): context = { "dataset": GeeksModel.objects.filter(title__icontains="title") } return render(request, "list_view.html", context)
`
**title__icontains="title" filters entries whose title contains the word "**title", case-insensitively.
Run the development server and visit the URL **http://127.0.0.1:8000/ again to see the filtered output.
