Install PostgreSQL on Windows (original) (raw)
Last Updated : 15 Jun, 2026
PostgreSQL is an important open-source relational database management system known for its reliability, performance, and advanced features. It is widely used for developing applications, managing large datasets, and supporting enterprise-level systems.
**Prerequisites
- A Windows 10 or Windows 11 system
- Administrator privileges
- Stable internet connection
- Sufficient disk space for installation
Steps to Install PostgreSQL on Windows
There are three crucial steps for the installation of PostgreSQL as follows:
- Download PostgreSQL installer for Windows
- Install PostgreSQL
- Verify the installation
Step 1: Downloading PostgreSQL Installer for Windows
Download the PostgreSQL installer for Windows (x86-64). It is recommended to download the latest stable version available here.
Step 2: Installing the PostgreSQL installer
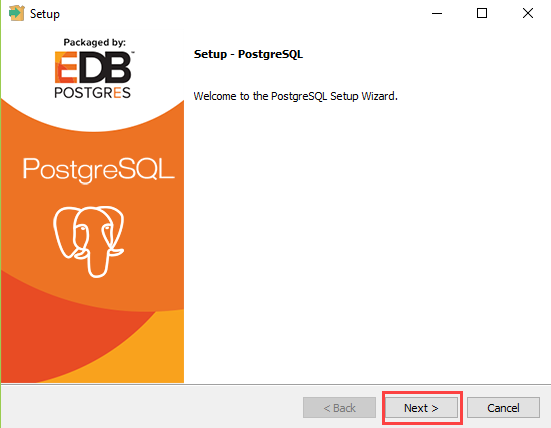
Once the download is complete, locate the installer file and double-click it to start the PostgreSQL Setup Wizard.
- Click the Next button.
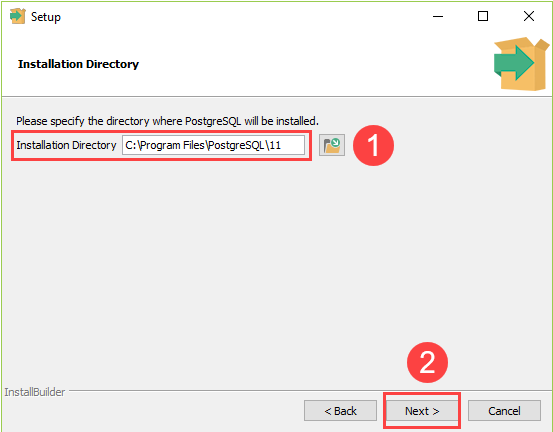
- Choose the installation folder, where you want PostgreSQL to be installed, and click on Next.
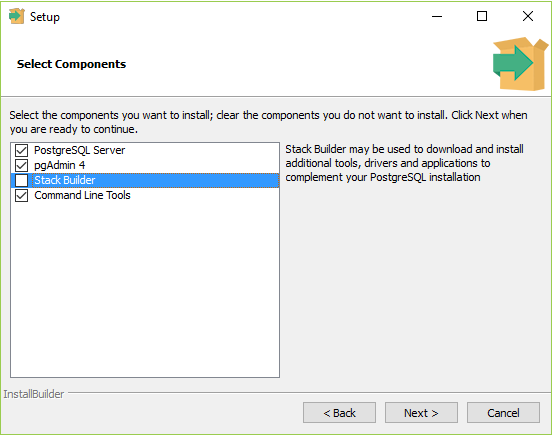
- Select the components as per your requirement to install and click the Next button.
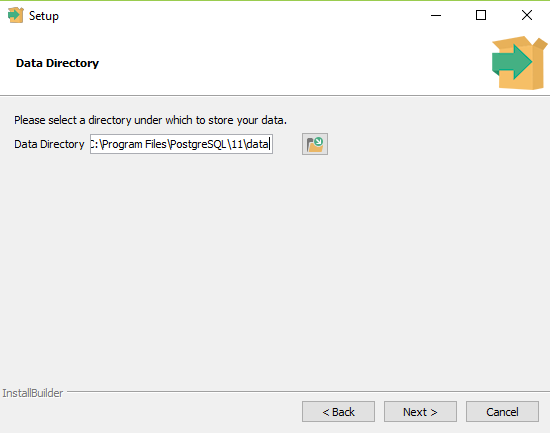
- Select the database directory where you want to store the data and click on Next.
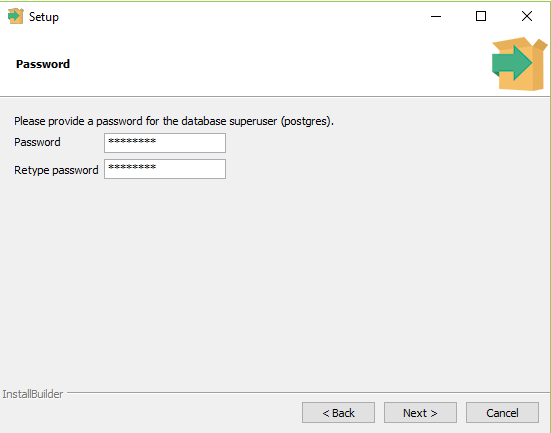
- Set the password for the database superuser (Postgres).
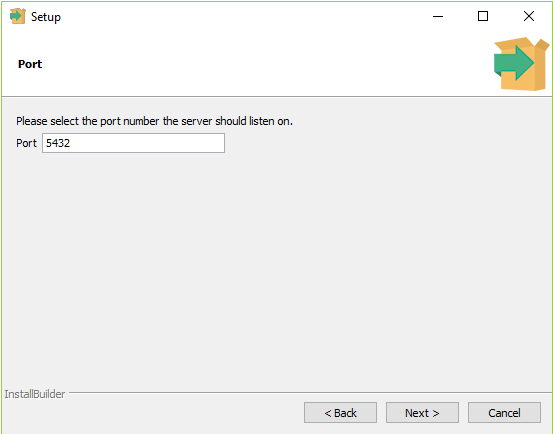
- Set the port for PostgreSQL. Make sure that no other applications are using this port. If unsure leave it to its default (5432) and click on Next.
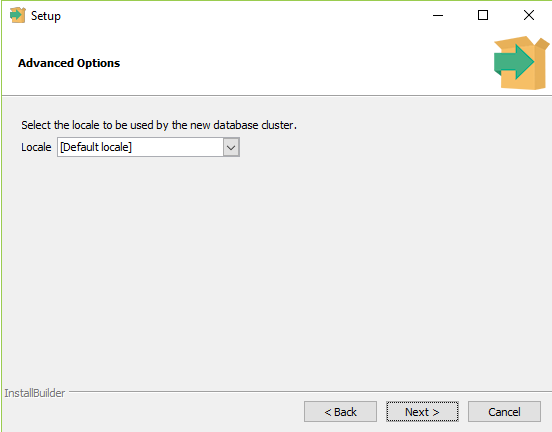
- Choose the default locale used by the database and click the Next button.
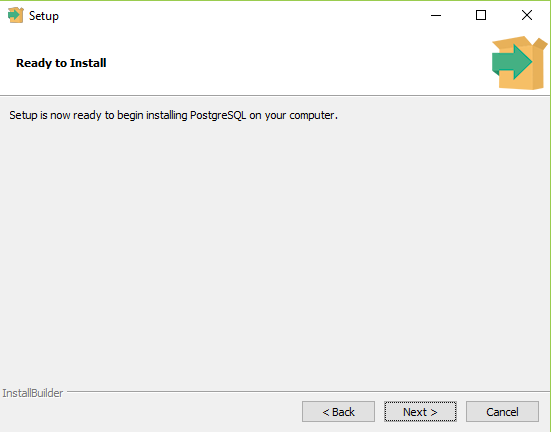
- Click the Next button to start the installation.
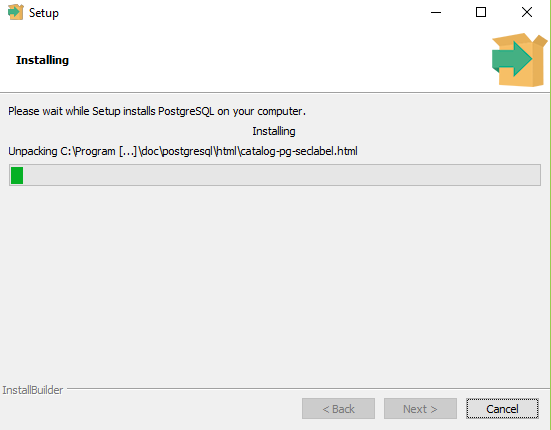
- Wait for the installation to complete, it might take a few minutes.
- Click the **Finish button to complete the PostgreSQL installation.

Add PostgreSQL bin Directory to PATH (Optional)
- Open Environment Variables from the Windows Search.
- Under System Variables, select Path and click Edit.
- Click New and add the PostgreSQL bin directory path.
**Example:
C:\Program Files\PostgreSQL\16\bin- Click OK to save the changes.
- Open a new Command Prompt and run:
psql --versionIf the PATH is configured correctly, PostgreSQL version information will be displayed.
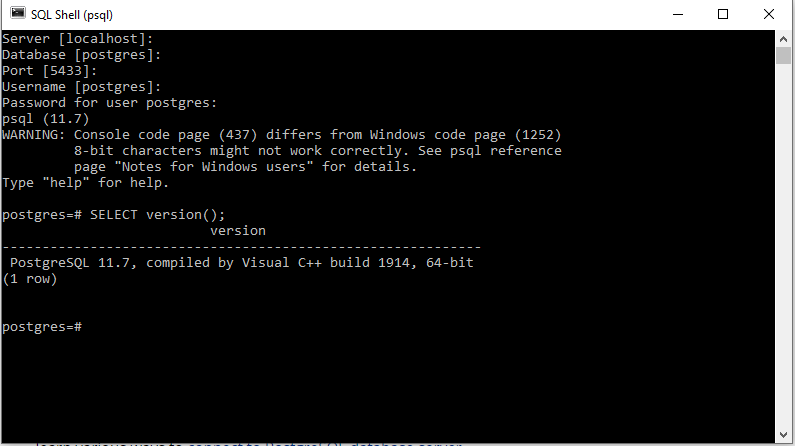
Step 3: Verifying the Installation of PostgreSQL
After installation, you can verify PostgreSQL using the **psql command-line tool.
- Open psql from the Windows search bar.
- Enter the server details, database name, username, and password when prompted.
- Run the following command:
SELECT version();If PostgreSQL is installed correctly, it will display the installed PostgreSQL version information.