How to Publish Desktop Reports In Power BI? (original) (raw)
Last Updated : 30 Apr, 2026
Power BI Desktop is used to create interactive reports on your local system. To share these reports with others, Power BI Service provides an online platform for easy access. This works as follows:
- **Create Reports (Desktop): Build reports locally using Power BI Desktop
- **Publish Online (Service): Upload reports to Power BI Service
- **Easy Access: Stakeholders can view reports anytime, anywhere
- **Better Collaboration: Enables sharing with teams and decision-makers
Steps to Publish Desktop Reports in Power BI
Publishing Power BI Desktop reports to the Power BI Service enables online access and collaboration. The steps below explain how to complete this process efficiently.
**Step 1: Click on the Publish button in the Home Tab.
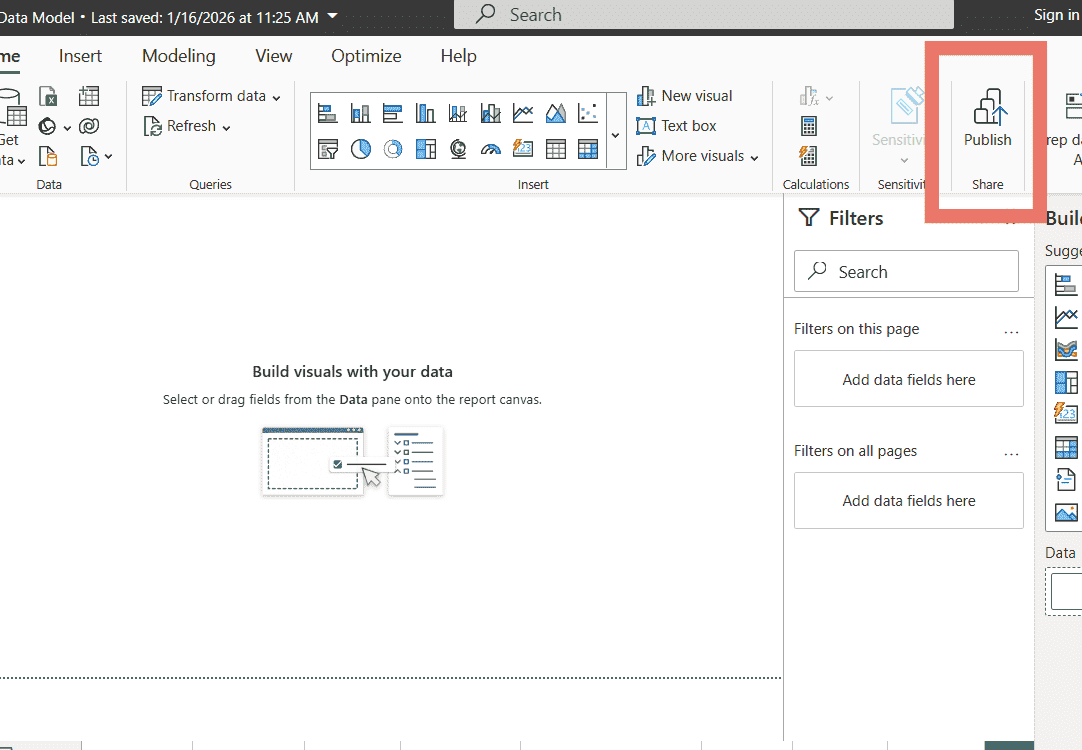
Publish
**Step 2: A dialogue box name, Microsoft Power BI Desktop appears. Click on the Save button.

Power BI Desktop
**Step 3: Sign in to Power BI using your email address. If you don’t have an account, create one on Power BI Online before proceeding.
**Note: Power BI only accepts work or organizational email IDs (e.g., @gfg, @iiitu.ac.in) public emails like Gmail or Yahoo cannot be used.
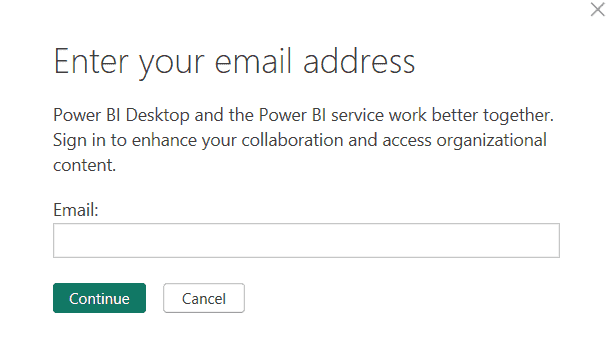
Enter email
**Step 4: There could be multiple accounts. Pick the account in which you want to publish your Power BI report.
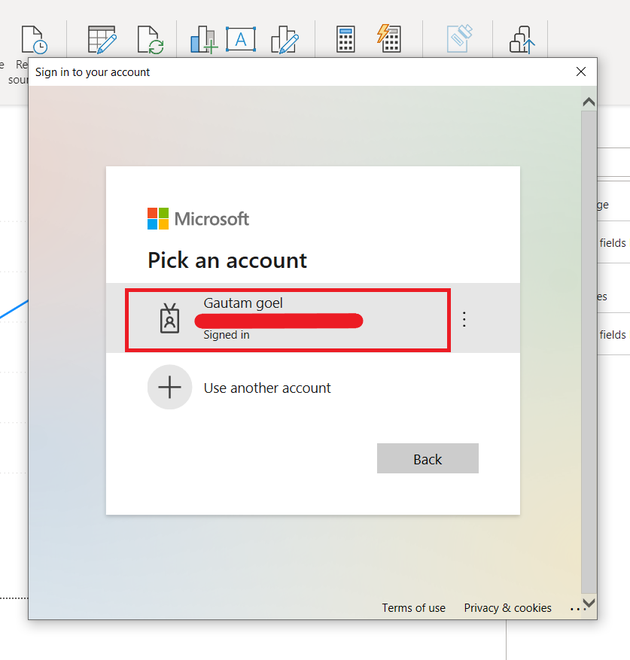
Select account
**Step 5: Select a Workspace, in which you want to publish your report. By default, a workspace name My Workspace is present in Power BI online service. Click on the select button.
**Note: One can create multiple workspaces in Power BI Online Service.
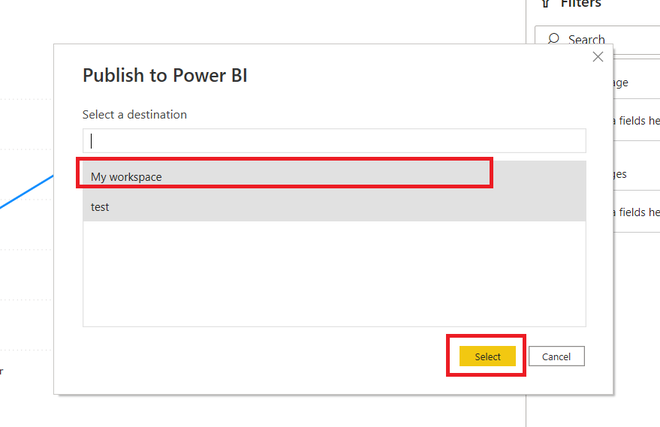
My workspace
**Step 6: Now the report is being published to the Power BI online service. It may take some time to finish.
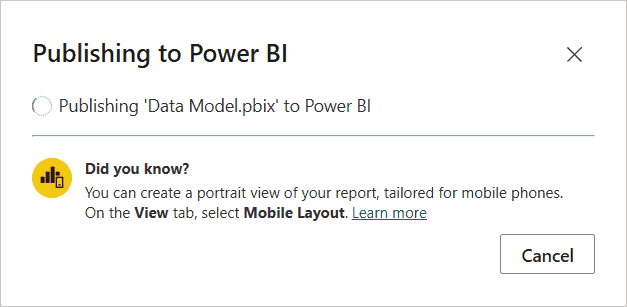
Publishing to Power BI
**Step 7: The report has successfully been published to the Power BI online service. Click on the Open '.pbix' in Power BI to open the report under online service.
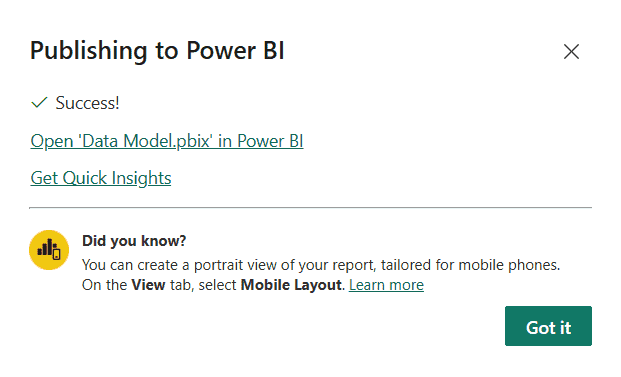
Published
**Step 8: The report is successfully shown in the Power BI online service.
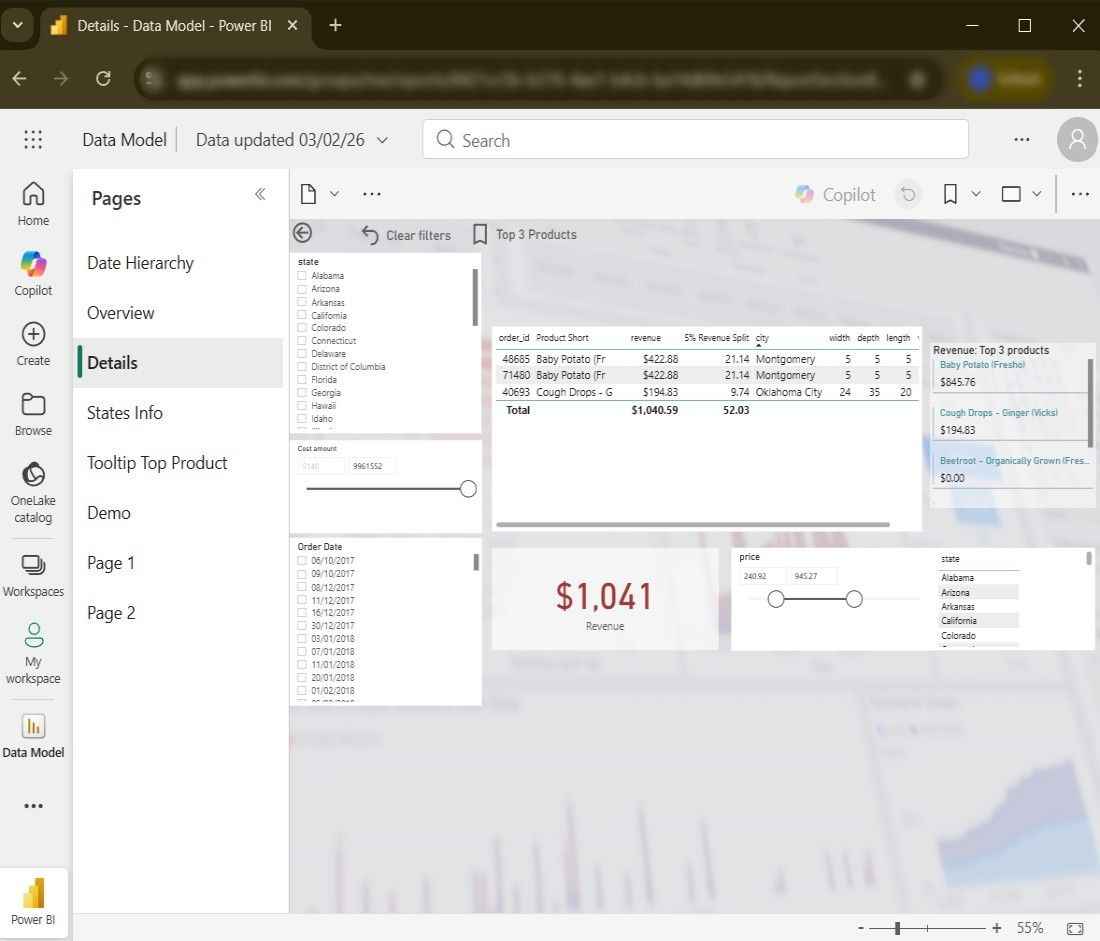
Power BI online