Introduction to Web development using Flask (original) (raw)
Flask is a lightweight and flexible web framework for Python. It's designed to make getting started with web development quick and easy, while still being powerful enough to build complex web applications. It is an API of Python that allows us to build web applications.
It was developed by Armin Ronacher. Flask's framework is more explicit than Django's framework and is also easier to learn because it has less base code to implement a simple web application. Flask Python is based on the WSGI(Web Server Gateway Interface) toolkit and Jinja2 template engine.
Advantages of Flask
- Flask is a **lightweight backend framework with minimal dependencies.
- Flask is **easy to learn because its simple and intuitive API makes it easy to learn and use for beginners.
- Flask is a **flexible **Framework because it allows you to customize and extend the framework to suit your needs easily.
- Flask can be used with **any database like:- SQL and NoSQL and with **any Frontend Technology such as React or Angular.
- Flask is **great for small to medium projects that do not require the complexity of a large framework.
- Flask Documentation.
Getting Started With Flask
Python3 is required for the installation of the Python Web Framework Flask. You can start by importing Flask from the Flask Python package on any Python IDE. For installation on any environment, you can execute the command "**pip install flask" on your terminal. Let's look at an example of a basic flask app.
Python `
from flask import Flask
app = Flask(name) # Flask constructor
A decorator used to tell the application
which URL is associated function
@app.route('/')
def hello():
return 'HELLO'
if name=='main': app.run(debug=True)
`
**Explanation:
- **Flask(__name__): Creates the Flask app.
- ****@app.route('/'):** Defines the home route (/).
- def hello(): creates a function that is bound with '/' route and returns "HELLO" when the root page is accessed.
- **app.run(debug=True): runs the app in debug mode. It ensure that app is not need to restart manually if any changes are made in code.
Build Flask Routes in Python
Web frameworks provide routing technique so that user can remember the URLs. It is useful to access the web page directly without navigating from the Home page. It is done through the following route() decorator, to bind the URL to a function.
Python `
decorator to route URL
@app.route(‘/hello’)
binding to the function of route
def hello_world():
return ‘hello world’
`
**Explanation: If a user visits **http://localhost:5000/hello URL, the output of the **hello_world() function will be rendered in the browser.
One alternate way of doing this is by using "add_url_rule()" function of an application object, it can also be used to bind URL with the function similar to the above example.
Python `
def hello_world(): return ‘hello world’
app.add_url_rule(‘/’, ‘hello’, hello_world)
`
Variables in Flask
Variables in flask are used to build a URL dynamically by adding the variable parts to the rule parameter. It is passed as keyword argument. Here's an example.
Python `
from flask import Flask app = Flask(name)
@app.route('/hello/') def hello_name(name): return 'Hello %s!' % name
if name == 'main': app.run(debug = True)
`
**Output:
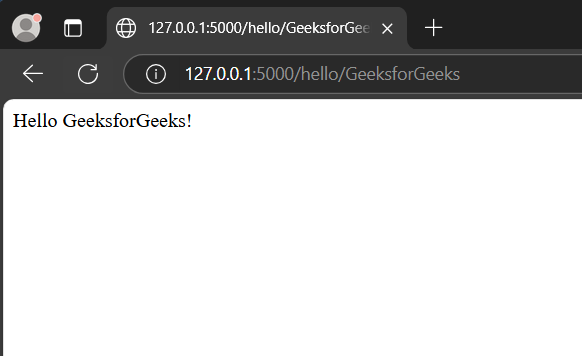
Snapshot of a variable URL
Explanation: parameter of route() decorator contains the variable part attached to the URL '/hello**' as an argument. Hence, if URL like "**http://localhost:5000/hello/GeeksforGeeks" is entered then "**GeeksforGeeks" will be passed to the **hello() function as an argument.
Besides the default string type, Flask also supports int, float, and path (which allows slashes for directories). Flask's URL rules use **Werkzeug’s routing module, ensuring unique URLs following Apache's conventions. Here's an example.
Python `
from flask import Flask
app = Flask(name)
@app.route('/blog/int:postID') def show_blog(postID): return 'Blog Number %d' % postID
@app.route('/rev/float:revNo') def revision(revNo): return 'Revision Number %f' % revNo
if name == 'main': app.run(debug=True)
`
Run the application and type the following URLs in a browser-
**http://127.0.0.1:5000/blog/555
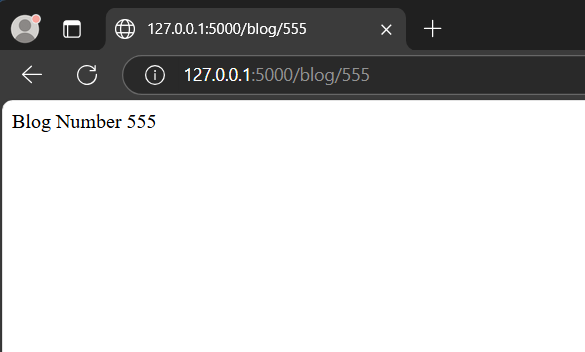
Snapshot of /blog URL
**http://127.0.0.1:5000/rev/1.1
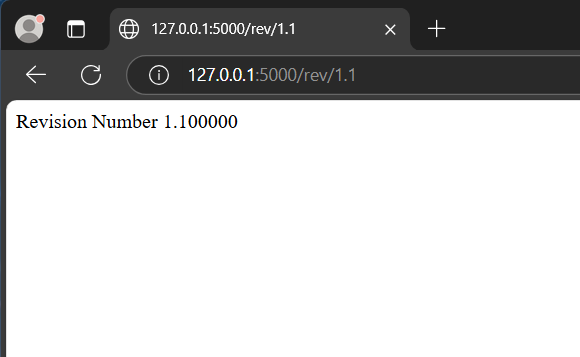
Snapshot of /rev URL
**Explanation:
- ****/blog/555** captures 555 as an integer and returns "Blog Number 555".
- ****/rev/1.1** captures 1.1 as a float and returns "Revision Number 1.100000" (default float format).
Build a URL in Flask
Dynamic Building of the URL for a specific function is done using **url_for()**function. The function accepts the name of the function as first argument, and one or more keyword arguments. See this example
Python `
from flask import Flask, redirect, url_for app = Flask(name)
@app.route('/admin') # decorator for route(argument) function def hello_admin(): # binding to hello_admin call return 'Hello Admin'
@app.route('/guest/') def hello_guest(guest): # binding to hello_guest call return 'Hello %s as Guest' % guest
@app.route('/user/') def hello_user(name): if name == 'admin': # dynamic binding of URL to function return redirect(url_for('hello_admin')) else: return redirect(url_for('hello_guest', guest=name))
if name == 'main': app.run(debug=True)
`
To test this, save the above code and run through python shell and then open browser and enter the following URLs-
**http://localhost:5000/user/admin
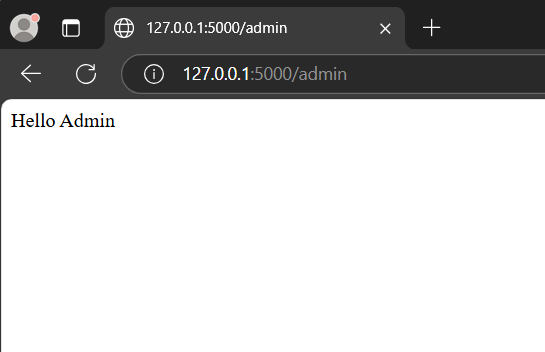
Admin
**http://localhost:5000/user/ABC
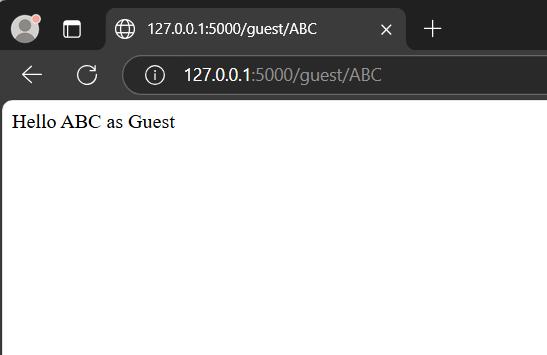
guest/ABC
**Explanation:
The above code has a function named user(name), accepts the value through input URL. It checks that the received argument matches the 'admin' argument or not. If it matches, then the function hello_admin() is called else the hello_guest() is called.
HTTP method are provided by Flask
Python Web Framework Flask support various HTTP protocols for data retrieval from the specified URL, these can be defined as:-
| **Method | **Description |
|---|---|
| **GET | This is used to send the data in an without encryption of the form to the server. |
| **HEAD | provides response body to the form |
| **POST | Sends the form data to server. Data received by POST method is not cached by server. |
| **PUT | Replaces current representation of target resource with URL. |
| **DELETE | Deletes the target resource of a given URL |
Serve HTML and Static Files in Flask
A web application often requires a static file such as javascript or a CSS file to render the display of the web page in browser. Usually, the web server is configured to set them, but during development, these files are served as static folder in your package or next to the module. See the example in JavaScript given below:
Python `
from flask import Flask, render_template
app = Flask(name)
@app.route("/") def index(): return render_template("index.html")
if name == 'main': app.run(debug=True)
`
HTML File (index.html)
Create a **Template folder "templates" in your project directory. This Template folder will contain all the **HTML files of the project and they will be rendered through our flask app using render_template method (we will learn about it in detail later).
html `
`
JavaScript file (hello.js)
Create a **static folder that will contain all the javascript and CSS files. It will be sibling of the templates folder.
javascript `
function sayHello() { alert("Hello World") }
`
To serve this javascript code in a flask app, link it with a HTML file (index.html in this case) in the template folder using this line of code in the head section -
Run the application by executing "**python app.py" in the terminal and visit the development URL- **http://127.0.0.1:5000
**Output:
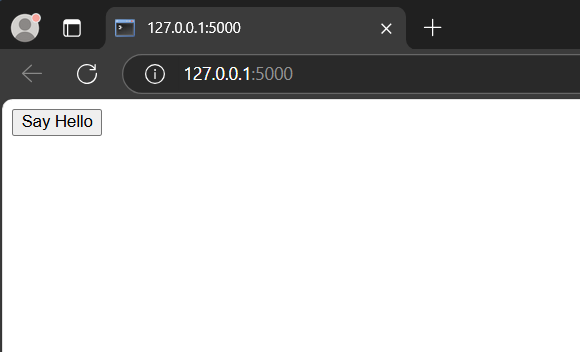
Home Route
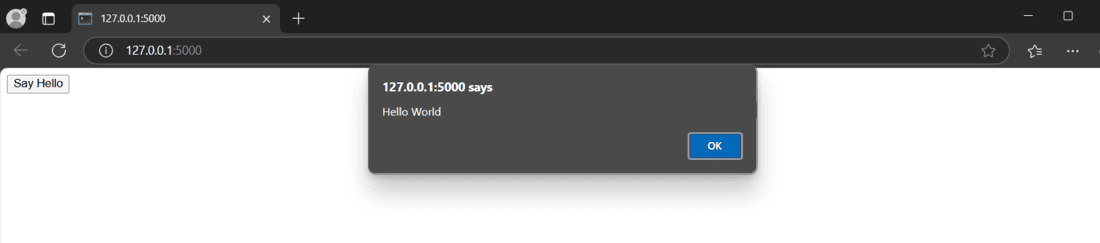
Rendering flask message using the js file
Cookies in Flask
A Cookie is a form of text file which is stored on a client's computer, whose purpose is to remember and track data pertaining to client's usage in order to improve the website according to the user's experience and statistic of webpage.
The Request object contains cookie's attribute. It is the dictionary object of all the cookie variables and their corresponding values. It also contains expiry time of itself. In Flask, cookie are set on response object. See the example given below:
**app.py code
Python `
from flask import Flask, request, render_template, make_response
app = Flask(name) @app.route('/')
def index(): return render_template('index.html')
@app.route('/setcookie', methods = ['POST', 'GET']) def setcookie(): if request.method == 'POST': user = request.form['nm'] resp = make_response(render_template('cookie.html')) resp.set_cookie('userID', user) return resp
@app.route('/getcookie') def getcookie(): name = request.cookies.get('userID') return '
welcome '+name+'
' if name == "main": app.run()`
**HTML code ( index.html )
html `
<form action = "/setcookie" method = "POST">
    <p><h3>Enter userID</h3></p>
    <p><input type = 'text' name = 'nm'/></p>
    <p><input type = 'submit' value = 'Login'/></p>
</form>
`
**HTML code ( cookie.html )
html `
Click me to get Cookie`
Run the application and visit http://127.0.0.1:5000 in your browser. The form submits to '/setcookie', where the set function stores a cookie named userID. The cookie.html page includes a link to the getcookie() function, which retrieves and displays the cookie value in the browser. Output snippets are below:
Enter user ID into the form and click "Login".
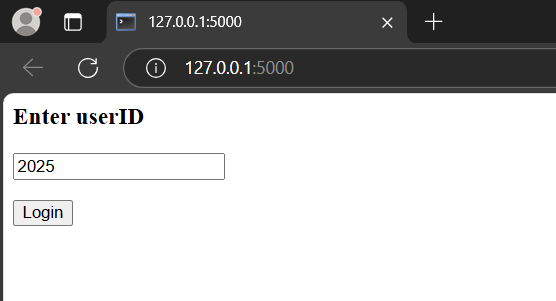
Home Route
Click on "Click me to get Cookie"
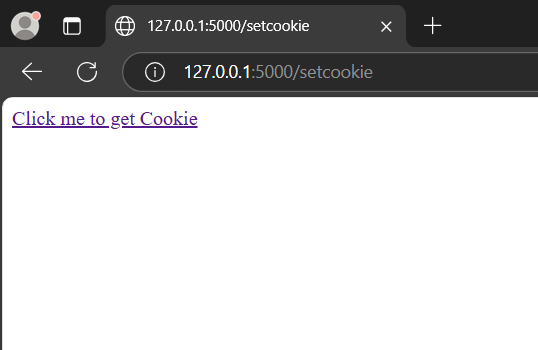
cookie.html gets rendered
"/getcookie" route takes the User ID from cookies and renders welcome along with it.
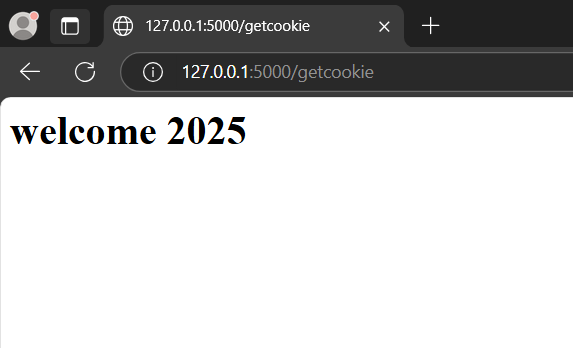
/getcookie route
Sessions in Flask
A session is the time between a user **logging in and **logging out of a server. Session data is stored on the server in a temporary folder, and each user is assigned a unique session ID.
**Session ID
The Session object is a dictionary that contains the **key-value pair of the variables associated with the session. A **SECRET_KEY is used to store the encrypted data on the cookies.
**Example:
Session[key] = value // stores the session value
Session.pop(key, None) // releases a session variable
Other Important Flask Functions
redirect
It is used to return the response of an object and redirects the user to another target location with specified status code.
**Syntax: Flask.redirect(location, statuscode, response)
**Parameters:
- location: The URL to redirect to.
- statuscode (optional): HTTP status code (default is 302, which means "Found" or temporary redirect).
- response (optional): Used to modify the response before sending.
abort
It is used to handle the error in the code.
**Syntax: Flask.abort(code)
The code parameter can take the following values to handle the error accordingly:
- **400 - For Bad Request
- **401 - For Unauthenticated
- **403 - For Forbidden request
- **404 - For Not Found
- **406 - For Not acceptable
- **425 - For Unsupported Media
- **429 - Too many Requests
File-Uploading in Flask
File Uploading in Flask needs an HTML form with enctype attribute and URL handler, that fetches file and saves the object to the desired location. Files are temporary stored on server and then on the desired location. The HTML Syntax that handle the uploading URL is :
form action="http://localhost:5000/uploader" method="POST" enctype="multipart/form-data"
**Example:
Python `
from flask import Flask, render_template, request from werkzeug.utils import secure_filename
app = Flask(name)
@app.route('/upload') def upload_file(): return render_template('upload.html')
@app.route('/uploader', methods=['GET', 'POST']) def upload_file(): if request.method == 'POST': f = request.files['file'] f.save(secure_filename(f.filename)) return 'file uploaded successfully'
if name == 'main': app.run(debug = True)
`
Sending Form Data to the HTML File of Server
A Form in HTML is used to collect the information of required entries which are then forwarded and stored on the server. These can be requested to read or modify the form.
Python `
from flask import Flask, render_template, request
app = Flask(name)
@app.route('/') def student(): return render_template('student.html')
@app.route('/result', methods=['POST', 'GET']) def result(): if request.method == 'POST': result = request.form return render_template("result.html", result=result)
if name == 'main': app.run(debug=True)
`
**Explanation:
- '****/**' URL loads student.html, which contains a form.
- form submits data to /result.
- **result() function:
- Retrieves form data from request.form.
- Stores it in a dictionary.
- Sends it to result.html for rendering.
**HTML Code ( result.html )
HTML `
<table border = 1>
    {% for key, value in result.items() %}

        <tr>
        <th> {{ key }} </th>
        <td> {{ value }} </td>
        </tr>

    {% endfor %}
</table>
`
**HTML Code ( student.html )
html `
<form action = "http://localhost:5000/result" method = "POST">
    <p>Name <input type = "text" name = "Name" /></p>
    <p>Physics <input type = "text" name = "Physics" /></p>
    <p>Chemistry <input type = "text" name = "chemistry" /></p>
    <p>Maths <input type ="text" name = "Maths" /></p>
    <p><input type = "submit" value = "submit" /></p>
</form>
`
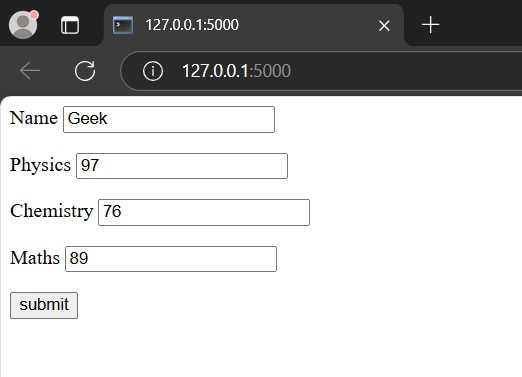
Input values to the HTML form
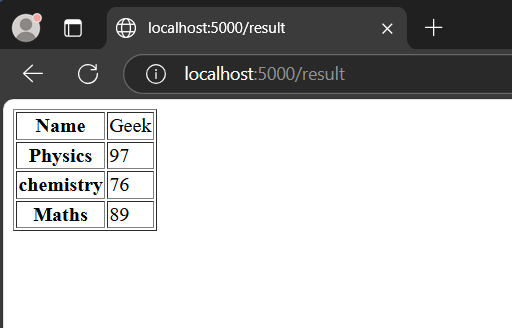
Template as the output
Alert messages in Flask
Alert can be defined as a **pop-up or a dialog box that appears on the web-page or like alert in JavaScript, which are used to inform the user. This in flask can be done by using the method flash() in Flask. It passes the message to the next template.
**Syntax: flash(message, category)
**Prameters:
- **message- actual text to be displayed
- **category(optional)**- to render any error or info.
**Example
Python `
from flask import Flask app = Flask(name)
/login display login form
@app.route('/login', methods=['GET', 'POST'])
login function verify username and password
def login(): error = None
if request.method == 'POST':
    if request.form['username'] != 'admin' or \
            request.form['password'] != 'admin':
        error = 'Invalid username or password. Please try again !'
    else:

        # flashes on successful login
        flash('You were successfully logged in')
        return redirect(url_for('index'))
return render_template('login.html', error=error)
`