Python | grid() method in Tkinter (original) (raw)
Last Updated : 24 Mar, 2026
The grid() method in Tkinter is used to arrange widgets in a window using a row-and-column layout. It places widgets inside a container (such as a window or frame) in a two-dimensional table structure. Each widget is assigned a specific row and column position. The grid size is determined automatically based on the widgets added.
**Example: This example creates a window with one label placed using the grid() method.
Python `
from tkinter import * root = Tk()
l = Label(root, text="Hello") l.grid(row=0, column=0)
root.mainloop()
`
**Output
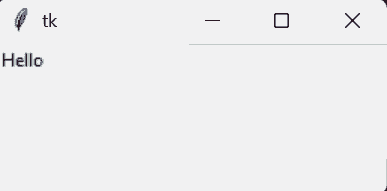
output
**Explanation: l.grid(row=0, column=0) places the label in the first row and first column of the window.
Syntax
widget.grid(options)
**Common Parameters:
- **row: Row number where the widget is placed.
- **column: Column number where the widget is placed.
- **rowspan: Number of rows the widget spans.
- **columnspan: Number of columns the widget spans.
- **padx / pady: Extra space around the widget (horizontal/vertical).
- **sticky: Aligns the widget inside the cell (N, S, E, W).
Examples
**Example 1: This program creates a basic form with labels and entry fields. Each widget is positioned using specific row and column values.
Python `
from tkinter import * r = Tk()
Label(r, text="Name").grid(row=0, column=0) Entry(r).grid(row=0, column=1)
Label(r, text="Age").grid(row=1, column=0) Entry(r).grid(row=1, column=1)
r.mainloop()
`
**Output
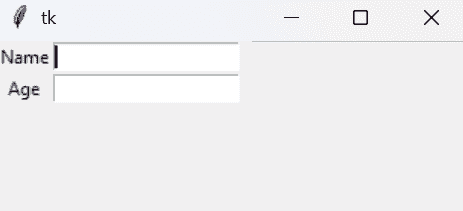
A window displaying two labels (“Name”, “Age”) with corresponding input fields arranged in two rows.
**Explanation: Each widget is placed using grid(row=?, column=?), which positions it inside the table layout.
**Example 2: This example creates a button that spans across two columns. It shows how to merge grid cells horizontally.
Python `
from tkinter import * r = Tk()
Label(r, text="Username").grid(row=0, column=0) Entry(r).grid(row=0, column=1)
Button(r, text="Login").grid(row=1, column=0, columnspan=2)
r.mainloop()
`
**Output
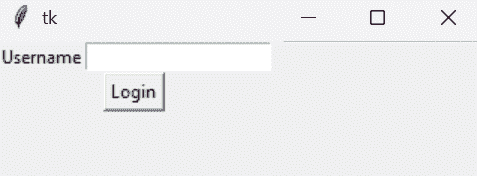
A window where the “Login” button stretches across both columns below the entry field.
**Explanation: columnspan=2 makes the button extend across two columns.
**Example 3: This program demonstrates how to align widgets inside their grid cells. It uses the sticky option for alignment control.
Python `
from tkinter import * r = Tk()
Label(r, text="Left").grid(row=0, column=0, sticky=W) Label(r, text="Right").grid(row=0, column=1, sticky=E)
r.mainloop()
`
**Output
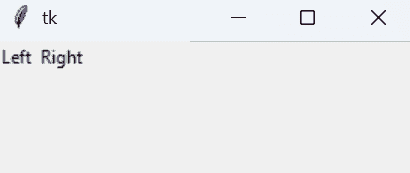
A window where one label aligns to the left of its cell and the other aligns to the right.
**Explanation: sticky=W aligns the widget to the left and sticky=E aligns it to the right inside the grid cell.